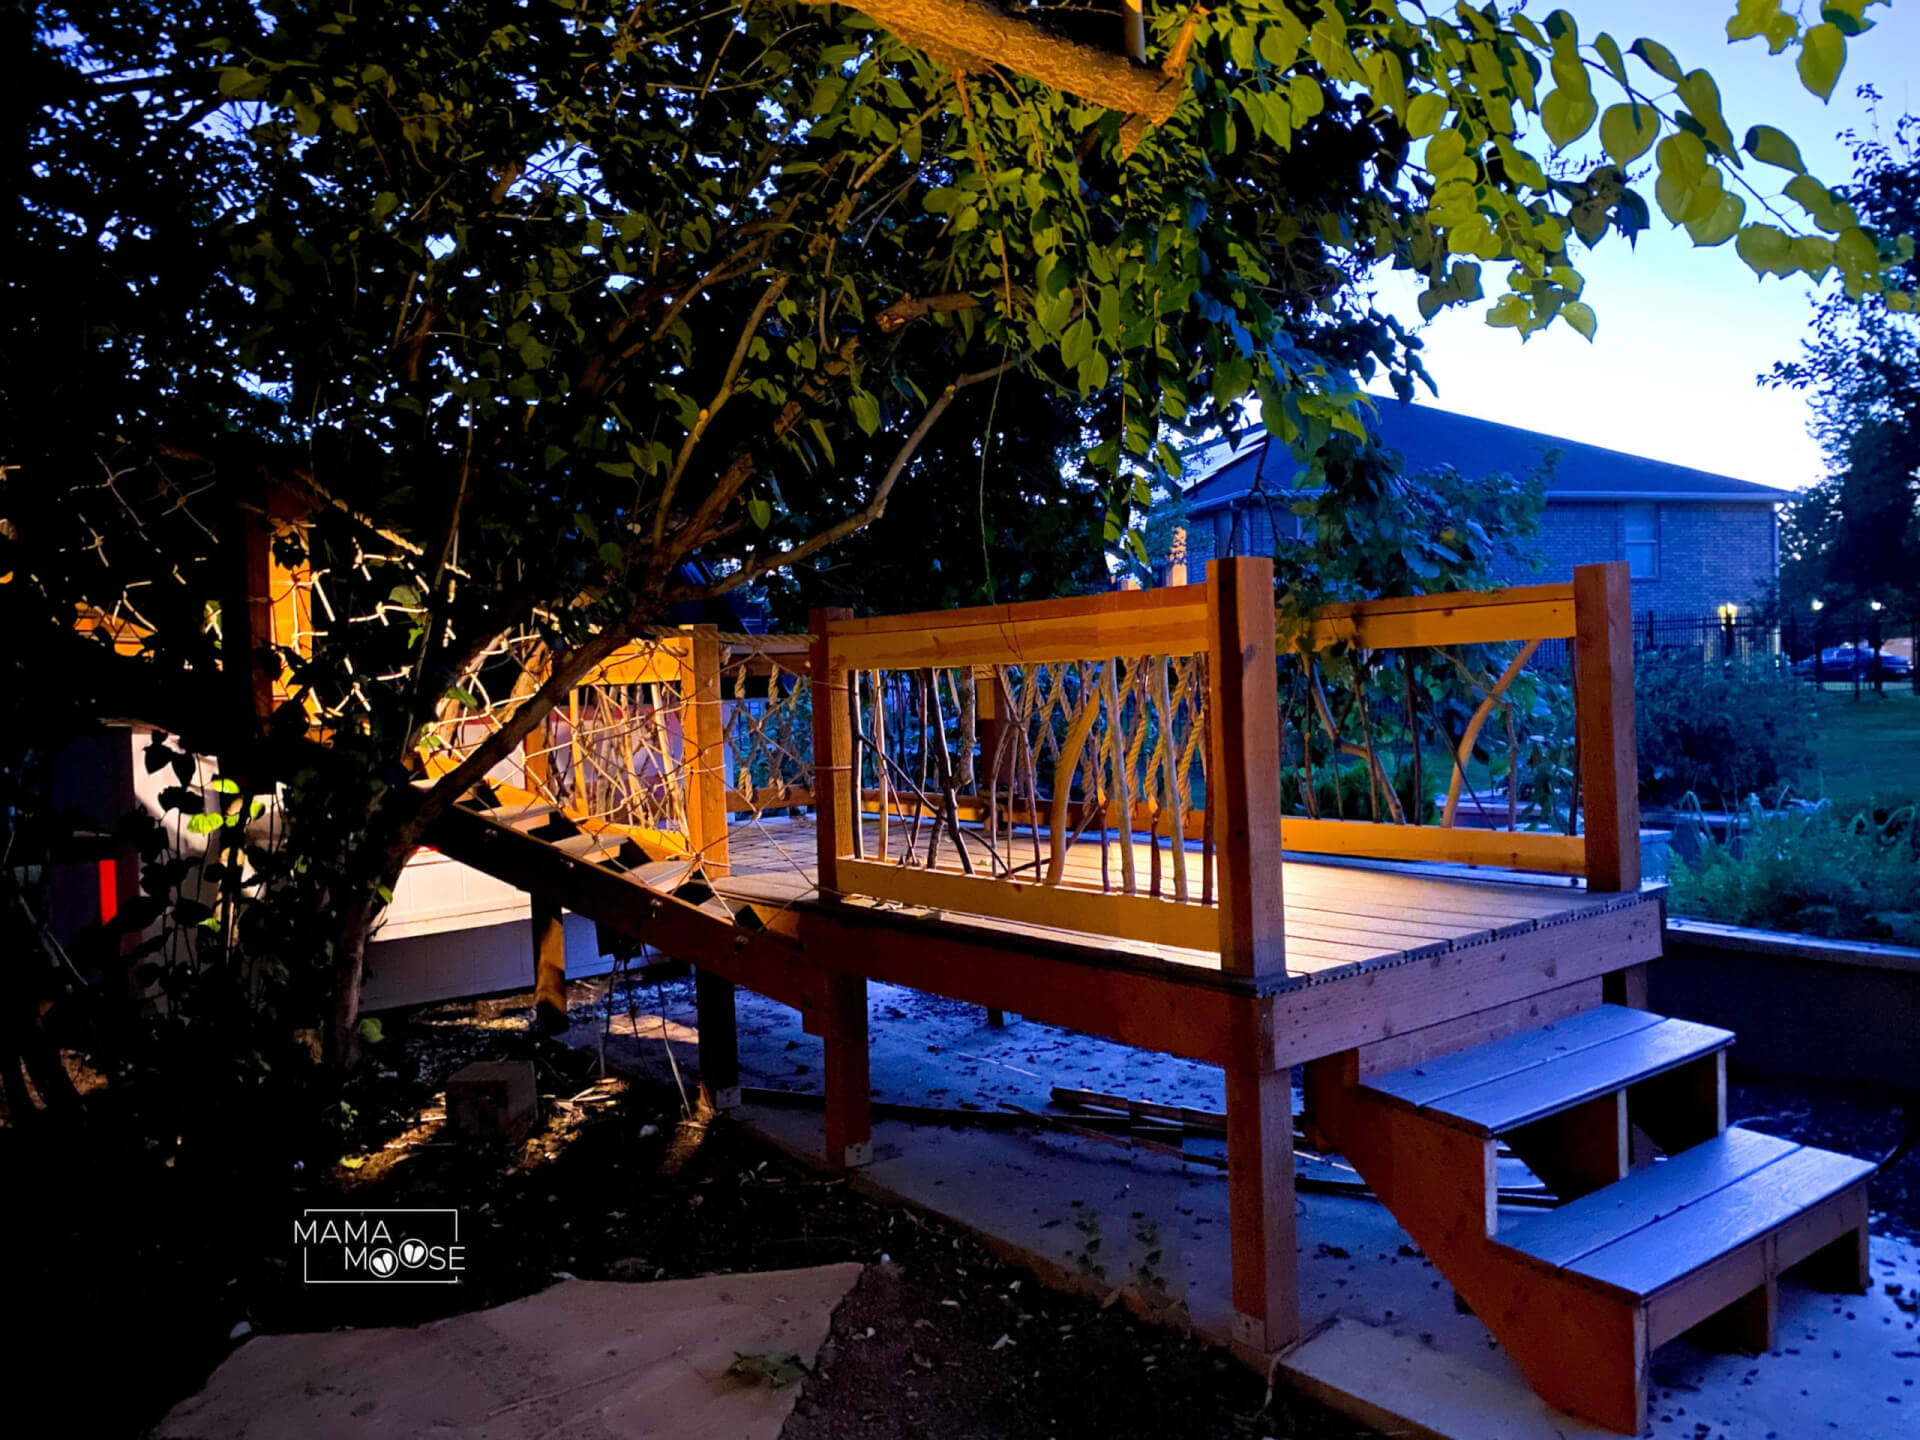
On our treehouse every other opening of the railing was done with a stick art technique that I saw online. (Inspiration picture below. Sorry, I can’t seem to find where this image was originally taken from.) The other openings were done with our coastal rope railing technique.

It took me a week to figure out just how to replicate this look with minimal expense. Once I figured out the technique that worked the best, I knew this was something that had to be shared! Here’s how I did it . . .

SUPPLIES
WOOD
Our posts were made with pressure treated wood, 4×4’s. The top and bottom railings are 1×4’s. The top railing had an extra 2×4, that is not pressure treated wood, attached on top because pressure treated wood can cause splinters. This top hand railing was installed first.
STICKS
Our sticks for the railings were actually made using the branches that were trimmed off when we built our treehouse. The boys stripped the bark off of some of the branches so that our sticks would not be identical in color and texture. We wanted to add some interest and diversity to these fun railings.

SCREWS
The sticks were attached using deck screws. If I remember right they were anywhere from 1 to 1-1/2″ screws.
Step 1: Railing Base
Begin by attaching the top 2×4 railing. We placed ours about 1-1/2″ down from the top of the post. We used pocket holes to screw them into the 4×4 posts.
We then used some scrapes from our 2×4’s and cut 1-1/2″ pieces to be attached to the post where our top and bottom railings would be attached. (Pictures below to help clarify.) This was a way to help attach those boards but also helped keep the spacing even since we would be using several different diameters of sticks in our railing.
Then attach the top and bottom railing (1×4’s) to one side of that little spacing board.


Step 2: Sticks
We used sticks of different angles, colors and texture in each section. Cut the sticks to the correct length and screw them into the top and bottom 1×4’s.


Step 3: Railing Cover
Once all the sticks are screws into place and you like the spacing and the look you have created you will attach another 1×4 on the top and bottom to “hide” all the screws. That’s it. It’s quite easy and it gives a fun unique look that is perfect for a treehouse, or even a cabin.


