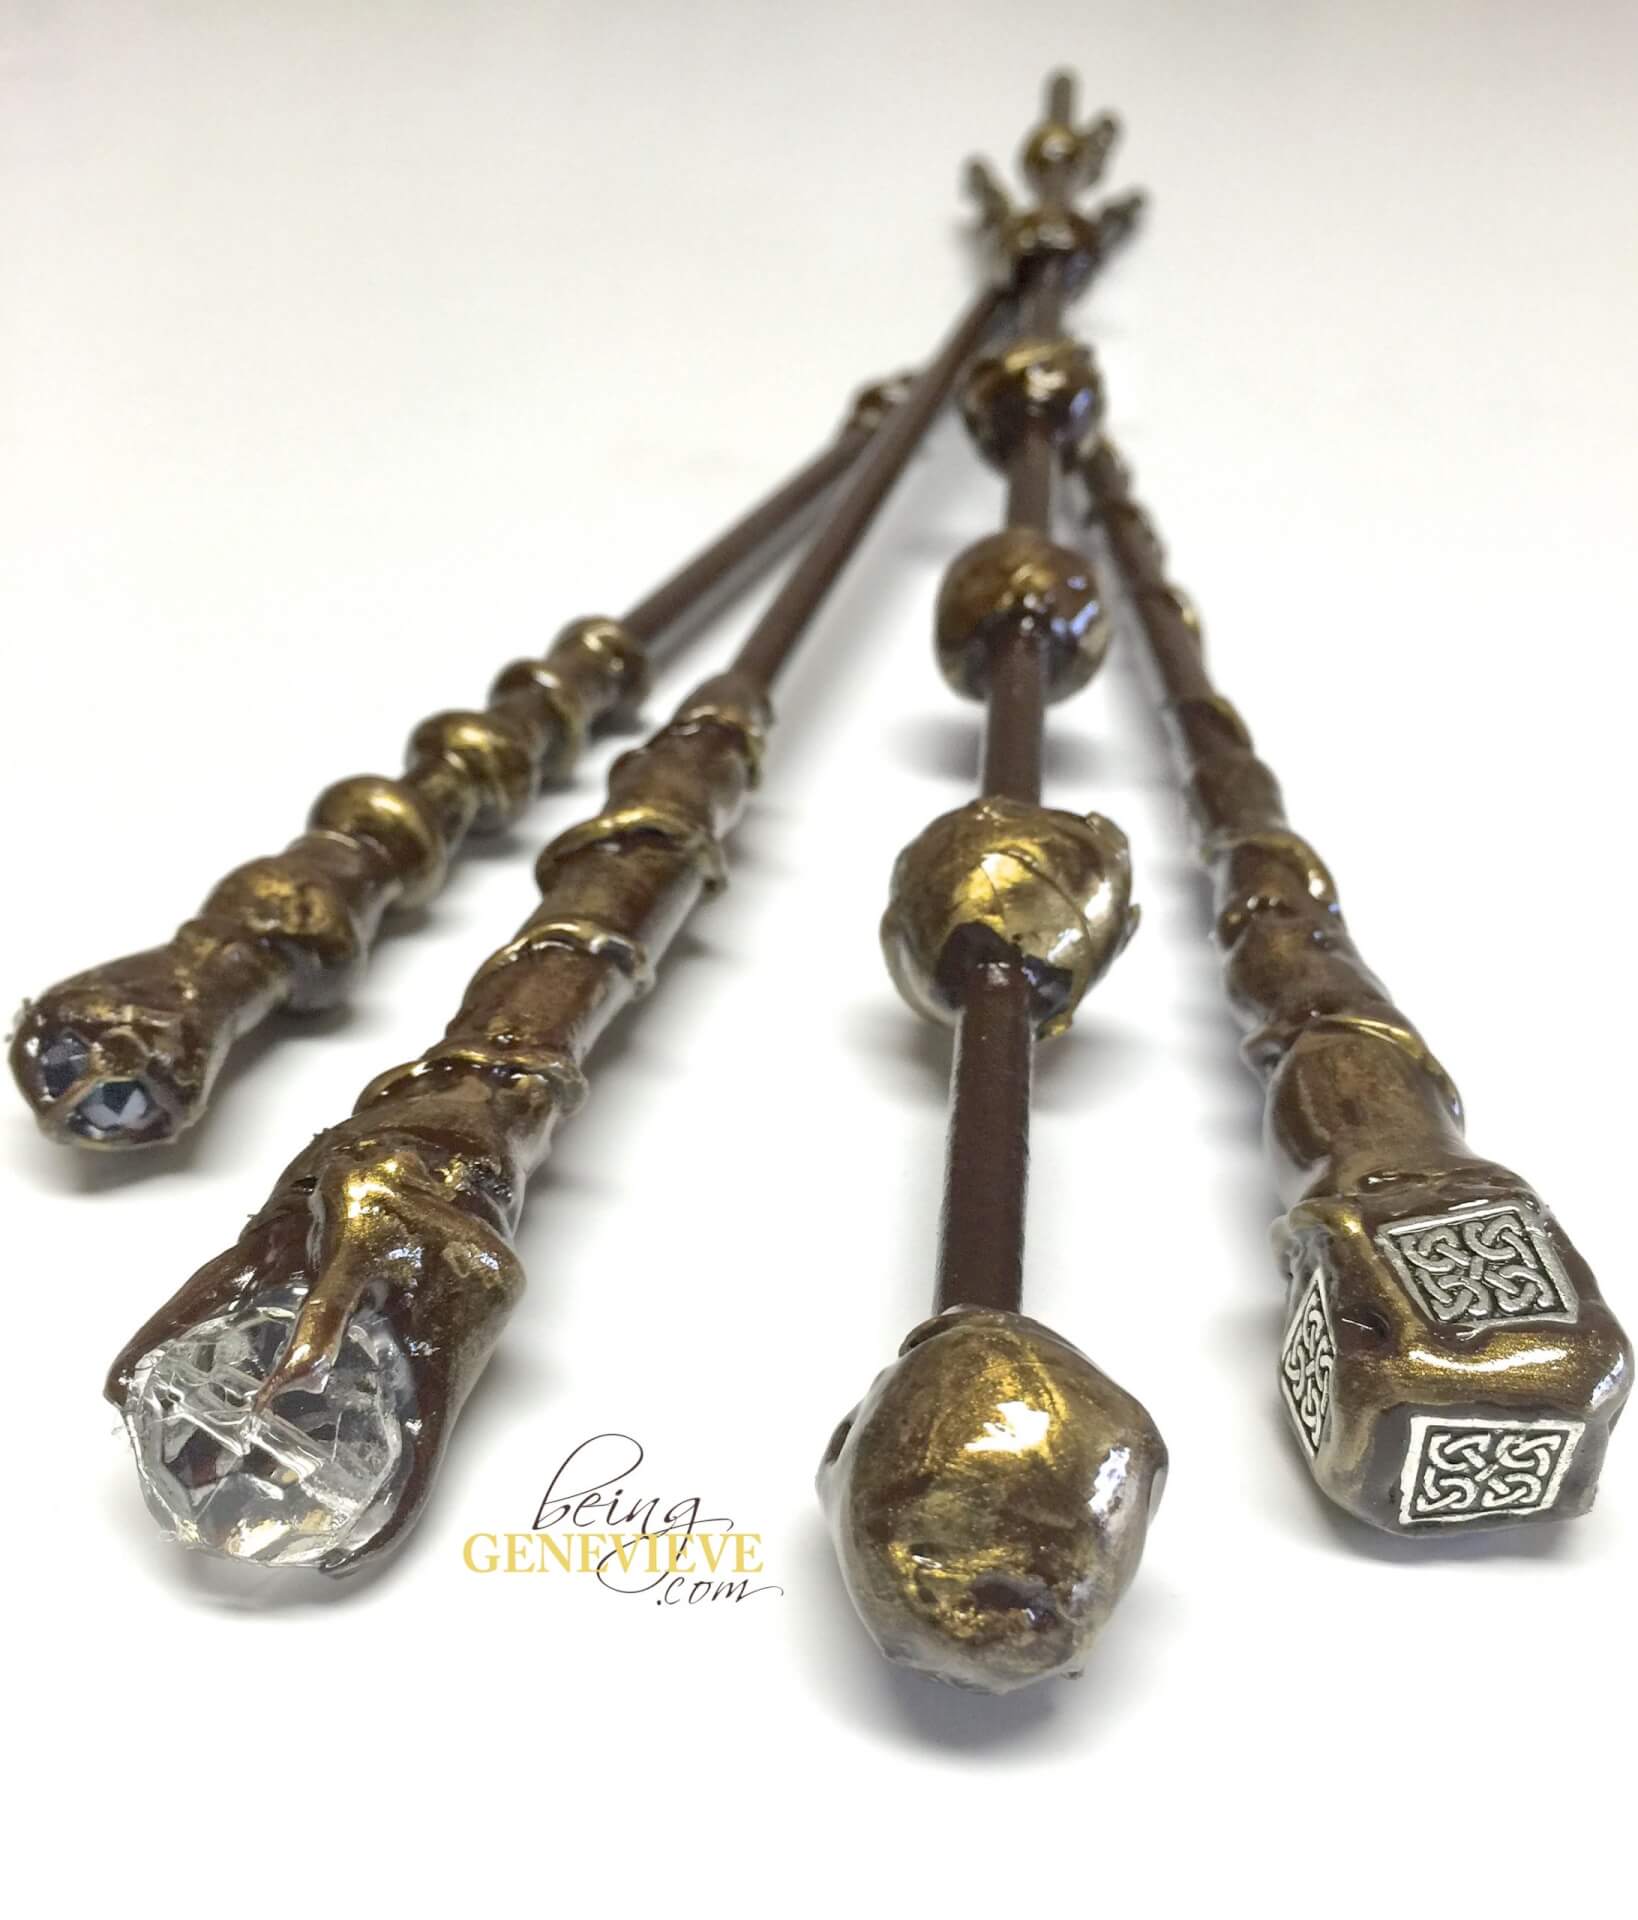
Some of you know, that our boys love Star Wars. Which is funny considering they have only seen 1 of the movies (Episode #4). Whenever we go to the library we get Star Wars books, imaginary play is always about Chancellor Palpatine and Darth Vader ruling the galaxy, birthday and Christmas gifts are always something Star Wars, and etc. So when my boys decided they liked Harry Potter and the idea of having wands to do magic I sprang right onto this new interest. I’m not much for Star Wars, but I love Harry Potter.
My boys have been carrying around markers for pretend wands. They have fantastic imaginations, but what kind of DIY mom would I be if I didn’t help them create some cool realistic wizard wands? So yesterday afternoon I spent my day making wands, instead of doing some much needed laundry. Isn’t this what being a mom is all about?!? Here is how we created ours . . .
Supply List:
Step 1: Sand & Glue
I began by sanding one end of the dowel to create a more rounded look.

Then I went crazy with the hot glue. Begin by adding bulk to the “handle” of the wand. I then just started adding a few decorative lines to make it more interesting. Remember that any imperfect areas will look really antique and add to the character of the wand, so don’t aim for perfection. Note: I even added beads on a few of them. Notice the large white crystal bead, the small black bead, and the silver flat beads. Once done creating, let the glue dry until firm.

Step 2: Paint & Antique
Next, I painted the wands with the brown paint and let that dry.

Once the brown was dry, I added the gold metallic paint to antique the look of the wands. I didn’t like the look a paint brush was giving with the gold paint, so I ended up just rubbing the paint on with my fingers. I added it onto the handles and any decorative glue I did.

Step 3: Seal
After the paint is dry, you will need to spray the wands with some kind of sealer to seal in the paint and hot glue. I used the triple thick gloss mentioned above. I did a thick coat on the entire wand and then very carefully placed the wands into a plastic cup to dry. I did this to reduce the amount of wand resting on something while drying. 
Note: If I were to do this again I would add 2 healthy coats of the thick gloss. I only did 1 coat, but my 3 year old is giving his wand quite a beating and it needs another coat. My older sons wands are holding up very well though, so if your don’t use this wand for sword play it should be fine with just the 1 coat.

UPDATE 2020: Over the last 4 years, we have continued to make these wands, but have made a few tweeks to the process. Check out my post on Harry Potter’s Wand. We also love to make wands and give them as gifts. Check out our Harry Potter and Dumbledore free printable gift tags.


