
After my grandmother passes away the headstone company that etched her death date never painted black into the lettering. None of us know why or why it was never fixed when the problem was addresses. It has been a little over 5 years since then and I was approached by family this year and asked if I could use a steady hand to paint in the lettering.
I agreed, but then immediately had a million questions pop up in my head. Such as, what paint do I use? Outdoor paint? What finish do I have put in the outdoor paint? Do I uses spray paint for stone and then just use a small brush to apply? Can’t we just pay a professional to do this?
The questions just kept coming. I wanted to make sure that I did this correctly so as not to ruin or harm the headstone, but I also wanted to make sure that it would last so it didn’t need to be applied again after only a few years.
So how did I find out the answers? I turned to the professionals, not the internet, but those that actually do this everyday. I called a local headstone company and asked them. They were so fantastic! They answered all my questions and even gave me the paint I needed, FOR FREE! It amazes me everyday how many good people are in the world.
As I was repainting my grandparent’s headstone, I had several people come over and first ask what I was doing and secondly ask how to do it. So I wanted to share here all I learned, from the professionals, and how to do this procedure yourself. (Yes, yourself. Headstone companies actually don’t offer this service. If you need a headstone repainted you need to do it yourself.)


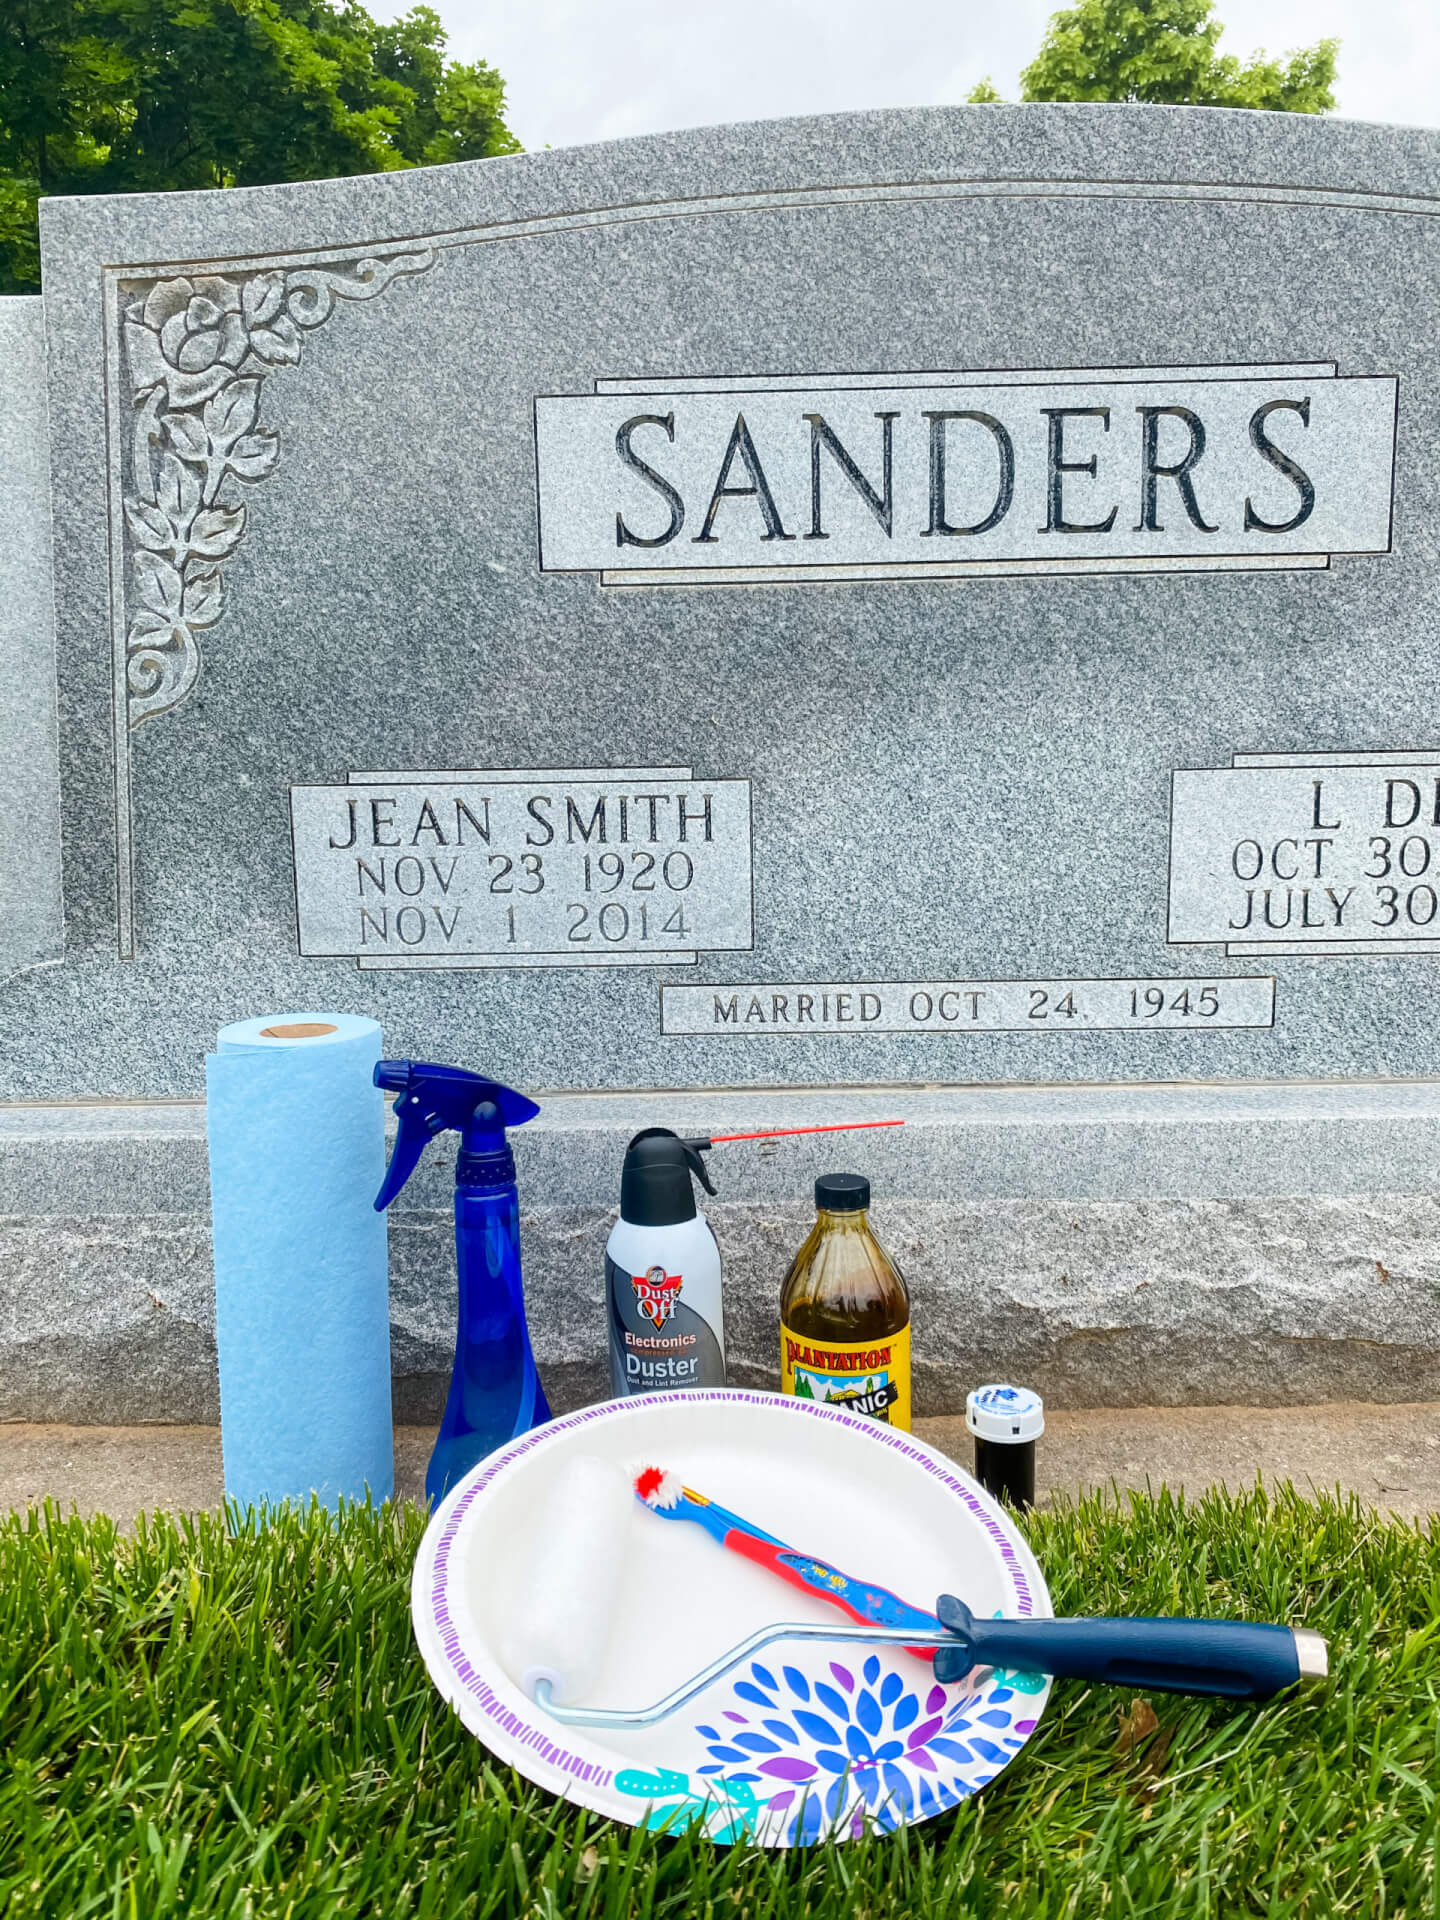
Supplies
- Lithichrome Paint
- Small Paint Brush
- Molasses
- Small Paint Roller
- Paper Plate
- Compressed Air
- Spray Bottle, Water
- Toothbrush
- Shop Paper Towels
- Towel

Step 1: Cleaning
Before you begin painting, you will need to clean out all the lettering that you plan to repaint. You want to make sure there is no debris or hard water in the lettering. If left there, it will cause the paint to chip or flake out over time.
All you need is some water and a toothbrush. (Oh and a little elbow grease.) Not just scrub away. I used my shop paper towels to wipe up all the drips and debris that came out of the lettering.
Once you have scrubbed it all out, use your compressed air to spray out any loose debris and to help dry out the lettering.


Step 2: Molasses
Now for the molasses . . . You are going to pour a little molasses onto your paper plate and use your little paint roller to apply some to the headstone. I know what you are thinking because I thought the exact same thing! When the professionals told me to do this I thought it sounded crazy. I trusted the professionals and don’t worry, your headstone will be okay. The molasses comes off very easily and will not stain the light colored stone. If you are worried, like I was, do a test on a little corner of the stone.
Note: The purpose of the molasses is to help repell the paint when you accidently go outside of the lettering or area you want to paint.

Step 3: Painting
The first thing you need to know about lithichrome paint is that it’s not really a paint. It’s more like a dye. It is very runny and soaks into the stone almost instantly. This is why the molasses step is so important because if you accidently go outside the lines, it will soak in instantly and be there forever . . . or at least a decade or two until it starts to chip and fade away.
When it comes to the painting, go slow and have a steady hand. Mistakes still need to be cleaned up instantly, even with the molasses. The molasses just helps slow the penetrating processes.


Step 4: Molasses Removal
As I mentioned above, the paint dries almost instantly. The compresses air can also help dry the lettering a little quicker. So once I finished a word, I went back to make sure I didn’t miss any spots. Once an area was done I cleaned off the molasses. I didn’t want it to sit on the headstone any longer than necessary. Even though, I’m sure it would have been just fine.
I sprayed some water onto my towel and wiped away the molasses. That’s all it took, was just a little wiping.
Once the lettering was 100 percent dry, I sprayed the area with some water and wiped it again. Then I used my compress air to spray out all the excess water from the lettering.
That’s it! Now the headstone lettering looks just like new.


Genevieve, I would like to paint my uncles grave. He has an inexpensive unpolished stone with chiselled in inscription. Does it have to be polished granite for this to work?
John Mansfield
By the way your work turned out great!
My grandmother’s (around the names and dates) is also unpolished. Just make sure to roll on your molasses to protect that unpolished stone. The paint will soak into the stone immediately without the molasses.
I’m curious what your local headstone company would have charged you for them to do it? My mom and dad’s stone is getting painted for the first time, but the company is doing it for free because the lettering they etched can’t be read that well. When they offered paint, I thought that was great. I didn’t realize it would have to be redone every 5 or so years.
From what I understand, after talking to two different headstone companies, is that it is not even offered. It is so time consuming and tedious that they won’t even do it. If you want it re-painted and touched up it would need to be you that does it.