
I love that pumpkins can be used as Halloween decor and Thanksgiving decor; The same is true with nails. Since Halloween is less than a week away. My mom decided she liked this nail art design for Halloween and it would work perfectly to carry over into the Thanksgiving season.
Step 1: Prep Nails
View my post on Nail Polish Prep.
Step 2: Paint Nails
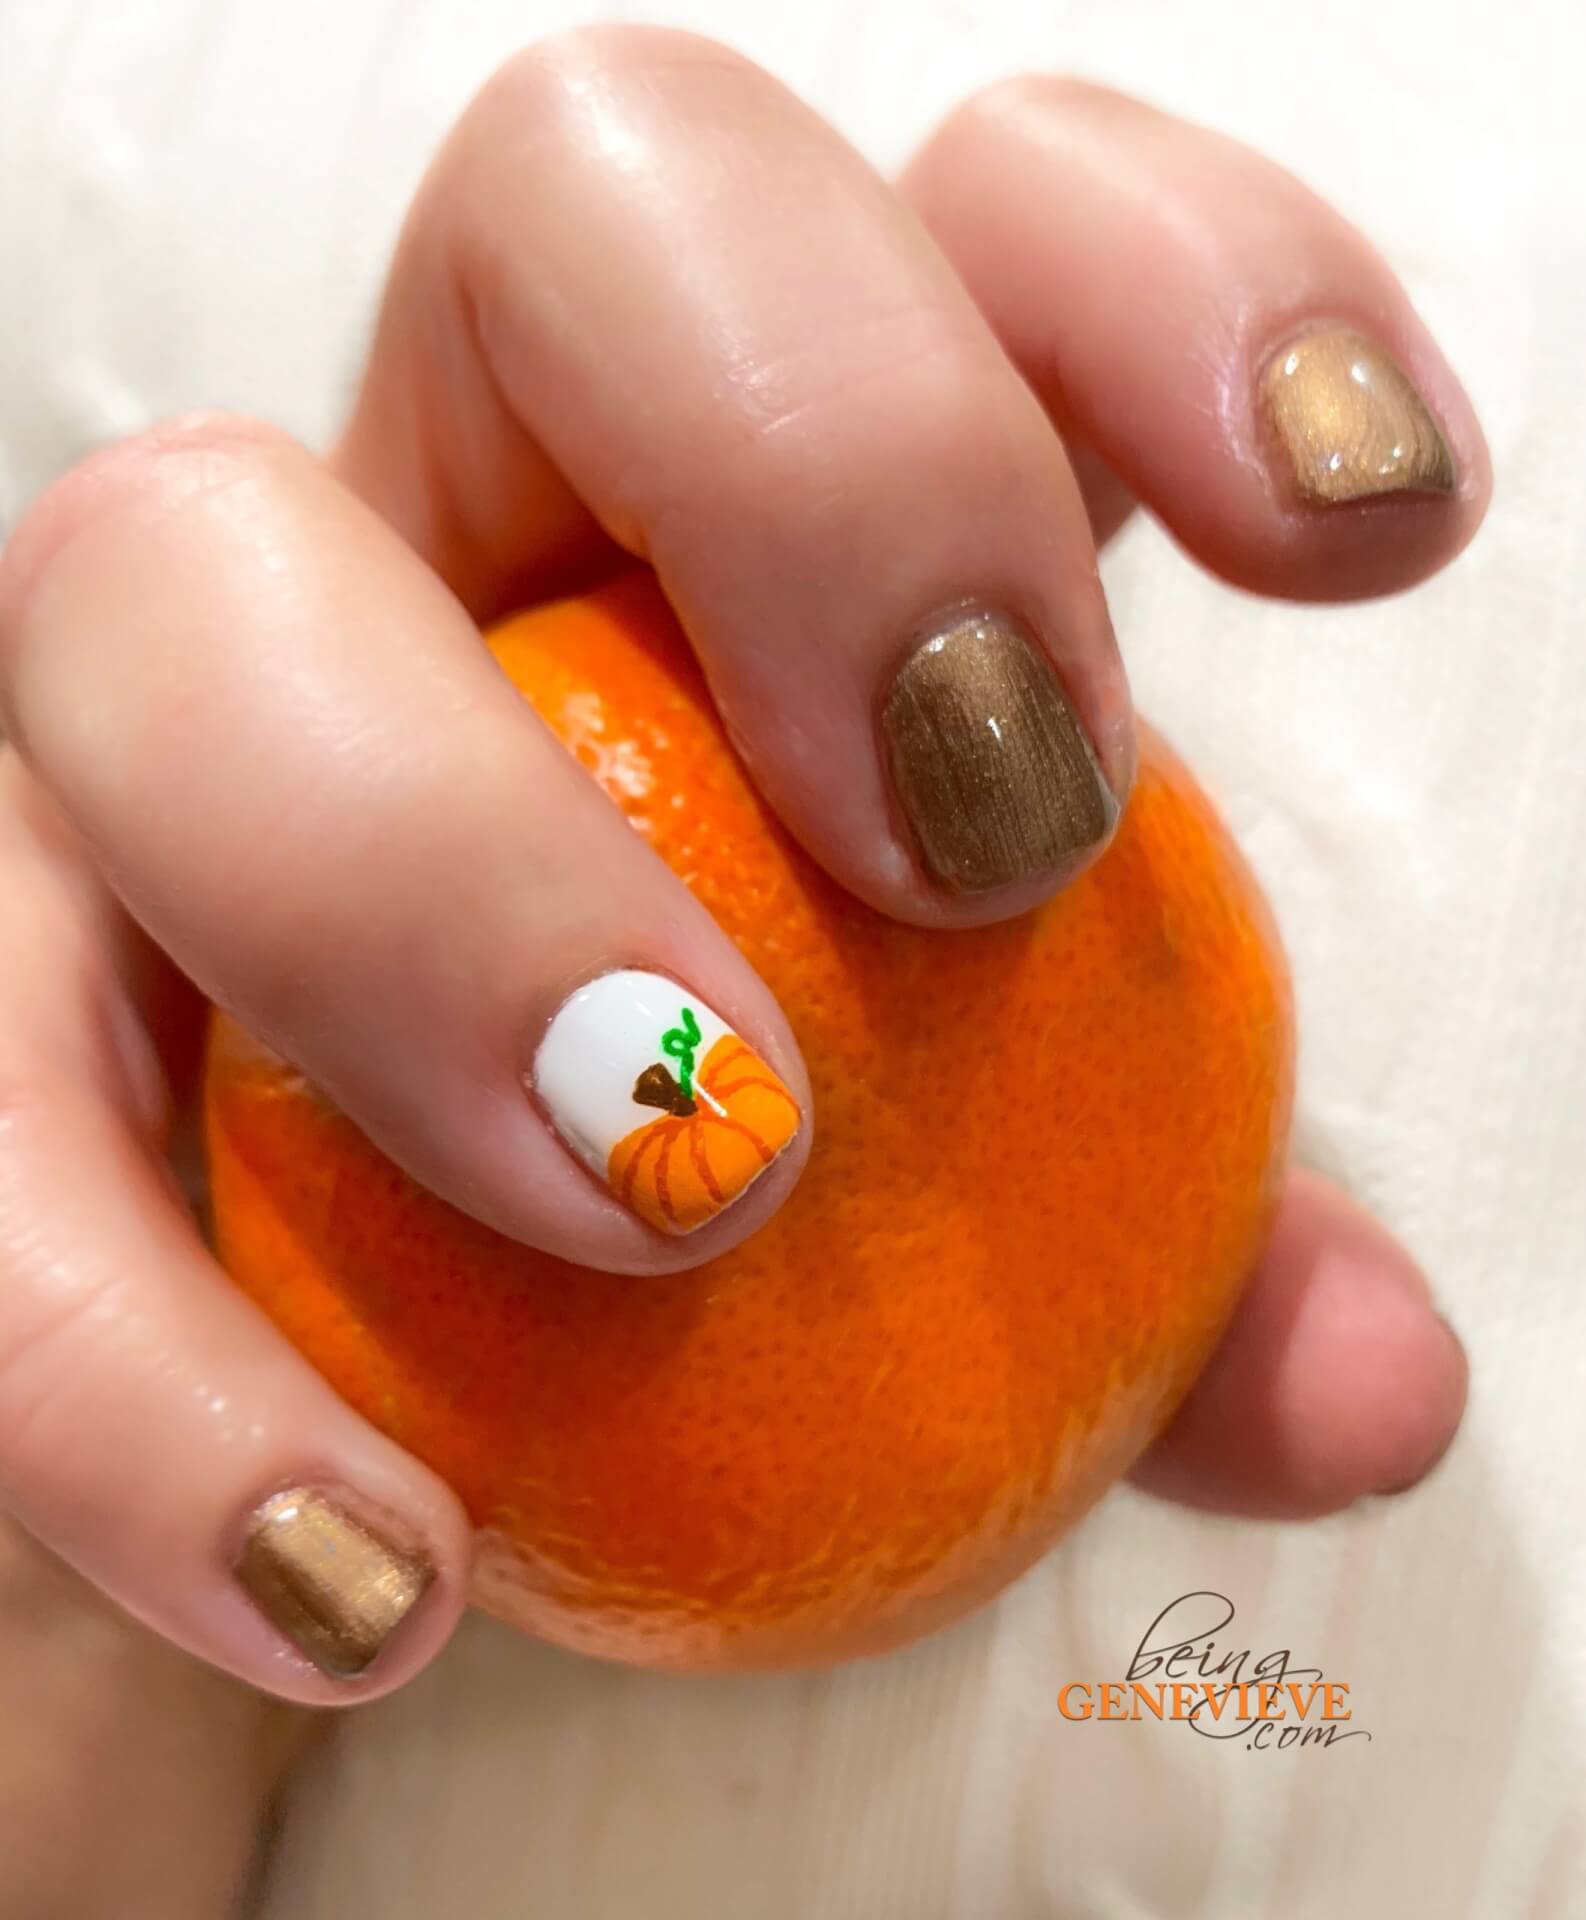
Paint all of the nails, except the ring fingers with two coats of bronze polish. I used the Shellac color called, Spiced Sugar. Now paint the ring fingers with two coats of white polish. I used the Shellac color called, Cream Puff.
Gel Polish: Apply two coats of polish and cure in light (curing after each coat). Cure 2 minutes in the UV light, or 1 minute in an LED light.
Step 3: Pumpkins
Now on the ring finger I painted the top of a pumpkin. First, paint the top of the pumpkin on the bottom half of the nail. Next, add the little stem and curly vine. Lastly, use a darker shade of orange and paint the contrasting lines vertically down the pumpkin. If you need a visual, I put together a little 30 second video below.
Note: I did the pumpkin with acrylic craft paint. . . Some polishes can dry almost transparent which makes the image hazy and you won’t get the wow factor you are going for.
Step 4: Apply Final Top Coat
Now apply your top coat. Make sure the paint is completely dry before adding top coat to help avoid smearing.
Gel Polish: Apply top coat and cure in UV light for 2 minutes or 1 minute in an LED light.
Step 5: Allow to Dry and Apply Cuticle Oil
Allow your polish to dry completely. Apply a cuticle oil just around your nails on the cuticle and rub into the skin.
Gel Polish: Remove sticky residue on top of nails with a little alcohol or polish remover and apply cuticle oil. Remove gel polish after 2-3 weeks, check out Gel Polish Removal for the quickest, easiest and best way to remove gels.


