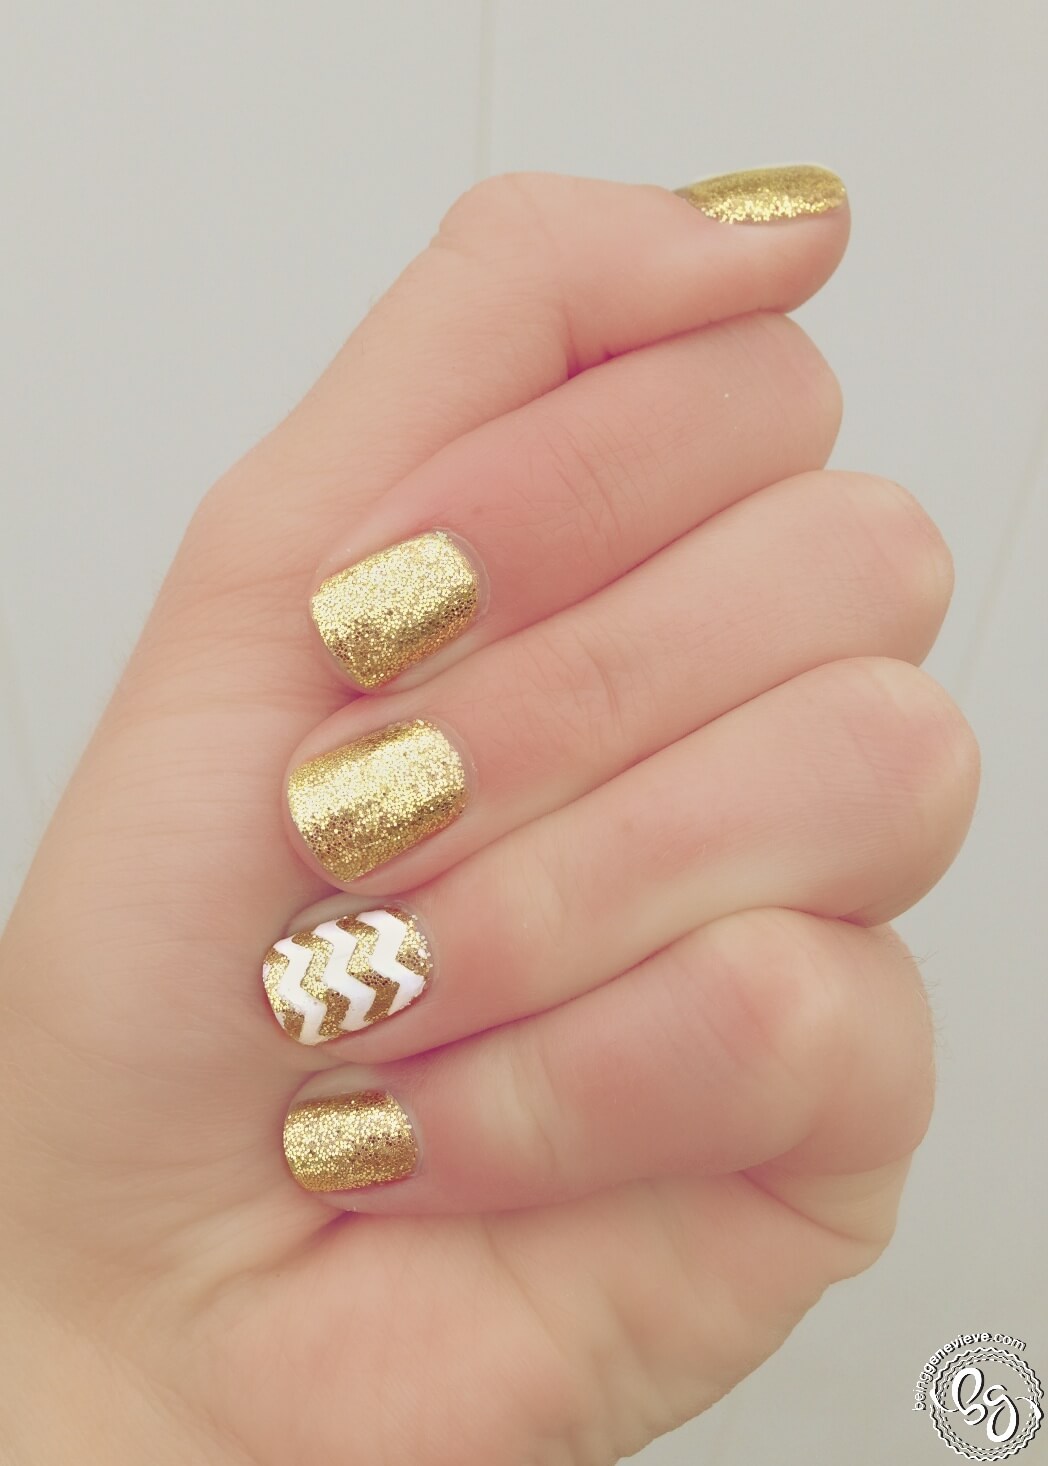
I recently have discovered that I love the color of gold on my nails, especially when it is sparkly. I have had numerous compliments on these nails. The gold sparkle and the white contrasting chevron striped nail are sure to catch any eye.
Note: I will be providing instructions on how to achieve this look with plain polish, along with Gel Polish.
Step 1: Prep Nails
View my post on Nail Polish Prep.
Step 2: Paint Gold Nails
Paint all of the nails with two coats of gold polish. I used the Shellac color called, Locket Love. While the second coat of polish is tacky, not wet, gently dust a fine layer of gold glitter onto the polish, just as I did for my Simply in Love nails. I used Martha Stewart craft glitter, color florentine gold. Then gently press the glitter into the tacky polish. This will create a different look than applying the glitter when the polish is wet.
Gel Polish: Apply two coats of gold polish and cure in light (curing after each coat). Cure 2 minutes in the UV light, or 1 minute in an LED light. Apply gold glitter after the second coat of gold polish is cured, but still has that tacky residue on the surface.
Step 3: Seal Glitter
Now apply top coat to all the glitter nails to seal in the glitter. Before re-dipping your brush into the polish, after each nail, make sure there isn’t any glitter on it. If there is, wipe it on a paper towel to remove the glitter. You don’t want to contaminate your polish. Don’t worry about the glitter around your nails. Once dry, it removes best if you just wash it off in the tub or sink just as you would do if you were doing glitter nails.
Gel Polish: Paint top coat onto the nails. Cure 2 minutes in the UV light, or 1 minute in an LED light.
Step 4: Chevron Stripes
Stick a chevron vinyl guide onto your ringer finger nails. {Note: I just cut my own with my craft cutter —UPDATE: download SVG and PDF file below–, but I have heard that you can buy chevron tape or you could cut scotch tape with pinking shears.} Paint white polish and remove guides.
Gel Polish: Cure white polish in UV light for 2 minutes. 
Download this zip file for the SVG and PDF files for the chevron nail stripes. My SVG file for the set of 3 chevron stripes (good for one nail) measures width: 0.8″ x height: 0.4″![]()
Step 5: Apply Final Top Coat
Now apply your top coat. Make sure the paint is completely dry before adding top coat to help avoid smearing.
Shellac: Apply top coat, only after paint is completely dry, and cure in UV light for 2 minutes.
Step 6: Allow to Dry and Apply Cuticle Oil
Allow your polish to dry completely. Apply a cuticle oil just around your nails on the cuticle and rub into the skin.
Gel Polish: Remove sticky residue on top of nails with a little alcohol or polish remover and apply cuticle oil.
Remove gel polish after 2-3 weeks, check out Gel Polish Removal for the quickest, easiest and best way to remove gels.


Hi!! The Golden nail paint looks so trendy and beautiful. I would love to try on my nails. Thank you
Do you have a cut file you would mind sharing to cut the chevron stripes? I’d LOVE to do that with my machine (Silhouette Cameo) but wasn’t sure about what dimensions to use. These nails are beautiful! 🙂
Of course Annie! Thank you so much for asking! I just added the SVG and PDF file of a set of 3 chevron stripes (good for one nail) in Step 4. I also included what dimensions I cut my SVG at, also in Step 4. Have fun!!!