
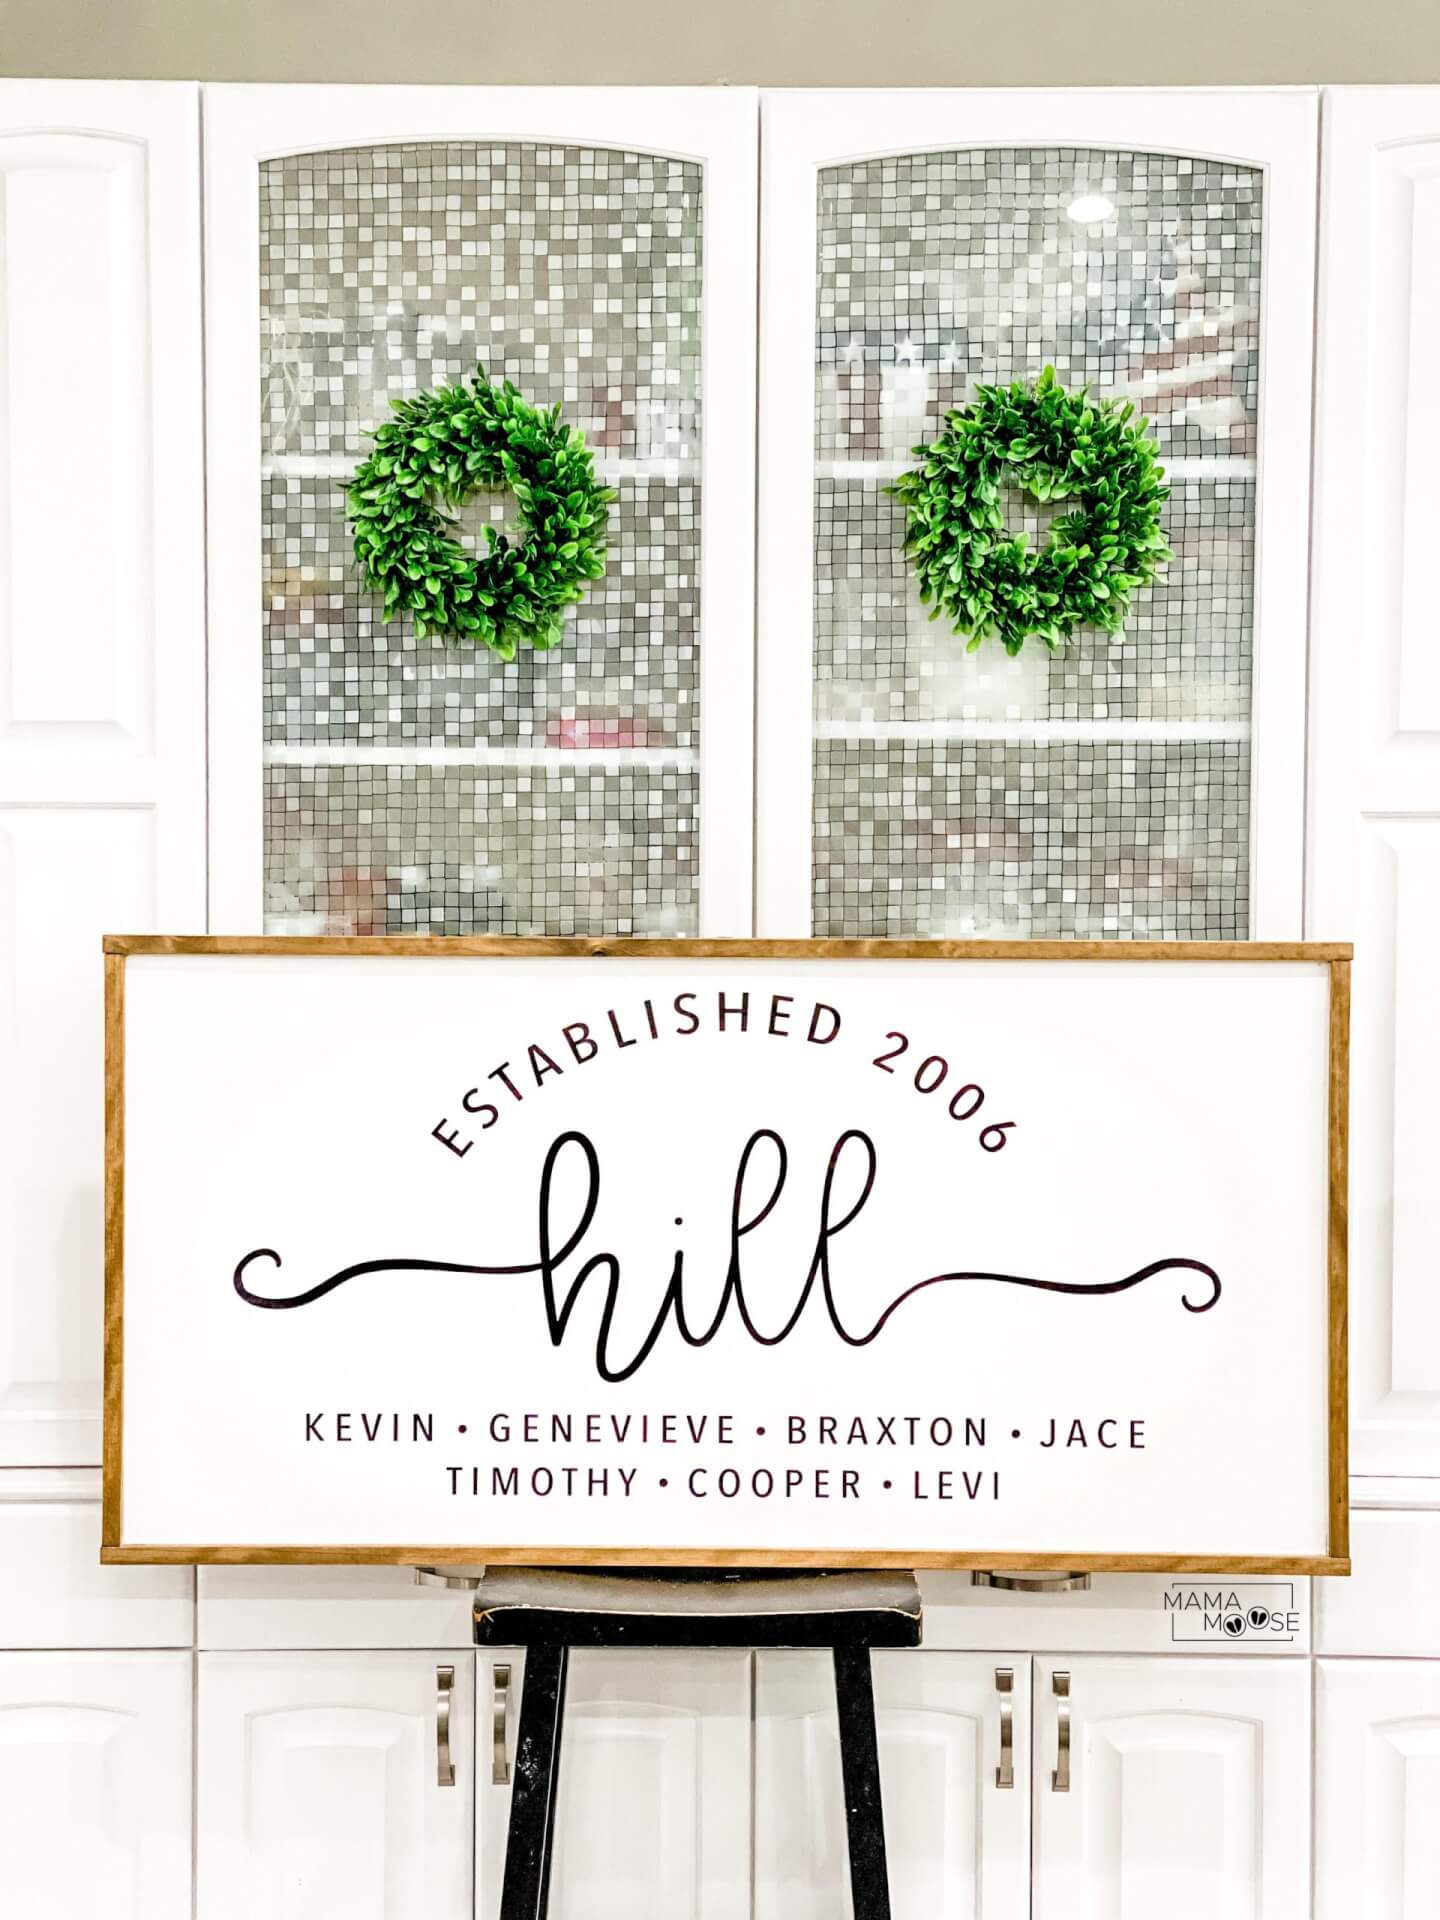
In June, I made this beast of a sign for up above our kitchen pantry. There is a weird awkward space that needed . . . something. So I made this 2’ x 4’ custom farmhouse sign that weighs probably 10 pounds. After making it, I had a friend mention that I should have a purchasing option for people to download it digitally. So after I share how to make your own. I will have an ORDER FORM AT THE BOTTOM of this post, if you would like me to create a custom digital download with all your family names.
Supplies
- 1/4″ thick MDF
- 1″ x 2″ Pine Board
- Wood Stain, Early American
- White Paint (I prefer Behr Alkyd Semi-Gloss White Enamel)
- Vinyl (order digital download below)
- Gorilla Glue, clear-no foam
- Nail Gun, optional
Step 1: Cut Wood
For this project, I used a 1/4″ thick MDF board.
Now cut the MDF into a rectangle size of your choice. Cut two frame pieces out of your 1″x 2″ pine board that are the same height as your MDF. Then cut two frame pieces that are 1.5″ longer than your MDF width. (Ex. MDF 8″ x 8″. Two frame pieces 8″ and two frame pieces 9.5″)
Step 2: Stain Wood
I stained the pine board frame with a coat of Early American wood stain.
Step 3: Paint MDF
I paint my MDF board with TWO coats of the white Behr paint and allow it to fully dry.
Step 4: Adhere Frame
Use the same technique here as I did in my Joy Farmhouse Sign. Step by step pictures located here.
I cut a few 3-1/2″ long pieces out of my left over 1″ x 2″ pine board as “supports”.
I stain them just like I do the frame, even though they will not be seen. It’s just the OCD in me that wants them all to match.
Now glue the “supports” on to the frame and glue the frame corners together. I also use a nail gun to nail the supports and the frame together. The gorilla glue is strong enough that nails aren’t required though.
I then put some glue on top of the supports to adhere the MDF board to.

STEP 5: VINYL
The fonts that I used to create this look were Better Together Demo and Avenir.
Now since my sign was so large I cut my vinyl in pieces and placed it on the sign where I wanted them.


Oops! We could not locate your form.


