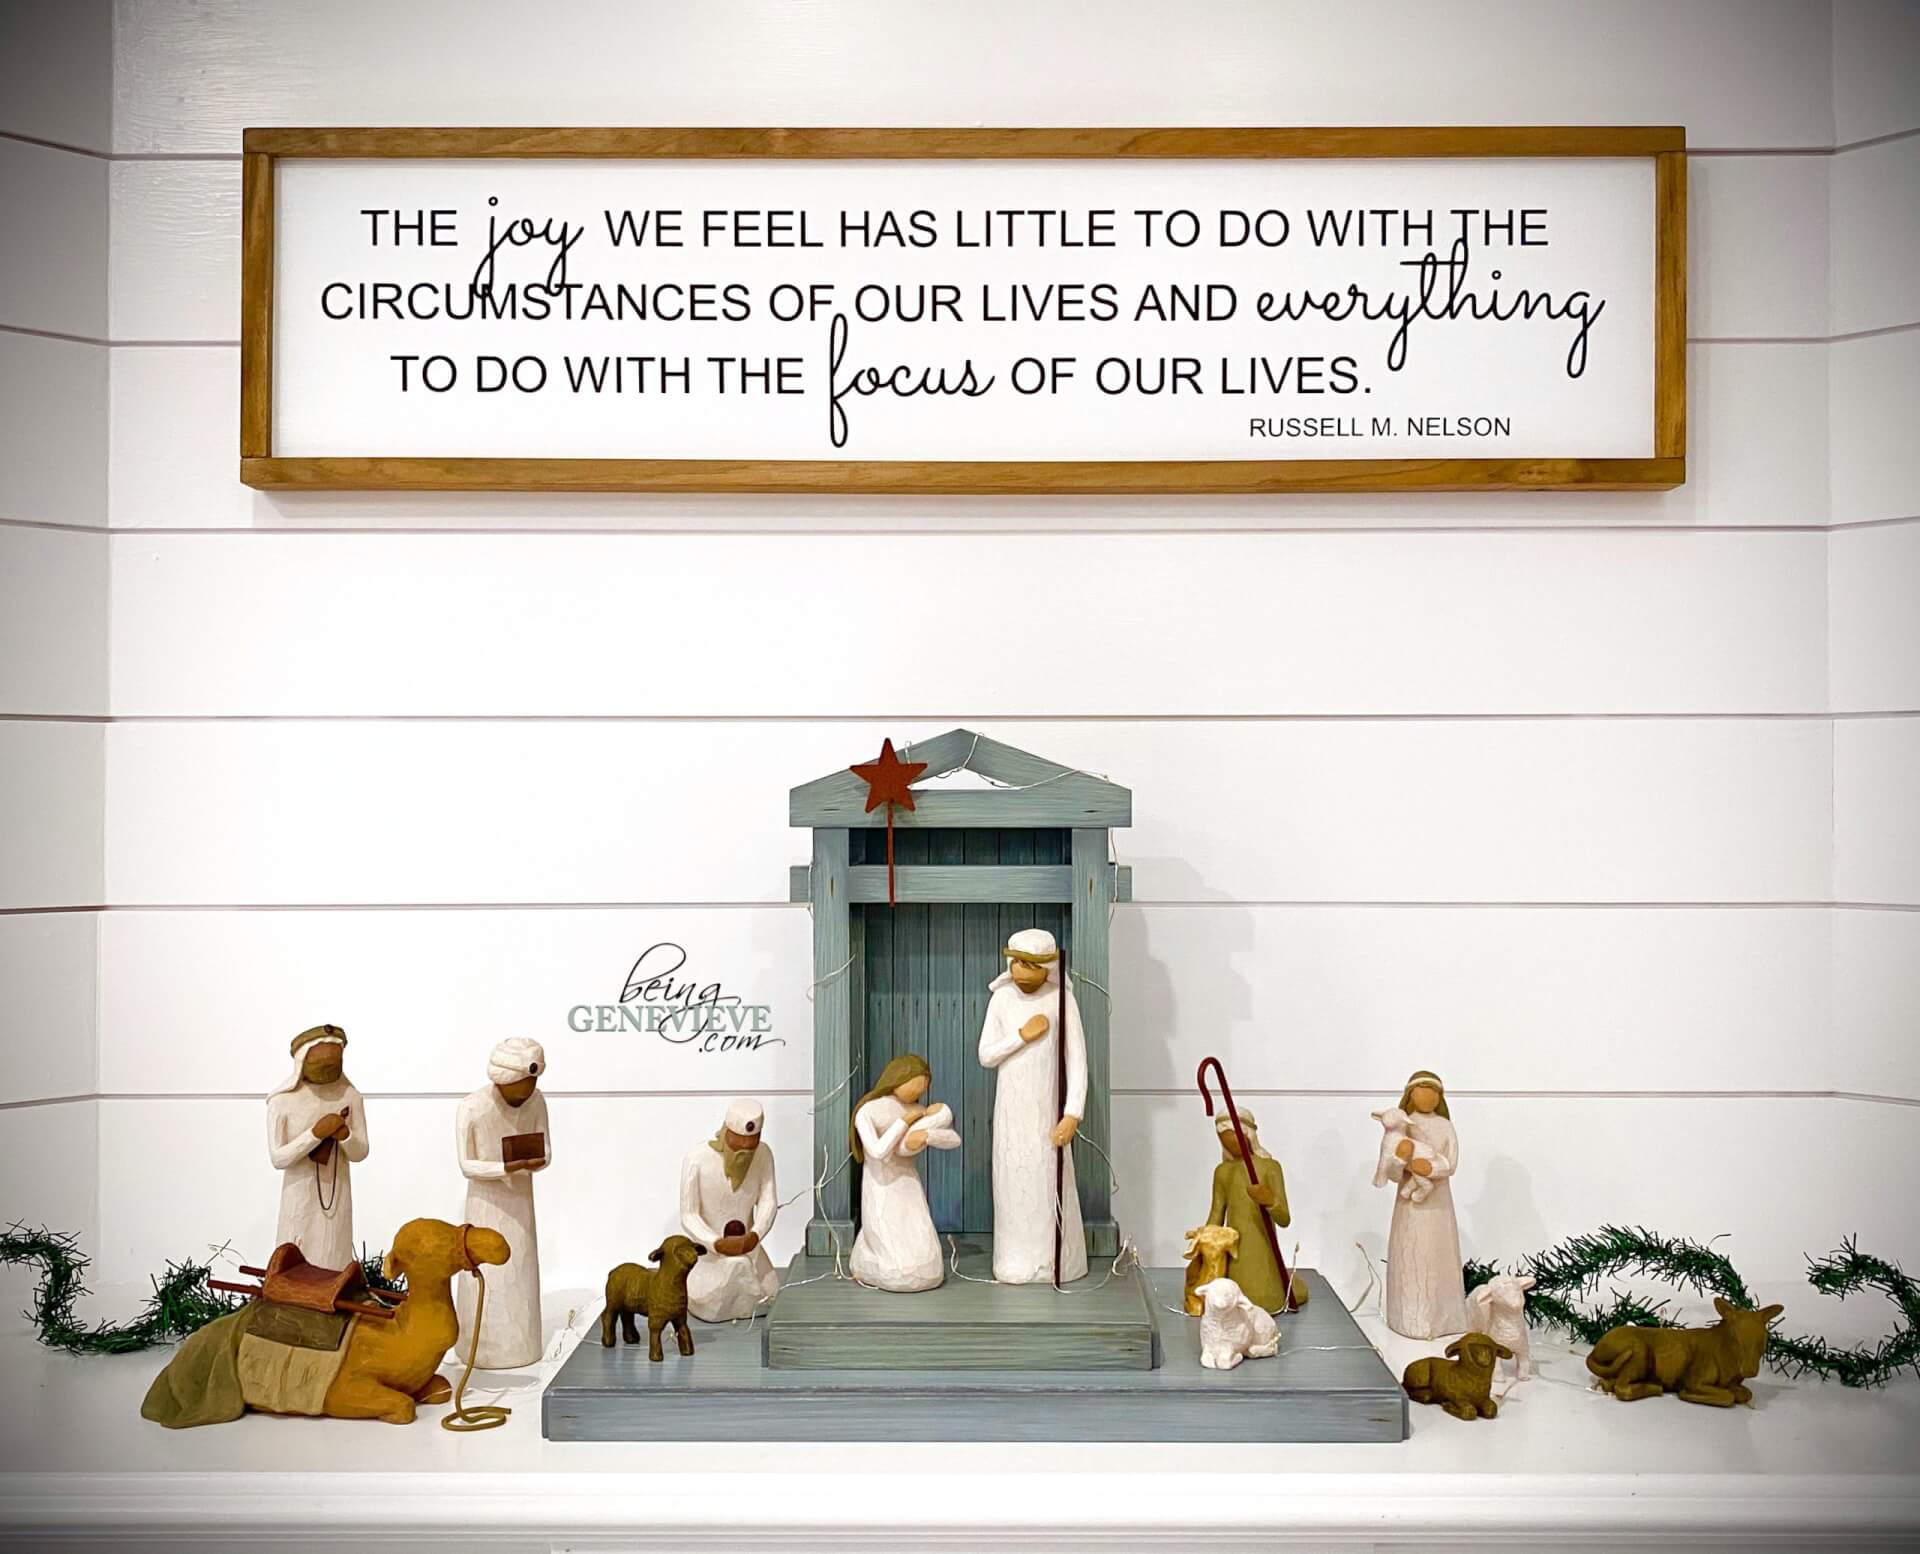
Supplies:
- 1/4″ MDF
- 1″ x 2″ Pine Board
- Wood Stain, Early American
- White Paint (I prefer Behr Alkyd Semi-Gloss White Enamel)
- Vinyl (download template below)
- Gorilla Glue, clear-no foam
- Nail Gun, optional
Step 1: Cut Wood
FINISHED SIGN will be 13″ x 48″.
For this project, I used a 1/4″ thick MDF board.
Now I cut the MDF into a 12″ x 46.5″ rectangle. Cut two 12″ frame pieces and two 48″ frame pieces. I have also done this sign in a size that was 10″ x 42″ (finished).
Step 2: Stain Wood
I stained the pine board frame with a coat of Early American wood stain.

Step 3: Paint MDF
I paint my MDF board with TWO coats of the white behr paint and allow it to fully dry.
Step 4: Adhere Frame
You use the same technique here as I did in my Farm Fresh Christmas Tree Sign tutorial, except with a sign this big I add “supports” to the back of my MDF board.
I cut a few 3-1/2″ long pieces out of my left over 1″ x 2″ pine board.
I stain them just like I do the frame, even though they will not be seen. It’s just the OCD in me that wants them all to match.
Now glue the “supports” on to the frame and glue the frame corners together. I also use a nail gun to nail the supports and the frame together. The gorilla glue is strong enough that nails aren’t required though.
I then put some glue on top of the supports to adhere the MDF board to.


Step 5: Vinyl
Download the zip file below. It includes a SVG file and PDF file. I cut my vinyl 9.9″ x 44.5″.
![]()
That’s it! Thank you for stopping by and if you need any more clarification please don’t hesitate to reach out to me.


