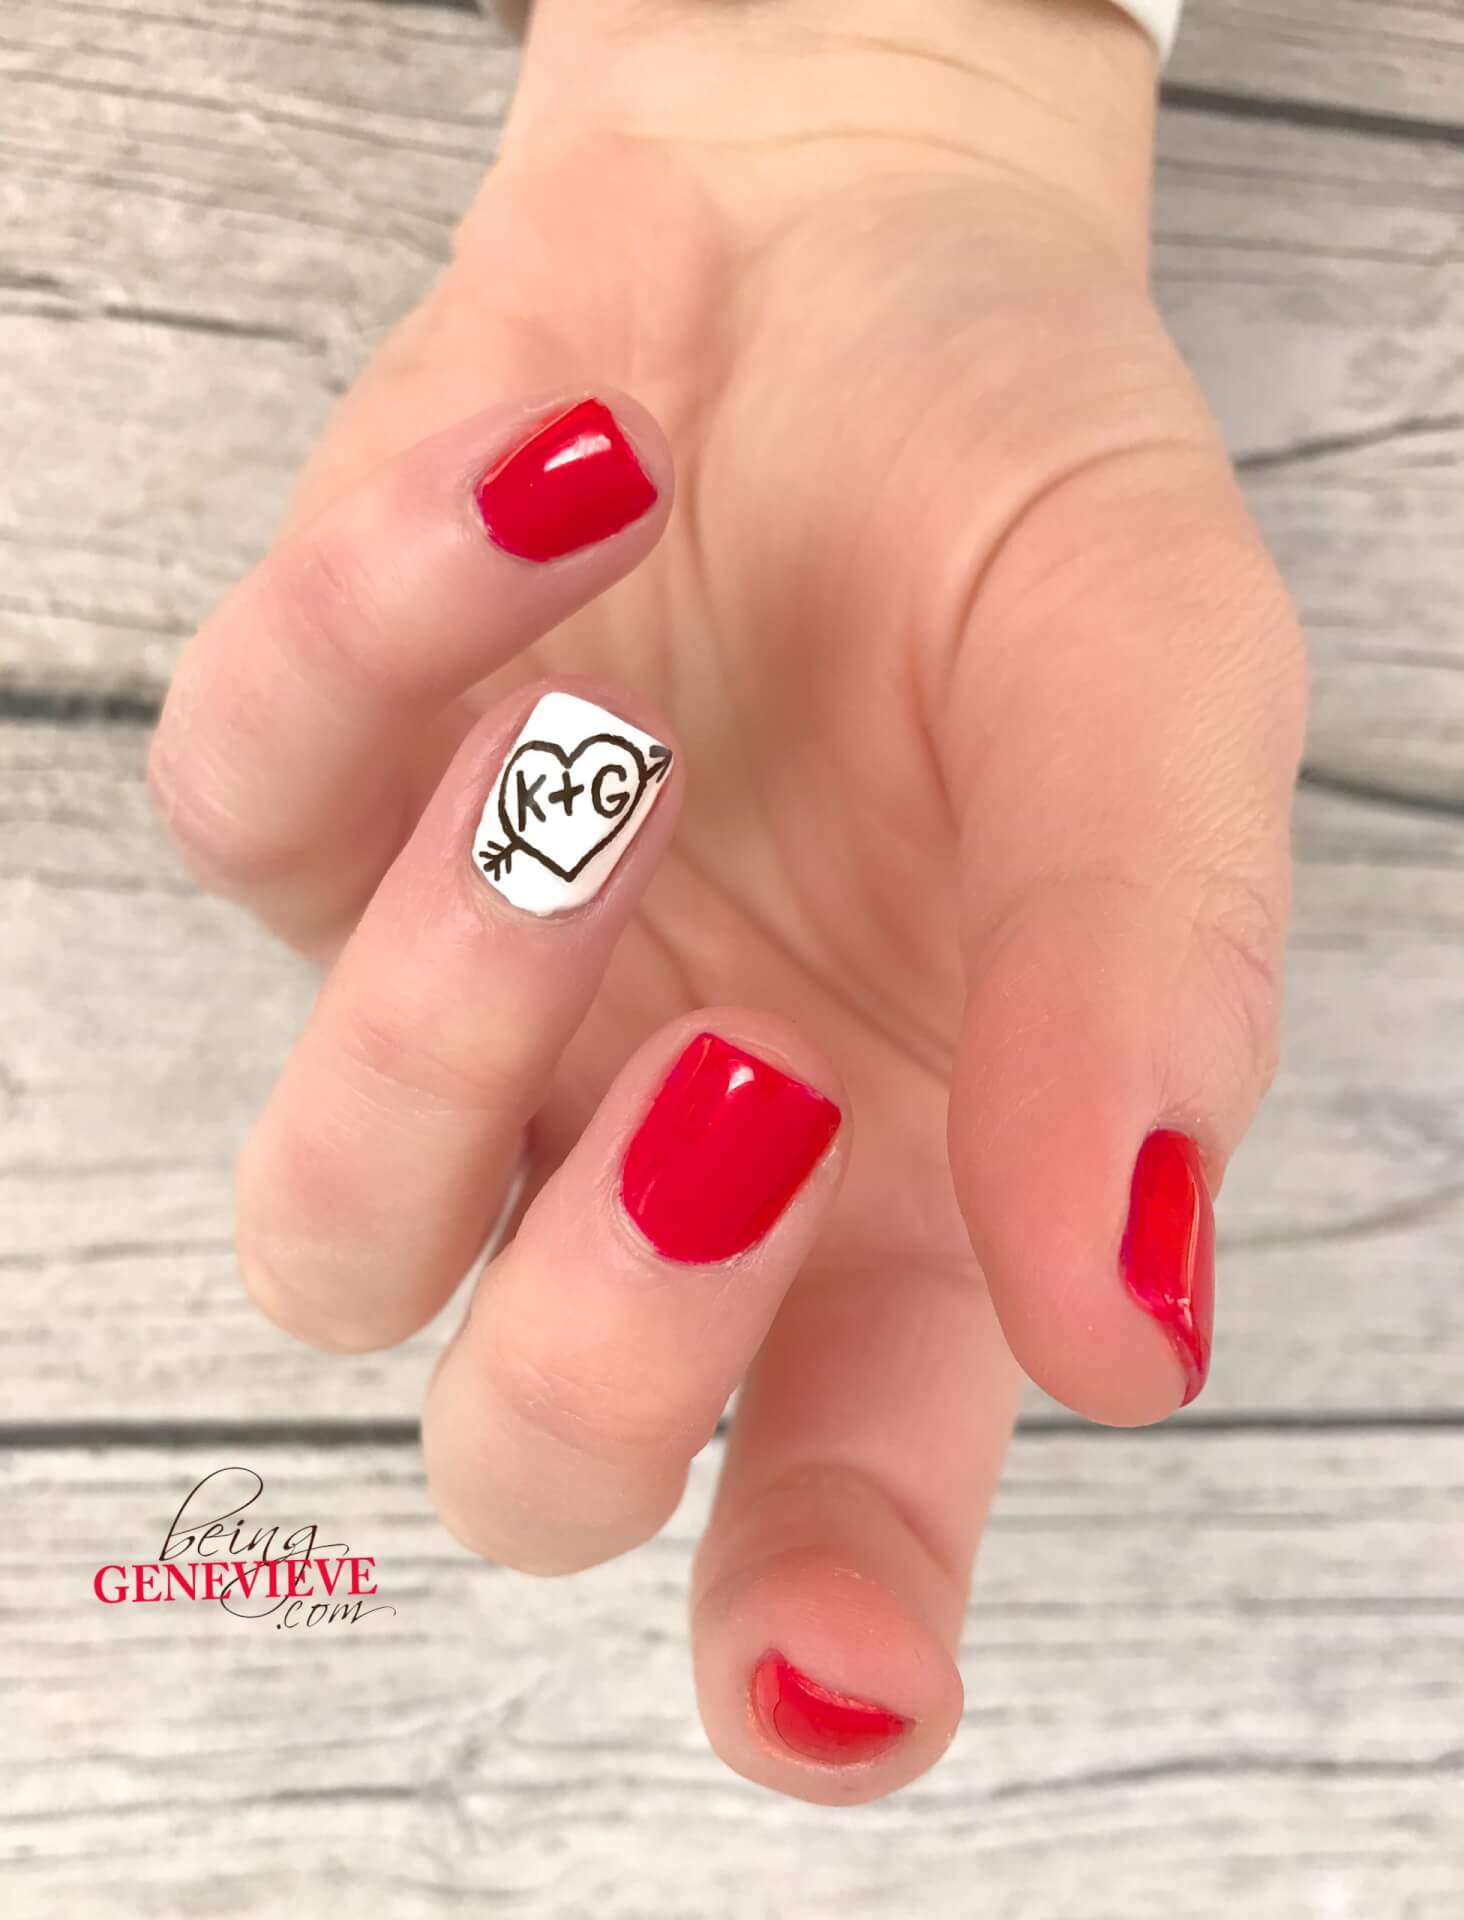
This years valentine manicure had me a little stumped. 😉 (ha, ha) I have done several nail art tutorials that all work well for valentines day: the simple heart, accent heart, collage of hearts, glitter accent and heart, hearts and stripes, hearts and polka-dots, vintage heart and stripes, and the love tic-tac-toe. So I decided to do something that I haven’t ever posted before, a heart outline. {I want to stick with the heart theme because that is what everyone thinks of when it’s valentine’s.} I didn’t want just a simple outline of a heart though, I wanted something that made me think of young love. When you think of young love, you think of two young people having adventures together. So I wanted to do something that reminded me of a heart carved into a tree that you see when you go hiking and that you can imagine two love birds did while exploring together. But to be a true love carving it needs to be customized with those mystery initials. Here’s how I did mine . . .

I love this, but there was no way I could fit both of our names, an arrow and a heart on my little nail, hence the reason I stuck with just initials.
Note: I will be providing instructions on how to achieve this look with plain polish, along with Gel Polish.
Step 1: Prep Nails
View my post on Nail Polish Prep.
Step 2: Paint Nails
Paint the nails, except the ring fingers, with two coats of red polish. I used the Shellac color called, Wildfire. Paint the ring fingernails with two coats of white polish. I used the Shellac color called, Cream Puff.
Gel Polish: Apply two coats of polish and cure in light (curing after each coat). Cure 2 minutes in the UV light, or 1 minute in an LED light.
Step 3: Love Initial Heart
On the ring fingernails, paint the two initials, at an angle, with a plus sign in between them. {I used brown paint, but any color would look great.} Then sketch the heart around the initials, making sure to leave room for a small arrow. Now paint a simple arrow out the sides of the heart. Here’s a video to help . . .
Step 4: Apply Final Top Coat
Now apply your top coat. Make sure the paint is completely dry before adding top coat to help avoid smearing.
Gel Polish: Apply top coat, only after paint is completely dry. Cure in UV light for 2 minutes, or 1 minute with an LED light.
Step 5: Allow to Dry and Apply Cuticle Oil
Allow your polish to dry completely. Apply a cuticle oil just around your nails on the cuticle and rub into the skin.
Gel Polish: Remove sticky residue on top of nails with a little alcohol or polish remover and apply cuticle oil. Remove gel polish after 2-3 weeks, check out Gel Polish Removal for the quickest, easiest and best way to remove gels.


