
Let’s start off by saying that the coronavirus “quarantine” time was crazy; with forced homeschooling, not being able to see family, having to leave the house in a mask, baking cakes/cookies/breads everyday, wearing pajamas everyday all day, not being able to buy toilet paper and hand soap, etc. To say it was weird is definitely an understatement. So my husband and I talked it over one night right at the beginning that we wanted this weird “stay at home” time to be something our kids enjoyed looking back on because we had no idea how long this might last. So we decided to build a treehouse with the boys.

We went through Pinterest as a family and found some breathtaking ideas, but once we actually got into the project we realized that when it comes to a treehouse it all depends on what you have to work with. This is most likely the reason that there are so many different treehouse ideas and layouts. Some people have amazingly big trees and can create a mansion up in the trees. Some people have no trees and create a kind of treehouse/playground on stilts. Others have hammocks and swings installed underneath their long rectangular treehouse. We even saw multi-tiered treehouses. We saw zip-lines, slides, monkey bars, fireman poles, rope ladders, etc.

Before
After

We personally have only ONE tree that a treehouse could accommodate. We planned to do just a simple treehouse with a ladder and railings. That’s it, but then as the project started I noticed we had a little rectangular concrete pad that we used to use for our chicken run. In between the treehouse tree and the concrete pad is a lilac bush that was mostly woody and dead in the center with a bunch of starts out the sides. I figured if we built a lower platform treehouse (on stilts) on the concrete pad we could cut out the center of the lilac bush/tree and make a hidden staircase that led up to the upper treehouse.

Before
After

Since a treehouse design really depends on what you have to work with. I plan to only share detailed steps on aspects of our project that could be incorporated to your project, but not actual blueprints of our entire design.

As I find time to post detailed steps on the different aspects of our treehouse they can all be found here. Just click on the design aspect (below) that you would like to see more about and it will redirect you to the details.
Lower Treehouse Platform
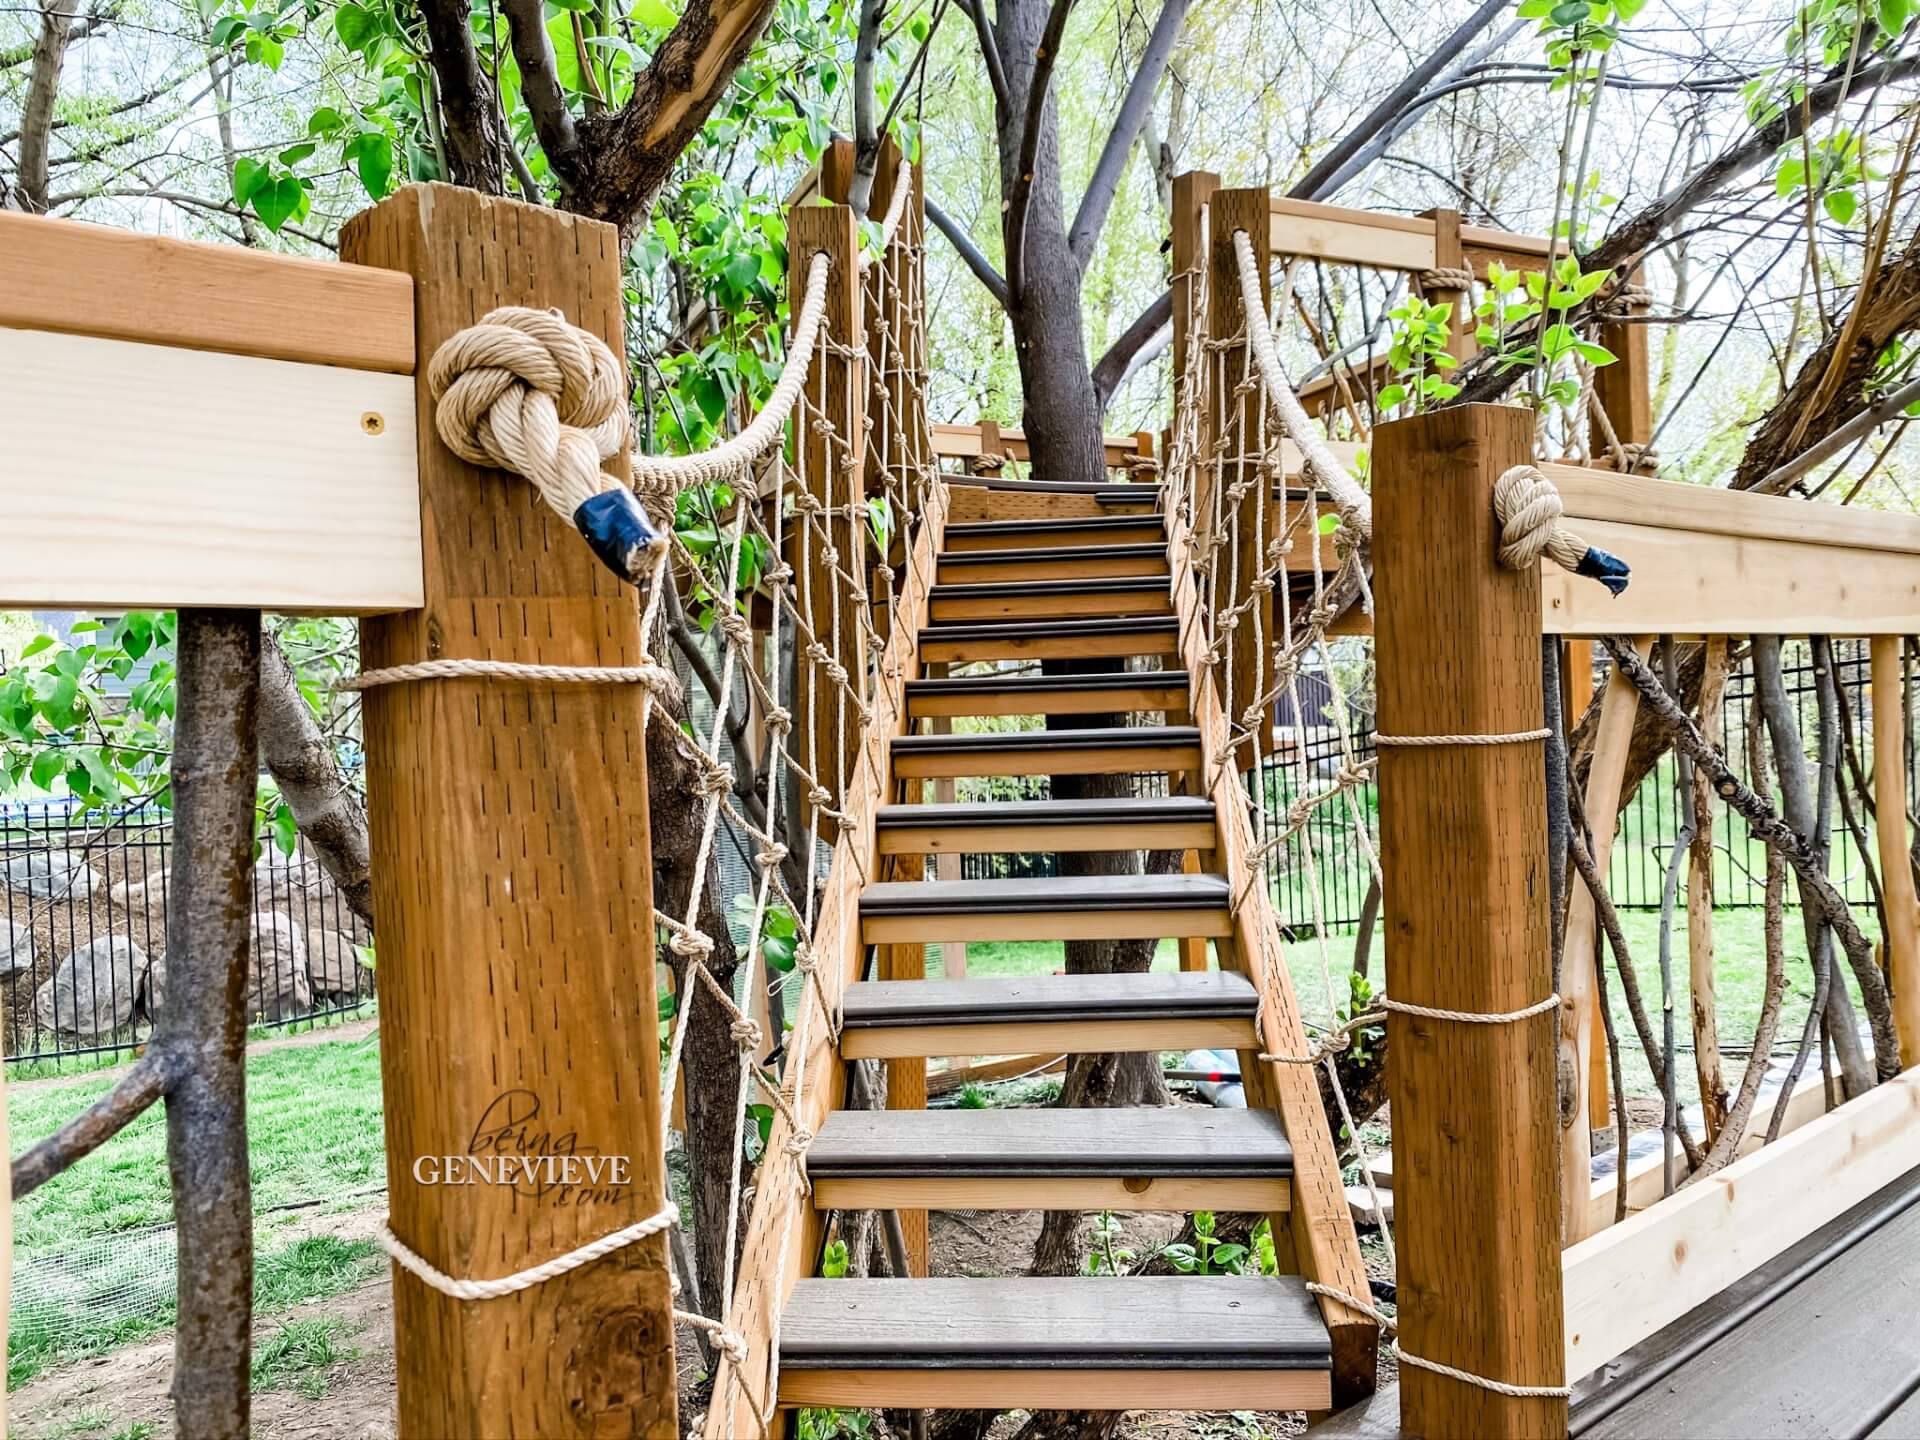
Hidden Staircase
Destination Sign
Our treehouse may be one of those projects that we are always adding upon. Just recently my husband added outdoor lighting to each level and to the staircase. (The random stick in the ground, in the picture below, is the post we will be using to attach our destination signs on.) I plan to one day paint or stain the entire treehouse to be the same color. My kids keep talking about one day adding a zip-line or rope-bridge to another smaller tree in the yard. Only time will tell . . .


For our outdoor lighting, my husband installed some of these outdoor deck lights to both the lower and upper levels along with one on the stairway leading up.

As you can see in this picture my husband is hard at work already moving on to our next project the SAME DAY as we finished putting up our last railing on the treehouse. He is enclosing the bottom of the treehouse in chicken wire, to be our new chicken run. You can also see the start of the chicken coop on the bottom right of this picture. Stay tuned for that tutorial . . .


