My boys LOVE legos! I, on the other hand, have mixed feelings; I love that they can play for hours building, creating, re-creating, and imagining amazing adventures with them. I do not love stepping on legos, picking up legos, finding my 18-month old chewing on legos, picking legos out of the vacuum, and re-attaching lego arms and hands. That being said, legos truly are amazing if you think about it. They can create anything you can imagine.
This year for Valentine’s, my oldest is now of the age where he has to create a valentine box to bring to school for collecting valentines from his classmates. My husband claims that when he was a kid they just had a bag with their name written on it. (Lame!) I remember amazing valentine boxes that were truly works of art (created by the moms, not the kids).
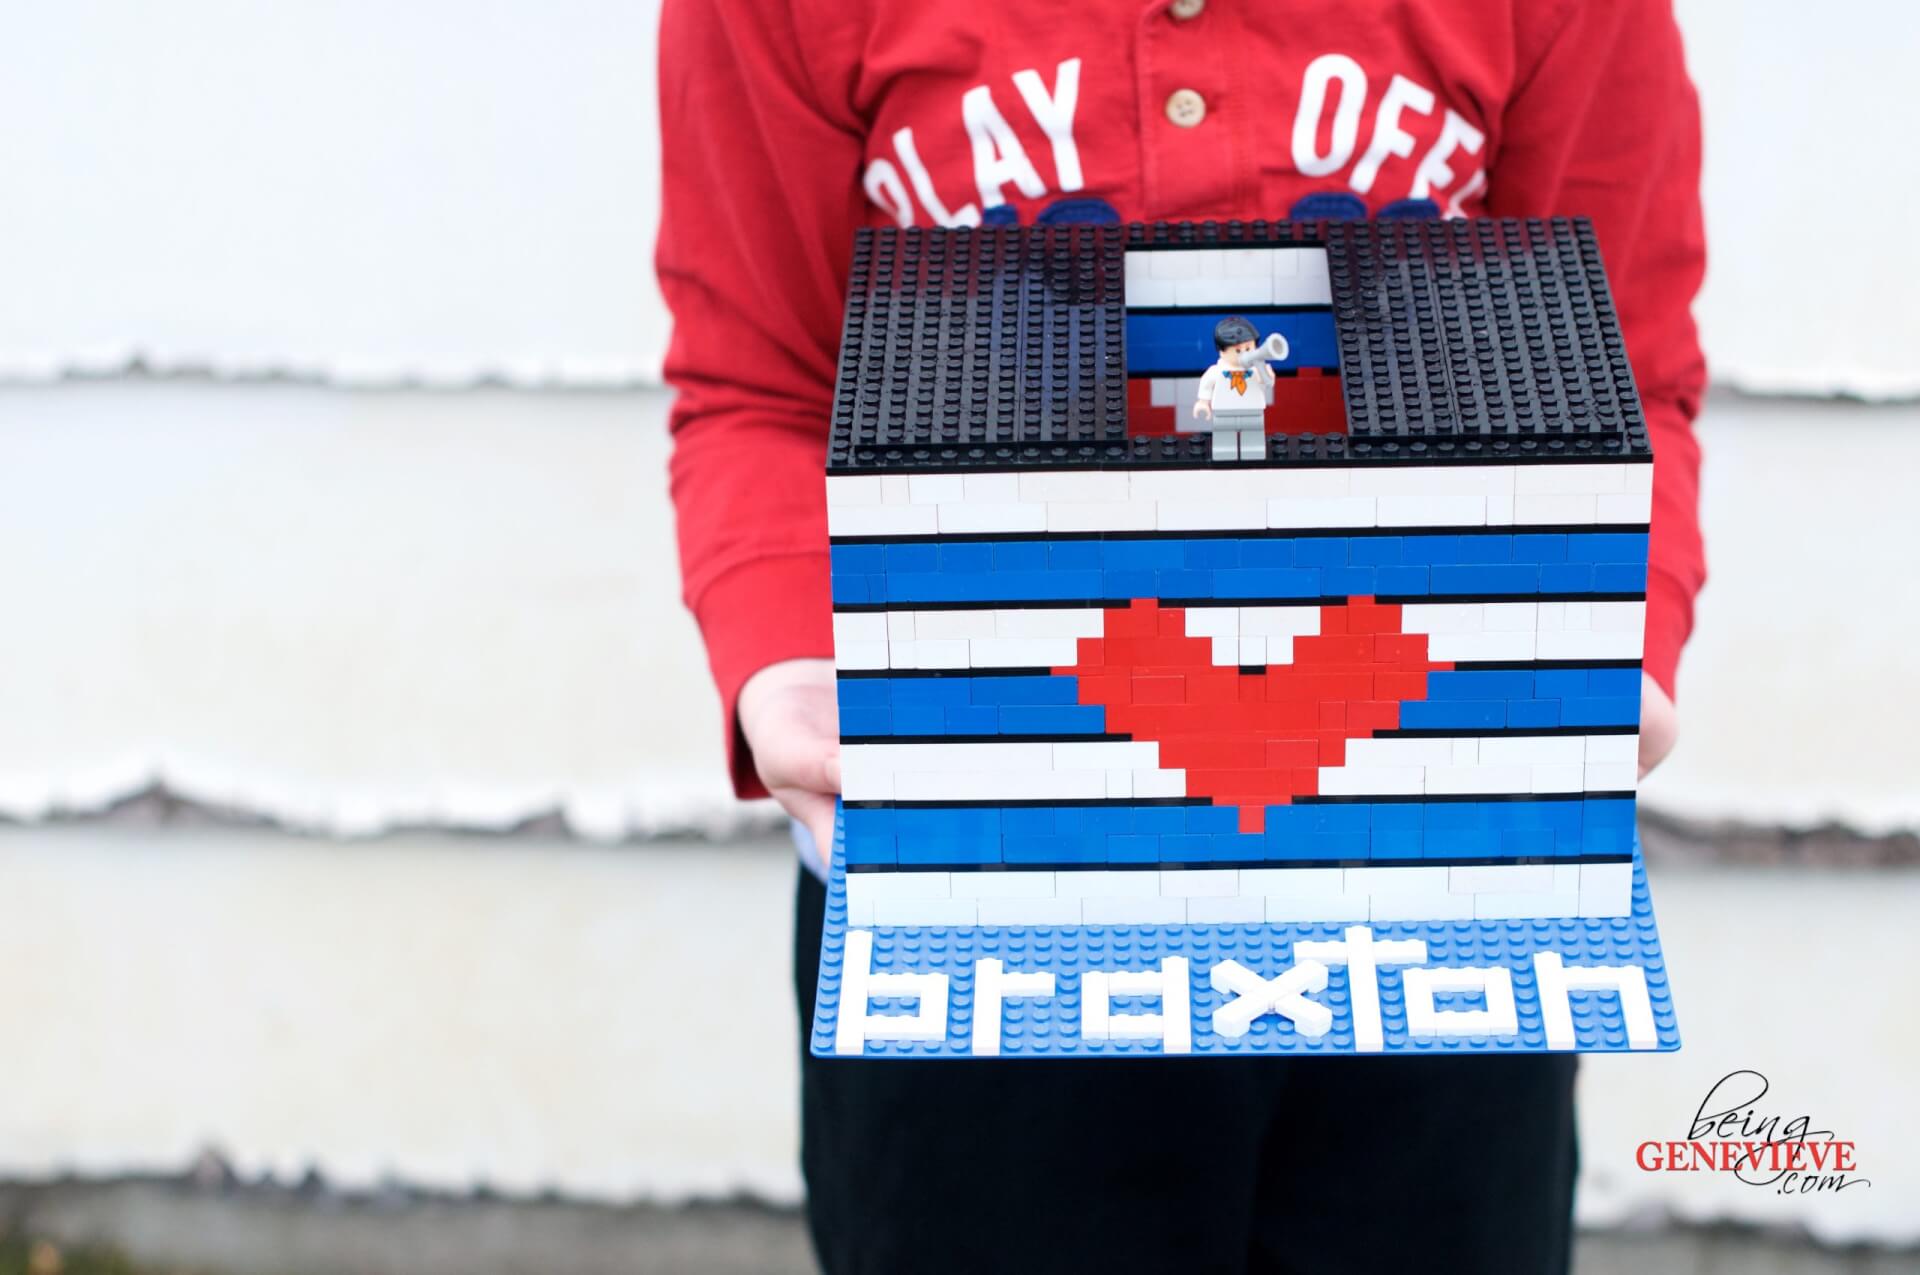
I thought about creating a cute box for my son, but then thought it would be fun for him to help. BUT . . . (hmmmm) . . . what could we do that he could help with, that would still be cool and something I want my name attached to (my OCD kicking in). That’s it LEGOS! He is, after all, a master-builder. We went to work trying to create a cool box for next week. We wanted to do something valentine like, but we couldn’t agree on how we wanted to design it. We saw this one online and used it to help us design our heart. Let’s get started . . . (Basic Lego Terms)
Step 1: Name & Foundation
We used a 32×32 blue baseplate that we had sitting around the house. We began doing his name with thin 1x– plates. (Figuring our how to do an “x” took me about an hour. Let’s just say I’m not a master-builder.) Then we set up the perimeter foundation of the box with 2x– bricks.
Step 2: Color Pattern
We looked at all of the legos scattered across the floor and decided we had plenty white, blue and black legos (and red, of course, for the hearts). First, we started with TWO layers/rows of white bricks. Followed with ONE layer of black plates. Then we did TWO layers of blue bricks. That was again followed with ONE layer of black plates. Then start over that pattern and repeat that again and again.
Step 3: Hearts
For the hearts, we started it them in the second row of the blue bricks, ON ALL SIDES. I really wanted anyone in the room to see the cool heart design embedded into the lego box. Then we just continued building the hearts as we went up each layer. Please view the pictures to see how it was done. 

Step 4: Top Opening
After FOUR groupings of white, THREE groupings of blue, and SIX layers of black you are done building the structure. For our top, we built some black plates to cover just the sides of the opening. We wanted to make sure it was open enough if someone gave out suckers or something kind of large it would fit in with now problem. 
Step 5: Personalize
My son wanted to add a little lego guy at the top with a megaphone. He said, “he is the guy that is announcing it’s Valentine’s Day and the cards go in here.” Let your little one put on lego figures, flowers, trees, etc. Just whatever they think will make it perfect for them. I hope this was helpful and thank you for stopping by!


