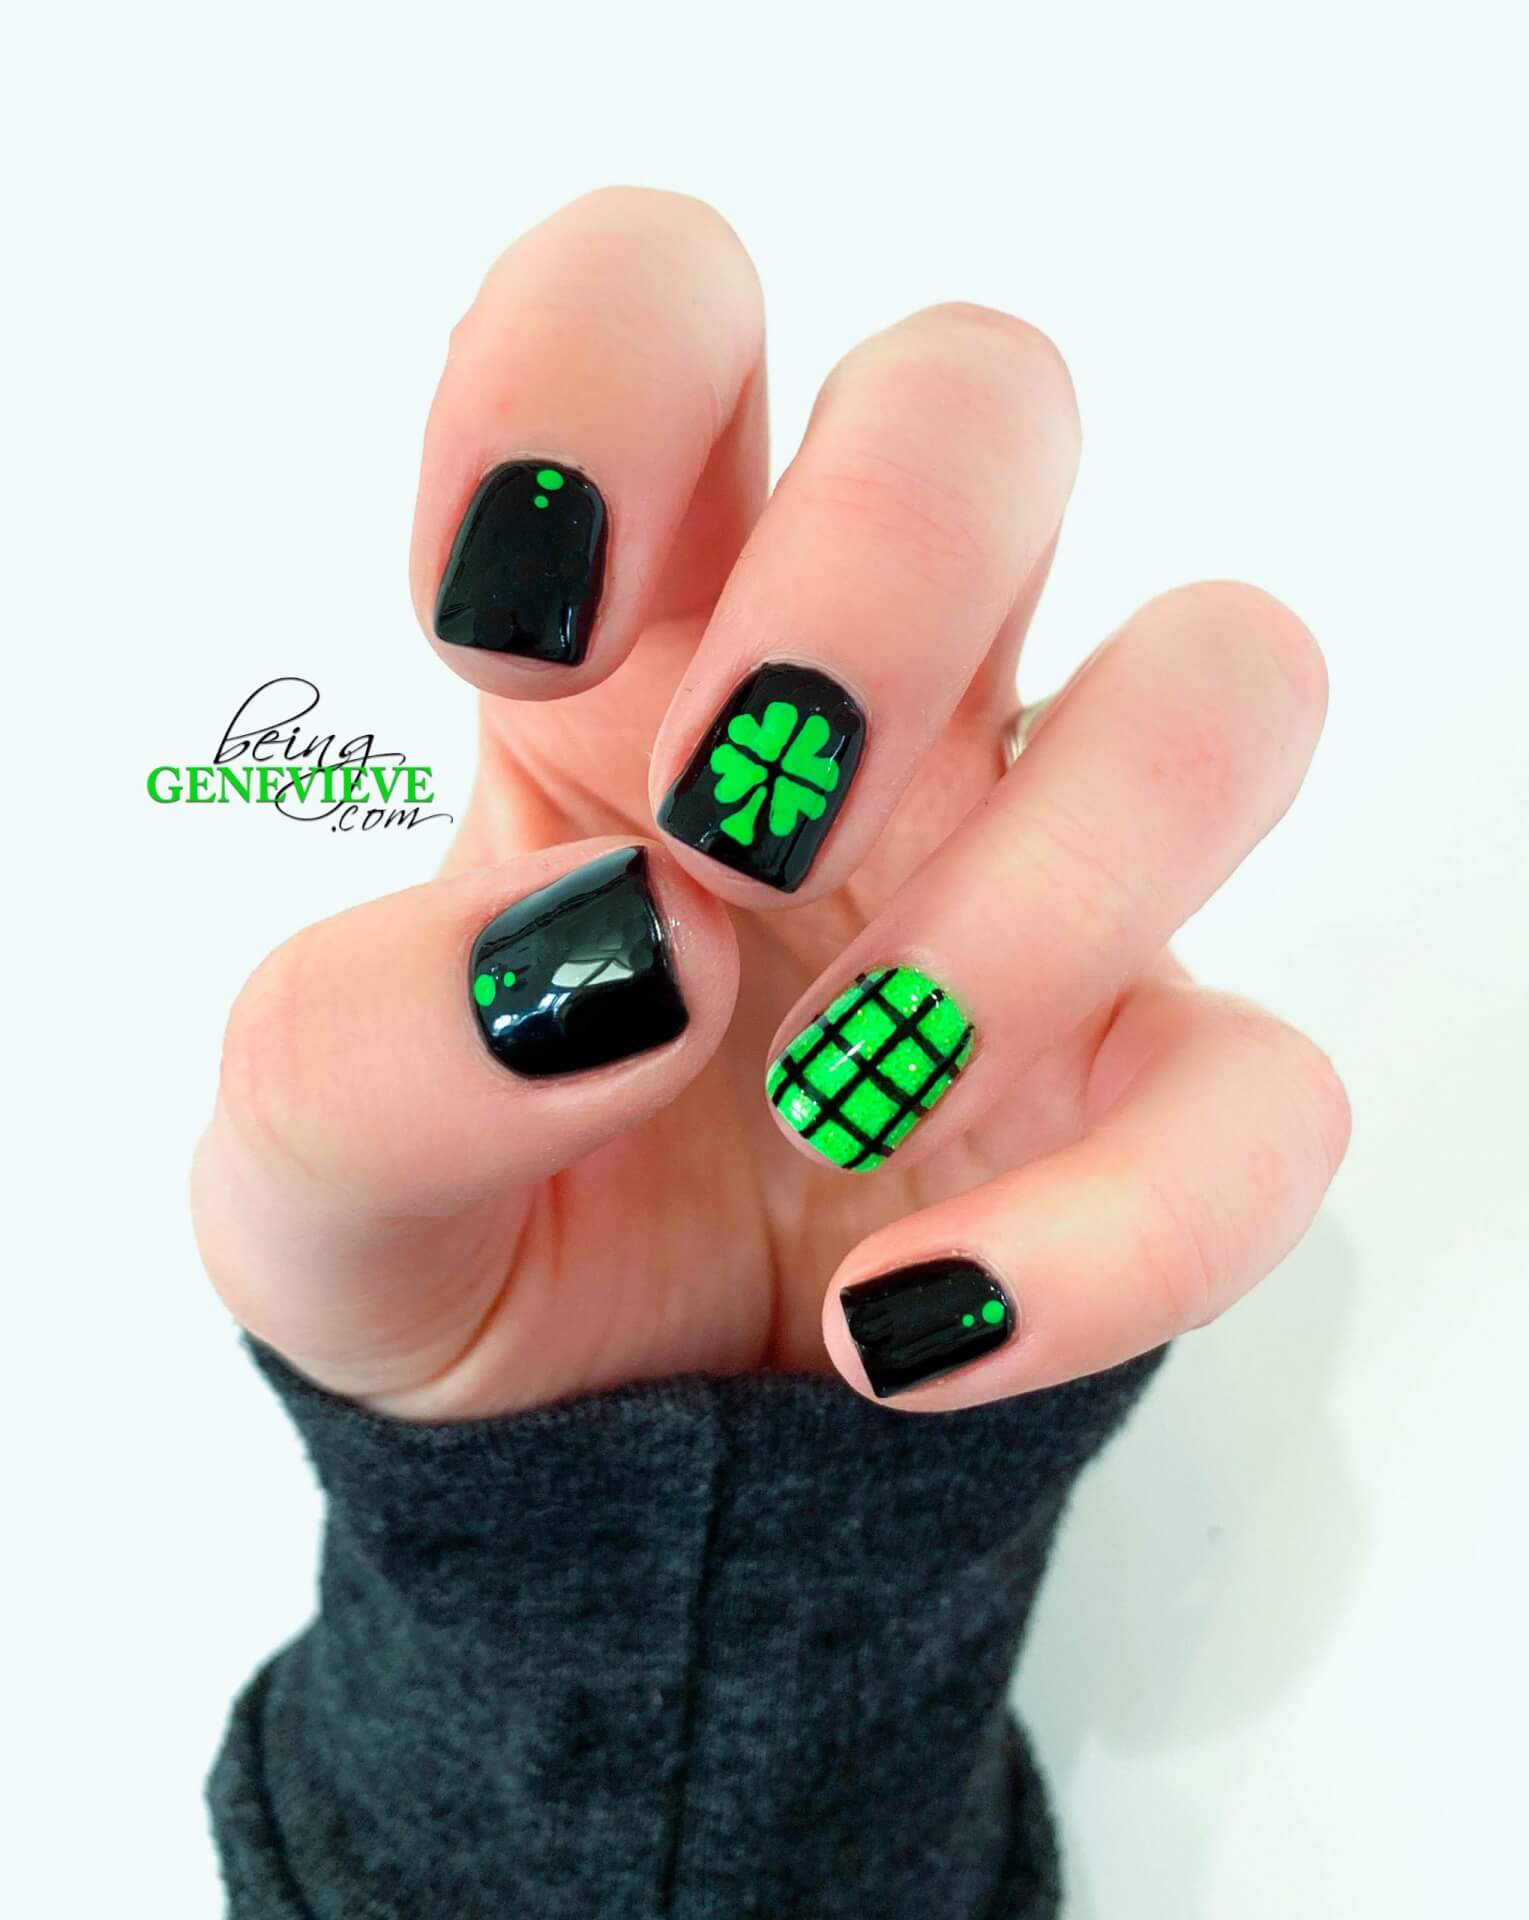
I’m feeling lucky … that I won’t get pinched on St. Patrick’s Day that is.
With a house full of boys I seem to get pinched a lot on St. Patrick’s day. From the moment I wake up (since my p.j.’s don’t usually have green on them) until I go to bed. This year I chose to do NEON green on my nails so that the florescent won’t be easily missed. Plus, look how fun they are!
Step 1: Prep Nails
View my post on Nail Polish Prep.
Step 2: Paint Nails
Paint all of the nails, except the ring fingers with two coats of black polish. I used the Shellac color called, Black Pool. Now paint the ring fingers with top coat and dump Martha Stuarts, Florescent Green craft glitter on and cure. Note: I did 2 coats of the green glitter.
Gel Polish: Apply two coats of polish and cure in light (curing after each coat). Cure 2 minutes in the UV light, or 1 minute in an LED light.
Step 3: Clover & Grid
Now on the middle fingers, I painted four hearts in a circle and a triangle shape out the bottom for the stem. If you need a visual, I put together a little video below. . .
For the ring fingers, I simple did lines vertically and horizontally with black paint. If you need a visual, I put together a little video below. . .
Note: I did all the nail art with acrylic craft paint. . . Some polishes can dry almost transparent which makes the image hazy and you won’t get the wow factor you are going for.
Step 4: Apply Final Top Coat
Now apply your top coat. Make sure the paint is completely dry before adding top coat to help avoid smearing.
Gel Polish: Apply top coat and cure in UV light for 2 minutes or 1 minute in an LED light.
Step 5: Allow to Dry and Apply Cuticle Oil
Allow your polish to dry completely. Apply a cuticle oil just around your nails on the cuticle and rub into the skin.
Gel Polish: Remove sticky residue on top of nails with a little alcohol or polish remover and apply cuticle oil.


