
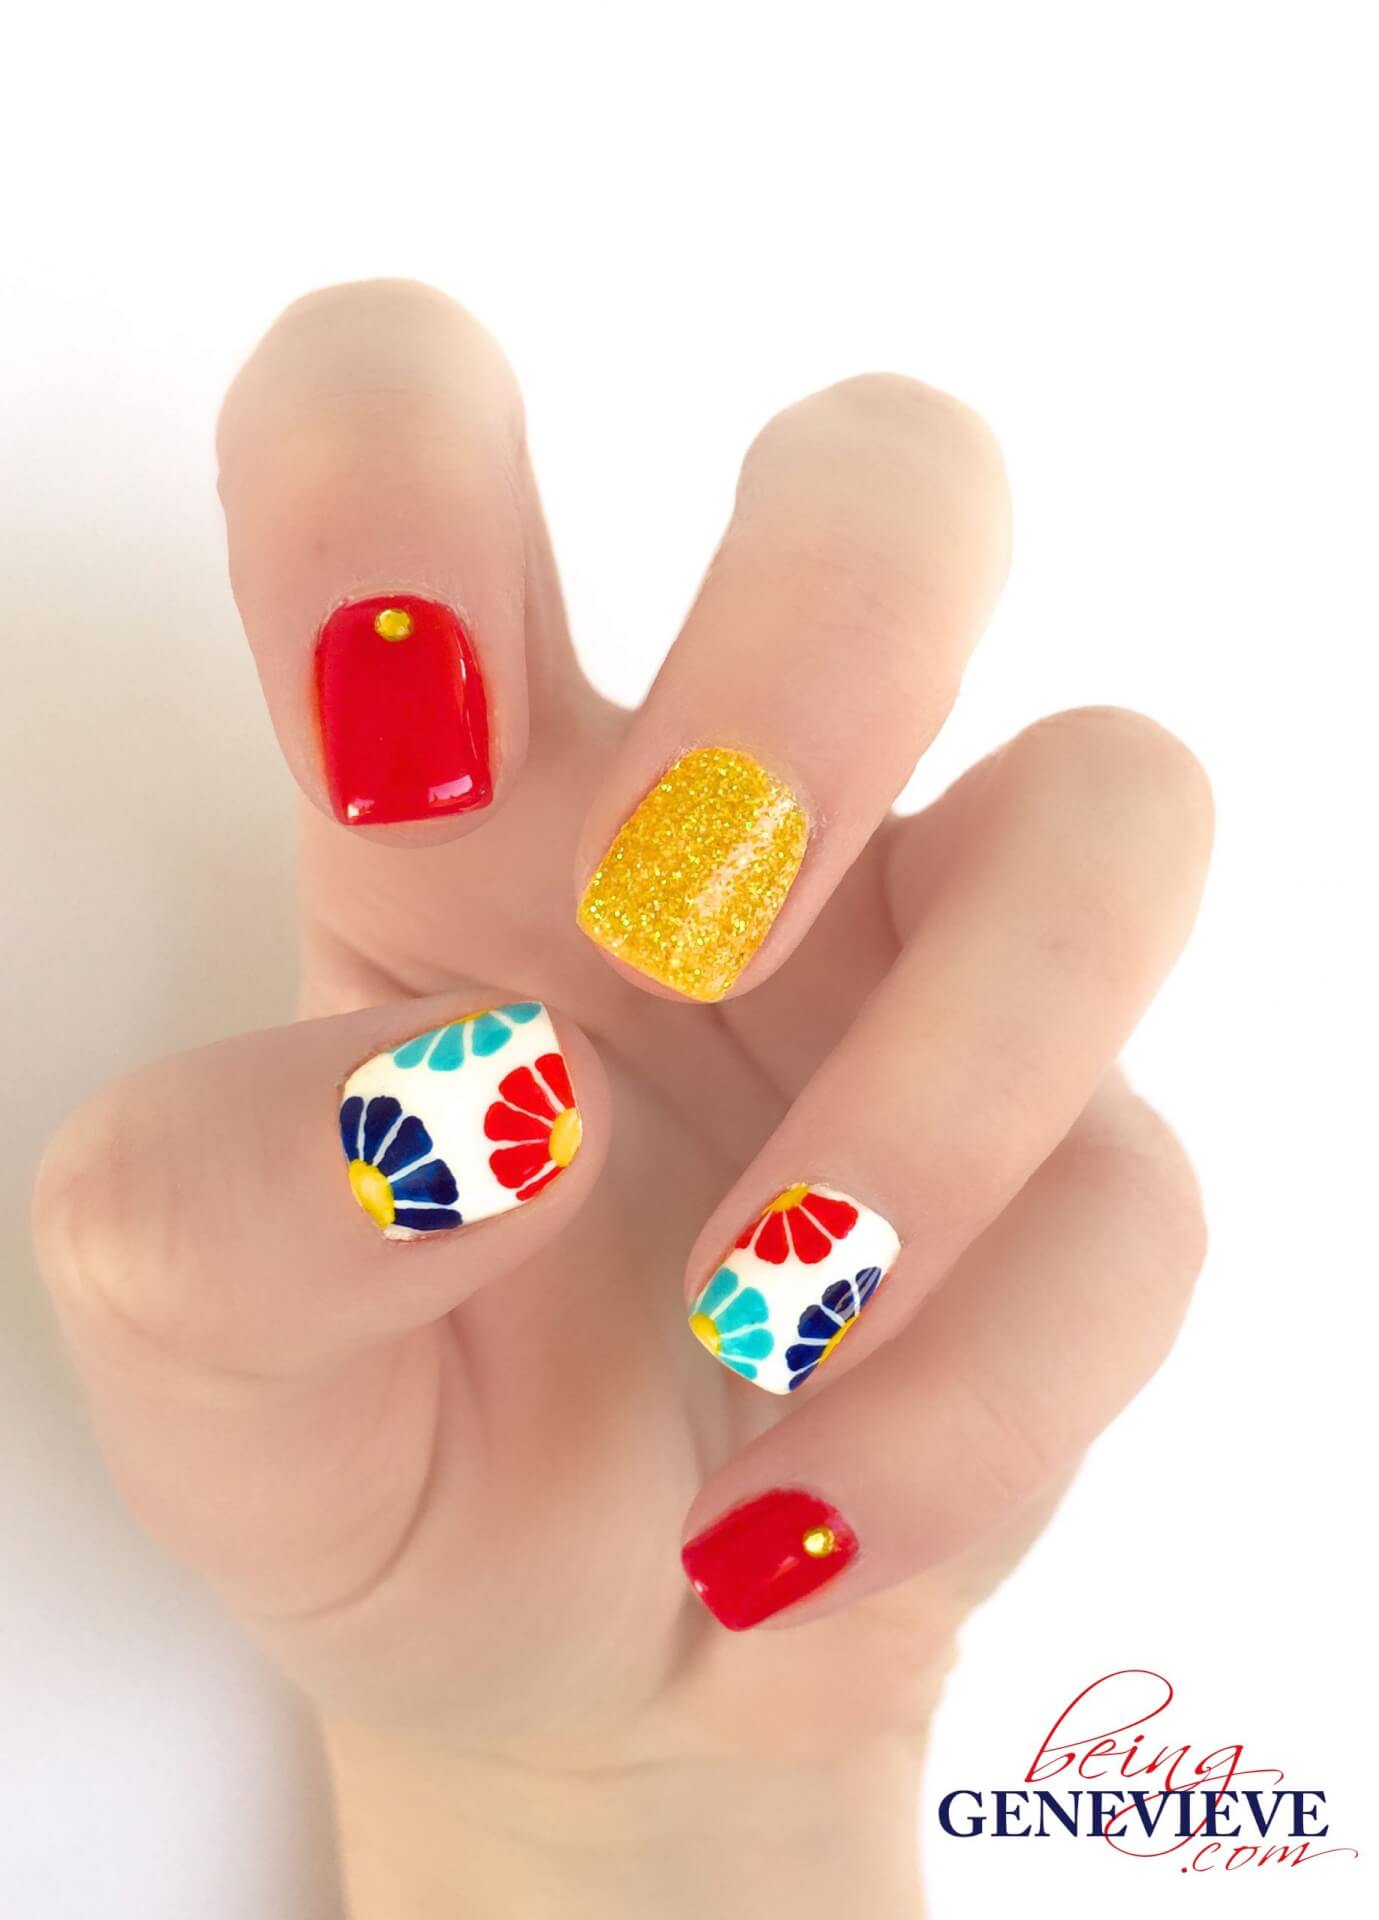
Lately I have been dreaming about traveling to a tropical paradise, mostly just to see Hawaii again. I know it must be just because I am nearing the end of this pregnancy and can’t make trips like that now. So to curb my day dreams I did a Hawaiian worthy manicure. {I even have a matching pedicure that you could do!} The color combination of red, yellow, navy and bright teal seemed like just the colors I would see put together if I was in Hawaii. Here’s how I did it . . .
Note: I will be providing instructions on how to achieve this look with plain polish, along with Gel Polish.
Step 1: Prep Nails
View my post on Nail Polish Prep.
Step 2: Paint Color onto Nails
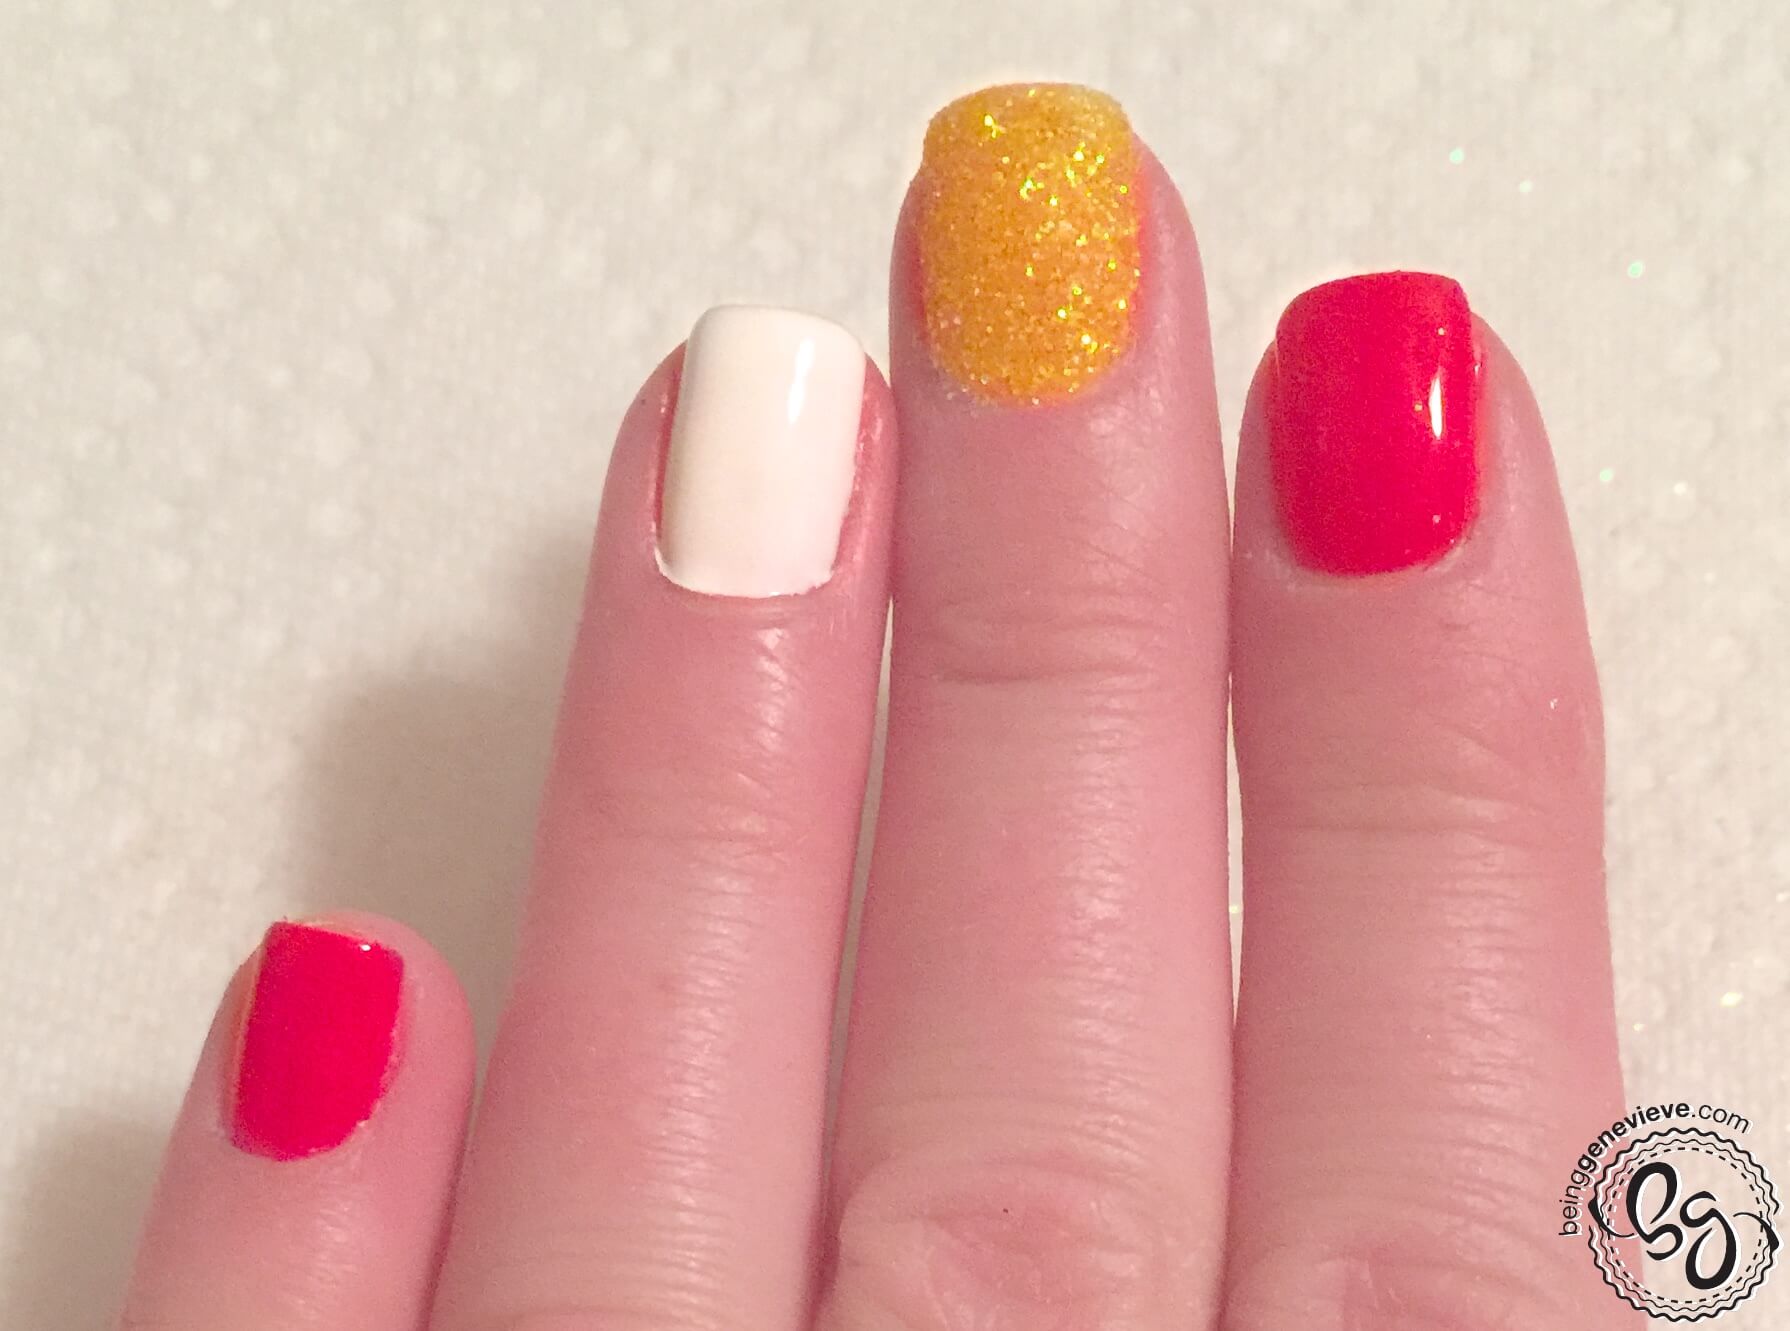
Paint the index and pinky nails with two coats of red polish. I used the Shellac color called, Wildfire. Paint the thumb and ring finger nails with two coats white polish. I used the Shellac color called, White Puff. Leave the middle finger plain until the next step.
Gel Polish: Apply two coats of polish. Cure 2 minutes in the UV light, or 1 minute in an LED light.
Step 3: Glitter Nail
Paint the middle nails with a clear top coat and sprinkle with fine yellow colored craft glitter. I used the Martha Stewart craft glitter![]() called lemon drop. Then cure if using gel or let dry if using regular polish. Note: Once the polish is cured/dry brush off the excess glitter. I then did one more application of the glitter; Paint a top coat and sprinkle with another layer of yellow glitter.
called lemon drop. Then cure if using gel or let dry if using regular polish. Note: Once the polish is cured/dry brush off the excess glitter. I then did one more application of the glitter; Paint a top coat and sprinkle with another layer of yellow glitter.
Gel Polish: Apply top coat, sprinkle with glitter and cure 2 minutes in the UV light, or 1 minute in an LED light. Repeat with more polish and glitter, if necessary.
Step 4: Flowers
Now on the thumb and ring fingers, I painted three partial flowers with the colors: navy, red and bright teal. After the flowers are painted, add a yellow center to the flowers.
(Note: I did the flowers with acrylic craft paint. . . Some polishes can dry almost transparent which makes the image hazy and you won’t get the wow factor you are going for. View my tutorial on how to paint flowers.)


Step 5: Rhinestone Jewels & Top Coat
Apply a health top coat to all the nails. Make sure the paint is completely dry before adding top coat to help avoid smearing. While top coat is very wet gently push the jewel into the top coat. This will create the jewel to be sealed into the top coat layer. (Note: I only placed a yellow jewel on the red nails, centered next to the cuticle.)
Shellac: Apply top coat and jewel. Cure in UV light for 2 minutes. If needed, do another application of top coat and cure in light.
Note: The best way to pick up the little jewel is to use a toothpick. You touch the toothpick to a damp cloth and then to the top of the jewel. Place onto the nail.

Step 6: Allow to Dry and Apply Cuticle Oil
Allow your polish to dry completely. Apply a cuticle oil just around your nails on the cuticle and rub into the skin.
Gel Polish: Remove sticky residue on top of nails with a little alcohol or polish remover and apply cuticle oil.
Want to do a matching pedicure? Visit my tutorial on painting the perfect pedicure.
Remove gel polish after 2-3 weeks, check out Gel Polish Removal for the quickest, easiest and best way to remove gels.


