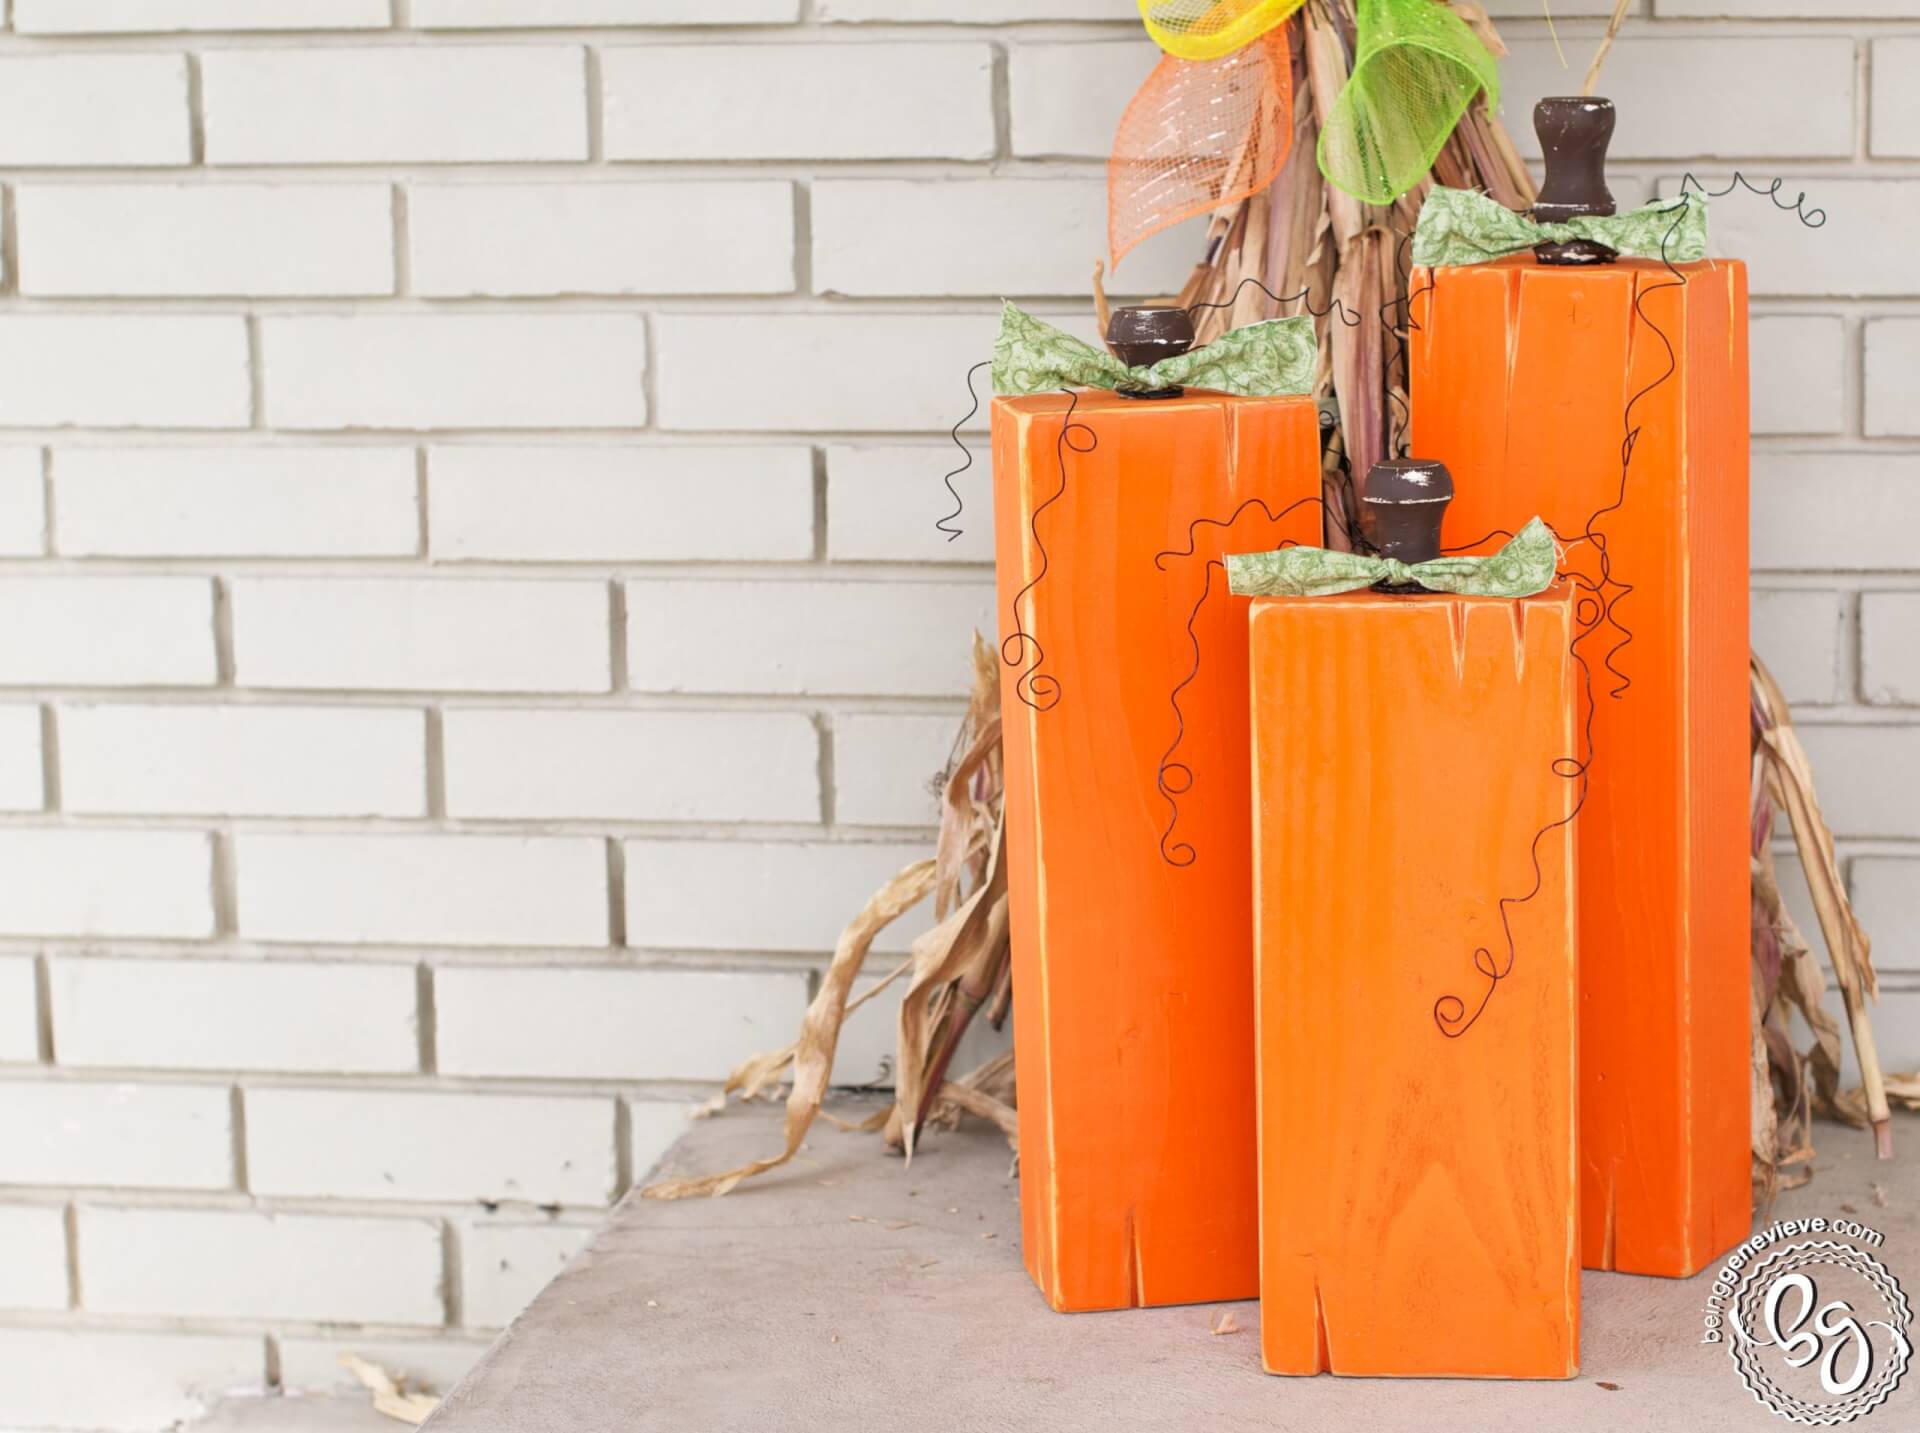
Last year, I stumbled across these adorable pumpkins on Pinterest. I told myself that when fall came around this year I would make something similar for our front porch. Well I did and here is what I came up with . . .
Supplies
- 4″ x 6″ Board (you will need it to be a little over 3 feet in length)
- Real Orange Gloss Spray Paint
- Sticks or 3 Knobs
- Brown {Burnt Umber} Acrylic Paint
- Green Fabric
- Wire
- E-6000 Glue
Board – I went to Home Depot and picked out the cheapest board I could find that was 4″ x 6″. It ended up being about $15 and was 6 feet long.
Knobs – You can use a branch from a tree (like she did) or I have several old banister spindles from when my mother-in-law had her stair railing re-done. I am so excited every time I find a use for these cool spindle pieces.
Ribbon – I just went through my scraps of fabric and found something green.
Wire – I am so sorry I have no idea what wire this is. It is just something I have left over from a previous project; Any wire will do.
Step 1: Cutting Measurements
Board: Cut the large pumpkin 18.5″ long, the medium pumpkin 16.5″ long and the small pumpkin is 13.5″.
Knobs: I cut apart on of these recycled stair railing spindles, but incase you are wondering the lengths; The large pumpkins top is 3″, the medium pumpkins top is 1.5″ and the small pumpkins top is 2.25″.
Ribbon: You will need three – 2″ x 12″ pieces of green fabric for your “leaves”.
Wire: You will need three – 36″ length pieces and three – 26″ pieces (total 186″).
Step 2: “Notch” and Sand Pumpkin Bases
I used a hand saw my husband had lying around to cut “notches” into all the sides of the pumpkins. Some have one notch per side, while others have two or three. Do whatever you think looks best, but do have at least one notch on every side. It helps add character and interest to the pumpkin base.

Then sand all the edges of the pumpkin base to smooth out any rough edges. Anything that comes to a 90 degree angle should be rounded slightly out.
Step 3: Painting
Spray paint all three pumpkin bases with two to three coats and let completely dry.
Paint your pumpkin tops/stems with the brown paint and let completely dry.
Step 4: Distress It
Now sand around all the edges of the pumpkin base to help add more depth and character to the pumpkin.
Also sand around the pumpkin tops/stems to add character and interest.
Step 5: Stems, Fabric and Wire
Attach stems to the pumpkin using my all time favorite glue/adhesive, E-6000 and let dry for several hours or overnight. {This is not sponsored, this really is my all-time favorite glue!}
Tie fabric to each stem to create your “leaves”.
Now you will be using one long wire and one short wire for each pumpkin. I found the center of the wire and began at the front of the pumpkin. Wrap it around the heavily secured stem and twist once at the back of the stem. 
Now wrap the wire around a pen or pencil to create a curled look. I then pull the curl long and reform it to look different than a traditional cork-screw curl. Repeat for all the pieces of wire and that’s it. Note: I did leave a few of the wires a cute cork-screw.
Done! Now you have some adorable {front} porch pumpkins that can be displayed for Harvest, Halloween and Thanksgiving. 
You could even use your extra 2.5 feet of board to cut shorter versions of this to create some pumpkins for indoor decor for a side table or fireplace mantel. Enjoy! 


