

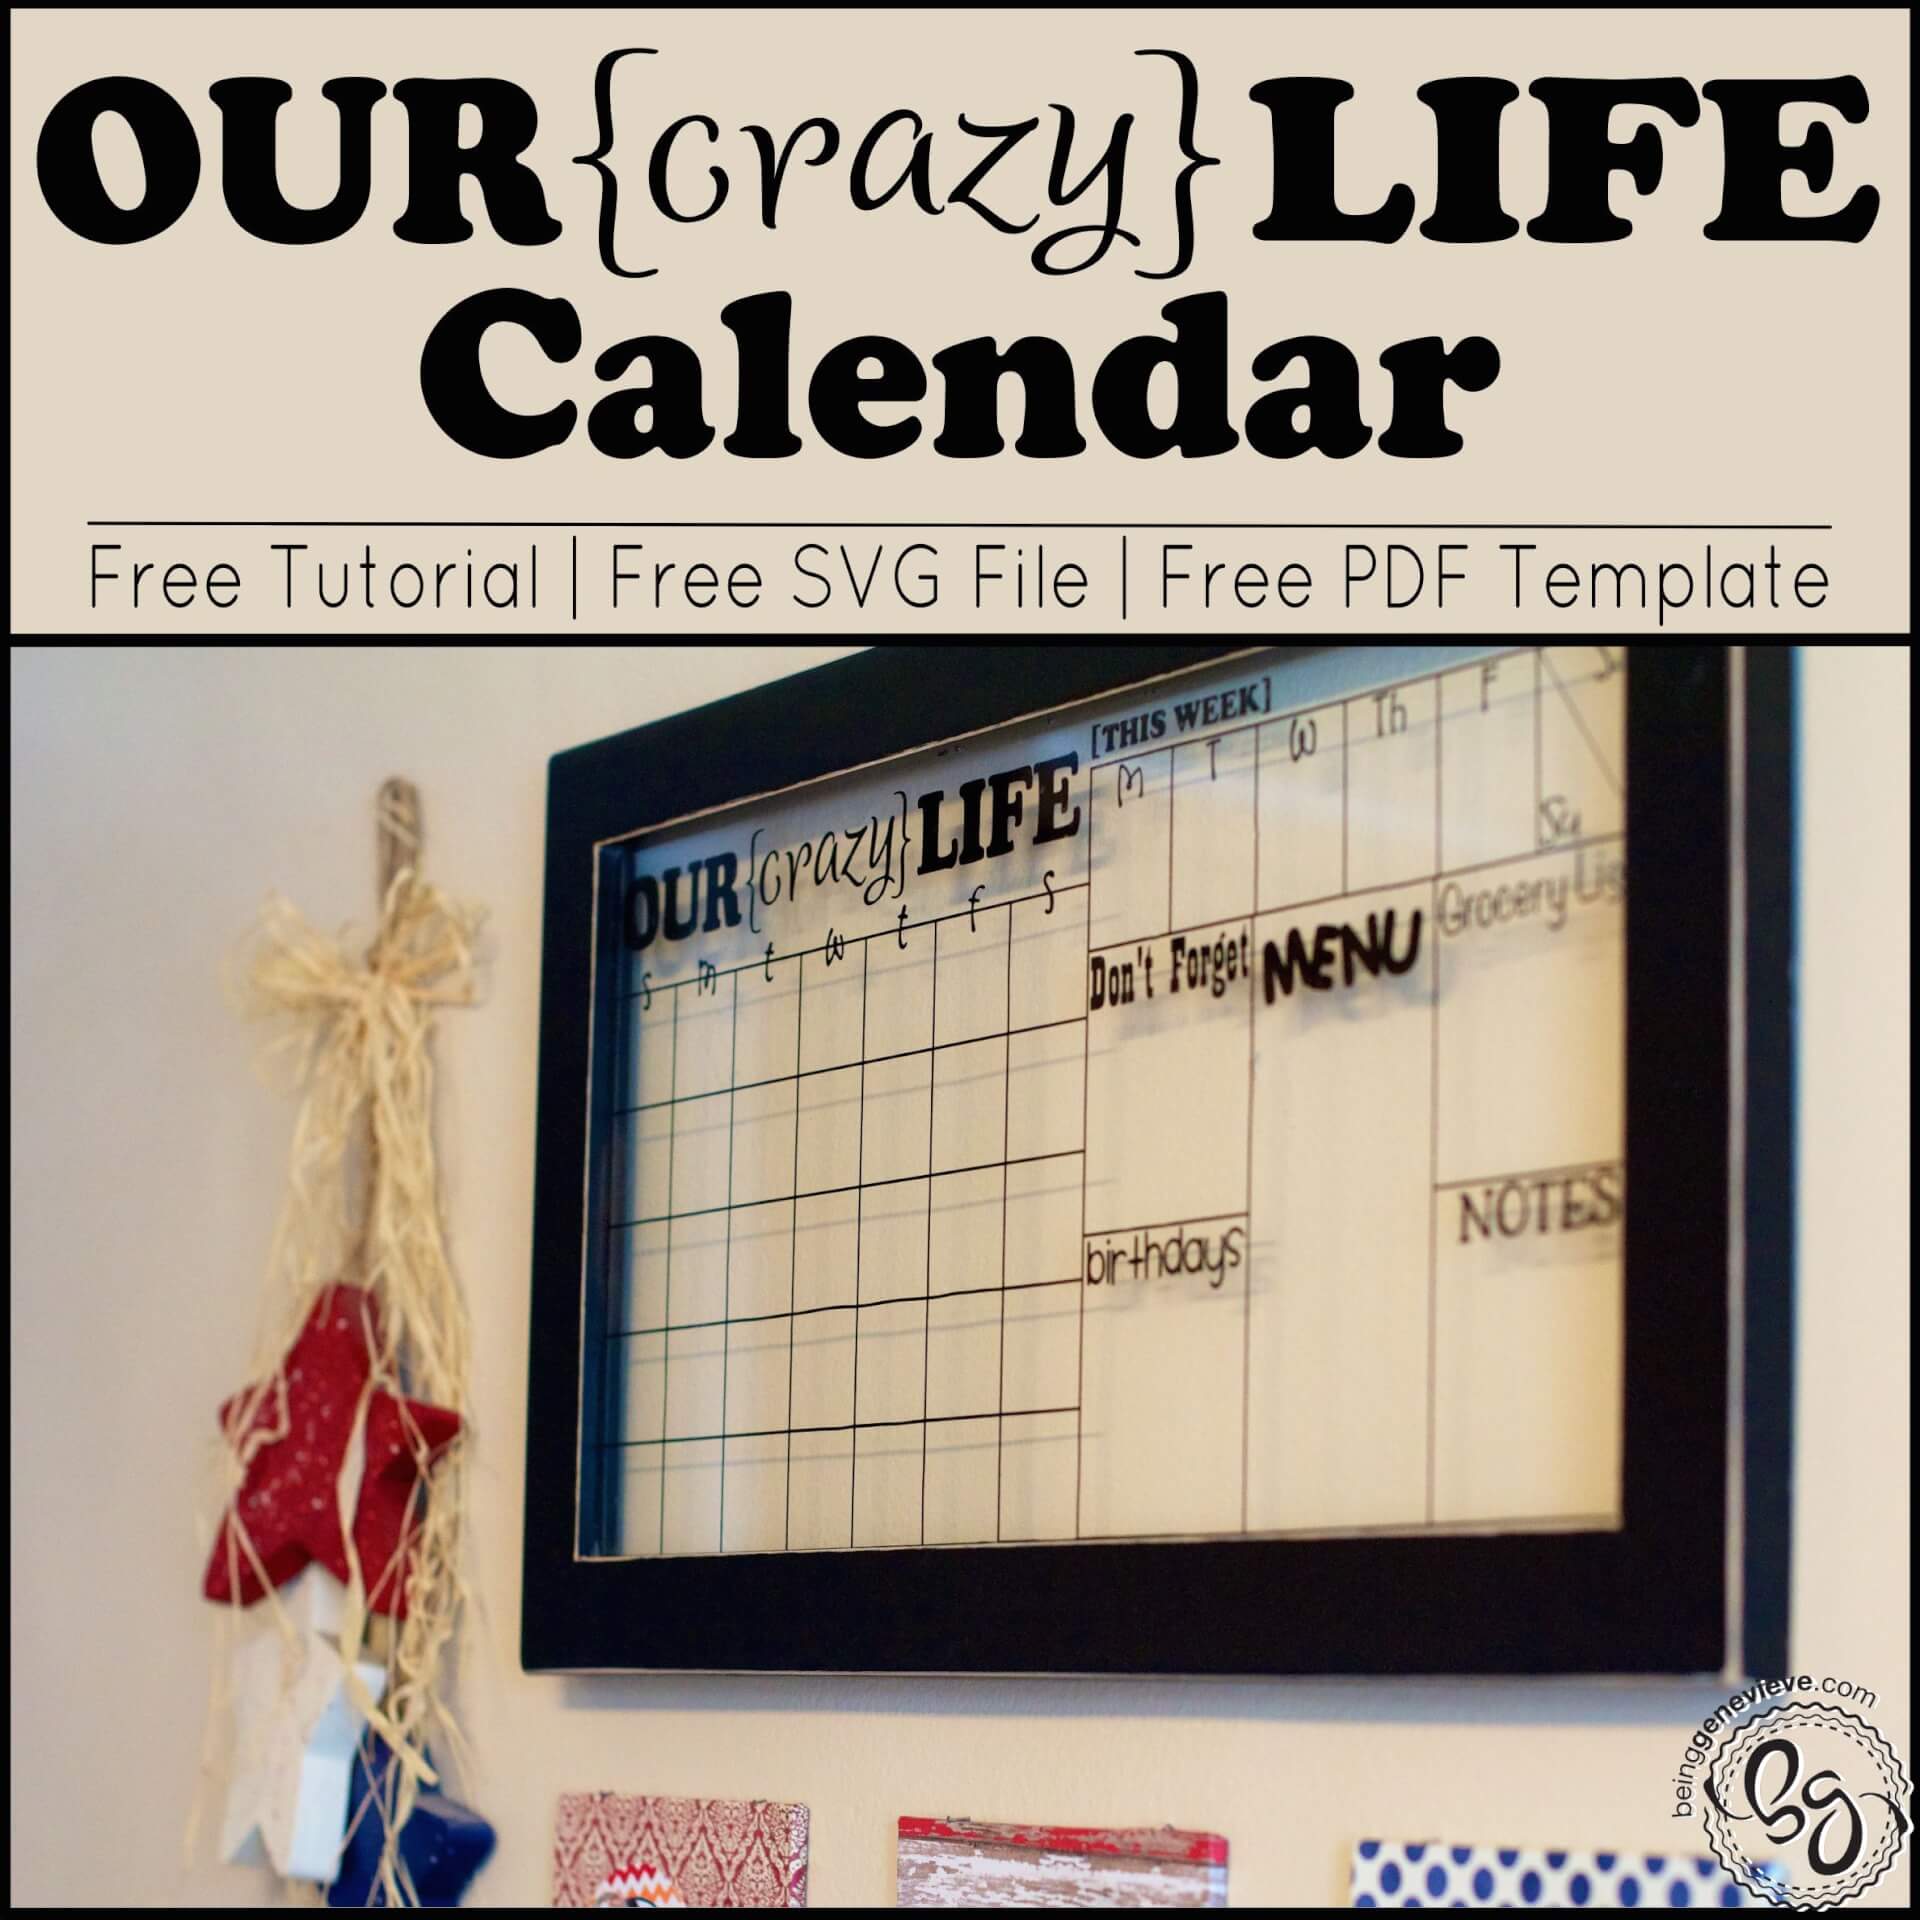
Right after Kevin and I were married {8 years ago} I made this calendar with a magnetic back and interchangeable scrapbook paper design to help us keep track of work schedules, college exams, family gatherings and ect. I’m sure you have probably seen something similar around. Well if you know me, you know I like to constantly be changing things around. This calendar just wasn’t doing it for me anymore. I needed a single location where I could keep track of life, birthdays, reminders, grocery lists, menu ideas and etc; A mommy command center if you will.
Last year sometime, I saw this calendar on Pinterest and couldn’t believe I hadn’t come up with the idea first. It was exactly what I had been wanting to do, but just hadn’t come up with how to do it yet. Now that my oldest is in Preschool and my husband is working two full-time jobs I need a place to keep track of everything for our {crazy} lives. I didn’t want anymore little school reminders posted all around the kitchen where they could get lost. I came up with the idea of having three little magnetic accent “tiles” below the “calendar command center” to hold all the other papers that I received from school, wedding announcements, shower invites, and notes from on the door for things going on in the neighborhood. So here is how I did the calendar. . .
Supplies
- Frame
- Vinyl or Rub-On Transfer Words
- E6000 Glue

- 2 – Small Sawtooth Picture Hangers
Step 1: The Frame
I went to the second hand stores, Savers and D.I., and came up with this frame for $6. Perfect. The edges were a little worn, but no biggie I just would distress/sand the edges. The glass part of my frame measures 9.5″ x 19.5″. I took off the back and saved for some future project and threw away the paper mat from the frame.
Step 2: Categories
You need to decide what categories you want your calendar command center to have. Such as: birthdays, menu, etc.
Step 3: Application
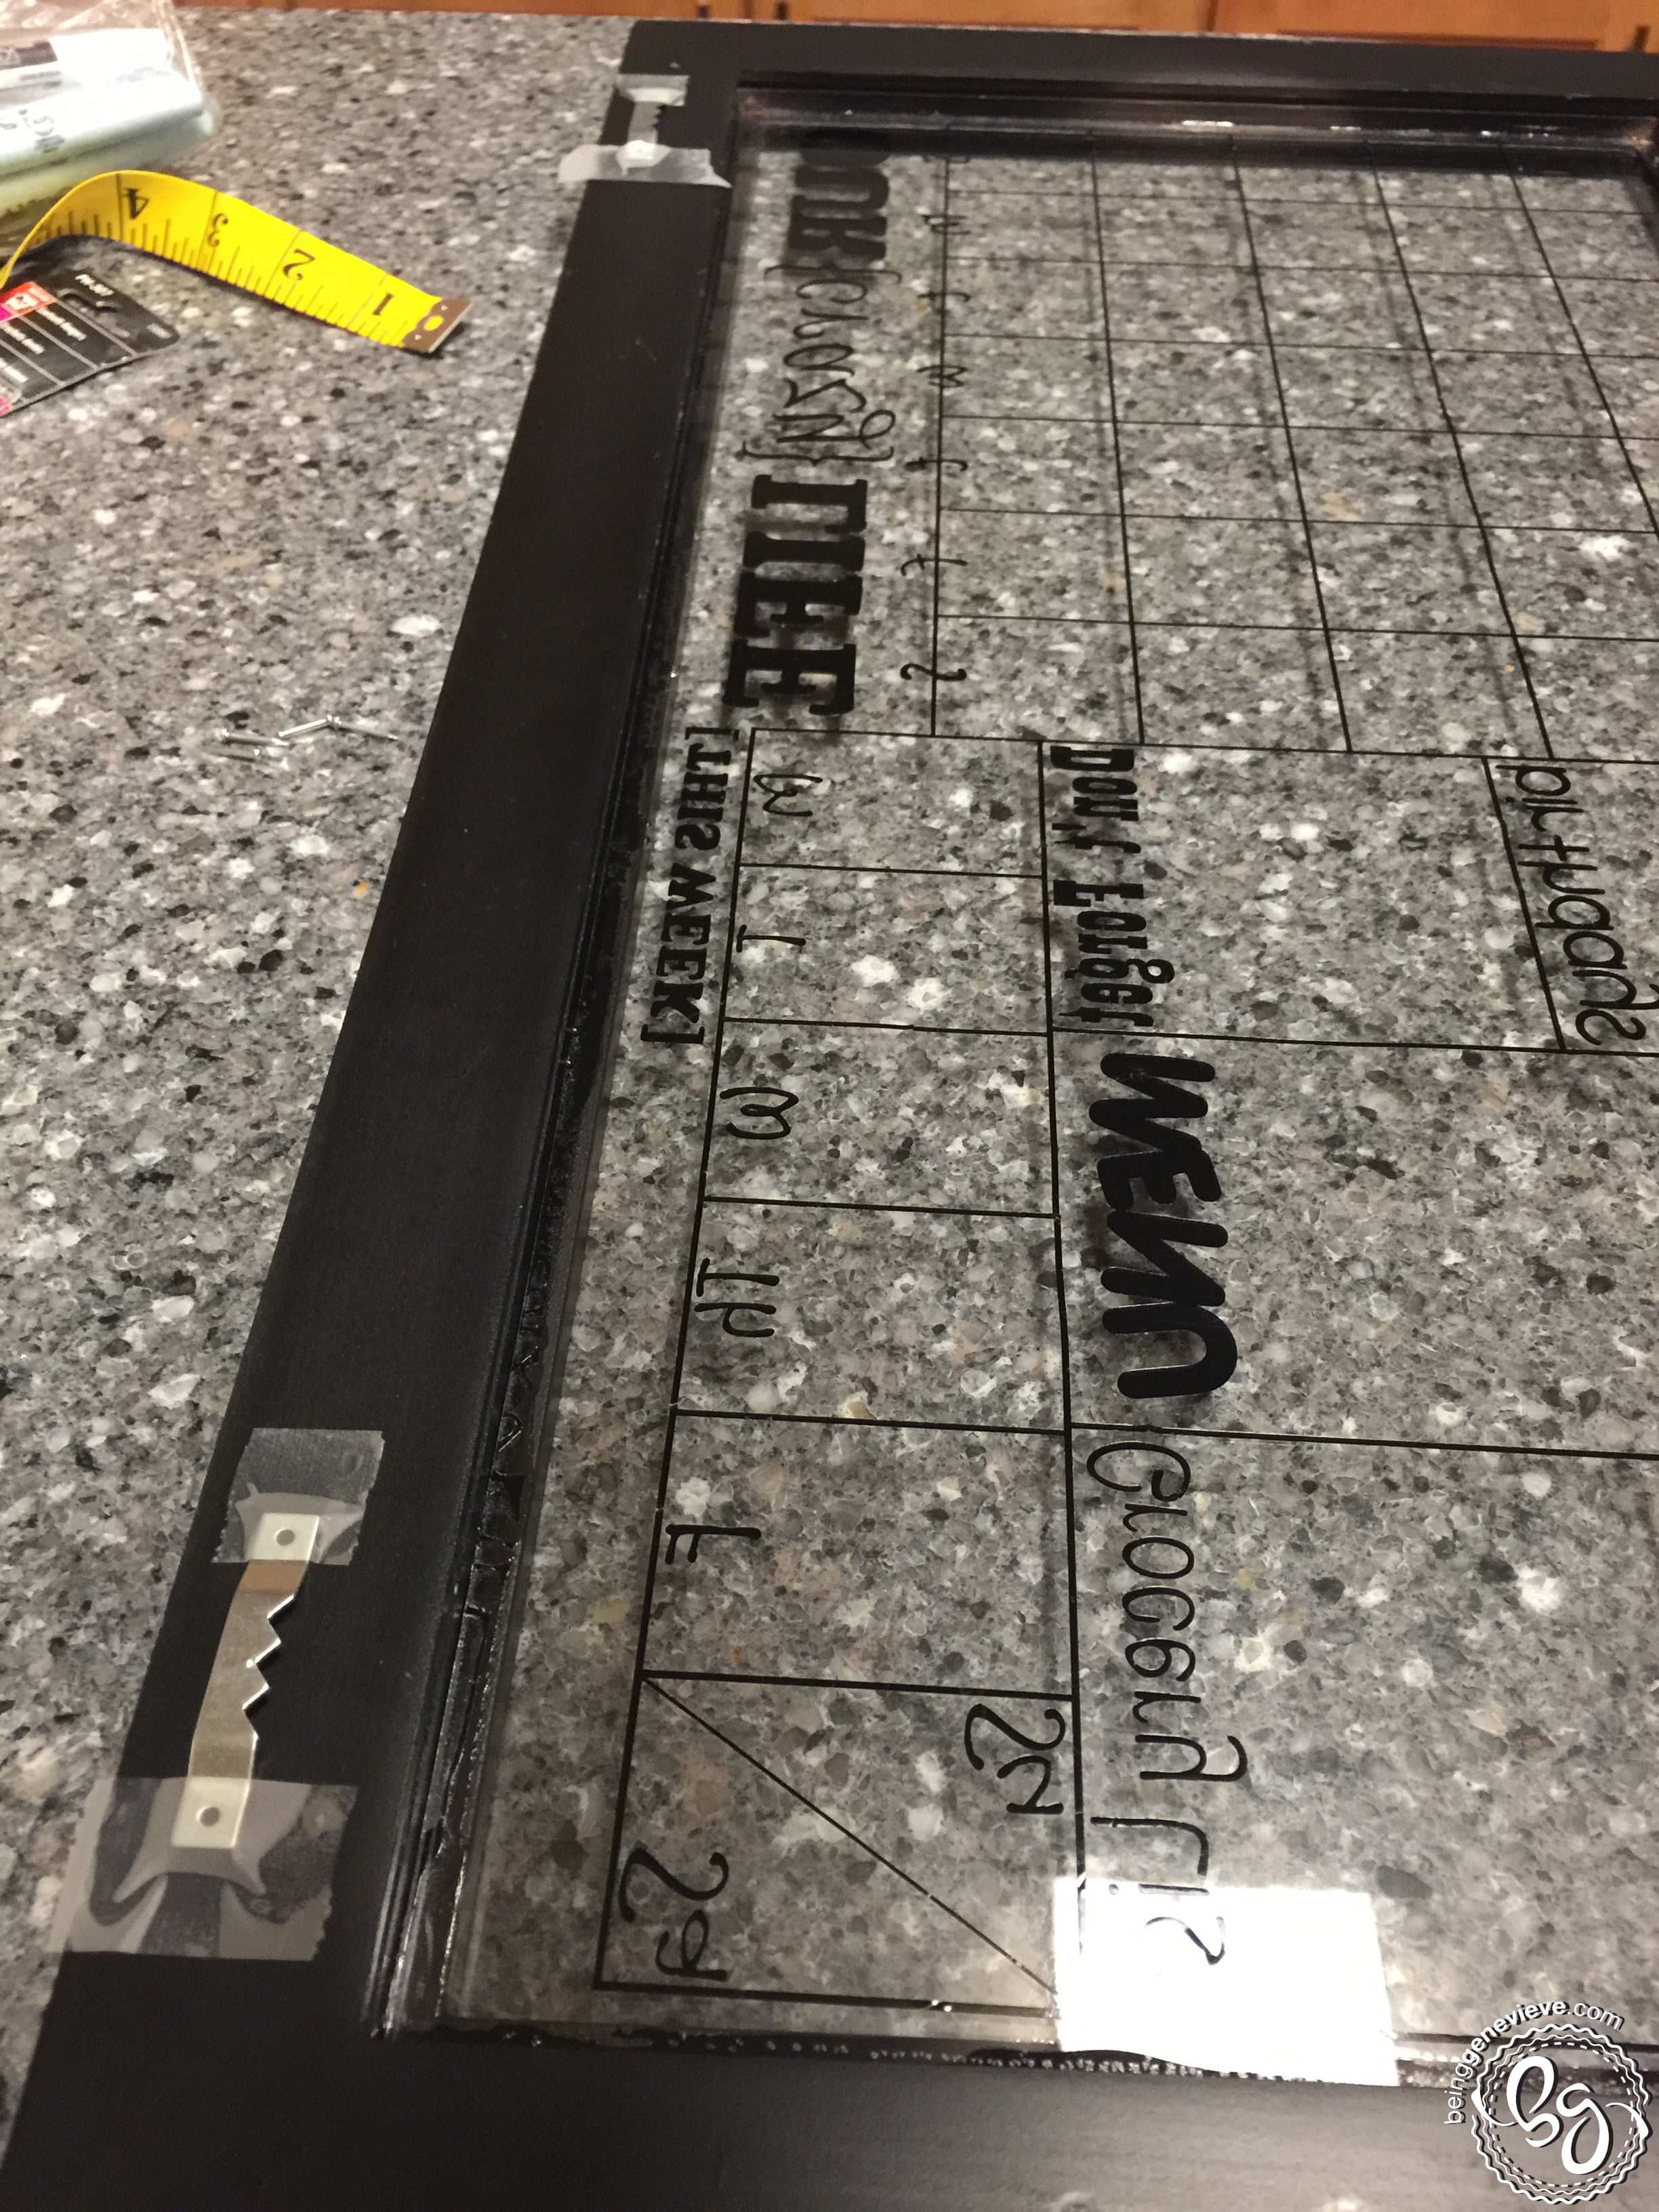
I cut all of my lines and words out of vinyl and applied to the back of the glass all in one piece. (Note: Don’t forget to cut your image mirrored … I did.) If you don’t have access to a vinyl/craft cutter you can draw lines with a ruler and a magic marker and then rub-on transfers for the words just as Stephanie did on her’s. Note: Before applying vinyl or rub-ons make sure to clean your glass.
Download zip file of SVG and PDF below. To apply the vinyl evenly and with little stress follow my guidelines on applying vinyl.![]()
Step 4: Distressing and Hangers
Take some rough sandpaper and sand the paint and finish off all the edges. This way no one will know you bought a second hand frame that was a little beat up.
I measured in 1-1/2″ inches on both sides of the frame and down 1/4″ from the top of the frame. I then used scotch tape to hold the sawtooth hanger in place as I nailed the miniature nails in. Once nailed in securely remove the scotch tape. Easy, huh?


I took out my glass and applies a thin line of epoxy glue all the way around where the glass would be sitting. I used my finger to smear the glue evenly all the way around. (Note: Don’t apply too much or it will run out on the front of your frame.)

Now go through your pantry and pull out enough cans to line the entire glass. The weight will help secure the glass firmly to the frame. Let it dry overnight to ensure maximum hold. You don’t want your glass falling out the back of the frame down the road.

Perfect mommy command center, eh? Now you can keep track of everything going on in the family without forgetting anything and now you can trick everyone into thinking you are a super mom! I hope you enjoy this as much as I have so far. Interested in the magnetic accent tiles I have below the frame? Check back in a couple of days to see how I created those. Thanks for stopping by!


Thanks a lot for sharing! I think this is such an awesome idea!I am headed to Goodwill to look for a nice frame to use. 🙂
How did you get the vinyl on without it breaking? The lines of the calendar are so small….
You need to use transfer tape to transfer your vinyl to the glass.