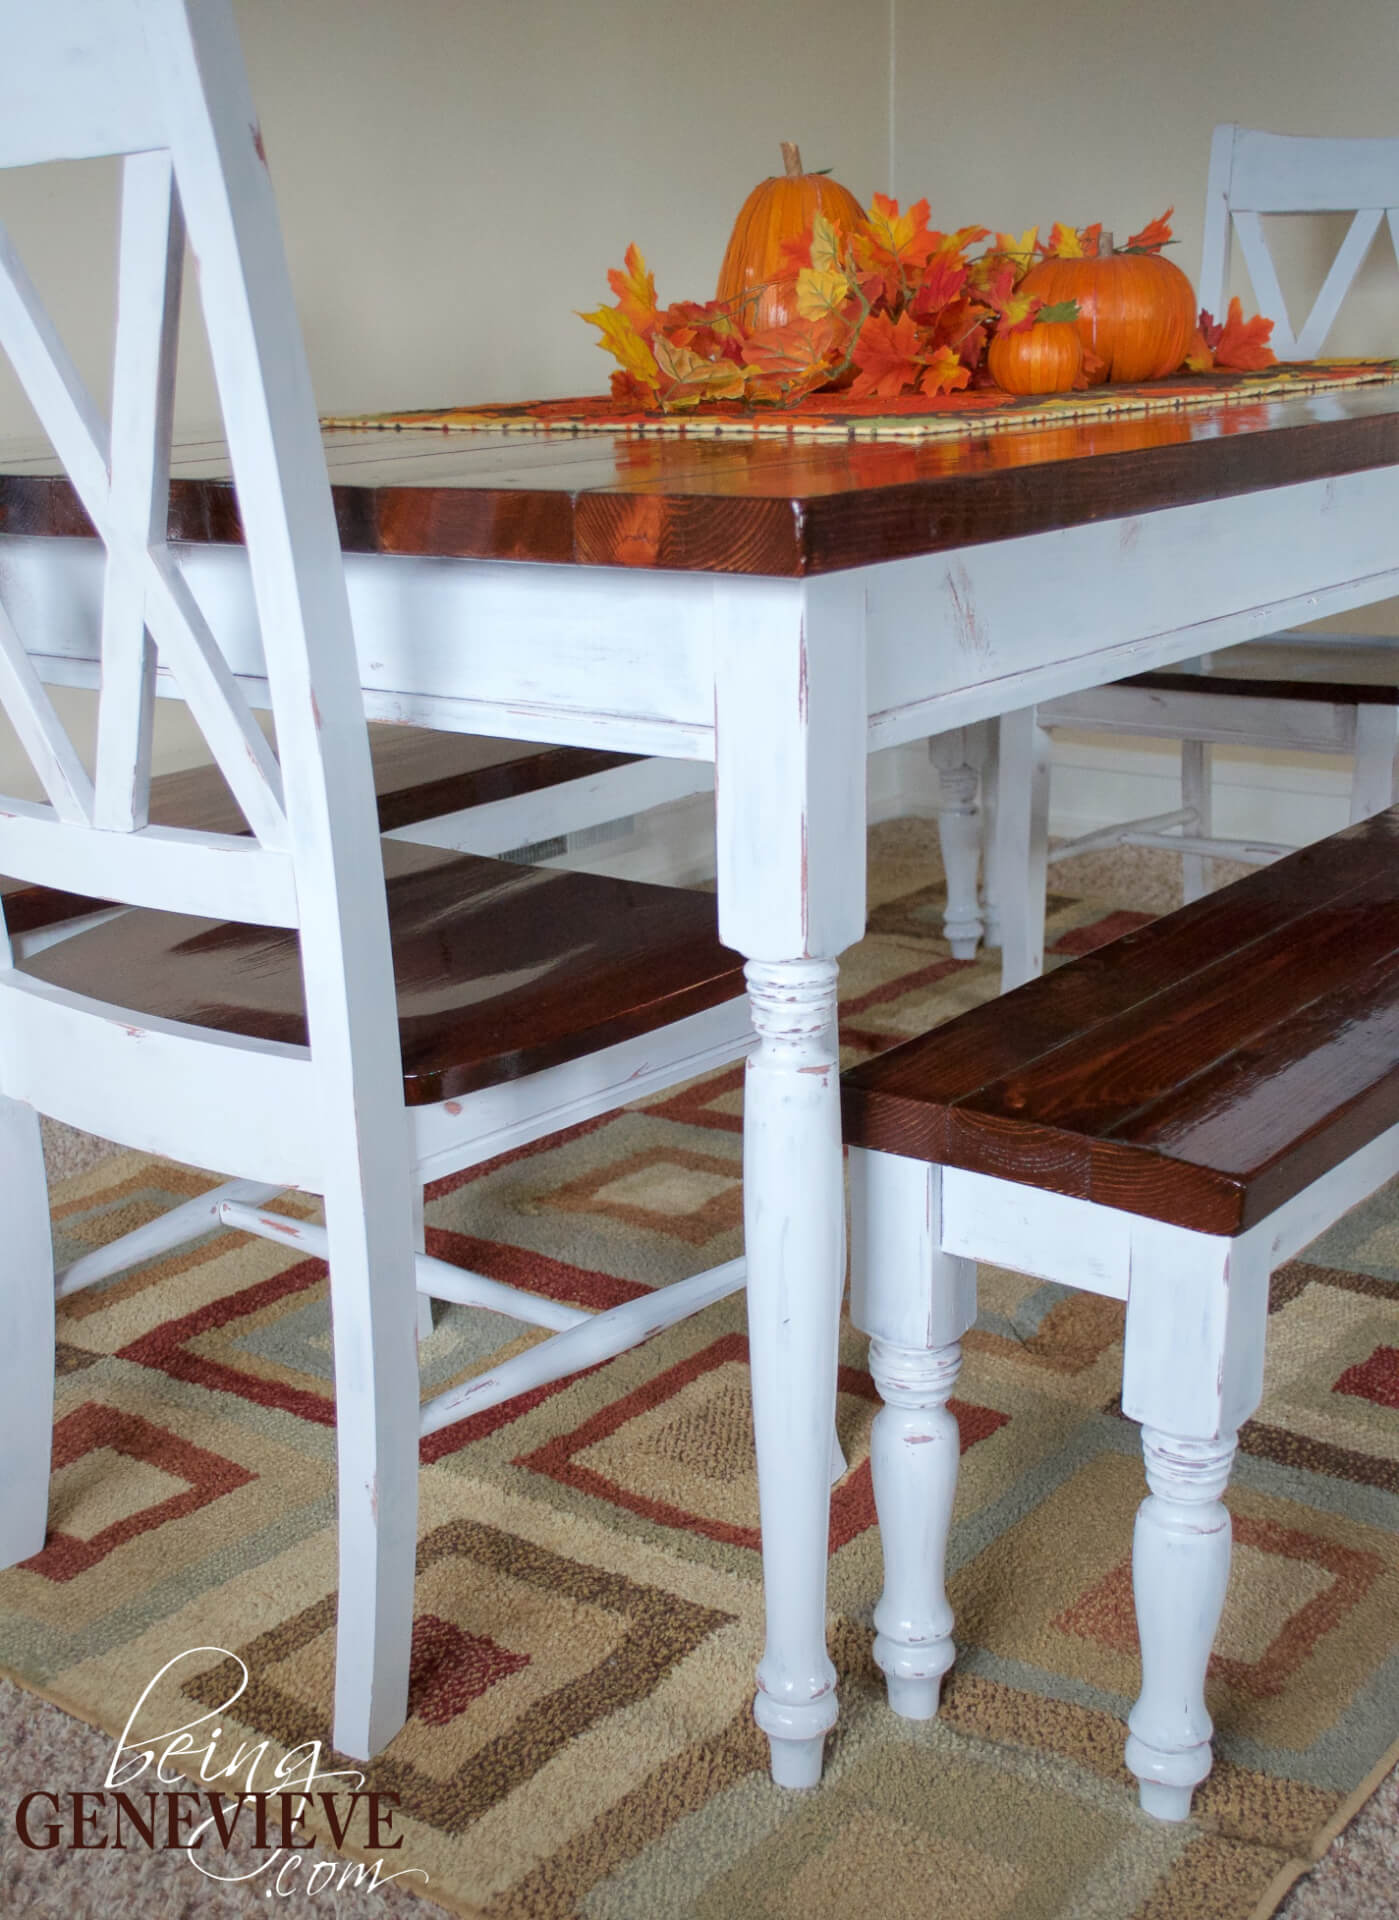
I’m so excited to share with you our new farmhouse style dining table! Our old dining table was wonderful, but only could fit 4 people around it.
** Also featured on DDHRanch.com **
This made it tricky, now being a family of 6, whenever grandparents came to visit. We were scrunched around it and sometimes elbowing the person next to you. I have been considering building a table for a little while now, but once I was no longer pregnant I knew this was my chance! I can now lift heavy things and be around chemical smells like stain.
I happened across Ana White’s farmhouse table and instantly fell in love. I mean how could you not, look at the husky legs. I knew I had to build this table, but after some research I found that those legs were $54 each! {That makes just the legs $216, I might as well just buy a table if that be the case.) So that being said, I got to work reworking all the measurements and hunting for some other table legs. I know you are all eager to see how I pulled this off, being an amateur woodworker, so here it is . . .

Supplies:
- 4 wooden table legs (29 inches)
- 4 – 2″ x 6″ (12 feet long and then have them cut in half at Lowes or Home Depot)
- 1 – 2″ x 4″ (16 feet long, cut in half at Lowes or Home Depot)
- 2 – 1″ x 2″ (8 feet long)
- 2 1/2″ Pocket Hole Screws
(2 packages of 50)
- 2″ finish nails
- wood glue
Tools:
- Measuring Tape
- Pencil
- Drill
- Circular Saw
(or Lowes and Home Depot will cut the wood for free)
- Kreg Jr. Pocket Hole Jig
- Sander
Step 1: Wood Cutting

Step 2: Dimensions
Step 3: Drilling Pocket Holes
Begin by drilling 1 1/2″ pocket holes on the underside of the table (your 7 – 2″ x 6″ @ 72″ boards) and attach tabletop boards together using 2 1/2″ pocket hole screws and glue. I drilled my pocket holes at the measurements: 2″, 10″, 19″, 28″, 26″, 44″, 53″, 62″, 70″.
Then, drill 1 1/2″ pocket holes on the side aprons (your 2 – 2″ x 4″ @ 63 1/2″ boards) at the measurements of: 4″, 12″, 22″, 32″, 43″, 51″, 59″. Also drill (2) 1 1/2″ pocket holes on each end of the apron on the insides.
Lastly, drill 1 1/2″ pocket holes on the end aprons (your 2 – 2″ x 4″ @ 31 1/2″ boards) at the measurements of: 4″, 10″, 16″, 21 1/2″, 27″. Also drill (2) 1 1/2″ pocket holes on each end of the apron on the insides.
[tbn_player id=”10027923″]
Step 4: Assembly
I put together the table just as Ana White did HERE.
Note: When it came to assembling the tabletop boards, we clamped a large flat board on top of and below the joint we were screwing together to get the boards as level with each other as possible. This way it pulled the boards together nicely, even if they were warped slightly.
Check back later for the Stain and Paint Technique that I used. Also, I will be posting soon on how I created those adorable matching benches. Make sure to watch for these two follow-up posts for this table. Thanks for stopping by!

I love these double X back chairs that I bought unfinished. They can be found here. I then just stained and painted them the same way I did the table.


Incredible. You are so talented