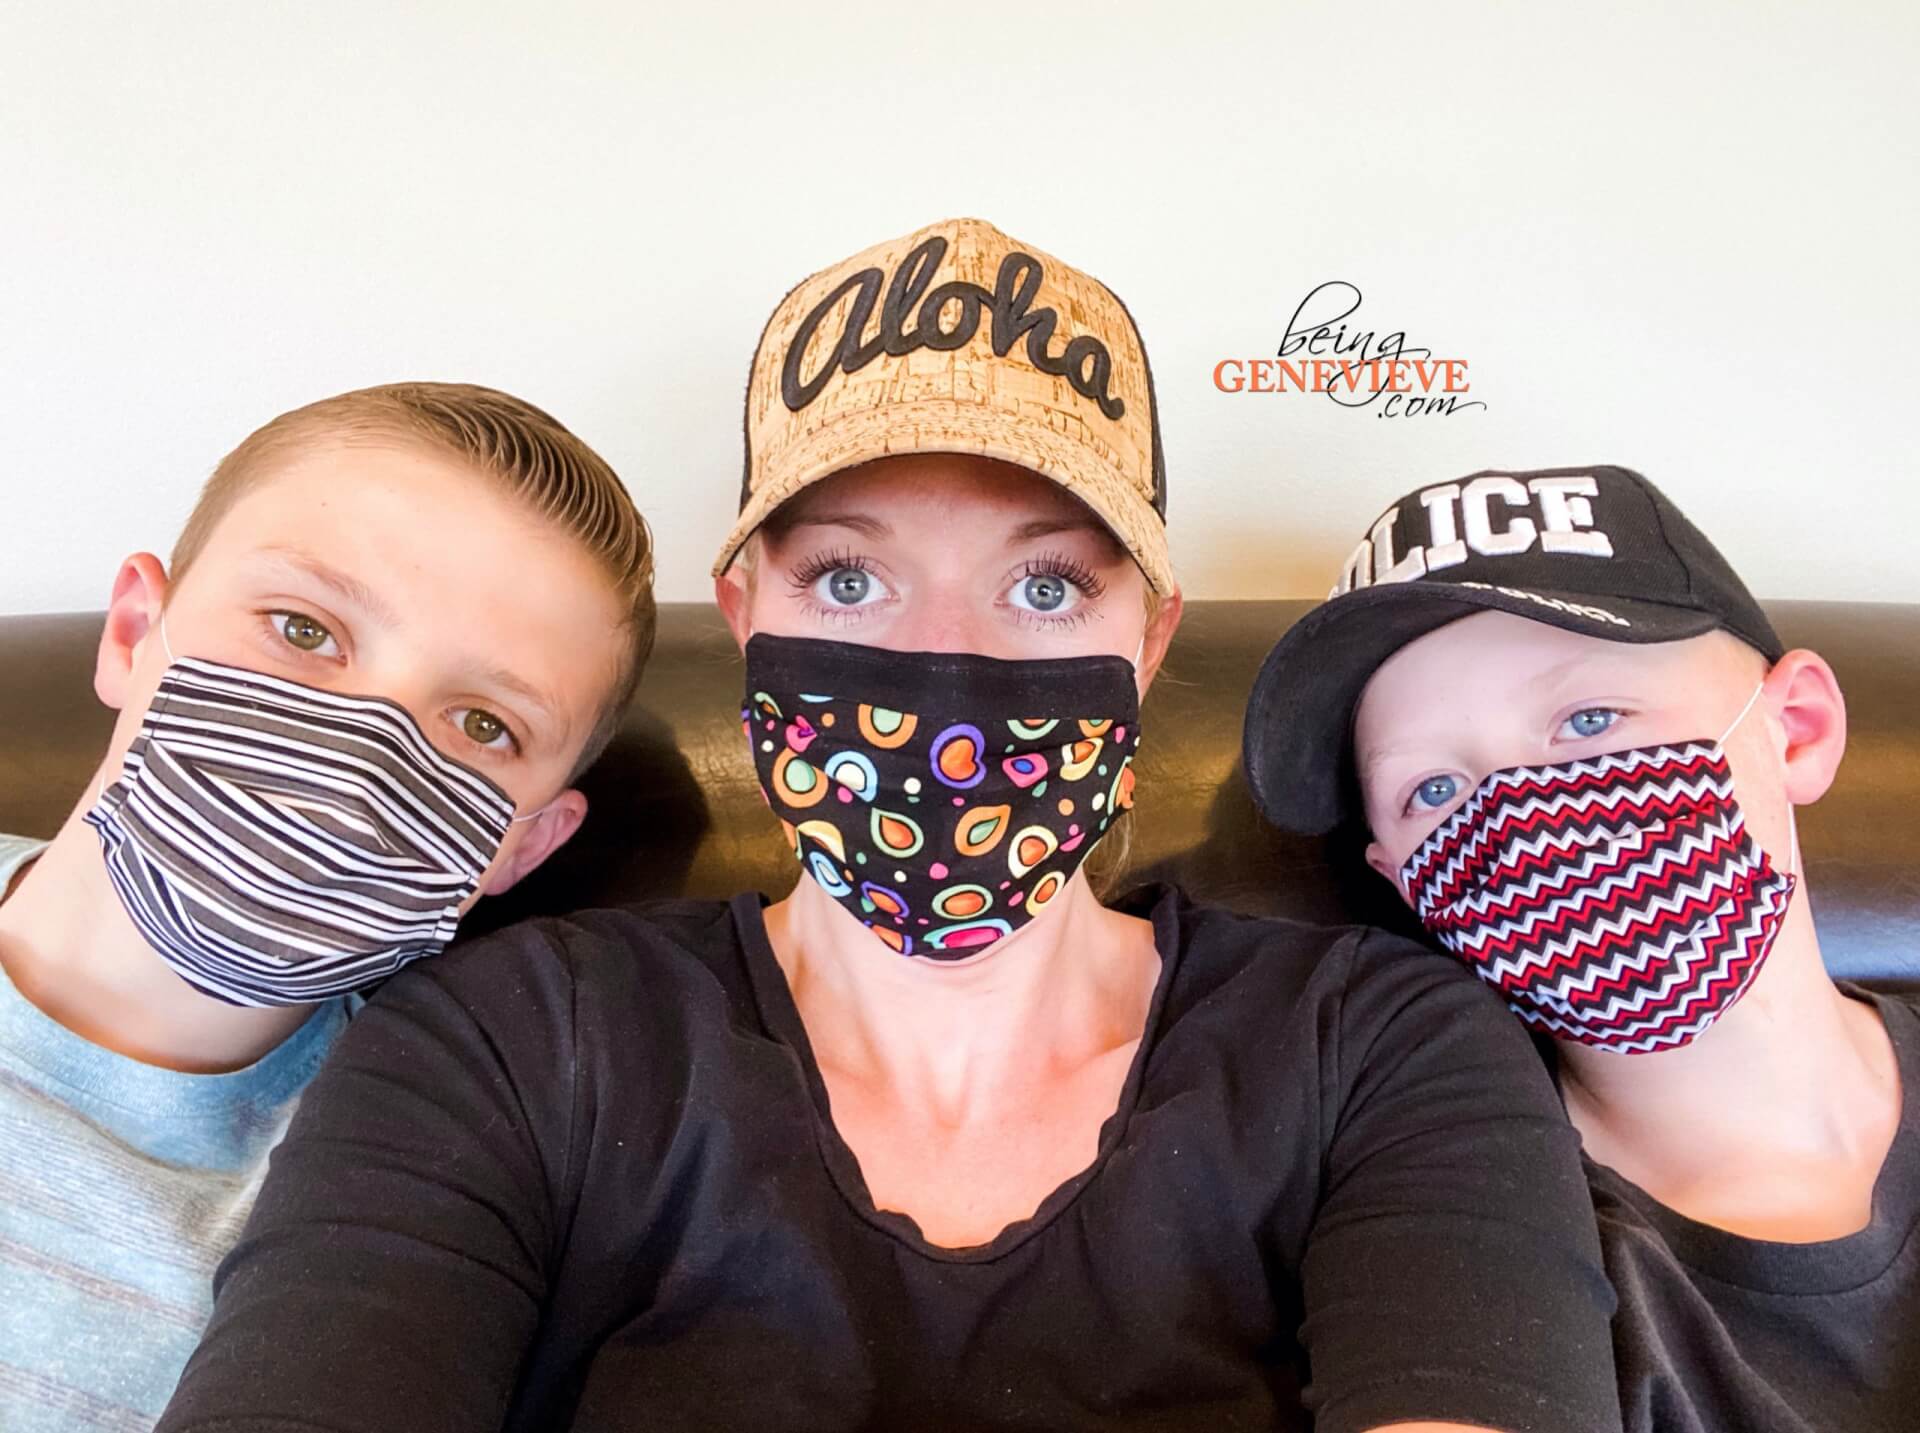
I posted, on my social media accounts, this picture of my two oldest sons and I at the orthodontists office this week. I have had several people contact me, asking me to send them a link or pattern of which one I made. I made this pattern up on a scrap piece of paper. It has gibberish written on it, that I understand, but I’m not sure someone else would understand. So, I thought I would put together a little tutorial on how I made ours. Originally, I wasn’t going to share my mask tutorial because there are already SO MANY masks tutorials out there.
Truth be told . . . I LOVE how this child medical mask fits! So I created a pattern based on this mask alone. It has taken a few trial and errors to get it right for all members of the family, but I think I finally have it figured out. I have made several revisions of this pattern (as you can see from my “note” paper below).

Step 1: Materials
- Scrap Fabric (cotton)
- CHILD/TEEN — 6 x 6-3/4 (width x length)
- WOMEN — 7-1/2 x 6-3/4 (width x length)
- MEN — 9 x 7-1/2 (width x length)
- TWO 6-1/2″ Elastics (I only had this ultra-thin beading elastic.)
- ONE Pipe Cleaner
- Thread


Step 2: Top & Bottom
I began by sewing the top and bottom with a 1/4″ seam.
Within the seam allowance, on the top, I zigzag stitched a pipe cleaner.
Note: The pipe cleaner color should not matter, just use whatever you have on hand. You will not end up seeing any of the pipe cleaner. The pipe cleaner will make it so you can secure the mask around your nose.
(The pipe cleaner idea was an ingenious idea from one of my sisters!)
Step 3: Elastics & Sides
Each mask will use two 6.5″ elastics.
Now pin the elastic in place, with the knot slightly poking out, at the top and bottom of each side.
On one of the sides, I leave a 2″ opening so that the mask can be flipped inside out. To remember, I put double pins at the start and end of that opening.
Note: If you end up using ultra-thin elastic, like I did, I tied two knots at the end of each side so that it catch the elastic from pulling out. I also sewed over the elastic 3 times.


Step 4: Top Stitch
Begin by flipping the mask right side out.
Pin around the entire the mask.
Now top stitch around the mask using a seam that is inbetween 1/8″ and 1/4″.
Note: While stitching, make sure to keep track of your elastics so you don’t accidently sew them back to the mask.


Step 5: Pleats
Now this is a little tricky to explain, but I promise this is not the hard.
First off, you will be marking where all your pleats will be with pins. Depending on which size you are making, depends on where your first pin will be.
The first pins you will place are the bottom pins. Child/teen and women will be place 1-1/8″ up from the bottom. Men will be placed 1-1/2″ up from the bottom.

Once you have the bottom pins placed, they will be your guide for all your other pins.
From the bottom pins you will mark up 1/2″, on both sides, and place another pin. Then you will mark up 1″, on both sides, and place another pin. Now 1/2″ and pin. Another 1″ and pin. Last pins will be 1/2″ up from there.
You will notice it’s a pattern. First pin — 1/2″ — 1″ — 1/2″ — 1″ — 1/2″.

Now to make it easy to sew each pleat, you will iron the pleats first.
For the first pleat, you will be bringing the bottom up right at those first pins you placed, now iron a good crease there. The second pins you placed will now be brought down over the top of the mask, and iron. Now remove those first 4 pins you placed and re-place them in the pleat to keep it from coming unfolded.


Now you will do the exact same thing for the third and fourth pins you placed. First bring up the mask at the third pins you placed and iron. Then bring the fourth pins down over the mask and iron. Now remove those 4 pins you placed and re-place them in the pleat to keep it from coming unfolded.

Now for the fifth pins you placed, you will bring the top of the mask down and behind and iron a crease there.Please look at the picture for this last pleat because it is kind of hard to explain. For the last pins you placed, you will bring the top of the mask back to the top.
Now remove those 4 pins and re-place them in the last pleat to keep it from coming unfolded. Now all three pleats should be re-pinned and ready to be sewn.


Great job! Now all you need to do is sew those pleats into place. I just sew right over the top stitching on both sides.

Now look how great and snug these masks fit!
It fits snug up under the chin all the way to the neck. It fits snuggly against the checks. It also fits snuggly under the eyes and on top of the nose, thanks to the pipe cleaner.


