
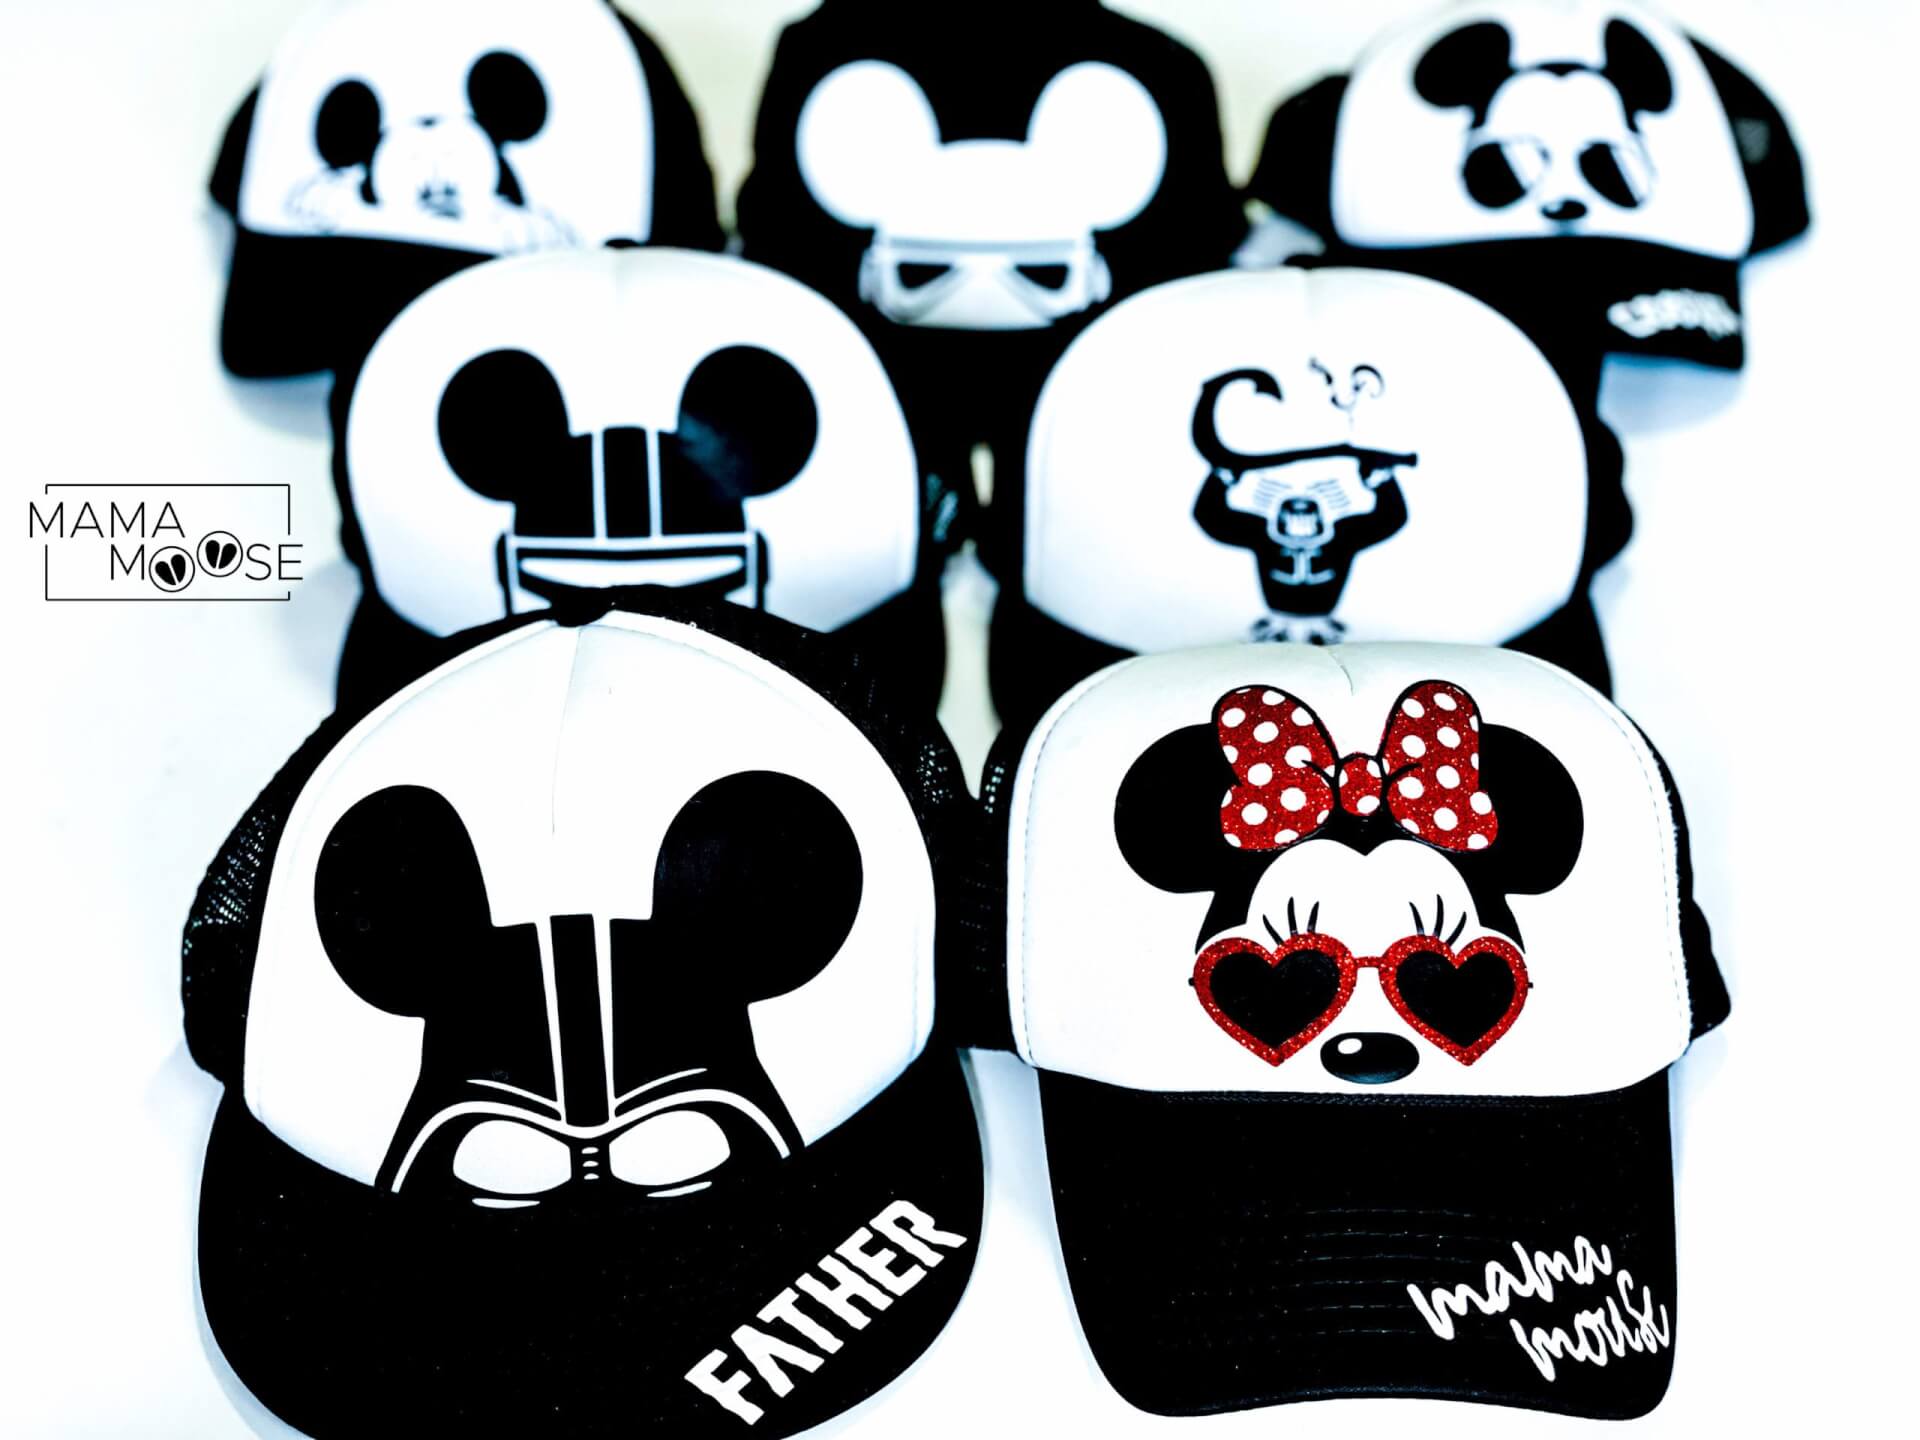
In honor of Disneyland opening TODAY, I want to share our Disney vinyl hats we made last year. Two weeks before the country “shut down” due to COVID, we were in Disneyland. We felt so blessed to have been able to have a family vacation before everything changed.
As many of you know, I create matching shirts for each of our Disney vacations. (Such as our Disneyland Subway Art Shirts, Disney Family Vacation Shirts, and Disney Best Day Ever Shirts.) But for this particicular trip I decided just to do hats. It was so incredible easy and fast! I cut out heat transfer vinyl and ironed on the design to our trucker style hats. I have to admit that it has been more than a year since I made these and I still see at least one of my boys wearing theirs every week.
All you do is cut out my social disneying template (download the SVG and PDF file below) with some heat transfer vinyl and iron onto a hat of your chose. Here’s how I made them . . .
Step 1: Prepare Vinyl
DON’T FORGET! Always mirror your images before cutting!!!
Begin by placing your heat transfer vinyl, clear transfer side down, onto your cutting mat.
Note: I used glitter red vinyl for the Minnie design, and matte black for all the other designs. Only Siser brand of heat transfer vinyl works the best.
Cut your image and then “weed” out the unwanted vinyl.
Now this strange step is for the Minnie design only. Remove the bow from the clear transfer sheet. Place it where you would like it and then press firmly so it sticks in place.

Step 2: Iron On Vinyl
Figure out where you would like your vinyl to be placed and then iron onto hat. For the Minnie design, I add the red over the heart sunglasses at the end.
I actually do a very quick iron (like in the video below) since the hat is curved. It just is to get the vinyl where I want and then go back over it to stick it all the way. If you don’t do it this way your vinyl will shrink a little when you put a lot of heat on it and your image on the hat can look wrinkled in places.
Follow your heat transfer vinyl’s instructions for heat and time left on the vinyl. I set my iron to the cotton setting with NO steam.
Step 3: Names, optional
You can do custom names on the bill of the hats as we did. It is done just the same as the other steps, but I thought I would share what fonts we used just in case you are curious.
Minnie: Southhampton
Darth: Mandalore
Mandolorian: Mandalore
Stormtrooper: Mandalore
Maui: Arial (O is the heart of Tafiti, download below)
Mickey (sunglasses): Waltograph
Mickey (peeking): Arial

The download just above this is for the heart of Tafiti. It is a zip file that contains the SVG and PDF. We loved how the heart of Tafiti in the middle of Timothy made the hat all come together.


Your creations are always a hit!! Loved the mama hat!