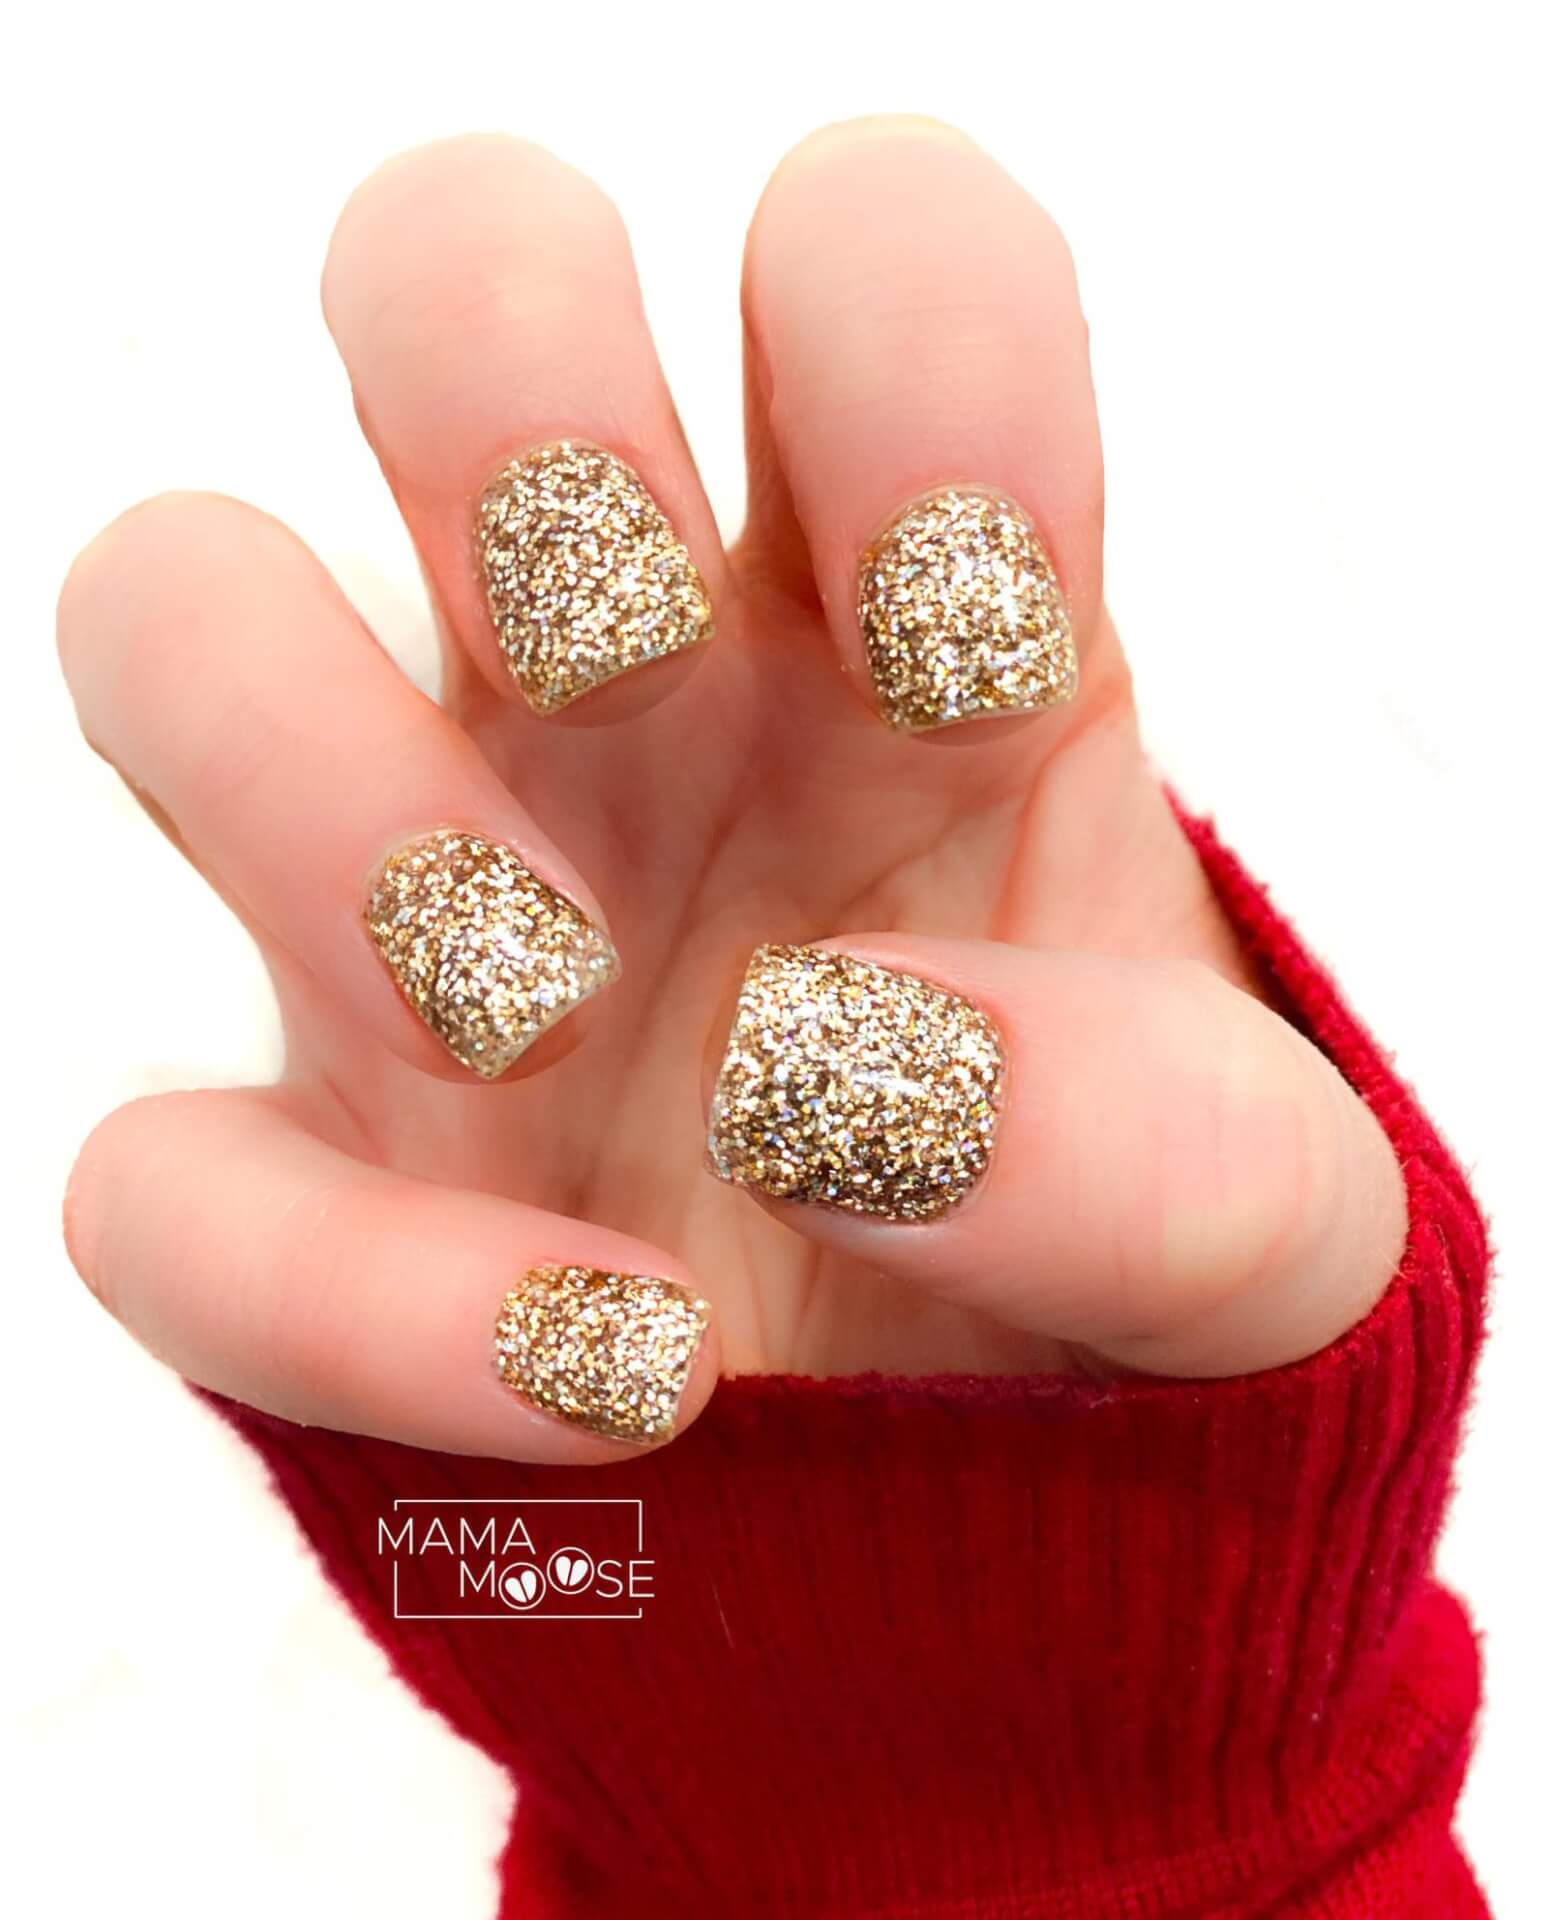
First off, have you been wondering how well those dip powder nail kits really work? I had Rossi Nails reach out to me a few weeks back and ask if I would review their dip powder kit. I created a video of the process that can be viewed at the bottom of this post. So here are my thoughts . . .

STEP 1: NAIL TIPS, OPTIONAL
I decided to glue on nail tips for two reasons. One, I wanted to see if the dip powder was as strong as acrylic nails. Second, I had a few nails that had broken corners.
I began by gluing on nail tips. I then cut the tips to length and filed.
Note: When applying natural tips, like I did, don’t forget that you should always *blend in your nail tip.
*View video below.
STEP 2: PREP NAILS
View my post on Nail Polish Prep.
STEP 3: DIP POWDER
*I did three layers of “dipping” but I feel like two would have been best. I did three because I wanted the glitter to be evenly distributed on each nail. So if you are not doing a glitter as I did, I would only do two coats.
Note: It has been 10 days and my nails haven’t lifted and are still holding up just as acrylic nails would. So over all it really does work.
*View video below.
STEP 4: FILING
I filed away any imperfections.
STEP 5: TOP COAT
Now this is important . . . I would NOT use the top coat they provide. It is basically nail glue. It does NOT dry in the time it claims it will. It says 30 seconds. I waited 10 minutes and it still had wet areas. When I went to check if it was cured, it would then stick to my skin as super glue would. The top coat also builds up the nail too much for my liking making it look very thick.
I would use a regular clear top coat. I used my CND shellac top coat and cured it in my light.
STEP 6: CUTICLE OIL
Allow your polish to dry completely. Apply a cuticle oil just around your nails on the cuticle and rub it into the skin.


