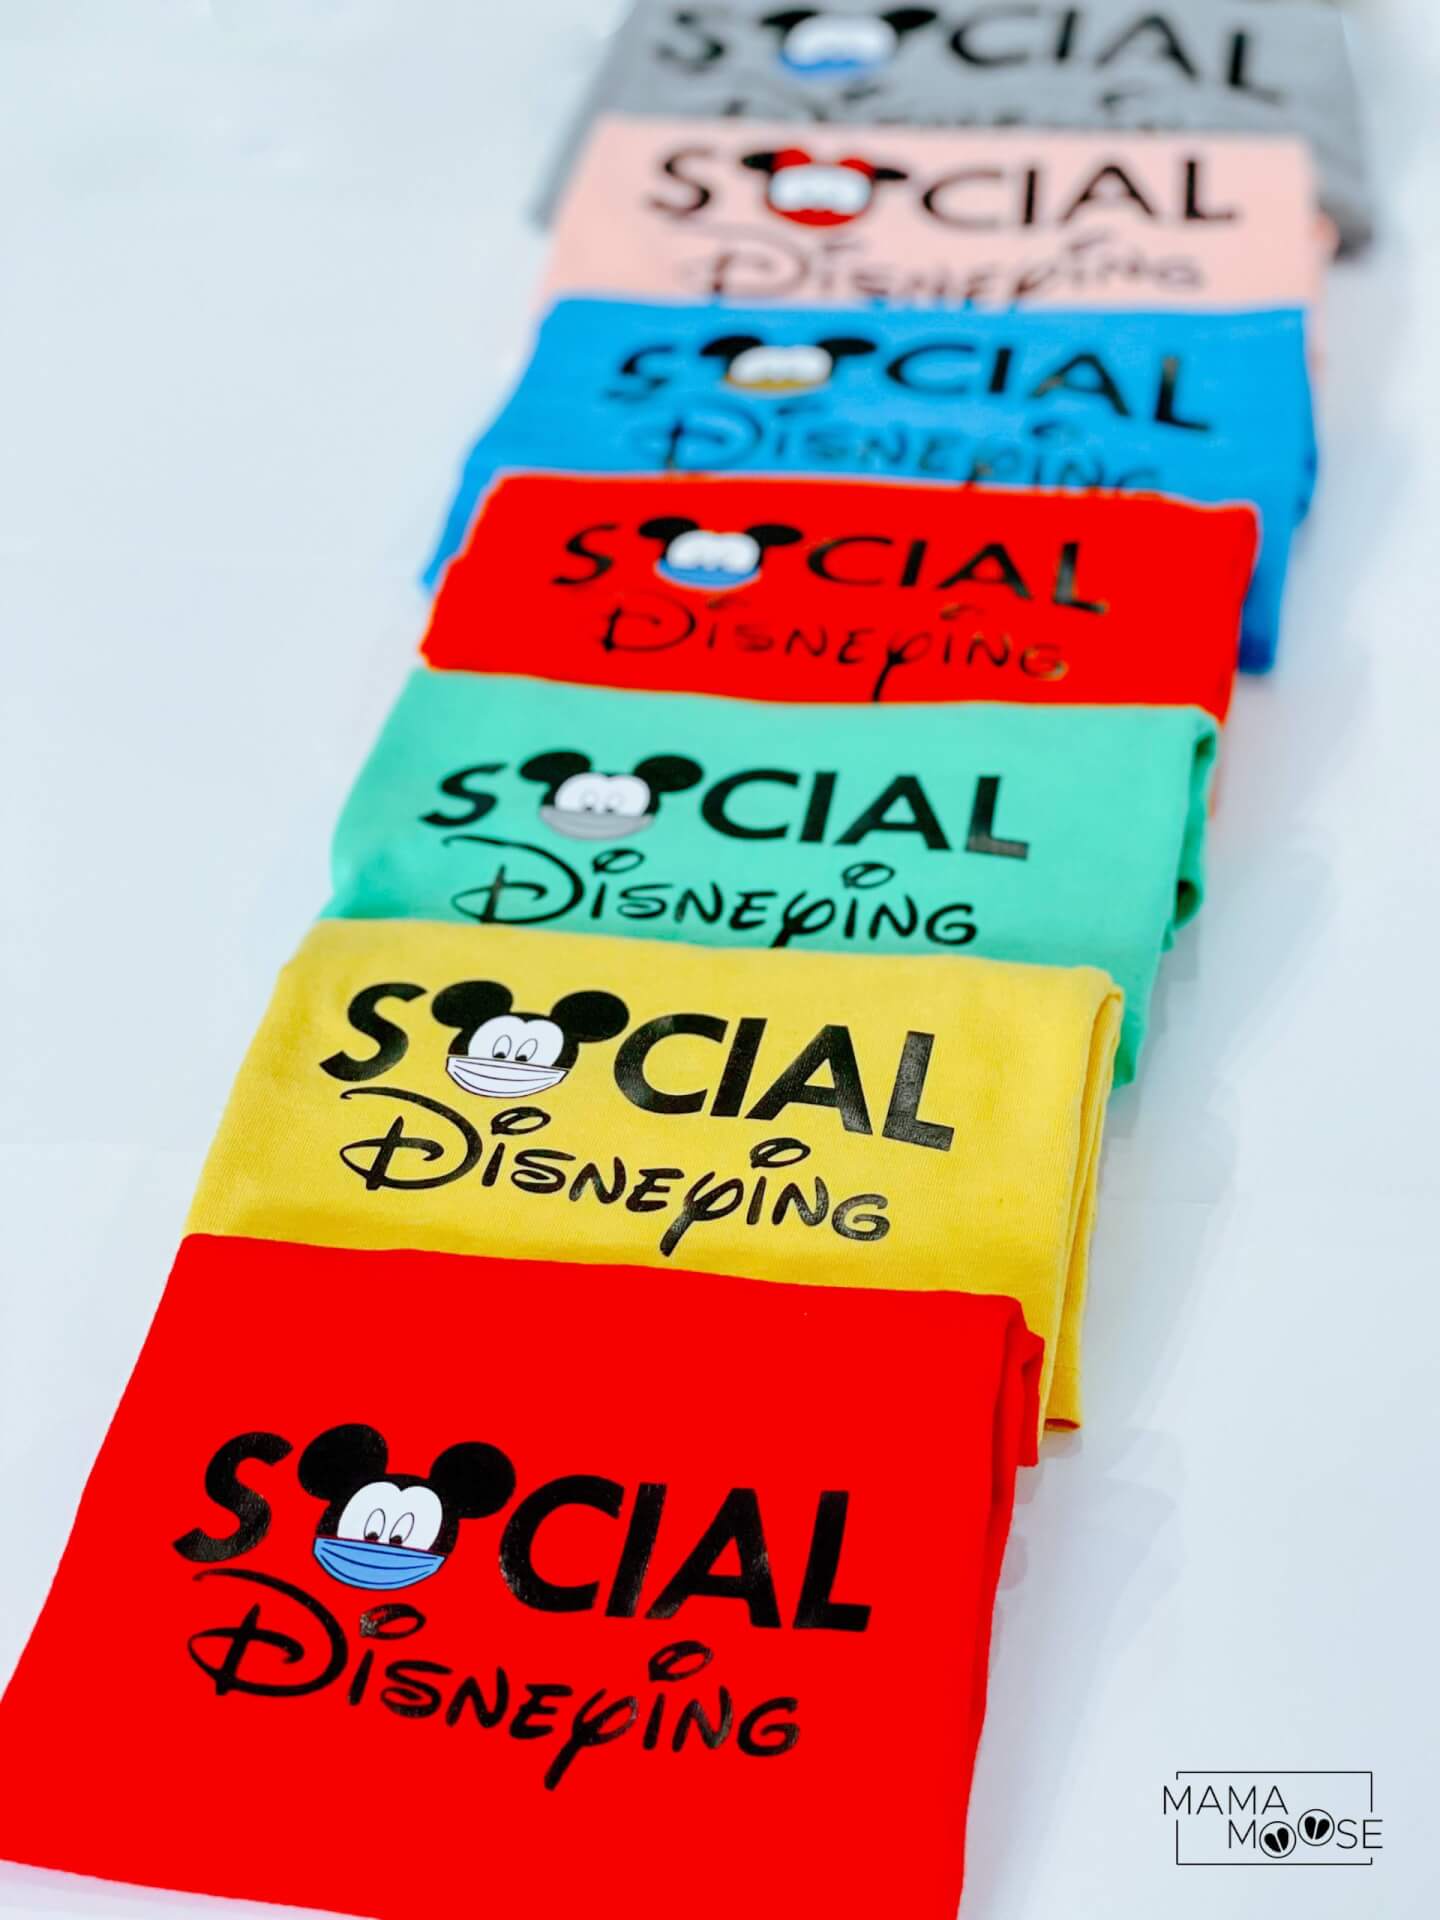
In honor of Disneyland opening this weekend, I want to share our social disneying shirts. Last month, we made and worn these to Disney World. My kids loved these shirts because they all chose which color of mask they wanted their Mickey to be wearing.
As many of you know, I create matching shirts for each of our Disney vacations. (Such as our Disneyland Subway Art Shirts, Disney Family Vacation Shirts, and Disney Best Day Ever Shirts.) I have mostly screen printed our shirts in the past so it was fun to do something a little different. It amazed me how easy it is to create a disney shirt with heat transfer vinyl. I made this Iron On Mickey shirt years ago and still wear it several times every month. It’s held up to being washed and dried hundreds of times. So I thought I would give it a go with our matching shirts this time around.
All you do is cut out my social disneying template (download the SVG and PDF file below) with some heat transfer vinyl and iron onto a shirt of your chose. Keep reading to see exactly how I did ours . . .


Step 1: Prepare Vinyl
DON’T FORGET! Always mirror your images before cutting!!!
Begin by placing your heat transfer vinyl, clear transfer side down, onto your cutting mat.
Note: I used glitter black vinyl for the Minnie design, and matte black for the Mickey design. The face background, mask, and bow were all done with matte vinyl. Only Siser brand of heat transfer vinyl works the best.
Cut your image and then “weed” out the unwanted vinyl.


Now is the strange step . . . Remove your face background, mask, and bow (if your doing Minnie) from the clear transfer sheet. Place them where you would like them and then press firmly so they stick in place.


Step 2: Iron On Vinyl
Figure out where you would like your vinyl to be placed and then iron onto shirt. Follow your heat transfer vinyl’s instructions. I set my iron to the cotton setting with NO steam.


That’s it! Thanks for stopping by and please let me know if you have any questions.


