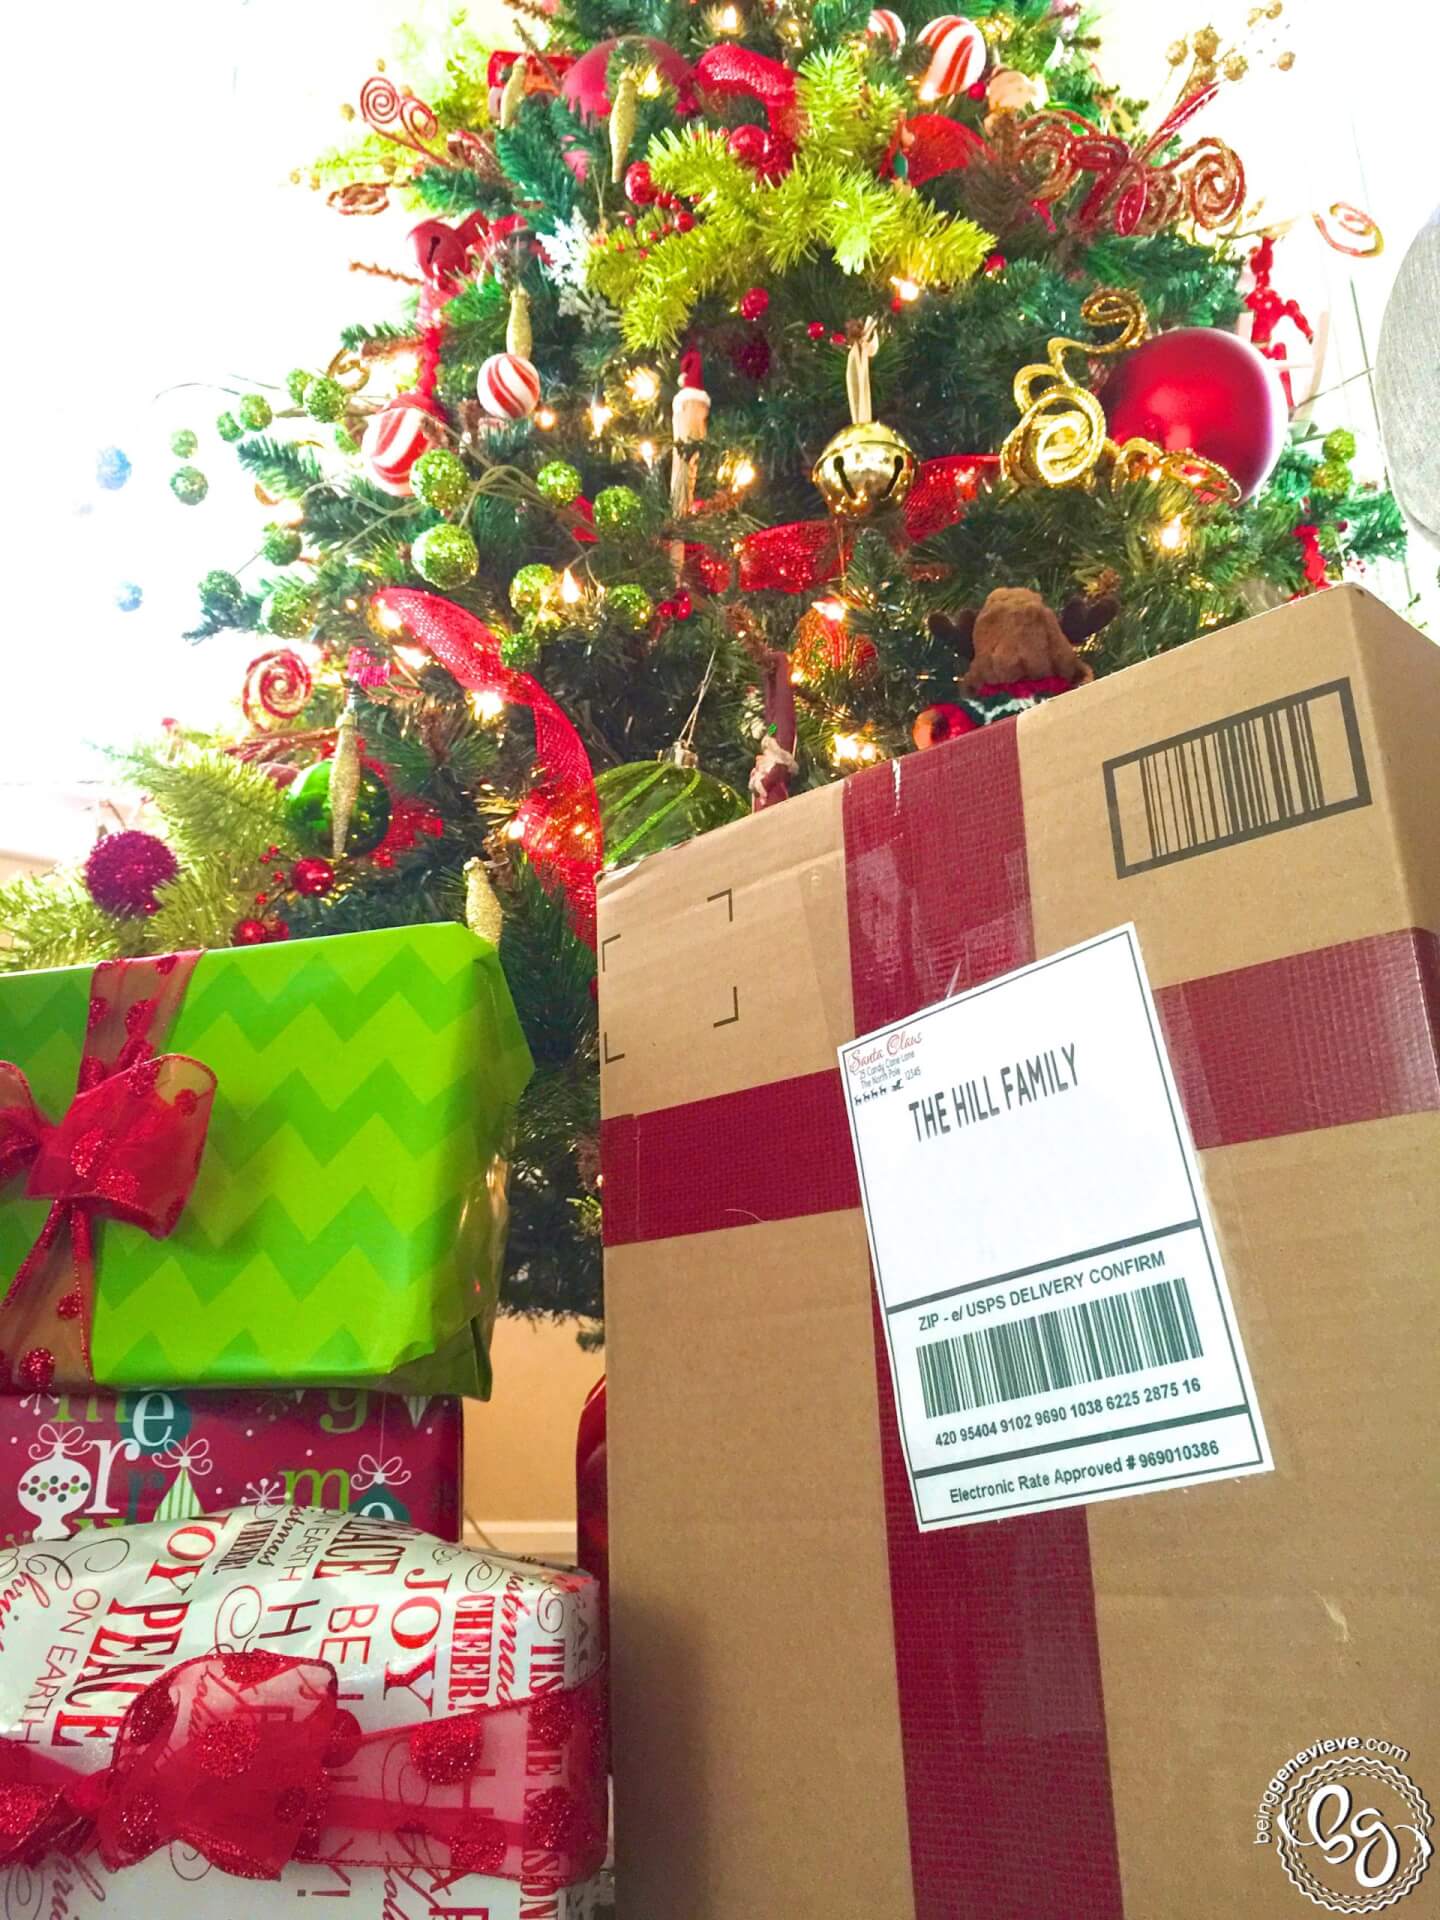
This year I decided to try something new. I thought it would be fun for our kids to receive a package from Santa containing all the supplies they would need to write him a letter {including stationary, crayons, markers, pens, pencils, envelopes, stickers, etc.}, our Elf on the Shelf, an encouraging letter from Santa reminding them to be as good as they could be and of course a special treat from Santa {a.k.a. a candy cane}. I knew I needed an alternative on how to introduce the Elf on the Shelf because every year they end up seeing him in the christmas box when I pull out all the decorations/ornaments and then I awkwardly have to come up with an excuse how he got there and why/how Santa delivered him to the christmas box. . .
So this year, on the first day of Christmas {December 1st} we received a package from Santa on our doorstep. The kids were so excited to open it to see what Santa had sent. They were so excited to see “Sneaky” (our elf on the shelf) and to eat a candy cane from the North Pole while we read them a letter directly from Santa.
I have included a zip file that you can download for each of the items pictured below (Stationary from letters to and from Santa, Envelopes to and from Santa, and a Packing Label from Santa).
![]()
Note: Inside our package it included — A piece of stationary for each member of the family to write Santa a letter, an envelope for each member, writing/coloring/decorating supplies, our Elf on the Shelf, a letter written from Santa, and a special treat.
Stationary Letters
There are three stationary templates. One is from Santa to your family. I wrote a letter to the kids and placed that inside the package right on top so they would see it first. After printing out the letter, I added glitter (here’s how) to Santa’s “signature” to make it look more magical.

The other two templates are letters from your family to Santa. One is for parents or older children. The other is for small children, complete with an area to draw Santa a picture.

Envelopes
The envelopes will actually print out with lines on it for where to cut to make your own envelope. Then fold in the sides. Fold up the bottom and glue along the sides. Now fold down the top and secure with glue or a sticker.
After we wrote our letters we didn’t send them via the post office. We gave them to Sneaky (our elf) and asked him to deliver them to Santa.

We also received a letter back from Santa through Sneaky (our elf). If you want to have it look like it came through the post office, place your stamp on the envelope and then run it through the printer for the cancelled postage stamp/lines to appear on top of the stamp. 
Packing Label/Box
Write or print in your shipping address. I have photoshopped ours out for safety reasons, but on our package that came to our house it was printed on the packing label. 
I used a box that we already had and added red duck tape to cover up the amazon packing tape. I also went around the box once going the other direction to make it look kind of like a present. 
Note: I have photoshopped out our address, but make sure to include it on yours to make it look more “real”. The tracking number and barcode are not real.
Maybe think about giving this a try next year. If you do, I would love for you to leave a comment and mention if you added anything different in your package. I am always up for new ideas! Thanks for stopping by.


This is a great idea!!!
Thank you!!