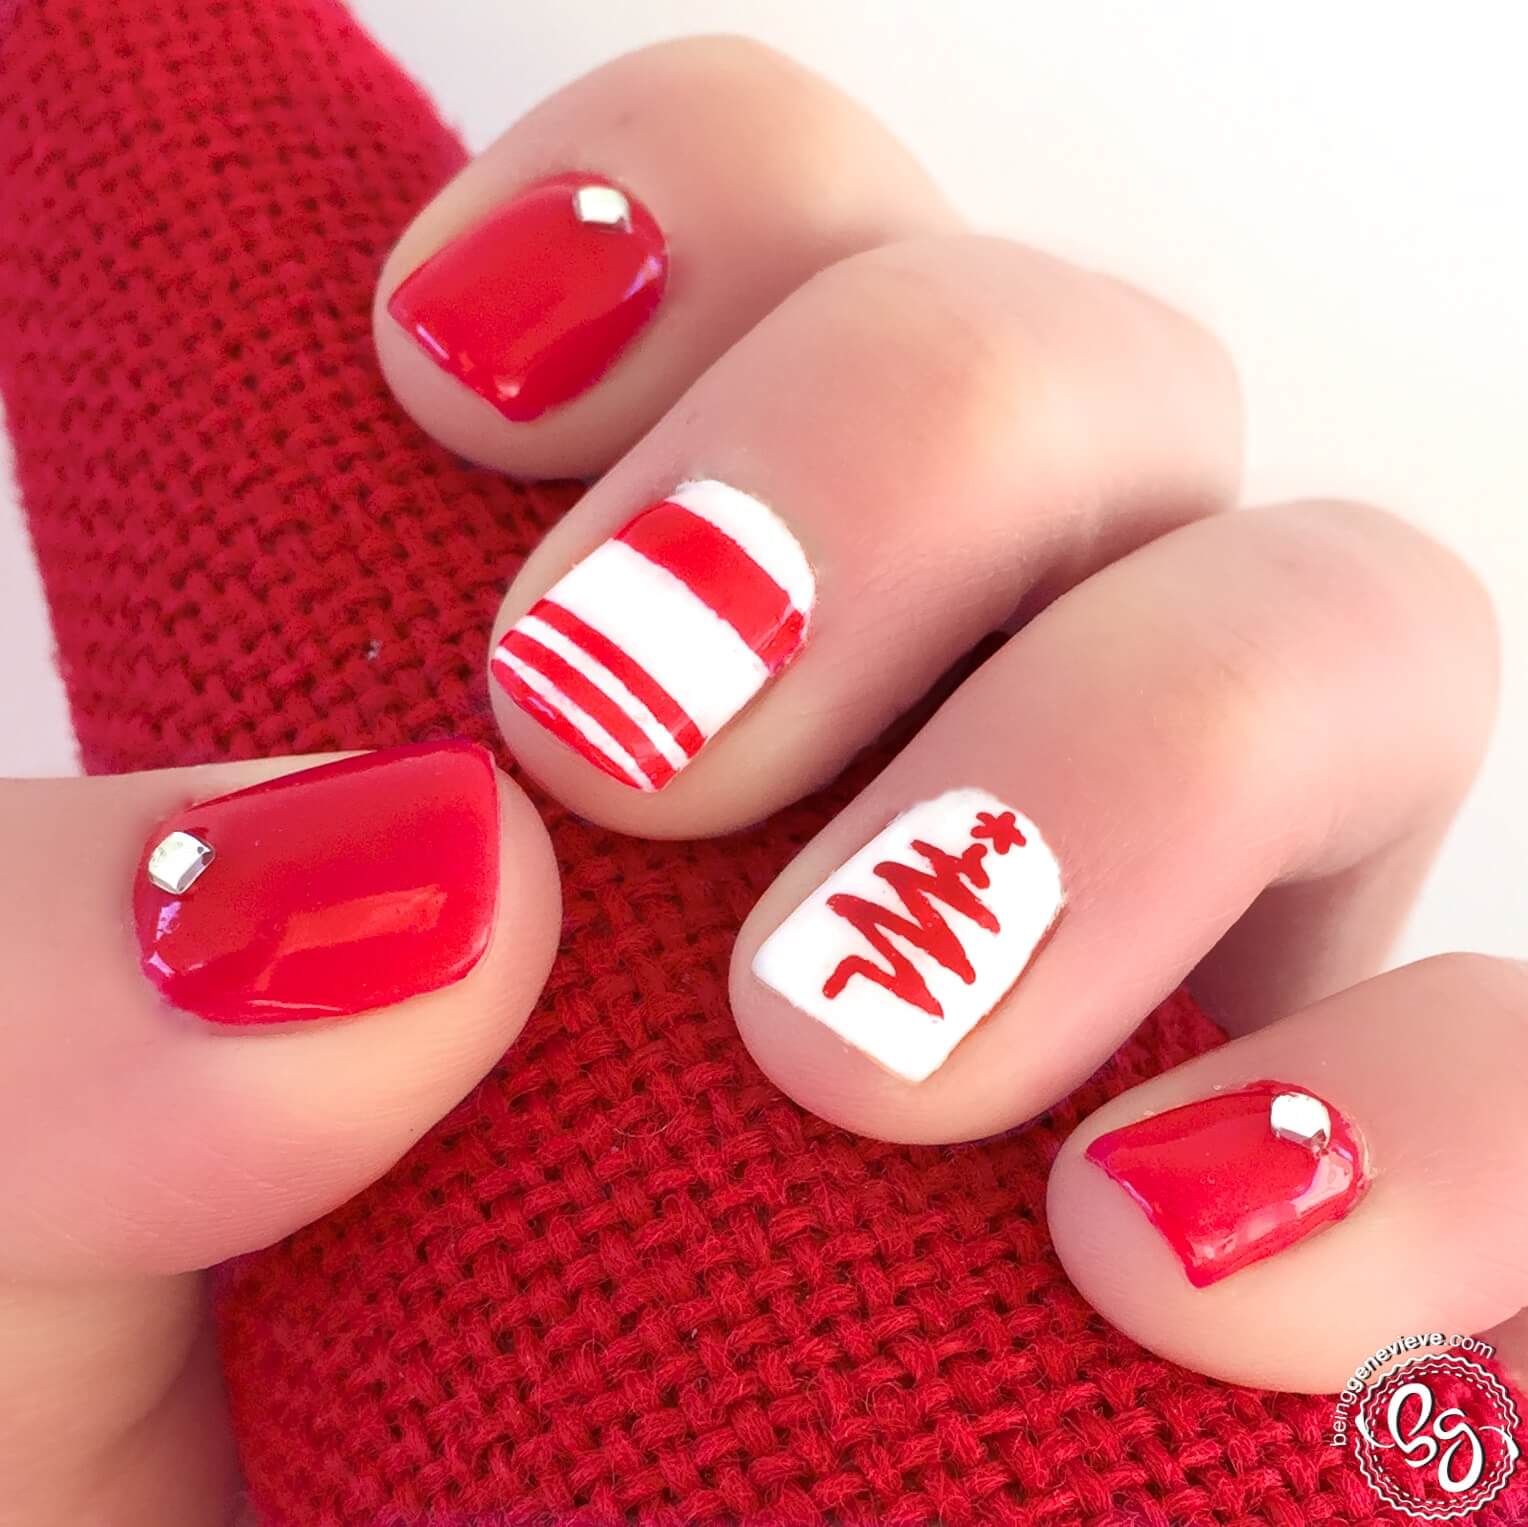
For my last christmas nail design of the year, I decided to do all red and white. I wanted to create a more classic look and thought these two colors would help get that across. I love the stripes I have seen done to make a candy cane nail design, but I didn’t necessarily want to have candy cane nails. So I did one nail with stripes and another nail with a very simple, red, retro-looking christmas tree that I feel most anyone can do. I then added rhinestones to the plain nails to create a little sparkle. Here’s exactly what I did. . .
Note: I will be providing instructions on how to achieve this look with plain polish, along with Gel Polish.
Step 1: Prep Nails
View my post on Nail Polish Prep.
Step 2: Paint Color onto Nails
Paint all of the nails, except the middle and ring fingers, with two coats of red polish. I used the Shellac color called, Wild Fire. Paint the middle and ring fingers with two coats of white polish. I used the Shellac color called, Cream Puff.
Gel Polish: Apply two coats of polish. Cure 2 minutes in the UV light, or 1 minute in an LED light.
Step 3: Stripes
Stick strips of vinyl or tape onto your middle finger nails, only after polish is dry. (Note: I just cut my own by hand with a pair of paper scissors.) Paint red polish and remove guides.
Gel Polish: Paint red polish, remove guides and cure 2 minutes in the UV light, or 1 minute in an LED light.
Step 4: Christmas Trees
Now paint a christmas tree onto each ring finger. I have put together a little picture guide to help you visualize how to paint a simple christmas tree. Begin with a dot of paint and drag out the paint to five points to make a star. Paint a small up and down line right under the star. Then paint lines back and forth (each just slightly longer than the one above) until you have filled almost the entire length of the nail. Now finish with an up and down line at the bottom, to create the trunk of the tree.
Note: When hand painting images on your nails use acrylic craft paints, not polish. You will get crisper lines and much more “pop” than you would with polish. Some polishes can sometimes dry almost transparent which makes the image hazy and you won’t get the wow factor you are going for.
Step 5: Rhinestone Jewels & Top Coat
Apply a health top coat to all the nails. Make sure the paint is completely dry before adding top coat to help avoid smearing. While top coat is very wet gently push the jewel into the top coat. This will create the jewel to be sealed into the top coat layer. (Note: I placed a square jewel at angle to create a diamond jewel.)
Shellac: Apply top coat and jewel. Cure in UV light for 2 minutes. If needed, do another application of top coat and cure in light.
The best way to pick up the little jewel is to use a toothpick. You touch the toothpick to a damp cloth and then to the top of the jewel. Place on to the nail.
Step 6: Allow to Dry and Apply Cuticle Oil
Allow your polish to dry completely. Apply a cuticle oil just around your nails on the cuticle and rub into the skin.
Gel Polish: Remove sticky residue on top of nails with a little alcohol or polish remover and apply cuticle oil.
Remove gel polish after 2-3 weeks, check out Gel Polish Removal for the quickest, easiest and best way to remove gels.


