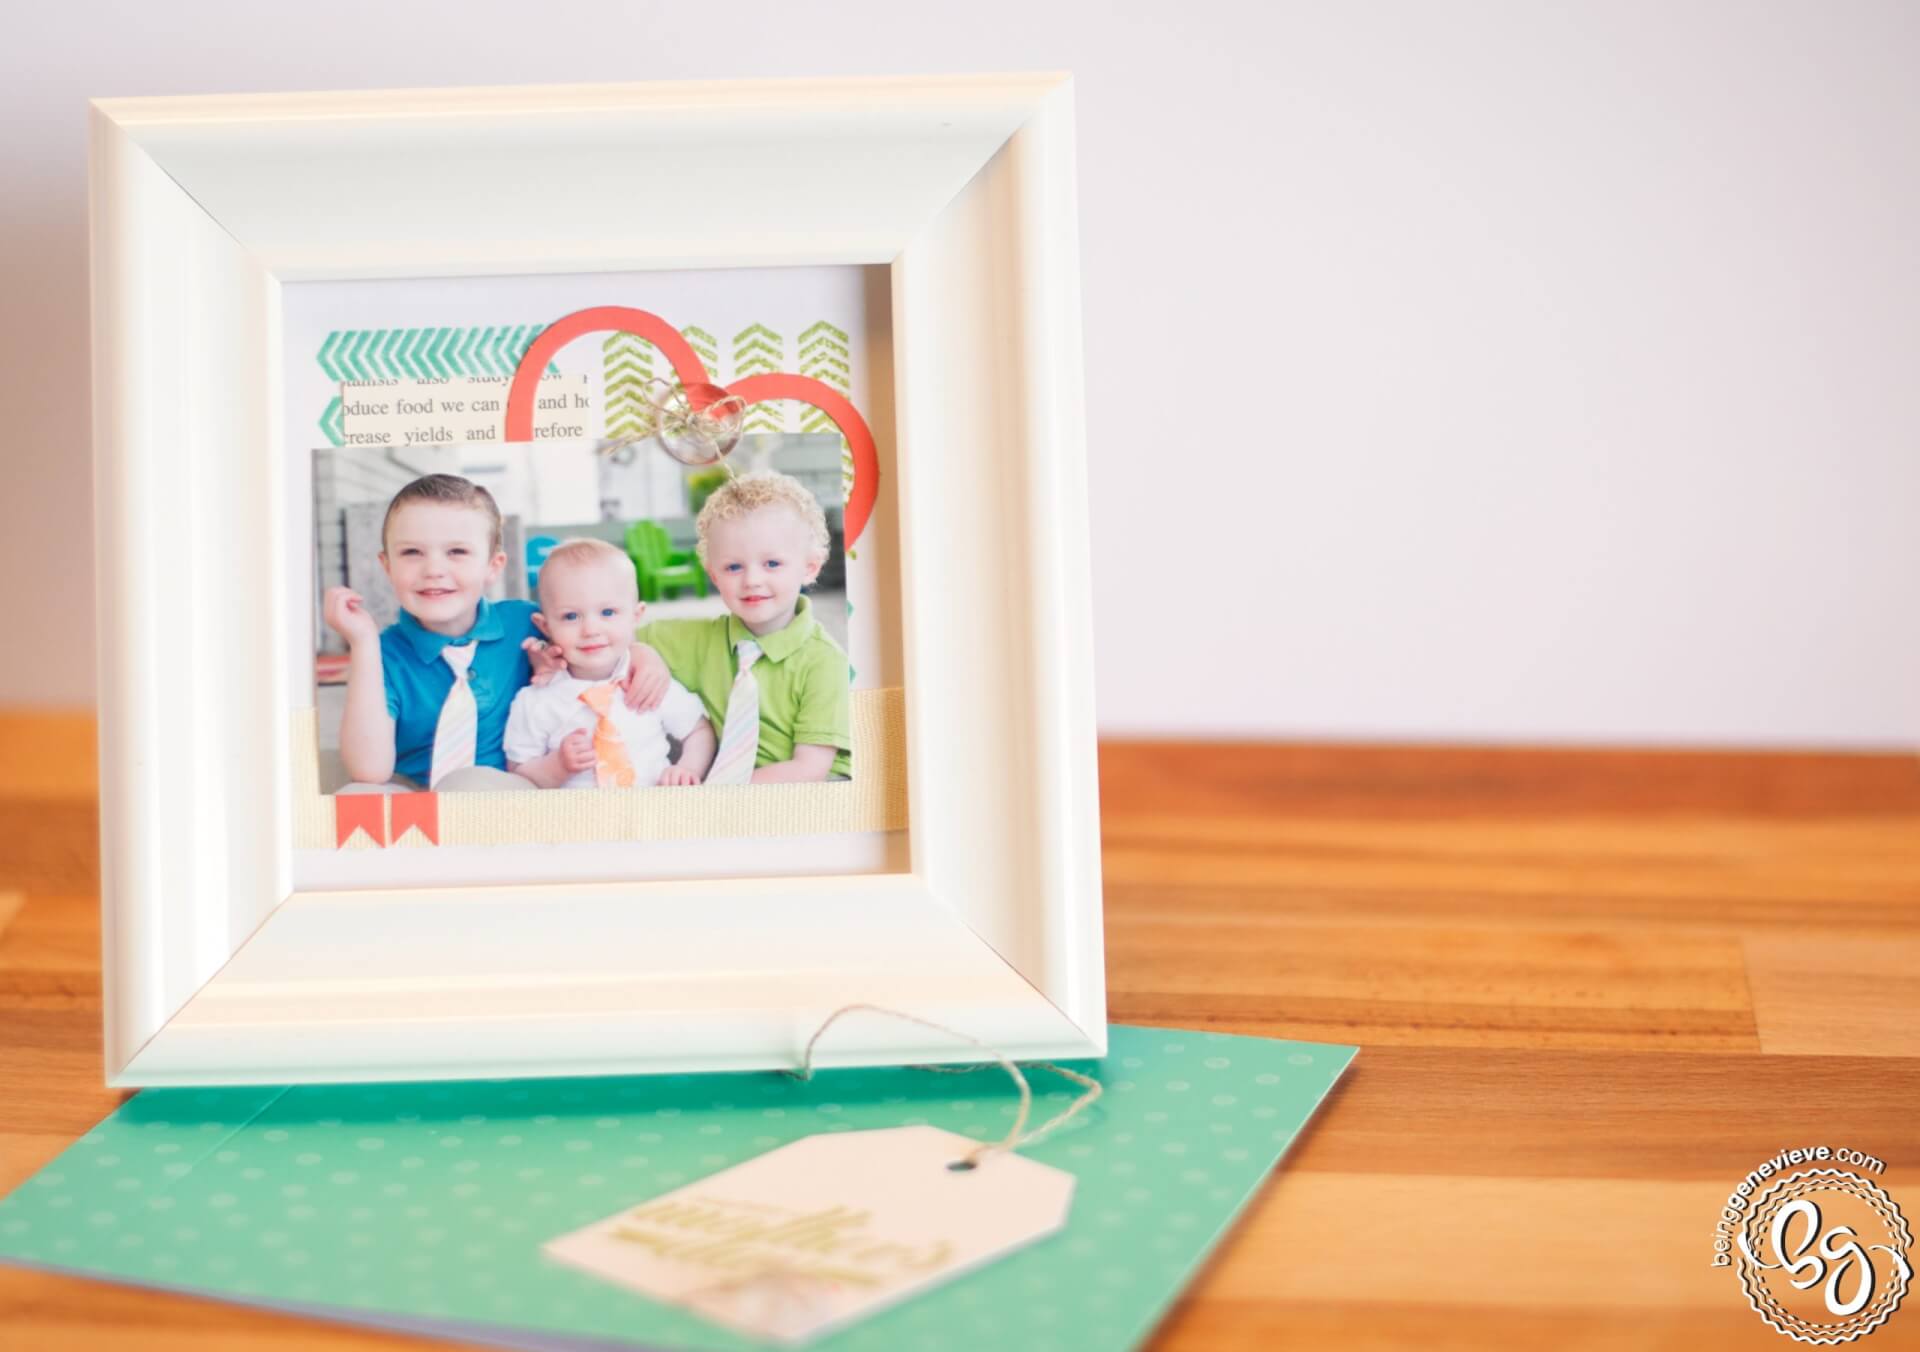
As promised, here is April’s paper pumpkin. I was expecting to receive a kit full of card supplies, but instead it was a cute 4″ x 4″ frame with adorable diamond-like buttons.
I need to start out by apologizing. I don’t know what I was thinking, but I forgot to take a picture of all the supplies the kit arrived with. Here is a blog that shows what the kit came with and what the “suggested” assembly looked like.
I started out by printing a picture of my boys from Easter morning, size 3.25″ x 2″. I stamped blue and green arrows and then added one of the newspaper-looking stickers to one side. I used one of the coral colored hearts and positioned it behind the picture at an angle. I cut a piece of ribbon and added it to the bottom, behind the picture. I cut some of the extra coral into two flag-like pieces and positioned on the same side as the newspaper sticker. I then took some of the twill and tied a bow to the button. There you have it – cute, personalized and very easy.


To make the tag – I stamped at an angle, added a small coral heart and then added the other diamond-like button to the card with twill tied into a bow.
My sister also put together this kit, but decided to keep the frame for another project. She used the supplies to make adorable Mother’s Day cards. Note: She did use two pieces of scrapbook paper from her stash, not included in the kit.

I love that with the paper pumpkin the possibilities are really endless!


I love your twist on this month’s kit! Now I wish I hadn’t completed the kit as directed 🙂