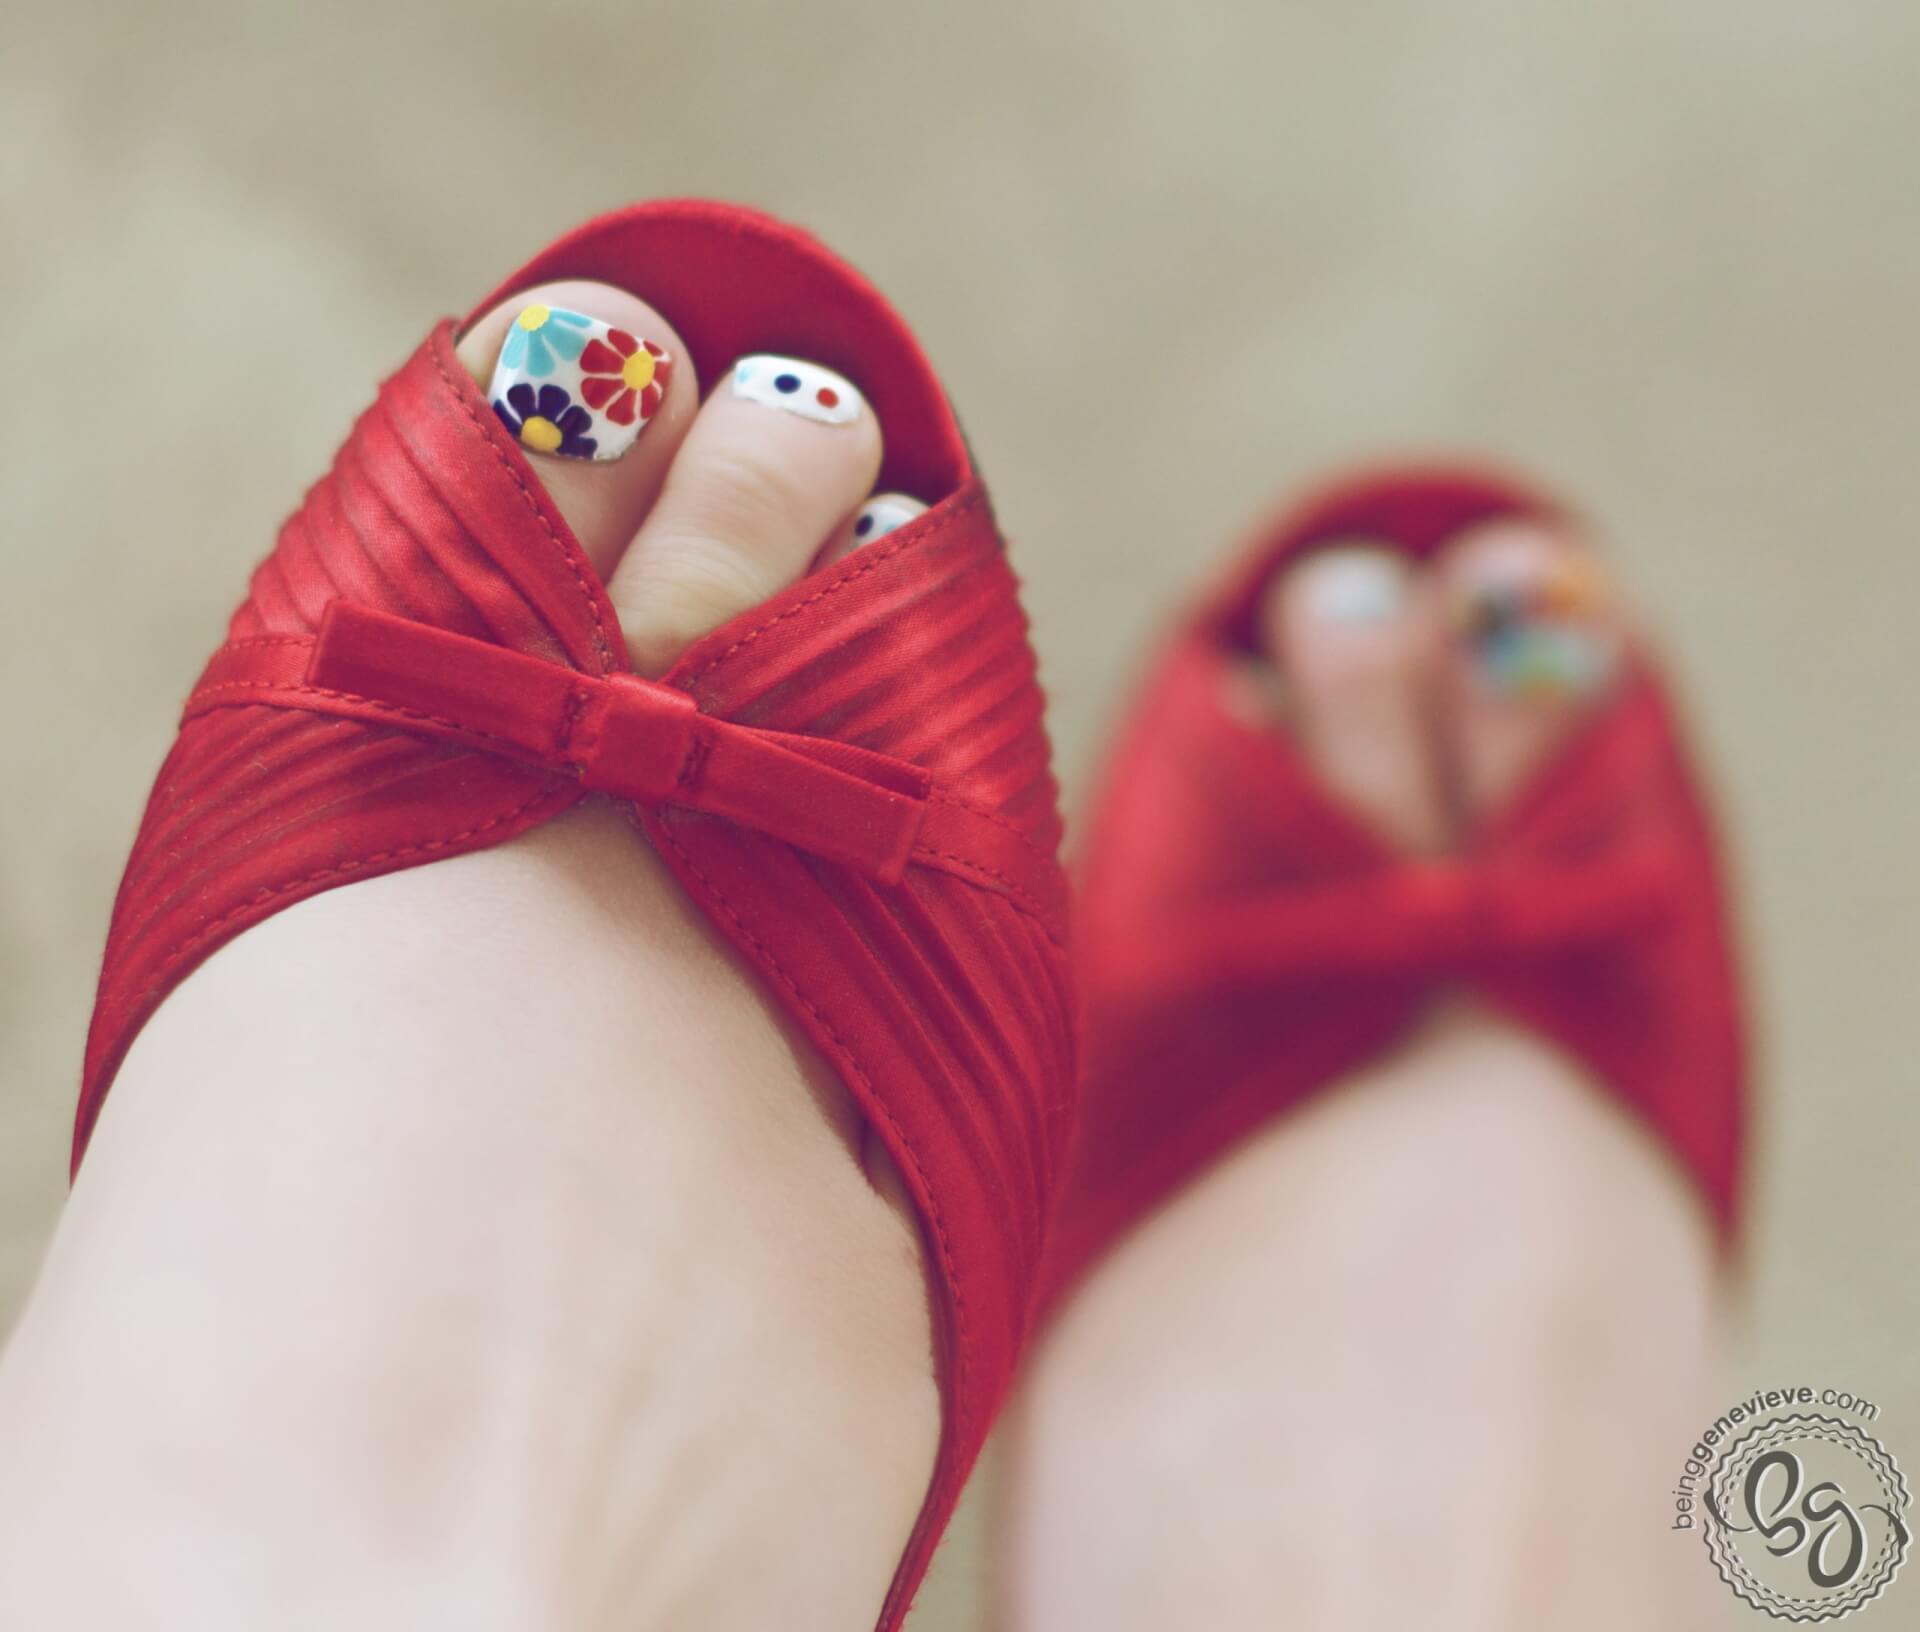
I want to start out by saying that I know I should NOT be a foot model, but my feet are available at all hours so this is what I have to work with for foot photography. Nonetheless, I have come up with five tips that I feel are vital to know in order to paint the perfect pedicure. Summer is right around the corner and sandal weather will be here before we know it. So let’s get practicing. . .
1- Nail Preparation
To guarantee a long lasting pedicure you need to make sure you are taking the correct steps in preparing your nails for the polish to adhere well. Follow my post on the correct way to prep your nails.
2- Picking the Right Color
To have a stunning pedicure you need to pick a complementary color for your skin tones. For example, I have a red undertone and fair skin so red polish is a no-no for me. If I do red polish on my toes it seems to make my feet look red all over. If your not completely sure what colors are best for you, read this article on how to match nail colors to your skin tones.
3- Painting the Polish
When it comes to painting nail polish there is something you need to know, thin is best. I recommend painting two thin coats opposed to one thick coat because polish dries on the surface rather than underneath. Two thin coats will end up drying in about 20-30 minutes. Where if you paint one thick gloopey coat you will sit around for hours waiting for the polish to dry and will still end up with sheet imprints on them in the morning.
4- Large Nail Art Designs
When it comes to painting nail art on your toes pick larger designs. You don’t want someone to have to bend over and put their face next to your feet just to see what is painted on your toes. . . I have seen this happen on a number of occasions. . . Make the design easily visible to be seen just by looking down from a standing position. Note: To achieve flowers like I have done on my nails view this tutorial.
5- Seal It In
Once the nail art design is dry, paint the nail with top coat. Then go back and paint the edge of the nail tip with top coat by dragging the brush from one side to the other. This will help seal the polish in and will prolong the life of your pedicure.
Now go dig out, from the back of your closet, those favorite summer sandals of yours that you haven’t seen since last year and dust them off. Put them on and go show off your amazing pedicure that you did, right from the comfort of your home!


LOVE this, especially that design on the toes! In my dreams I can paint beautiful designs on nails. Pinning to my Nail Art board right now.
Shirley from Intelligentdomestications.com