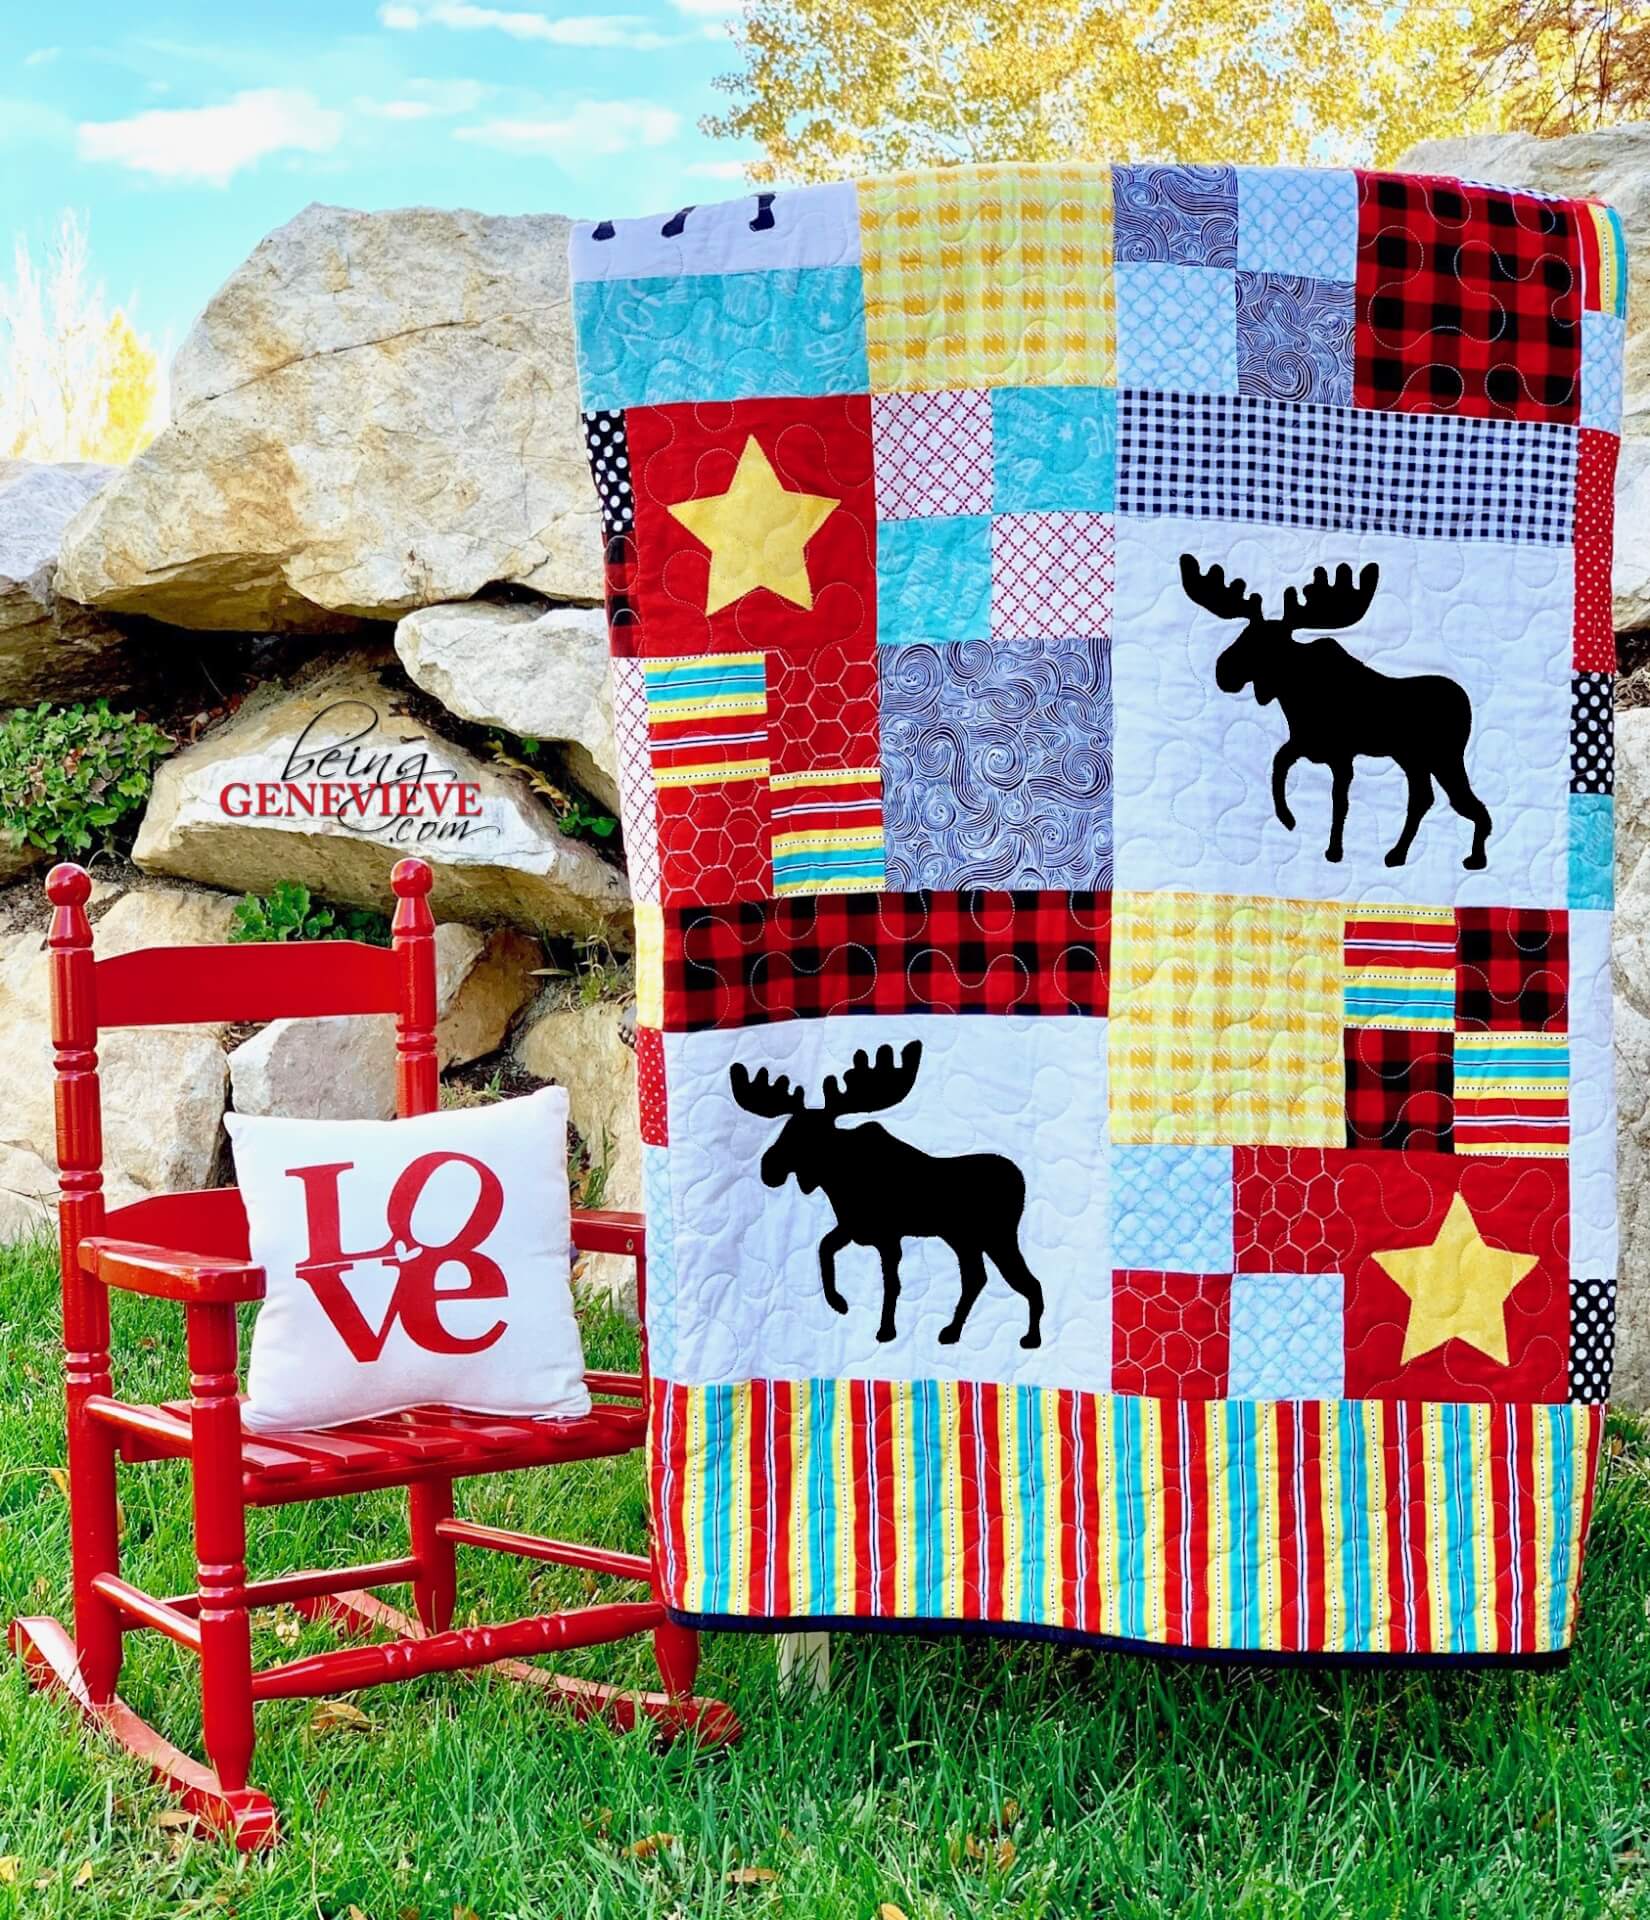
For my new lil’ guy, I decided to make a quilt that included a few of my favorite things; Moose and Stars! I couldn’t find a quilt pattern like this anywhere, so I decided to design my own. Here’s how you can make one just like mine . . .
Supplies:
- 3 5/8 yds. Backing Fabric
- 1 1/8 yds. Border Fabric
- 3/4 yd. Moose Background Fabric (White)
- 5/8 yd. Moose Fabric (Black)
- 1/2 yd. Binding Fabric
- 9-11 Fat Quarters
- 13 inches Star Background Fabric (Red)
- 9 inches Star Fabric (Yellow)
- Corresponding Threads (Black, Yellow, White)
- Moose Template (download below)
- Star Template (download below)
- Quilt Layout Pattern (download below)
- Heat ‘n’ Bond
- Cutting Mat
- Rotary Cutter
- Sewing Machine
- Pins
- Scissors
Notes . . .
- Remember that, when quilting, you need to iron all your seams as you go. This is what will make the difference between a nice quilt and a fantastic quilt.
- All seams are 1/4″
- I had pictures of each step, but it looks like one of my little helpers helped delete them off of my phone.
Step 1: Fabric
Decide what colors you want to use in this quilt. (I chose to do black, white, yellow, red, and blue.) Then purchase corresponding fabrics.
Step 2: Download Templates
Download the zip file below for SVG and PDF files of the moose and star templates.

Step 3: Cut Fabric
- Cut 3 5/8 yds. Backing Fabric
- 1 – 87 1/2″ x Fabric Width
- 2 – 22″ x Fabric Width
- 1 – 4 1/2″ x 22″
- 1 1/8 yds. Border Fabric
- 6 – 6 1/2″ x Fabric Width
- 3/4 yd. Moose Background Fabric (White)
- 8 – 9 1/2″ x 12 1/2″
- 5/8 yd. Moose Fabric (Black)
- Iron on Heat ‘n’ Bond, then cut 8 Moose (from template)
- 1/2 yd. Binding Fabric
- 8 – 2 1/4″ x Fabric Width
- Fat Quarters
- 8 – 3 1/2″ x 12 1/2″
- 23 – 6 1/2″ x 6 1/2″
- 88 – 3 1/2″ x 3 1/2″
- 13 inches Star Background Fabric (Red)
- 11 – 6 1/2″ x 6 1/2″
- 9 inches Star Fabric (Yellow)
- Iron on Heat ‘n’ Bond, then cut 11 Stars (from template)
Step 4: Applique
Iron on heat ‘n’ bond onto fabric BEFORE cutting out moose. Then iron moose onto the moose background fabric rectangles. Iron stars onto the star background fabric squares. Now blanket stitch around each image, just as I did here in step 2.

Iron On

This is what the back of the moose quilt piece will look like after it is blanket stitched on.
Step 5: Layout
Download the PDF file of the quilt pattern below.
Now arrange all of your pieces on a clean, vacuumed floor to decide which placement you like best. Once you have all your pieces just perfect, take a picture with your phone. This way as you sew your quilt together you will have a picture to refer to of what piece to sew where.
Step 6: Assemble
PIECED FRONT
First, I began by sewing all the 3 1/2″ squares together to create 6 1/2″ pieced squares.
Next, sew all the 3 1/2″ x 12 1/2″ stripes to the corresponding moose rectangle to create a 12 1/2″ moose square.
Then, sew the 6 1/2″ squares & the star squares to the pieced 6 1/2″ squares to create a 12 1/2″ pieced square.
Now, sew the pieced 12 1/2″ pieced squares with the pieced moose squares to create rows.
Lastly, sew all the rows together.

Your rows should look like this.
BORDER
Sew on a 6 1/2″ x Fabric Width strip to the top of the quilt and another to the bottom of the quilt. Now trim off the excess strip fabric.
Sew together 2 of the 6 1/2″ x Fabric Width to create a strip that is 6 1/2″ x 85″. Then cut that strip to 6 1/2″ x 66 1/2″.
Do that again so you will have 2 – 6 1/2″ x 66 1/2″ strips.
Sew on 6 1/2″ star pieces to the top and bottom on the new strips.
Now take the new star/border strip and sew to the sides of the quilt.


BACKING
Now with your backing, it should always be at least 4″ wider on all sides (or add 8″ to the length and 8″ to the width of the quilt front) of the quilt.
Sew your 2 – 22″ x Fabric Width strips and your 4 1/2″ x 22″ piece together to create a 22″ x 87 1/2″ strip. Now sew that strip to the 87 1/2″ x Fabric Width piece together to create your backing.
 Step 7: Quilt & Bind
QUILT
Now you can either tie your quilt or have it professionally quilted. My mother professionally quilted mine because she has a long arm quilting business. If you need yours quilted, just contact her here. She takes great pride in creating beautiful quilted quilts. She does quilting for people all over the country. They just mail their quilts to her and she mails them back when they are finished.
BIND
This is the technique I use to bind my quilts. That’s it, you are done. Congratulations on your new adorable moose and star quilt!


