As a high school student, I did a joint program with a technology college for my junior and senior year to earn my cosmetology and nail technician licenses/degrees at the same time that I was earning my high school degree. I would attend high school for half of my credits and the other half I attended beauty school. So during all of my high school years I had french tipped acrylic nails, on the account that I was always practicing for school. Because of this, I have a love, no appreciation, for the elegant look that a well applied french tip can have on someone’s nails.
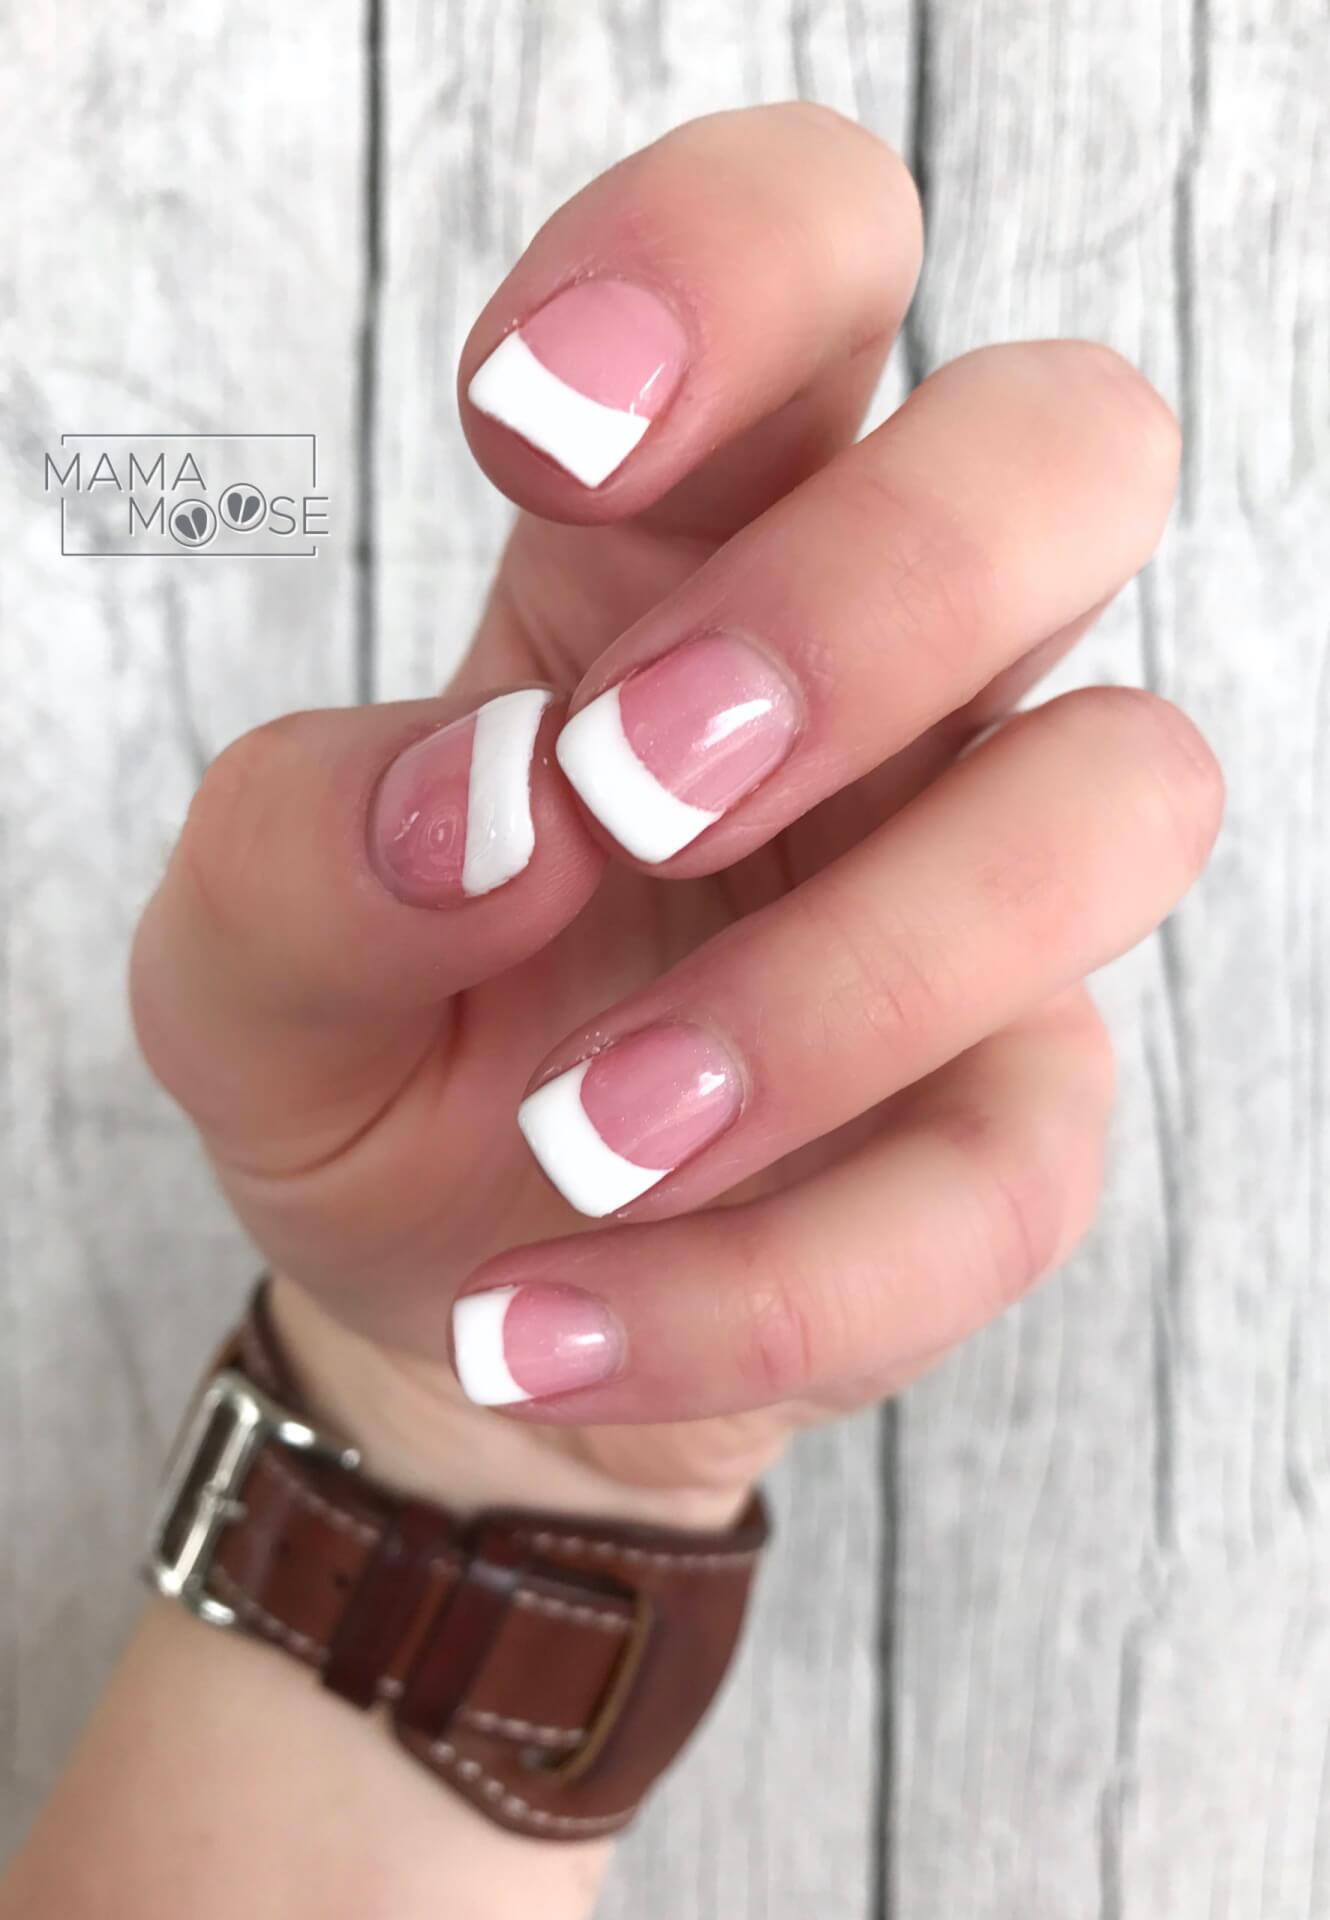
I recently painted french tips with my shellac – gel polishes – to see how well it would work. I am happy to report that it worked amazingly. BUT before I free-handed the smile lines I decided to try a few of the “easy” techniques I have seen bouncing around Pinterest to see how well they worked. Note: I found 4 techniques and will explain each.
No. 1: French Tip Guides
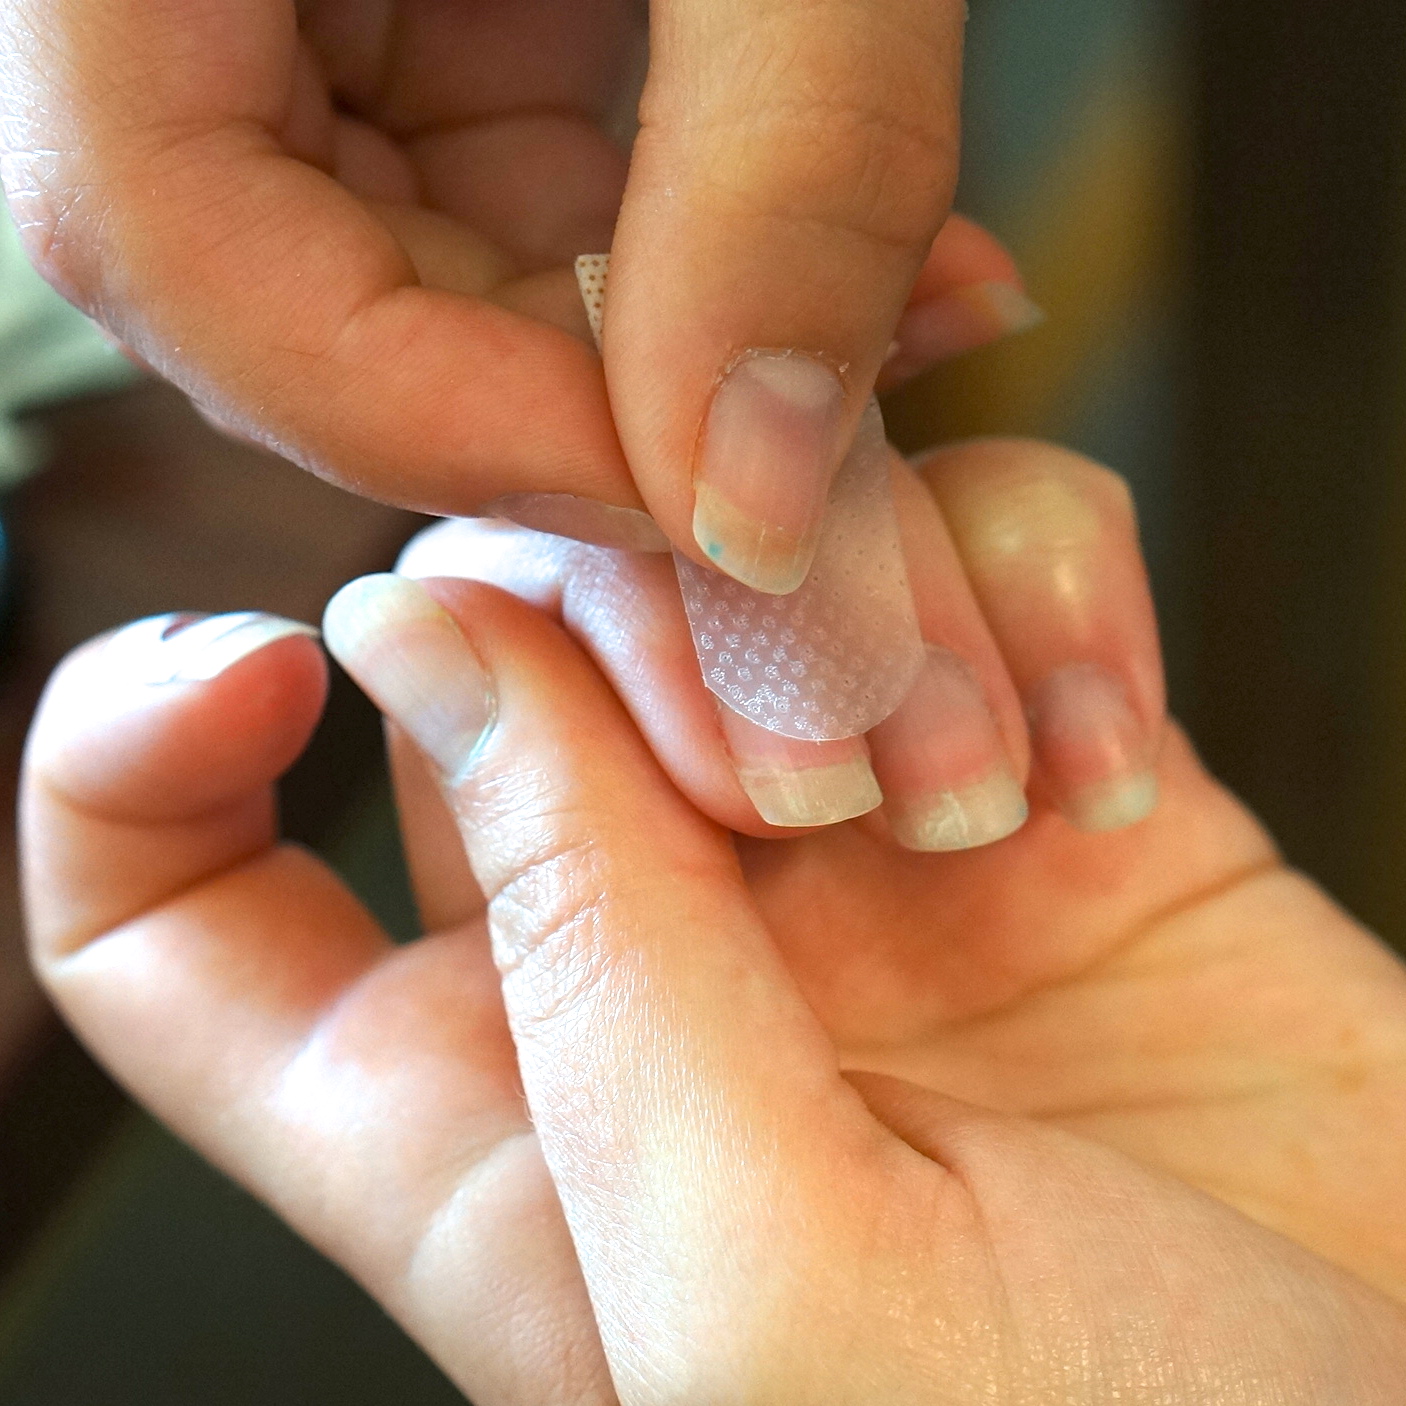
I personally don’t like these. They are sticker guides that you stick to the nail and then paint along. In my opinion, they don’t seem to stick as well as you need them to. You lift the sticker away and you have polish that has “bled” underneath. You then need to use a cotton swab to clean the smile line up. Note: When I did this I seemed to get cotton stuck in the polish and then I really had a mess.
No. 2: Notebook Paper Reinforcement
I personally haven’t tried this method, but to me it seems like you could end up with the same results (polish “bleeding”) as the french tip guides if your not careful. I do like that the paper reinforcers create more of a curved smile line, than the guides and the band-aids do. The key is to take your time in sticking the “sticker” to the nail so as not to have any areas where the polish can “bleed” underneath. This blogger was very careful in her application and had a beautiful end result for her french tips.
No. 3: Band-aid
This isn’t too bad of a method, if you use sticky enough band-aids. Child character band-aids don’t stick well enough for this to work well. You may have your polish “bleed” underneath slightly if you aren’t careful. Stick your band-aid well and it should work fine. Note: The band-aid creates less of a curved smile line.
No. 4: Free Hand
This is personally my method of choice, but that might be because I trust painting it myself better than having to clean up a smeared line with a cotton swab.
Here is what I do . . .
Note: I will be providing instructions on how to achieve this look with plain polish, along with Gel Polish.
Step 1: Prep Nails
View my post on Nail Polish Prep.
Step 2: Paint Nails Light Shimmery Pink
Paint all your nails with two coats of pink shimmer polish. {I used the Shellac color called Grapefruit Sparkle.}
Gel Polish: Apply one coat pink polish. Cure 2 minutes in the UV light, or 1 minute in an LED light. Apply second coat of pink polish. Cure again for 2 minutes in the UV light, or 1 minute in an LED light.
Step 3: Paint French Tips
Paint the tip of your nail with one coat of white polish. {I used the Shellac color called Cream Puff.} While the polish is still wet draw a crisp smile line with a very small Nail Art Stylus. I have a attached a video that shows how I do mine.
Gel Polish: Apply one coat white polish to the tips. Cure 2 minutes in the UV light, or 1 minute in an LED light.
Step 4: Apply Final Top Coat
Now apply your top coat. Make sure the paint is completely dry before adding top coat to help avoid smearing.
Gel Polish: Apply top coat, only after paint is completely dry. Cure in UV light for 2 minutes, or 1 minute with an LED light.
Step 5: Allow to Dry and Apply Cuticle Oil
Allow your polish to dry completely. Apply a cuticle oil just around your nails on the cuticle and rub into the skin.
Gel Polish: Remove sticky residue on top of nails with a little alcohol or polish remover and apply cuticle oil.


