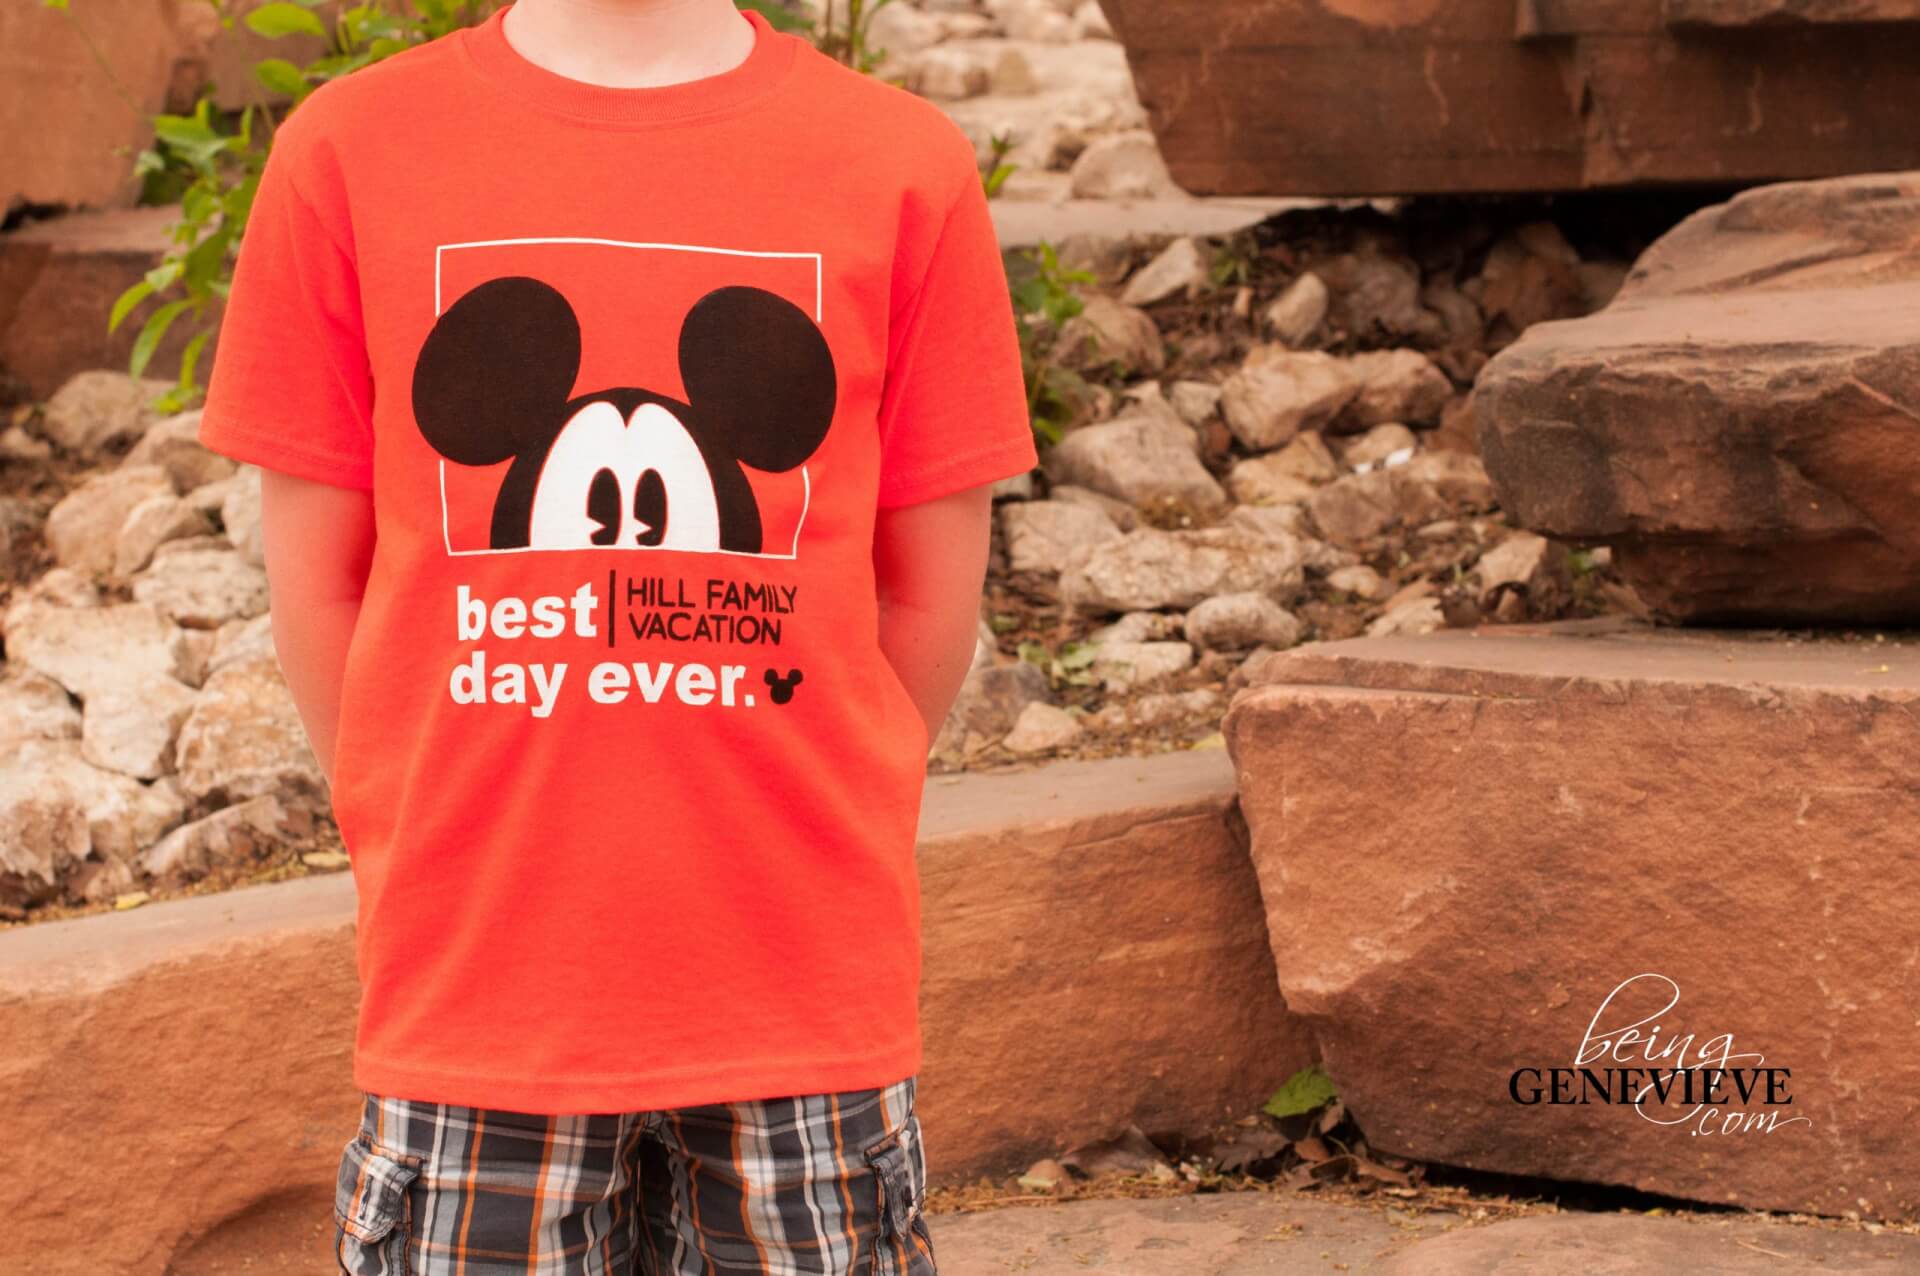
My kids kept saying that having Grandma and Grandpa at Disneyland with us was going to be the best ever. So that is what inspired these shirts. They were so much fun designing and creating these shirts for the family to wear. I also painted character hats and made fantastic disney backpacks for the kids, both of which the boys still wear and use to this day.
So here I am finally sharing these Disney best day ever shirts with you almost a year later. Here is what you will do . . .
 Supplies:
- Shirts (I went to Wal-mart)
- Acrylic paint (Buy on Amazon –Black
and White
)
- Fabric Medium (Buy on Amazon – Fabric Medium
)
- Sponge brush (Buy on Amazon – Sponge Brushes 9pk
)
- Stencil of some kind
- Tacky Spray (Buy on Amazon – Krylon Easy Tack
)
- Cardboard Box
Step 1 : Prep
I couldn’t find shirts in everyone’s size of the same color. So last minute, I decided to make everyone a different color. Looking back, I’m so glad I did that because it was so much cuter than having us all in the same color.
Begin by wrapping a cardboard piece in parchment/wax paper and placing in the shirt so that paint doesn’t seep through to the other side.
I begin by deciding what size of template I should cut for each person’s shirt.
I then cut the template out of vinyl to use as a stencil. To add your own family name, just place this SVG into your cutting software, split/break the image and delete our name. Now you can just add your families’ name. Download SVG file below and Disney Best Day Ever PDF file.![]()


Notice the picture below! I cut and removed a small amount of the attached vinyl around the face and the eyes of mickey. The picture indicates where with arrows.

Step 2: Stencil Placement
Place vinyl, with it’s backing still on, where you want it on the shirt and tape down. Flip up and remove backing. Spray vinyl with a tacky spray. I use Easy Tack by Krylon. Flip vinyl back down on the shirt and press firmly. Remove the transfer tape slowly making sure all the vinyl stuck well to the shirt. I then use my Mini Pizza Roller to ensure everything is well stuck. {For a step-by-step picture tutorial on how to stick the stencil correctly check out this post.}

I also have a video here that shows how I do it using another shirt I made.
Step 3: Painting
Take a sponge brush with fabric paint or acrylic paint {mix the fabric medium with your acrylic paint to make the paint flexible to help prevent cracking when washed} and dab paint within stencil/vinyl. I started with white and let that set up a little before doing the black. This was so it wouldn’t “bleed” around the eyes and sides of the face where I had to bump the white and black paint up next to each other.


Step 4: Finishing
Once the paint is completely dry {I wait 12-24 hours, just to make sure} remove the vinyl stencil and cardboard from inside the shirt. Then place a piece of scrap fabric over the painted areas and heat set the paint with a hot iron. 


