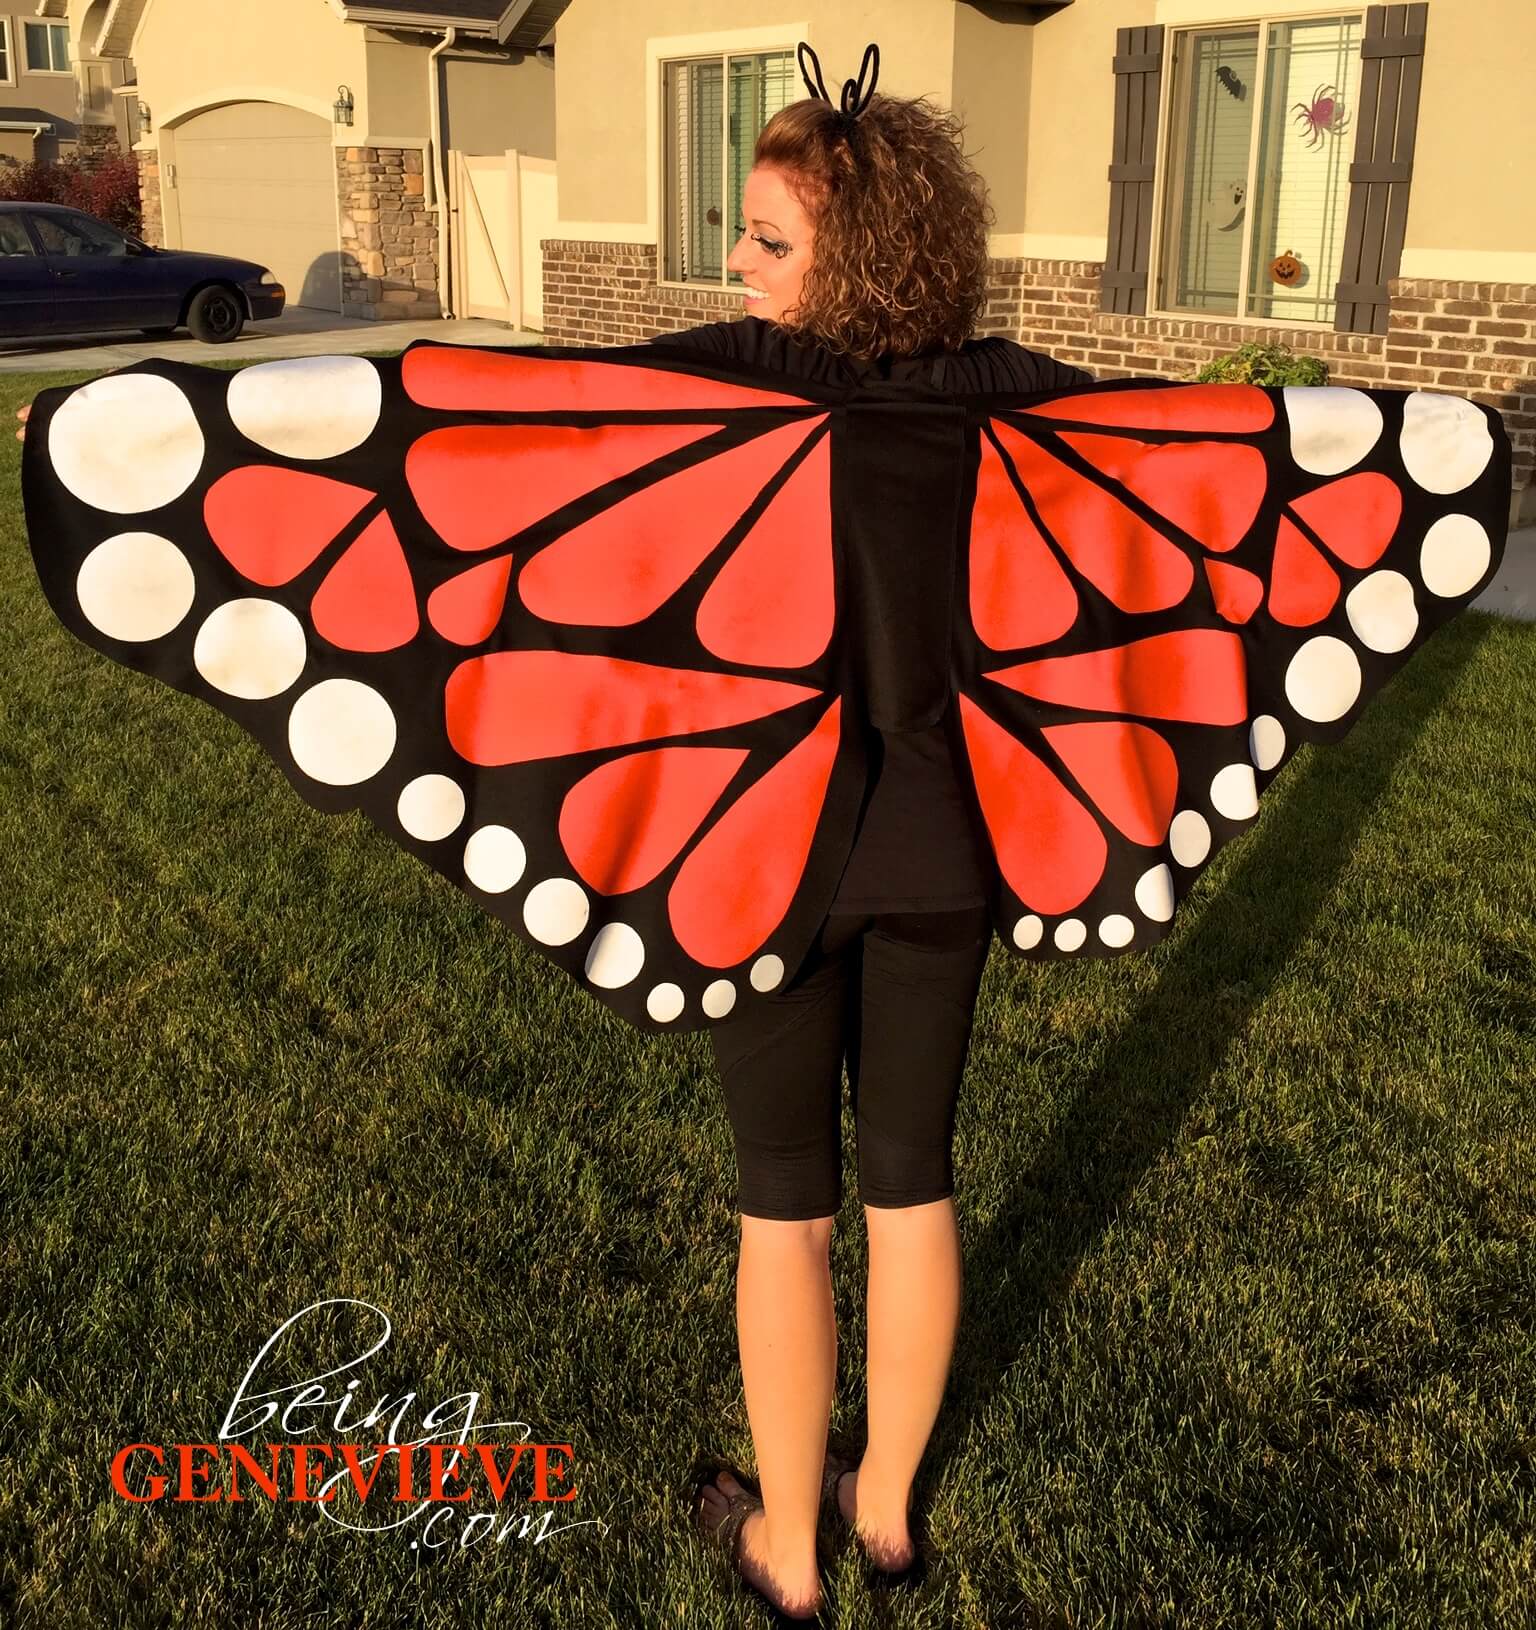
Last year, I stumbled upon this butterfly wing costume on Pinterest. I immediately fell in love. I knew that this would be a perfect costume for me to have for halloween. I love dressing up for halloween, but now with four kids that I have to get dressed in costumes I don’t have the time I would like to get myself ready. This butterfly wing costume can literally just be pulled on and I’m ready to go. Perfect! I can even have a baby in an Ergo on my stomach with this costume. I just dress the baby in all black and he is camouflaged as part of my butterfly body.
The only problem was that the tutorial Buggy and Buddy put together was for a child’s costume. I needed butterfly wings that would fit my 5′ 4″ tall wingspan. So I went to work creating a pattern for adults to re-create these giant-size butterfly wings.
Note: I did make a few changes from how Buggy and Buddy did their wings. For example, I chose to use knit fabric opposed to felt because I wanted to have my wings stretch with my movements.
Supplies:
- Black Knit Fabric, 2-yards
- Orange Fabric
- White Fabric
- Black Elastic, 3/8-inch wide
- Heat’n Bond Ultra Hold
- Pattern, included below (16 pages)
- Pins
- Black Thread
- Scissors
- Sewing Needle or Sewing Machine
Directions:
Step 1: First, download and print out the pattern (16 pages, I know it’s a lot – but it’s worth it!) and put together the pattern with some tape. Then cut out pattern pieces.
Step 2: Fold knit fabric in half diagonally and pin pattern to the fabric, just like it was done HERE.
Step 3: Now, on mine I cut-out a center body piece, just like was done HERE (step 5), but after I finished mine I decided that this step was unneeded with the knit fabric. You can decided what you would like to do.
Step 4: Now for the sewing on of elastic. Buggy and Buddy did this step after the monarch decorative orange and white pieces were placed, but I wanted the decorate pattern pieces to cover my stitching. Go HERE and follow steps 7-11 to sew on the shoulder elastic (cut two pieces both measuring 24″ long) and the wrist elastic. {Note: I didn’t place elastic and the wrist. I placed some at my bicep and I also added a small elastic piece for my middle finger to slide into.}
Step 5: Lastly, I ironed heat ‘n’ bond onto my orange and white fabrics. I then cut out the decorative pattern pieces (2 – of each letter piece, 4 – #1 circles, 6 – #2 & #4 circles, and 8 – #3 circles), removed the paper backing and laid them on the wings just as I did in the picture below. Pin into place and iron the pieces into place. The heat ‘n’ bond will securely hold/stick the pieces onto the giant-size wings.

This is how you want to layout your pattern pieces. Don’t mind the “H” pattern piece missing a hunk out of it. Yours should not look that way, just follow the pattern piece you printed out.
Ta-Da: Now you’re finished! Check out my butterfly antennae headband and butterfly make-up to go along with this amazingly stunning costume. 


Thank you for posting your pattern for this butterfly. My daughter needed a costume for a school project and your post made it easy!
I’m so glad that it was helpful!
Thank you so much for taking the time to post this pattern. 🙂 It saved me a TON of time.