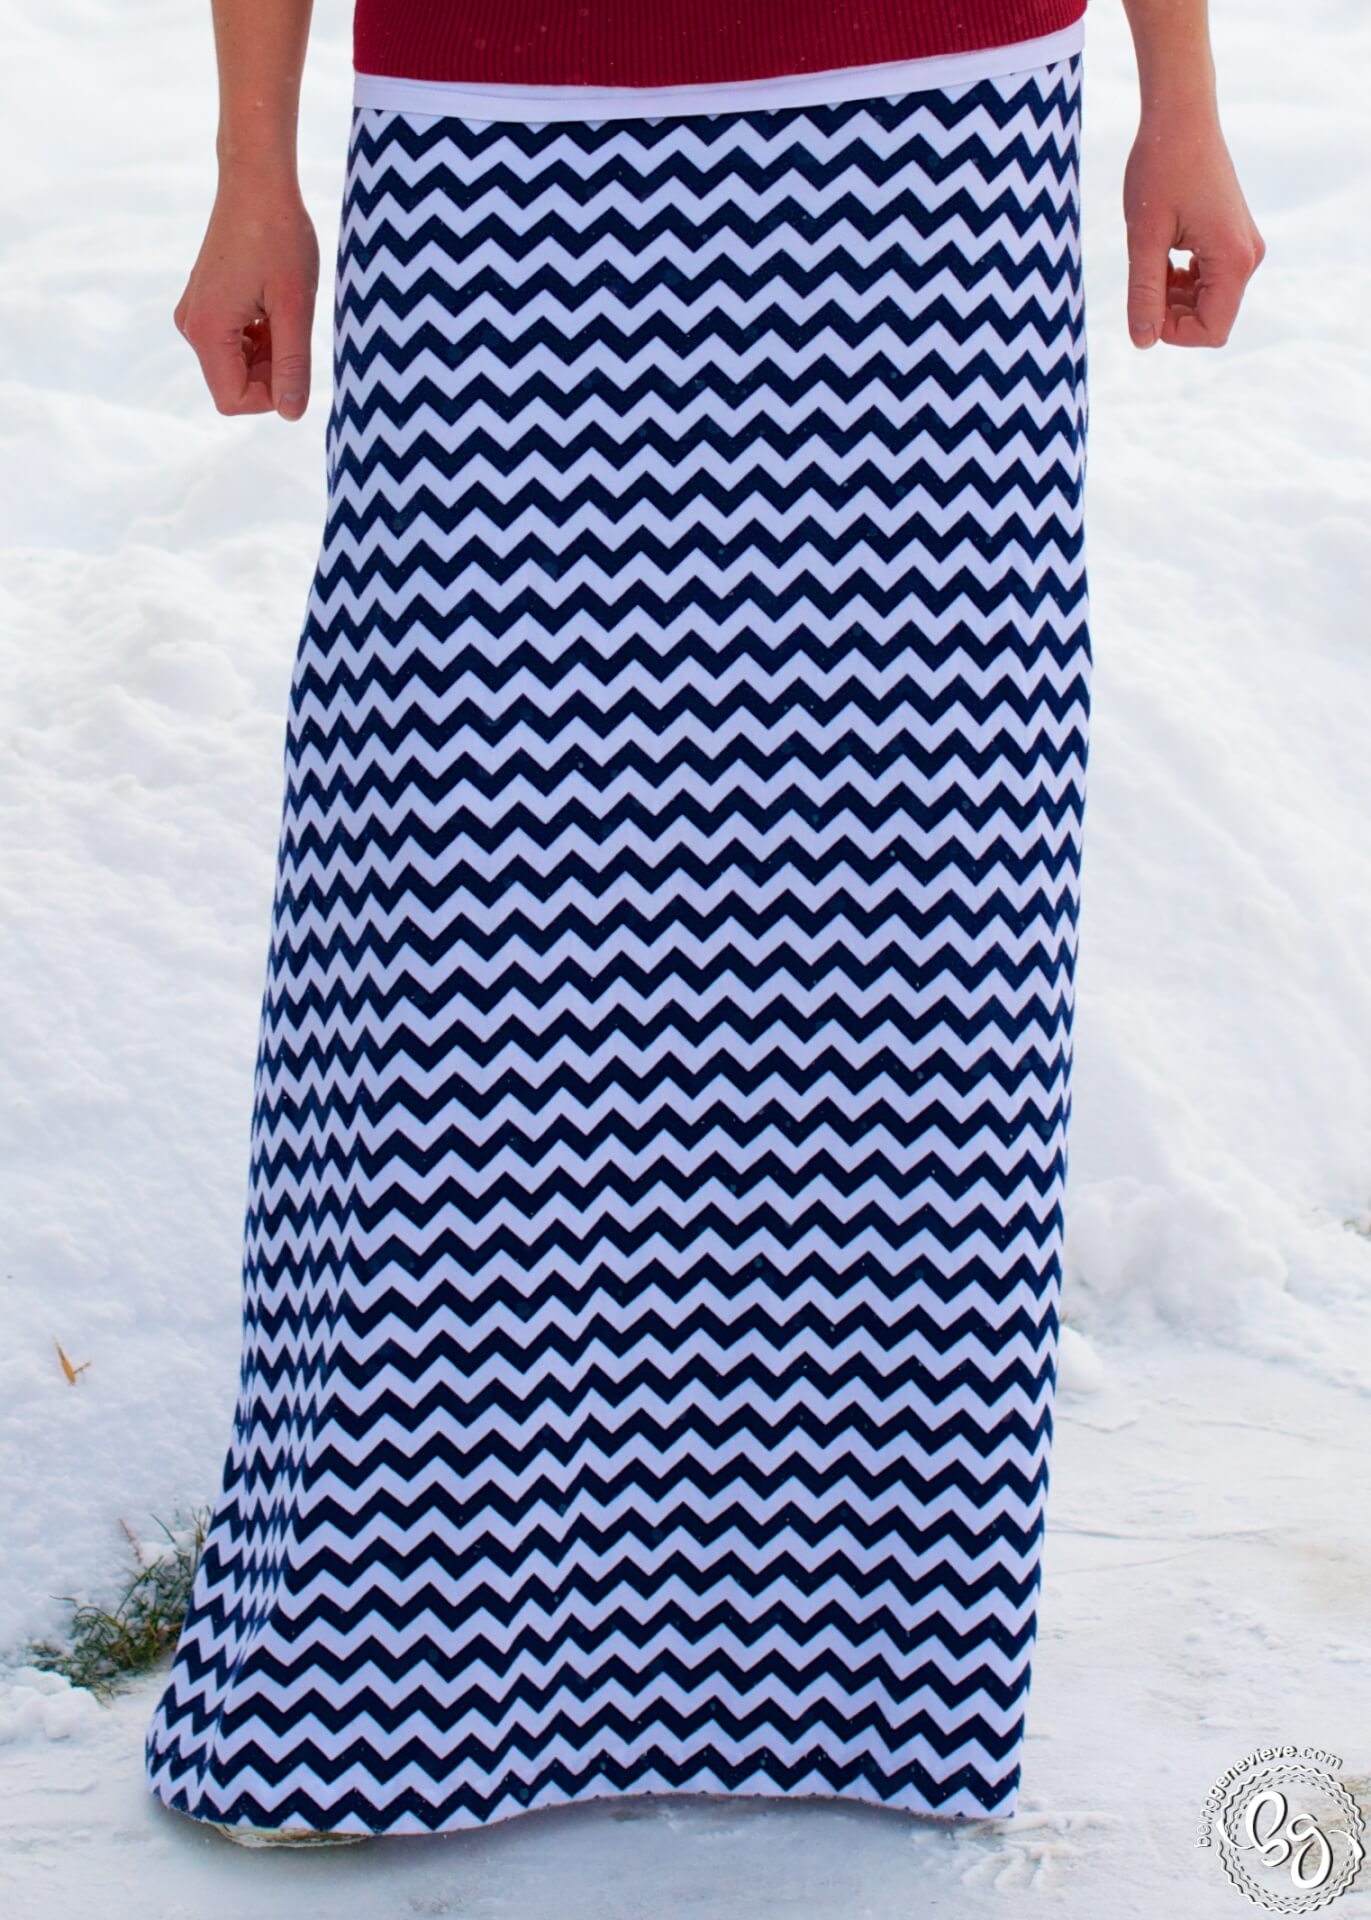
Here is a quick tutorial on how to hem a dress or skirt with a blind hem. On this skirt I did a blind hem. The picture of the below tutorial was done on a different skirt, but it turned out just the same as this one.

Begin by trying on your dress/skirt and mark with a pin where you want the final length to be. Take off dress and lay it on the ironing board.
I measure the distance from the pin to the bottom of the skirt with my seam gauge. I then mark a line with my Mark-B-Gone pen at that location and work my way around the entire skirt (about 1 inch apart from each other).
Now measure 1-1/4 inches down from the line that you just made. (This will be where you will be cutting off.) Do this around the entire skirt just as you did in the step above.
Begin cutting along the line that you just made.
Iron the bottom of the skirt up 1/4” all the way around.
Now iron the bottom up 1” or to the first line that you marked on the skirt.
Find on your sewing machine the hem stitch that looks like mine (#7).


Fold back the fabric like I did and begin stitching with your hem stitch.
Align your presser foot so that the fabric, to the left of the fold, barely gets caught by the needle.
This is how the stitch should look when finished. You can see that the zig-zag just barely caught the fabric.
The front of the skirt will look like this. You can see the stitching close up, but when it is on you can’t see it. This hidden hem helps the bottom of a skirt/dress lay and hang very nicely.
Now you want to mist the bottom of the skirt with a little water. This will make all the little blue marks magically disappear. Enjoy.


