
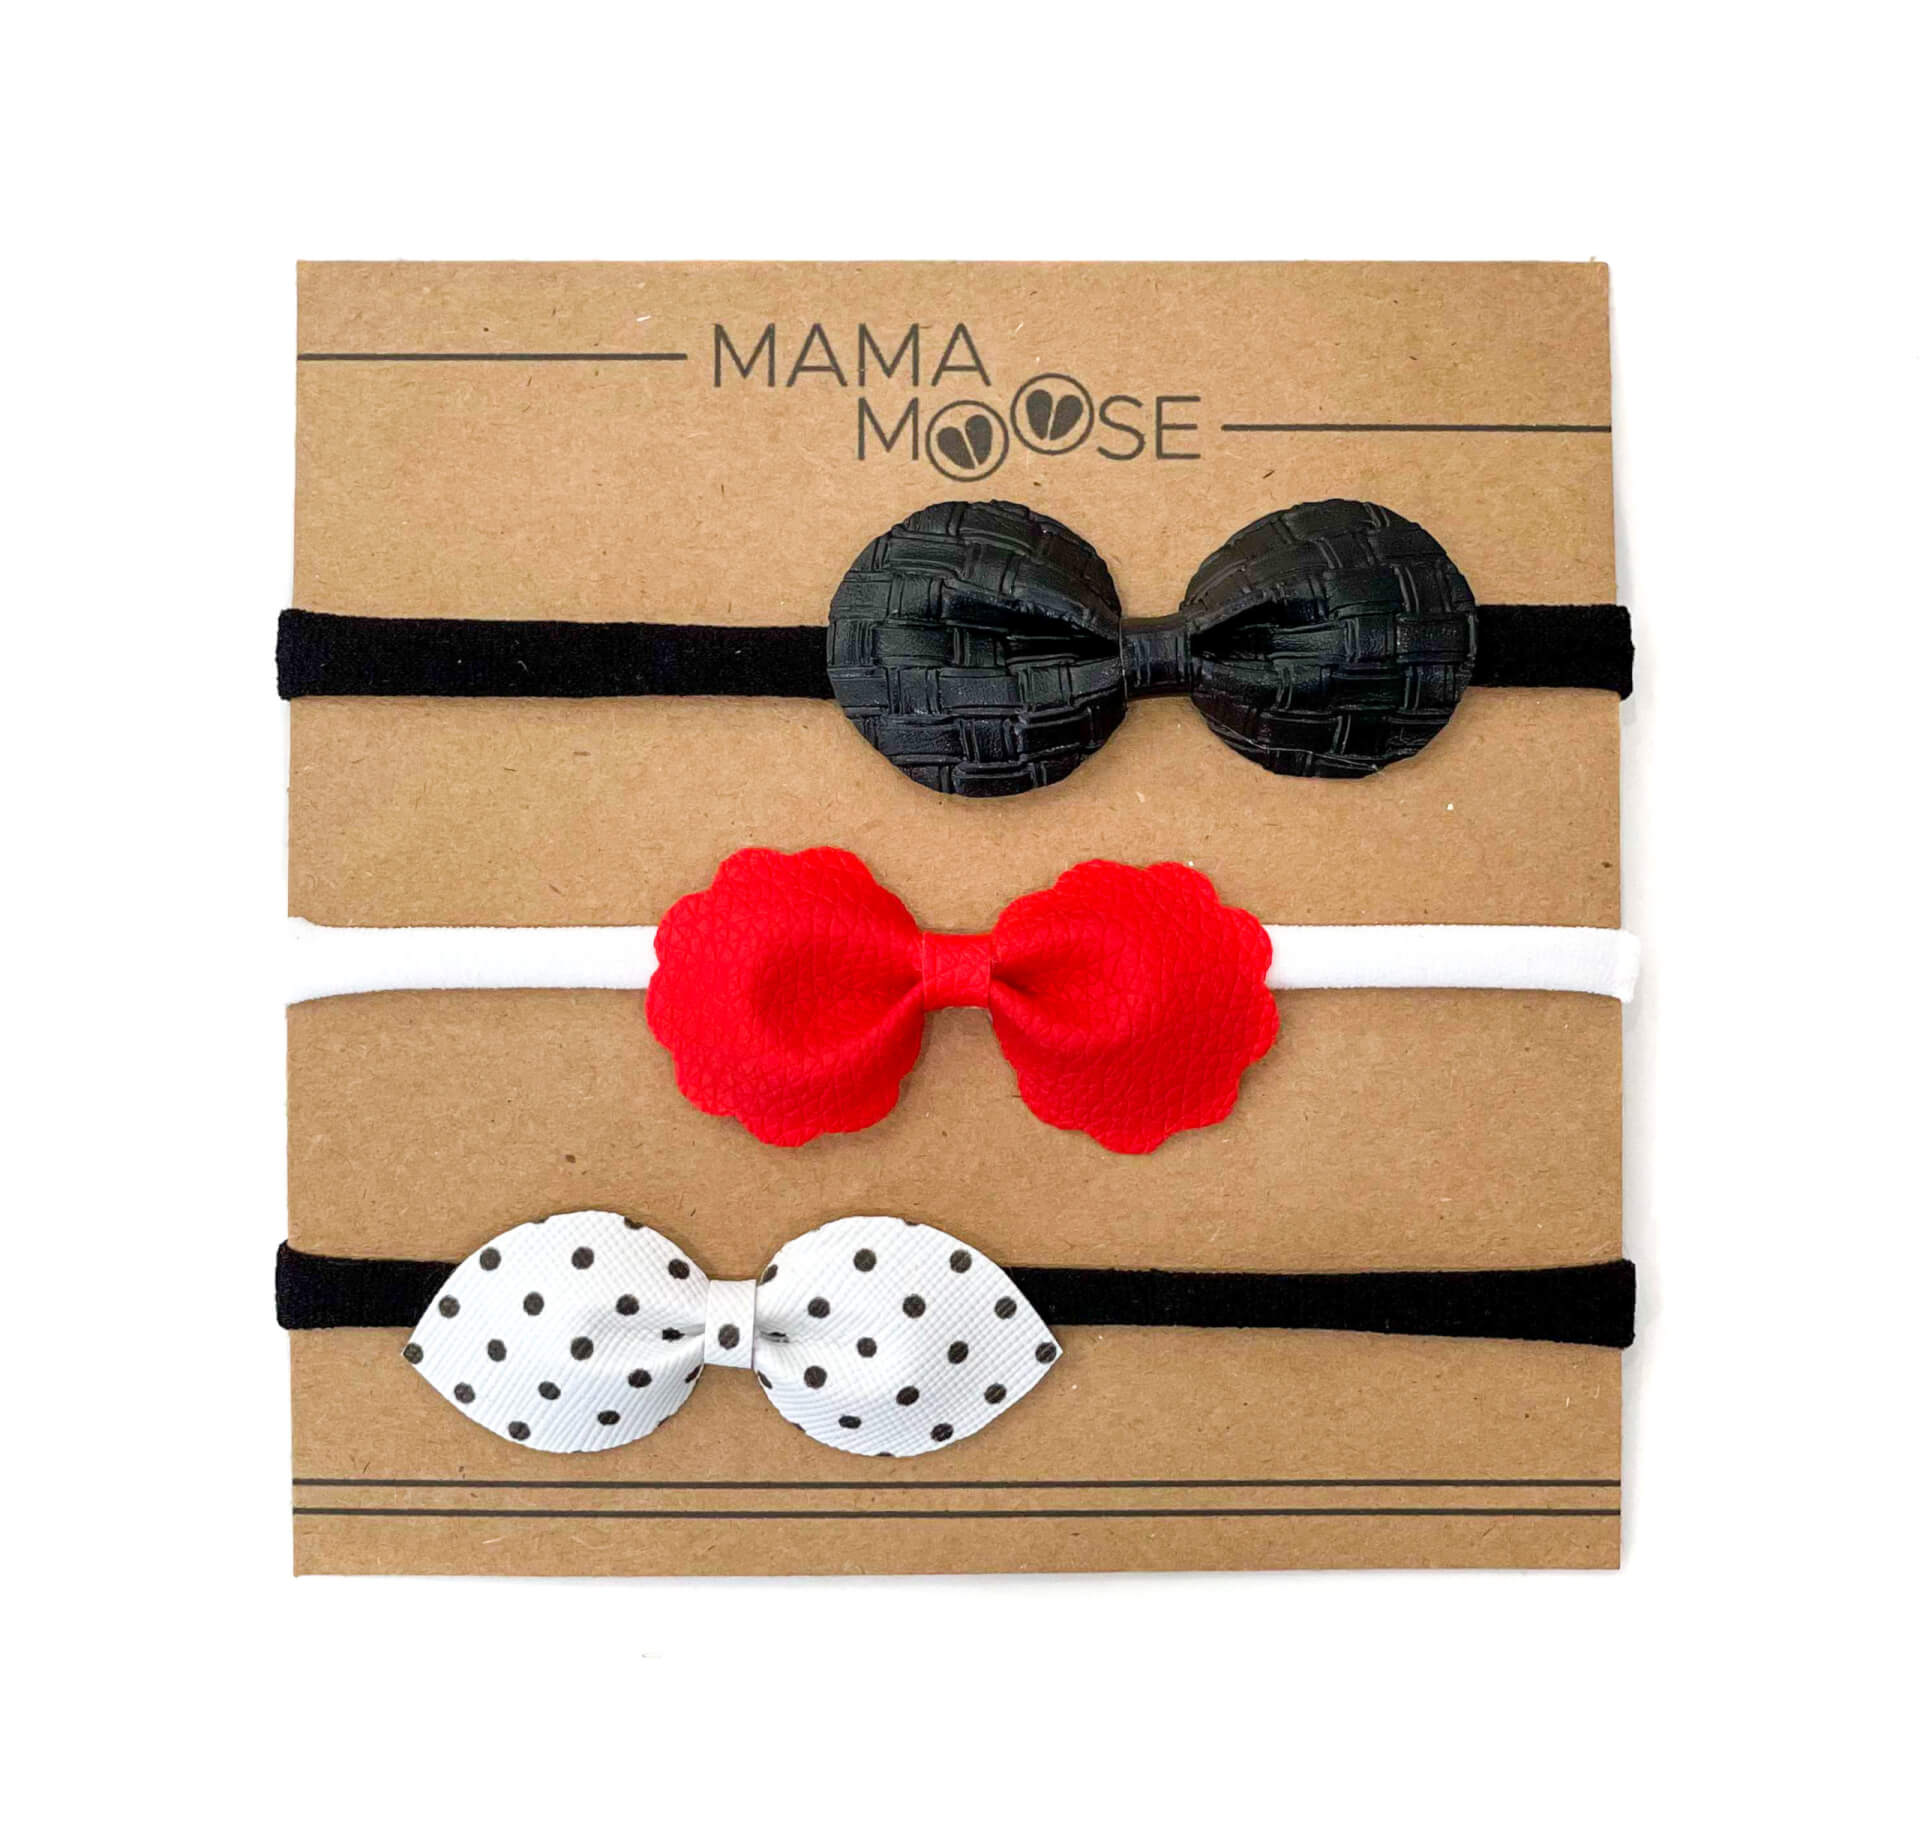
This tutorial is for the bows pictured above. I have included a PDF pattern that can be downloaded below.
NOTE: The pattern pieces on this PDF will be used for all the Baby Girl Hair Bows I have tutorials for.
These basic pinched bows will use the pattern pieces N, O, P, Q and R.

If you plan to attach the hair bow to a headband like I did. I purchased a pair of black tights in size large. I cut the top off of the tights. Then I cut a strip that is 3/4″ and give it a little stretch. The edges will curl in and fit anyone comfortable from a newborn to an adult.


Now on to the hair bow . . .
Begin by pinning the pattern pieces N, O, P, Q, and R onto some felt or faux leather.
Use sharp scissors to cut out the pieces.


First, take pieces N, O and/or P and put a small hot glue drop in the center. Pinch the bow together into the hot glue.


You will now attach the bow to the headband. Lay piece R or Q (depending on how thick you want the center to be) closest to the table with piece N, O, or P on top of it. Then lay the headband on the top.
NOTE: You will not be gluing the bow directly to the headband. You want the headband to be able to move freely underneath the bow.
Now place a small hot glue drop onto piece R or Q and glue it to the other end of piece R or Q. Make sure not to get any of the glue onto the headband so it can move freely.


That’s it! It amazes me how fast and easy this darling bow comes together. Enjoy!


