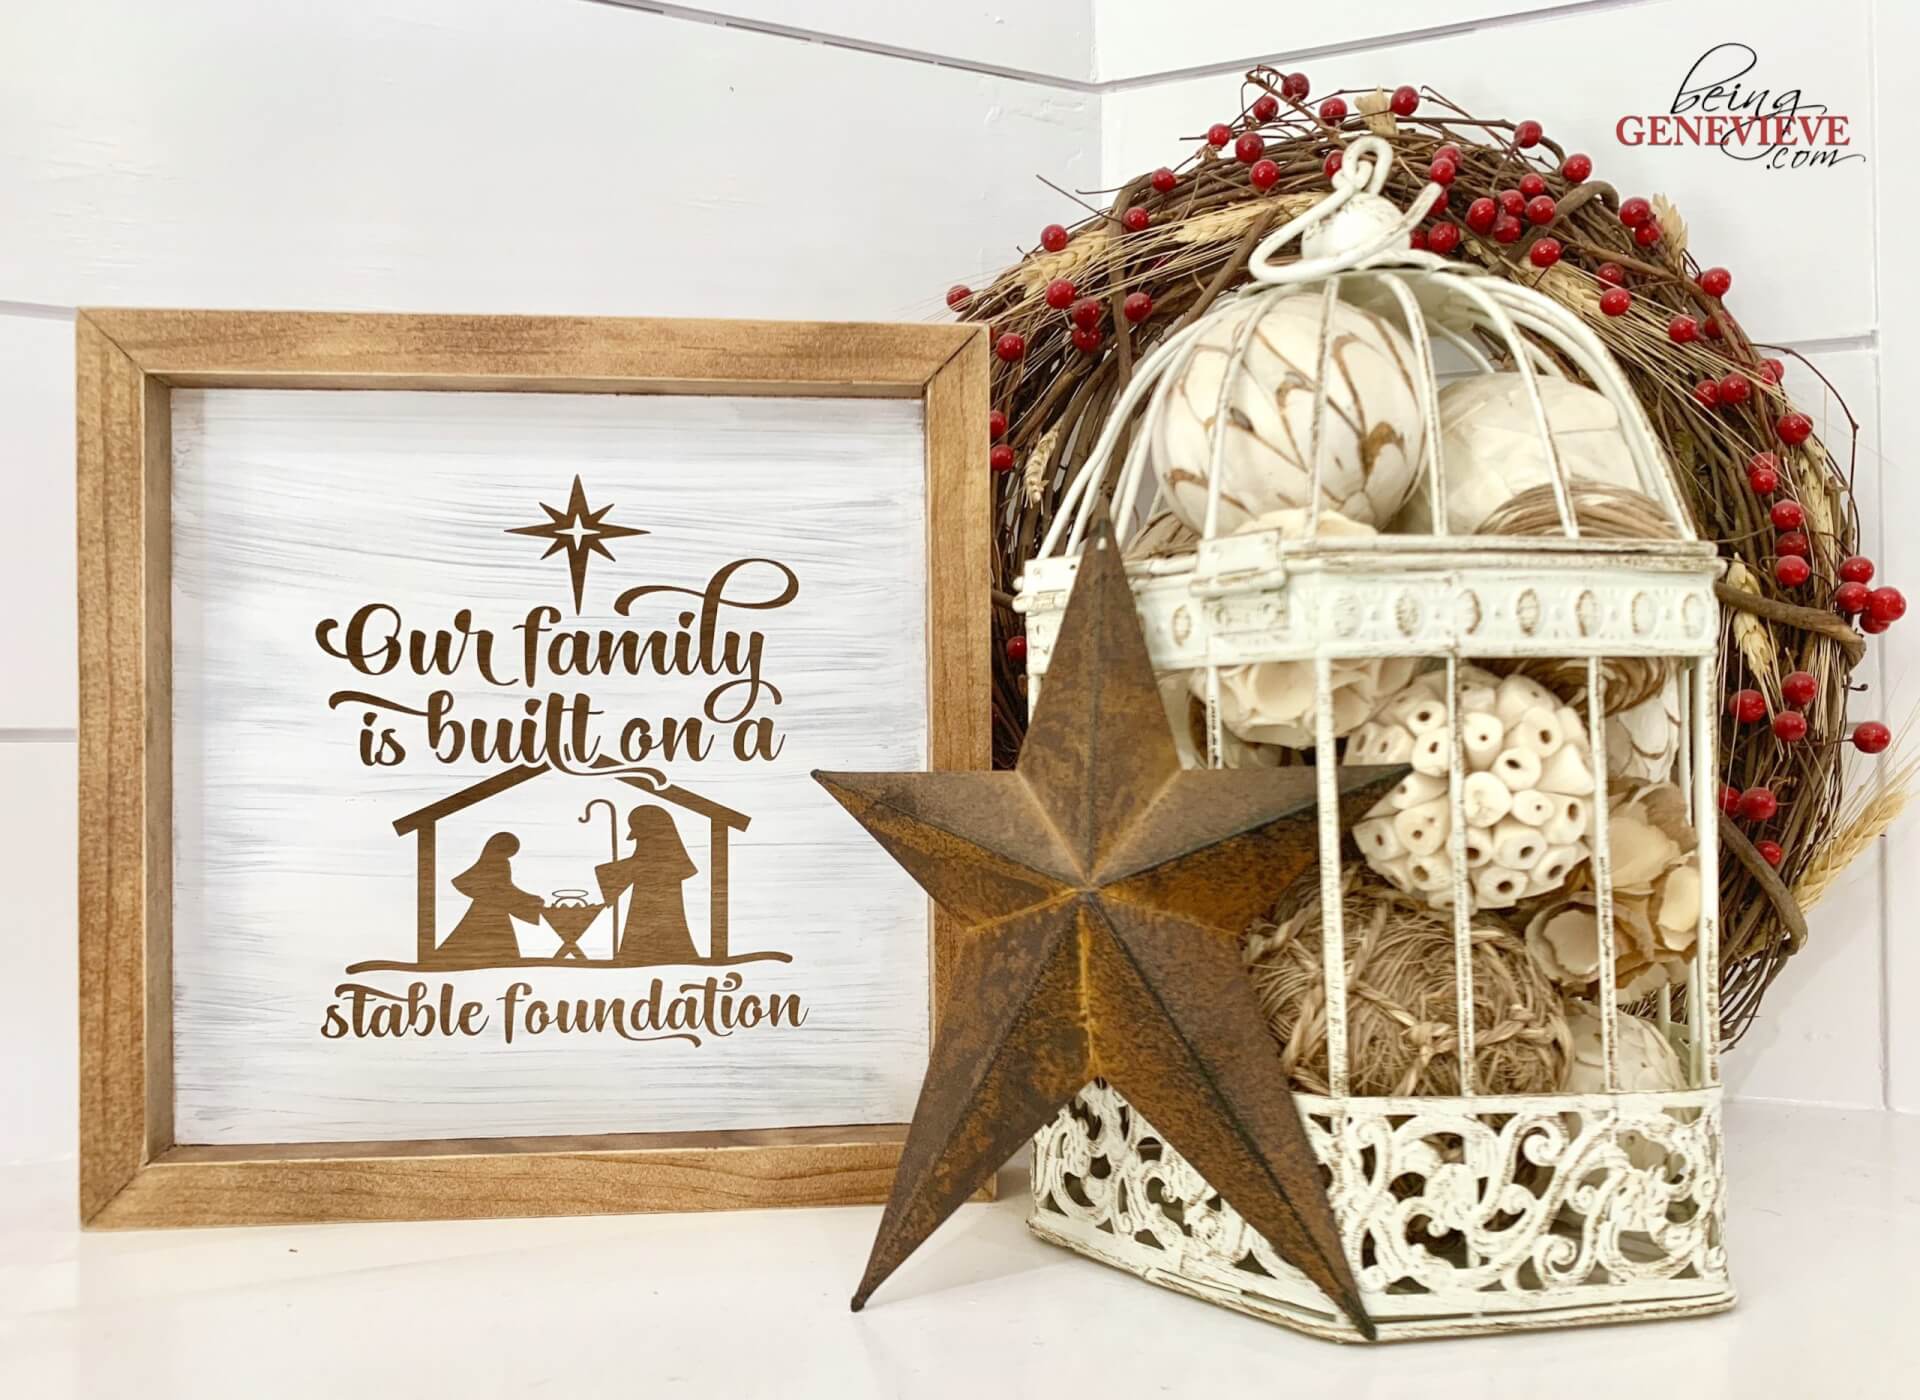
My mother-in-law had her birthday last week and I made her this sign. When I saw this SVG image I knew this needed to be in her home; She has been collecting nativities for decades and loves her family so much!
The Christmas Season is quickly approaching and this simple, DIY, farmhouse style sign is perfect for any home; Make it for your home or make as a gift for someone special in your life.
Supplies:
- Underlayment (cut into 9″ square)
- 1″ x 2″ Pine Board (miter cut into 4 – 9″ strips)
- Pre-Stain Wood Conditioner, optional
- Wood Stain, Early American
- Vinyl Template/Stencil
- Behr Alkyd Semi-Gloss White Enamel
- 32 Quarters
- Gorilla Glue, clear-no foam
- Sandpaper, optional
Step 1: Cut Wood
For this project, I went to Home Depot and found this incredibly lightweight, thin underlayment board (next to the particle boards).

Now cut the underlayment into a 9″ square. Miter cut 4- 9″ frame pieces at a 45 degree angle.
Step 2: Stain Wood
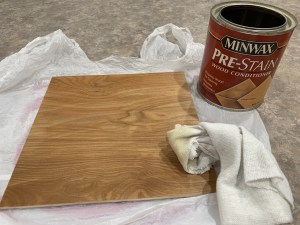
The pre-stain wood conditioner is completely optional. It gives the wood a more consistent stain.
To get the stain color to match, I ended up doing one coat of Early American stain on the underlayment and two coats on the pine board frame.

Step 3: Vinyl Template/Stencil
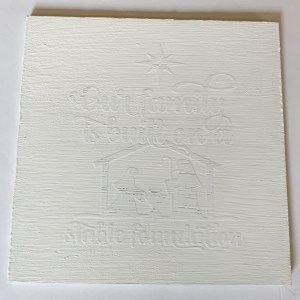
Download the vinyl template from here. Stretch the image slightly and cut the vinyl 6″ wide x 7″ tall.

Apply the vinyl. (Here is how I apply vinyl.)


Step 4: Antique Paint
Paint one coat of white over the entire board. 
Wait a couple of minutes and then wipe a little of the paint off, with a paper towel, to create an antique look.
Step 5: Remove Vinyl
Once the paint is completely dry, remove the vinyl. Work carefully so you don’t scratch the paint, since paint usually takes about a week to completely set.


Step 6: Adhere Frame
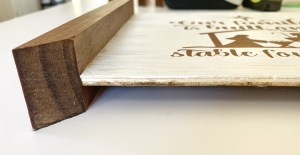
Stack 8 quarters on top of each other. Do that 3 more times. These will act as a platform for your underlayment while the glue sets up.


Apply gorilla glue to all sides of your underlayment board. Then place onto the quarter platform. 

Stick frame to underlayment border. Don’t forget to add gorilla glue to all the frame corner joints.
Tape frame together on corners. Add something slightly heavy (I use canned food) to all the corner joints while the glue sets up.


Once glue is dry and set, remove the tape.
Step 7: Distress Frame, optional
To add a more distressed look, use some sandpaper to sand the edges of the frame. Do as much or as little as you like. I did very little on this project. That’s it. Enjoy!


