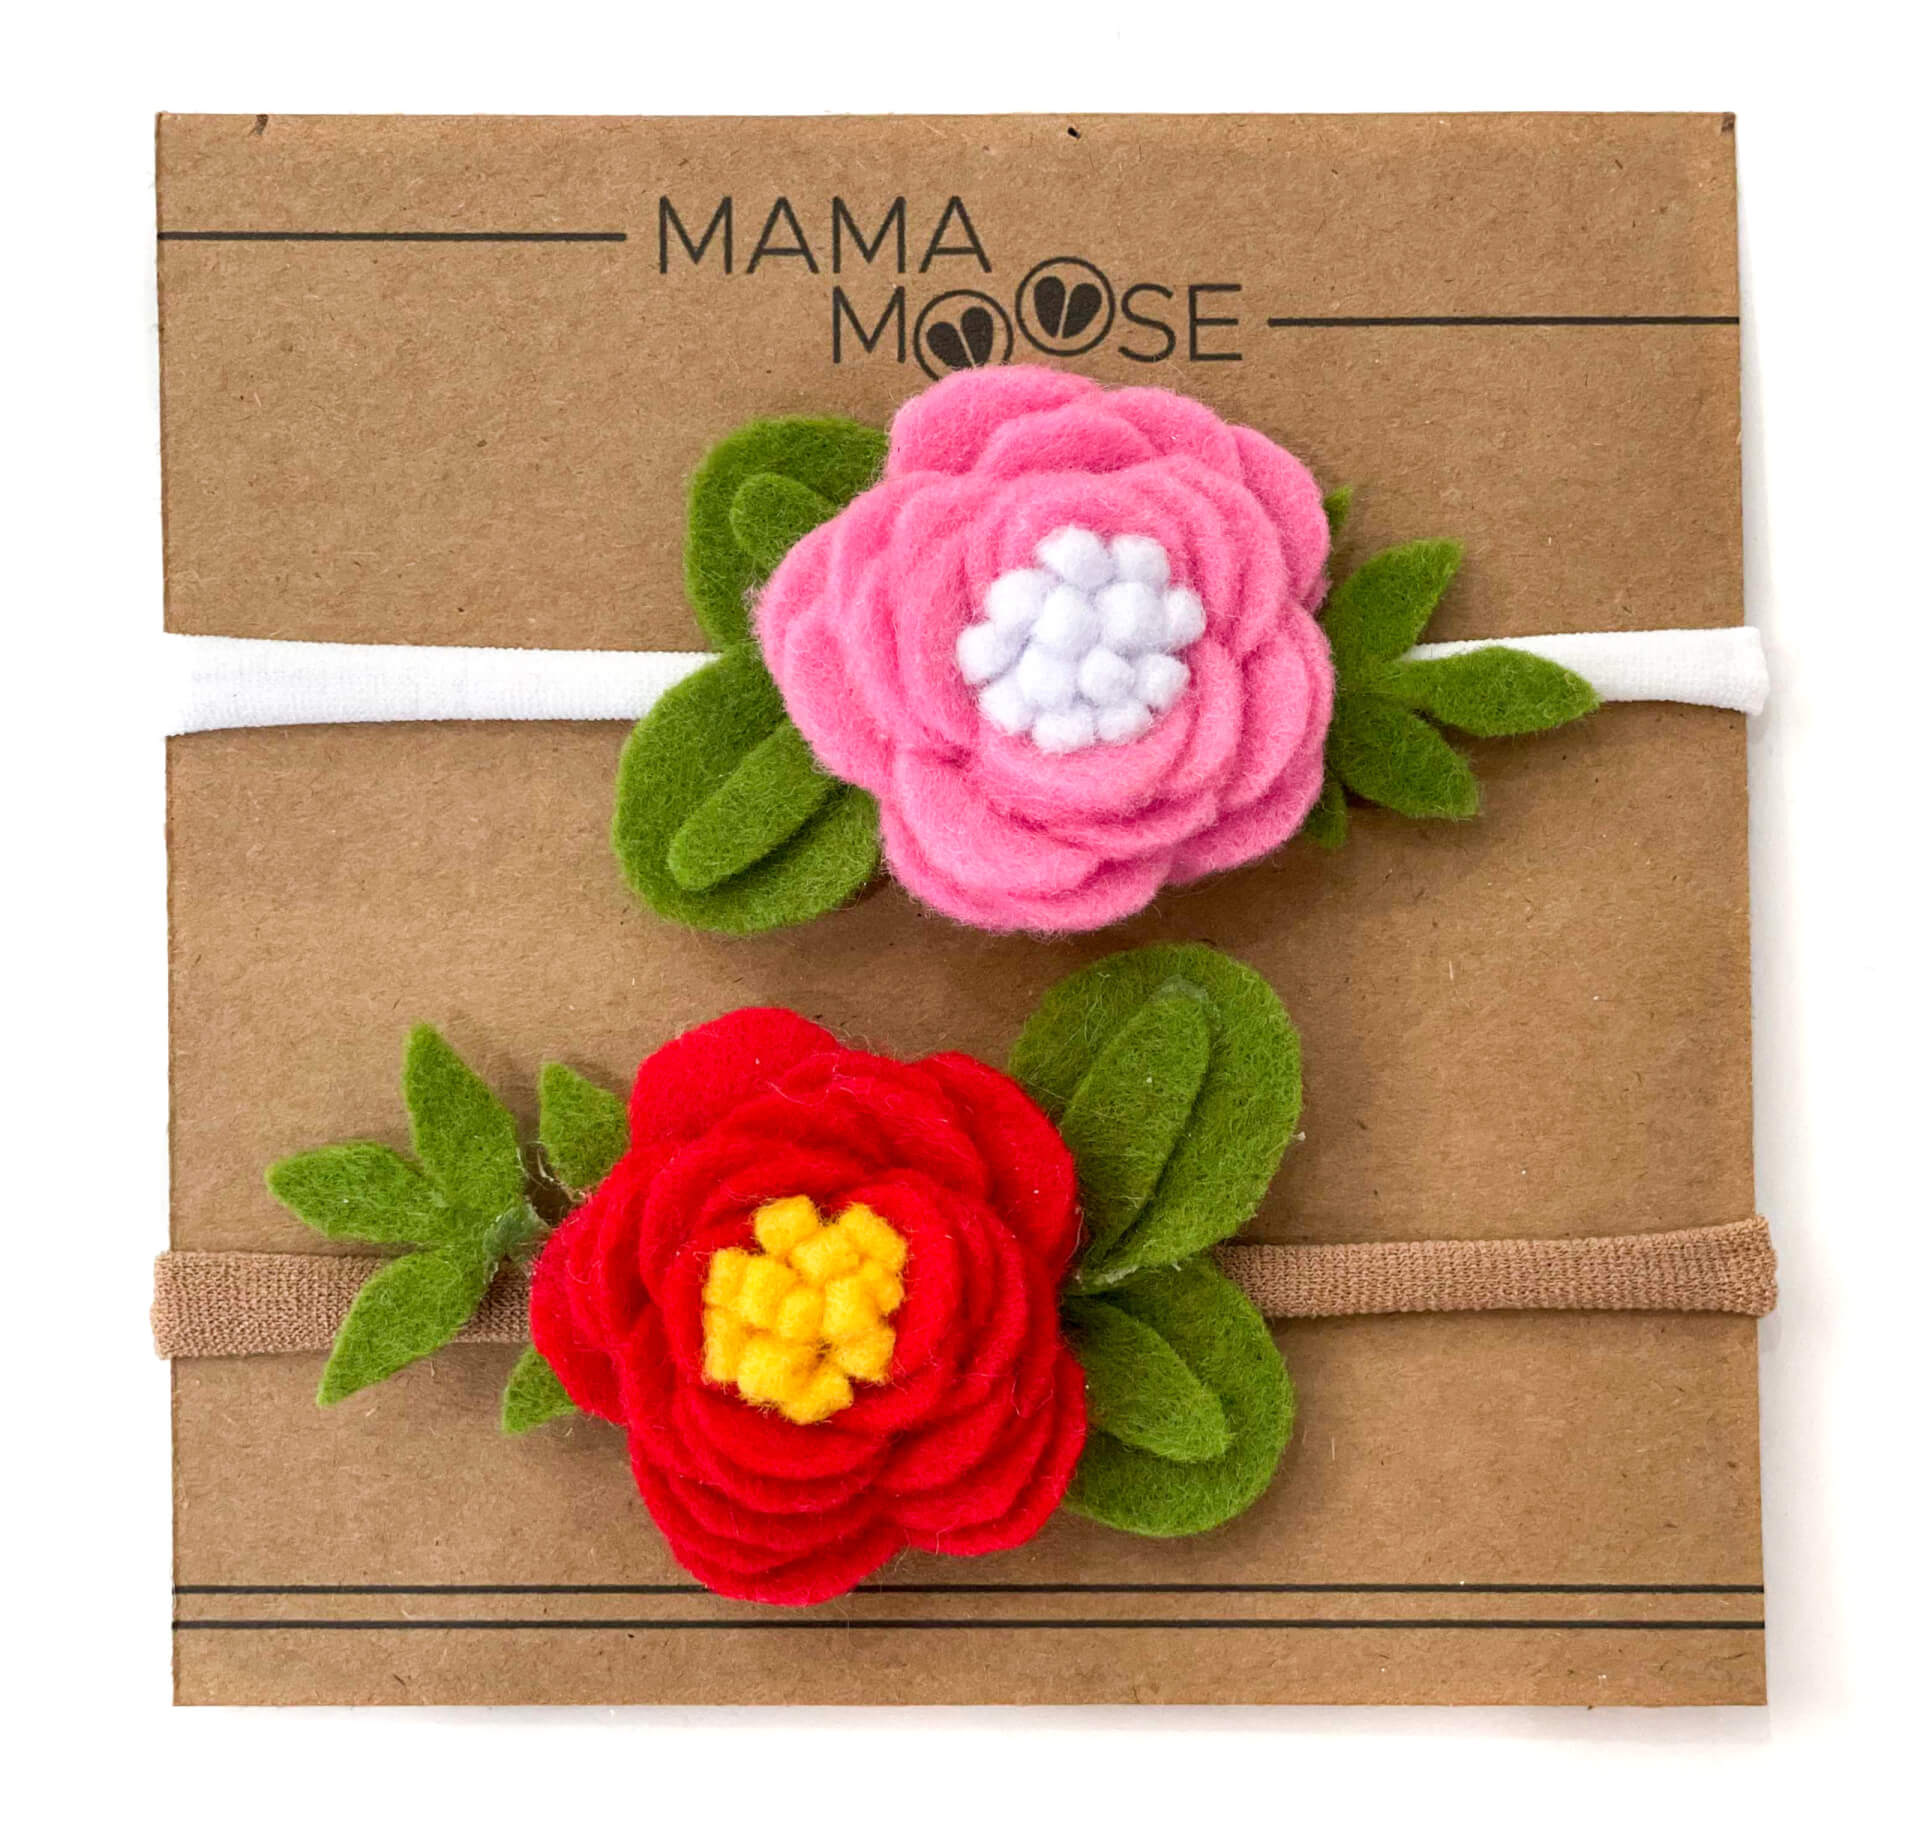
This tutorial is for the bows pictured above. I have included a PDF pattern that can be downloaded below.
NOTE: The pattern pieces on this PDF will be used for all the Baby Girl Hair Bows I have tutorials for.
This felt hair flower will use the pattern pieces E, F, G, H, and I.
If you plan to attach the hair bow to a headband like I did. I purchased a pair of nude tights in size large. I cut the top off of the tights. Then I cut a strip that is 3/4″ and give it a little stretch. The edges will curl in and fit anyone comfortable from a newborn to an adult.


Now on to the hair flower . . .
Begin by pinning the pattern pieces E, F, G, H and I onto some felt. You will be cutting two H and two I pieces. Your F piece will be the center of your flower. You also need another F piece that matches your leaves; This will be the piece that attaches the flower to your headband.
Use sharp scissors to cut out the pieces.


Flower Center
Take piece F and glue it half. Then take very sharp scissors and cut little slits about 3/4 the way down. Do this along the entire piece as shown.
Now take your hot glue and roll up the center of the flower to create a small circle.


Flower Petals
For the flower, you will begin by gluing the rolled center to the outside “petal”. You will now roll the flower together, while gluing it. I did a strip of about 1″ of glue and rolled to that point. Then repeated that until I was to the very center “petal”.
Once you reach the very end of the flower “petals” you will glue that piece to the bottom of the flower to “hide” all of the rolled layers, as pictured below.


Leaves
Take your H pieces and glue your I pieces in the center. Then glue the two H pieces together.
Now glue the G piece to the back of the flower and the H/I pieces also to the back of the flower.


Attaching to Headband
You will now take the F piece that is the same color of the leaves and glue along one side. Attach it to the flower, while being careful not to get any of the glue onto the headband. Now glue the other side of the F piece and attach to the flower on the other side of the headband.
NOTE: You will not be gluing the flower directly to the headband. You want the headband to be able to move freely underneath the flower.


It was so fun to roll up the flower! Enjoy and please let me know if you have any questions.


