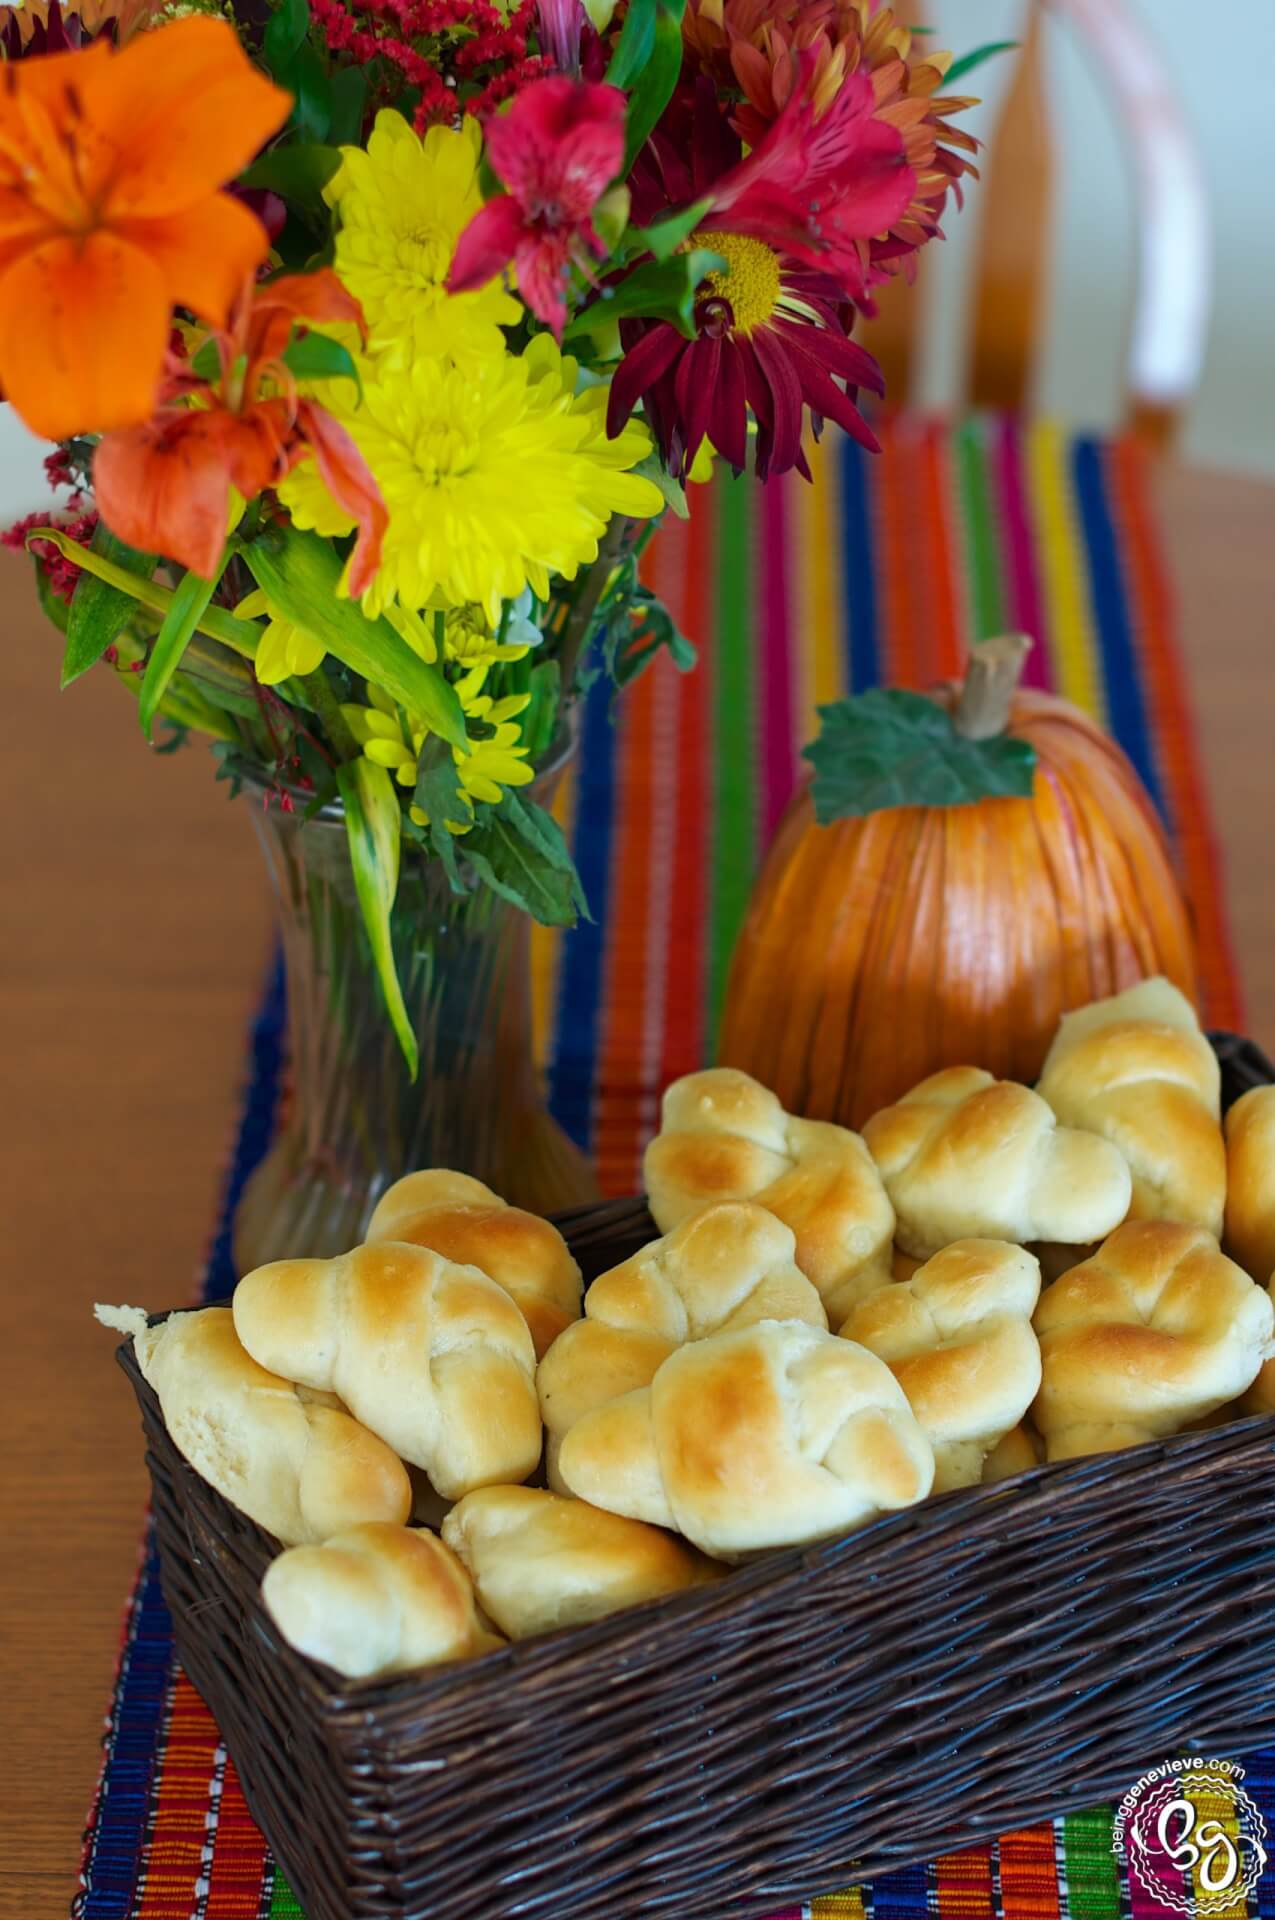
It amazes me how many different ways there are to prepare/present a roll; Twisted, pinwheels, crescent, clover leaf, simple dinner roll, and my favorite knot (these are just a few examples). I have to admit that I prefer knot rolls the most. I imagine this is because that is what my grandma always prepared for family gatherings. My grandma is the best knot roll maker you will ever meet! No lie, she is the best. It brings back such sweet memories of getting together to play with cousins, seeing aunts and uncles, and just being with Grandma and Grandpa. To me, every family gathering should have hot, buttery, slightly salty knot rolls in the kitchen that just came out of the oven. Note: This technique can be used with almost any roll dough recipe.
Here is how to create the perfect knot:
I take enough dough (half of the dough from a recipe that makes 3-4 dozen rolls) to roll into a rectangle about 9″ x 20″ and about 1/2″ thick. Cut into 1″ strips.  Take a strip of dough and wrap around your hand.
  Flip under the end that is placed on the top.
  Place roll onto greased or lined cookie sheet. Note: You may need to push the roll together to get rid of any holes that may still exist.

 Fill the cookie sheet with all 20 of those rolls. Repeat with any other dough that you may still have. Now cover and let the rolls rise before cooking; Check out how to get a perfect rise with every pan of rolls.
 Brush the rolls with about 1 to 1-1/2 tablespoons of melted butter (salted) per cookie sheet. You can either brush the rolls before letting them raise or after they have cooked. The rolls on the left were brushed after cooking; The rolls on the right were brushed before raising.
Good luck and have fun! Remember that speed with this technique comes with practice. You soon will be able to tie a whole pan of rolls in a matter of minutes. Enjoy!


