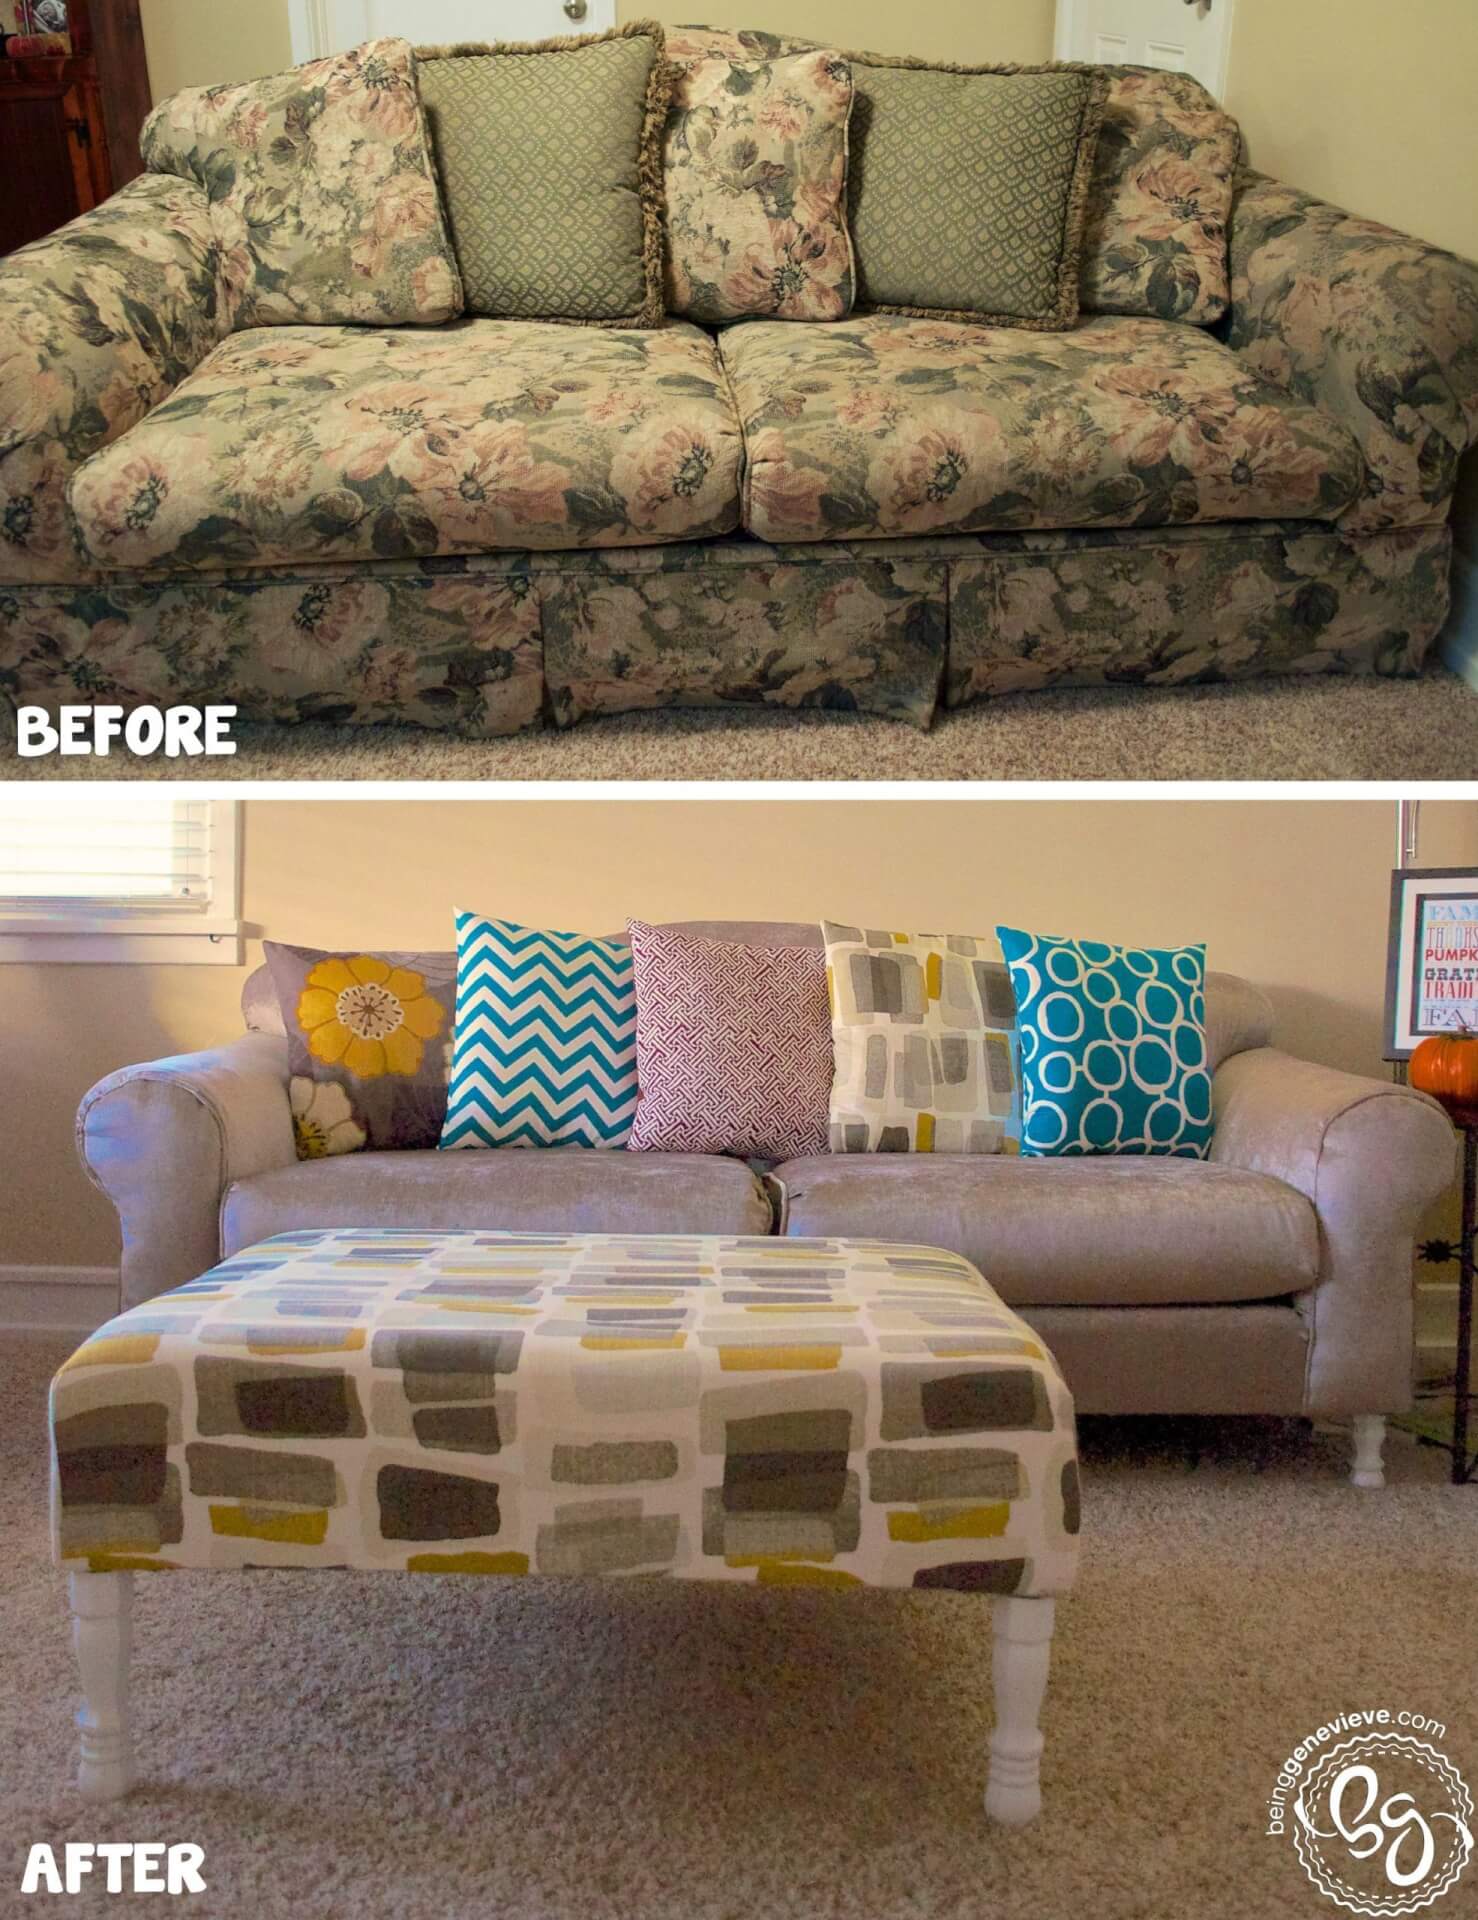
Alright, now that you know everything you need to about getting started with upholstery and taking it apart ; Let’s put the furniture back together. This is the fun part! Note: Every piece of furniture is different, so I will be giving just a general approach that should work for most items.
Keep it up your almost there, from going from this …
To this …
Step 1: Make sure all cushions, batting, and foam are in great condition.
Springs and cushion foam can be very expensive to replace. I recommend only reupholstering an item that just needs new fabric. If you do need to replace a cushion, I recommend BuyFoam.com. I have used them before and they have the best prices and the best quality foam. The quality of their foam is better than any other I have found.
Step 2: Cut out all the fabric.
The old fabric will be used as a pattern piece. Remember to place the right side of the new fabric down and the old fabric also face down. This will make it so that your new fabric fits on the furniture just as perfect as the old fabric did. Note: If your fabric has any kind of nap, cut out all the fabric with the nap going the same direction.
If you made any notes on your fabric remember to include that in the cutting of the new fabric. Such as, in the first picture I needed to add 6.5″ to the length of this piece. In the second picture, it is showing where I needed to take out fabric to alter the arm of the couch.

 When you begin laying out your pattern pieces you will see slits cut in the old fabric. I cut these slits in the new fabric so that it will fit on the couch just as the old fabric did.
Once you cut out the new piece of fabric please remember to label it with a note. It can be very hard to remember what goes where and which way is up.
Step 3: Gather supplies.
- Staple Gun/Staples
- Protective Glasses
- Fabric, Cut into Pieces
- Cardboard Stripping
- Ply Grip Curve Ease
- Piping, depends on furniture (Buy on Amazon – 3/16″ Piping
)
- Tacks, depends on furniture
This list is just a general list. I have never used tacks, but must older antique furniture will use them. I always use piping somewhere on a piece of furniture, either around the arms, on cushions, or on decorative pillows. It is very simple. I cut fabric 2″ wide and then use a basting stitch to secure the piping in the fabric. 
Step 4: Staple fabric onto couch. *Make sure to do it in the correct order.*
When I took apart my couch it was in this order: the bottom, then the ruffle, the piping, the back, side of arms, back cushion, arms, seat area (place underneath cushions). You now will reverse your order when putting fabric back on. I began with the seat area and ended with the bottom.
When putting fabric onto the furniture attach to one side and then stretch the fabric as much as you can while attaching to the other side. Your fabric should be very taut. It will stretch and loosen over time. You may need help from another person pulling it taut while you staple.
Step 5: Reattach any legs or swivel attachments.
This is the time to screw back in the legs or attach the swivel bottom back on to your furniture. I wanted the legs to the couches and the legs to the ottoman I was making, to match so my husband picked these up at Home Depot for me. The couch legs are 6″ in height and the ottoman are 9″. We spray painted them with a glossy white.
Step 6: Sew Cushions and Pillows.
Even though your furniture has all the new fabric stapled on, your not done yet. You need to sew the cushions and decorative pillows. Sewing cushions is very simple. Just unpick the old cushions and use all the pieces as pattern pieces for the new fabric. Note: I reuse the zippers if they are in great condition.
For decorative pillows, you can do them just as they were before or you can be creative. I enjoyed using fun, patterned fabrics since my new couches are a neutral. Have fun with it! It’s very simple and inexpensive to recover decorative pillows every year or so and it will change the look of an entire room.
Step 7: Add Scotch Gard Protector.
Right when I finish, before the boys can do any damage, we spray our new furniture with Scotch Gard Protector (Buy on Amazon – Scotch Gard Fabric Protector). It is such an inexpensive simple thing to do to protect all of your hard work, after spending so much time and money on reupholstery your new furniture.

Step 8: Sit back and relax with a milkshake.
Your done! Congratulations. It’s now time to sit back and relax on your new furniture with a delicious milkshake and movie.
If you would like to make an ottoman, like mine shown in the picture above, check back later for my post on making a Pallet Ottoman. If you need to know how to get started to do this to your living room furniture, check out my posts on Reupholstery: Getting Started and Reupholstery: Take It Apart.


Truly Amazing! Thanks for sharing.