
As many of you know, I LOVE all signs, labels and cute little tags. So of course I had to make me some cute garden markers for all that I’m growing.
This week, I finished tilling my garden, weeding/prepping all my garden boxes and planting all my baby plants. After I planted all my seeds and plants I hammered/placed in my garden markers I made 3 years ago. As I was placing all my markers it dawned on me that I never shared my garden markers on here.


So here they are . . .
Step 1: Wood
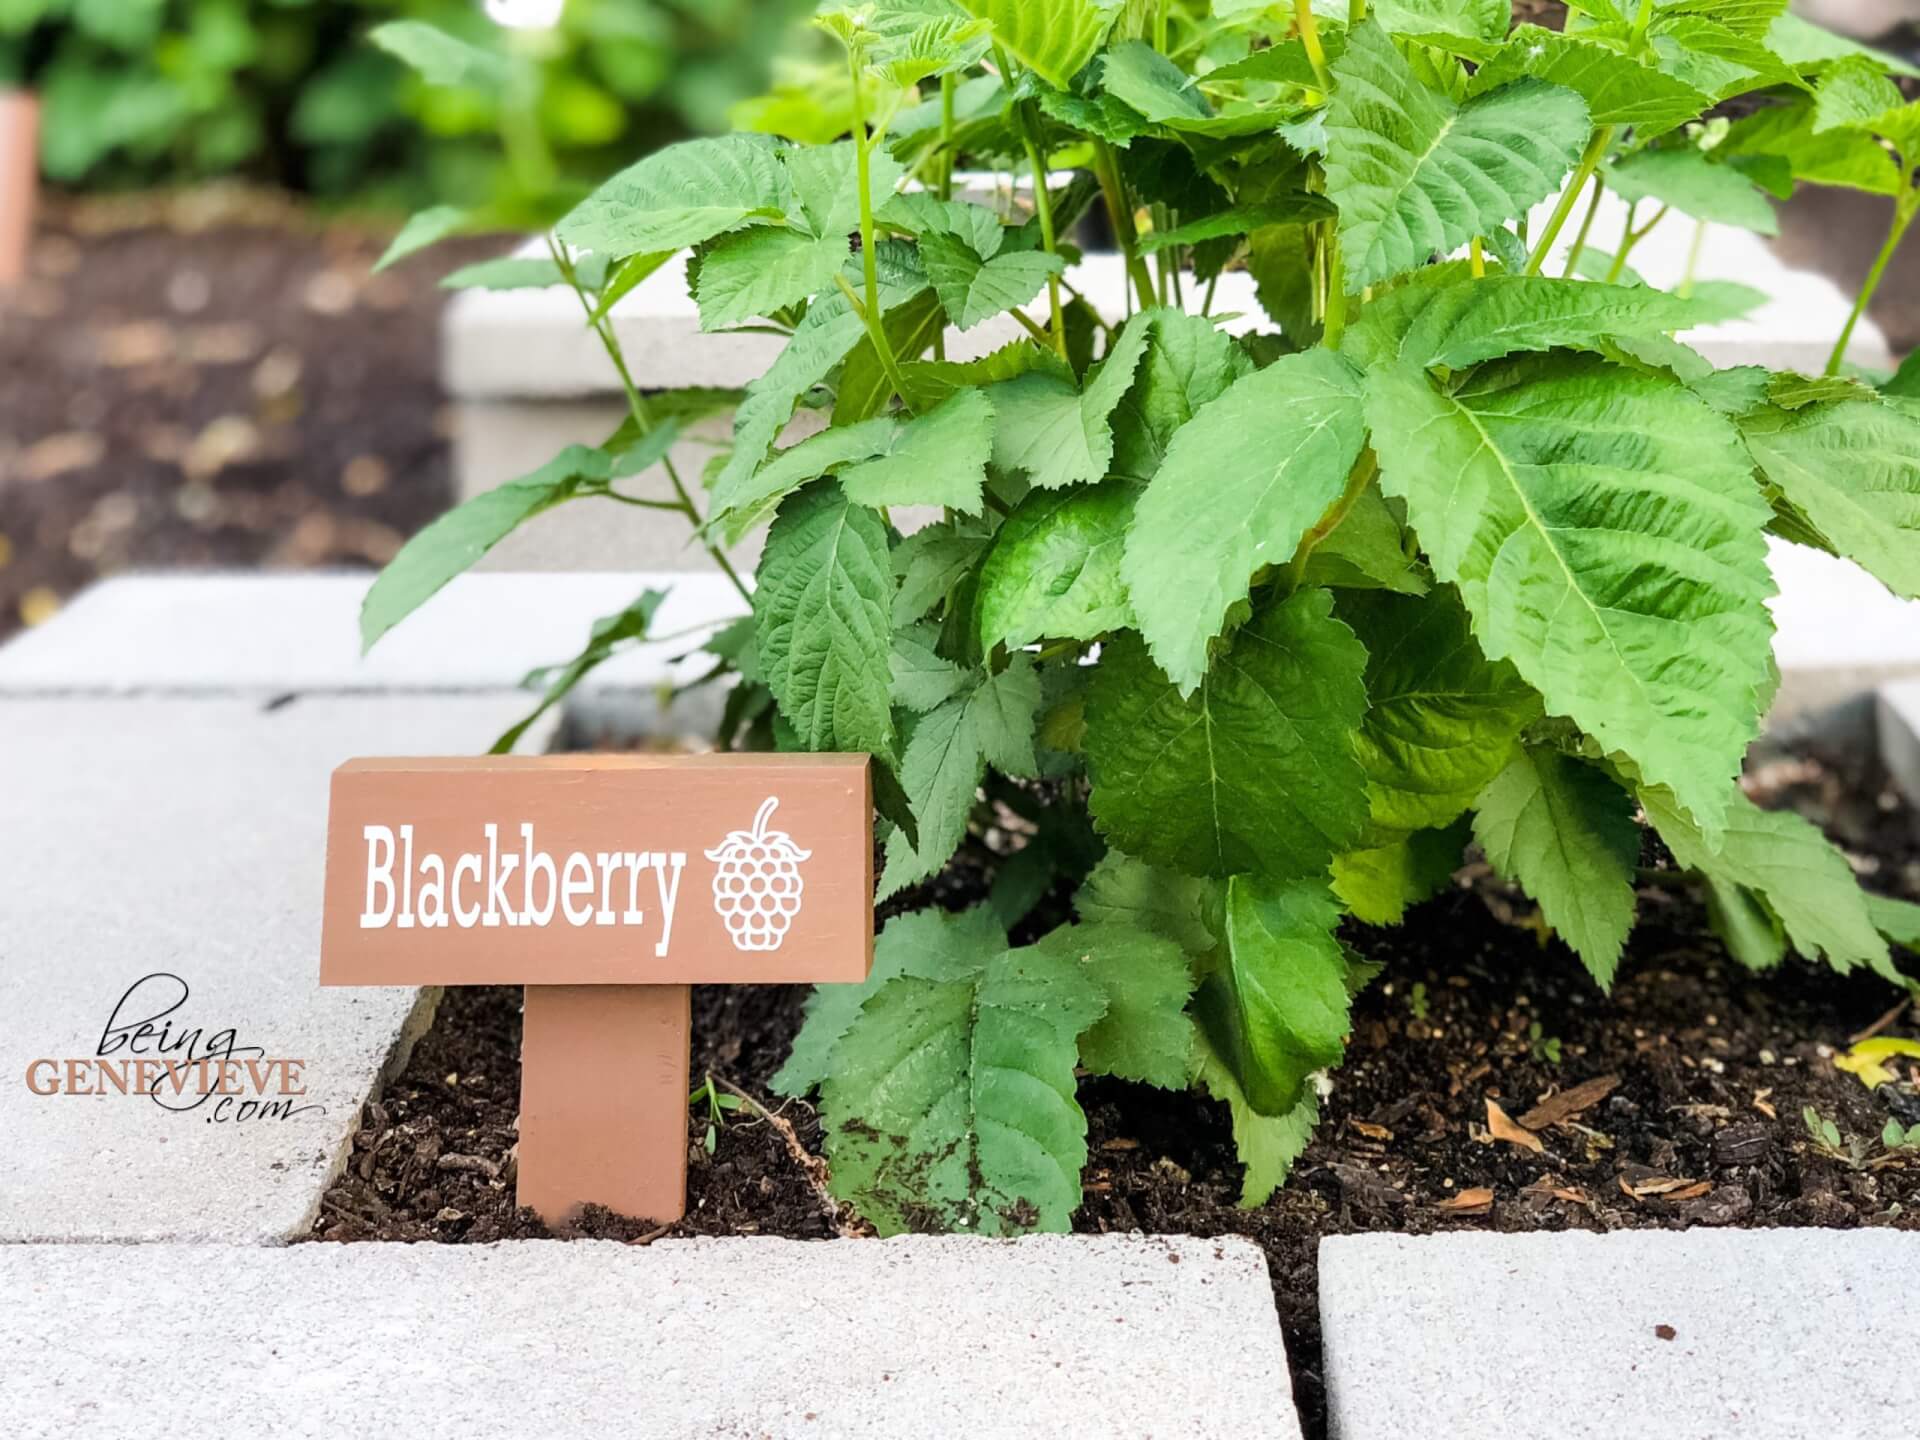
I had some scrap pieces of 1 x 2 ‘s in our shed. I cut them to 4-1/2″ in length.
I them nailed them to some stakes we had lying around.
Note: Some of the scrap pieces looked a little old and stained so I gave them all a quick coat of some brown, outdoor, decking paint we also had lying around in the shed.
Step 2: Labels
I used my craft cutter to cut white vinyl from the templates I designed. (Download the ZIP file below. It contains the SVG file and the PDF file.)
Some of the words may look a little squished, but that is because I needed all of them to fit on the 4-1/2″ length board. I promise, once they are stuck to the boards and placed around the garden, you can’t even tell a few are a little more spaced out then others. I promise!


