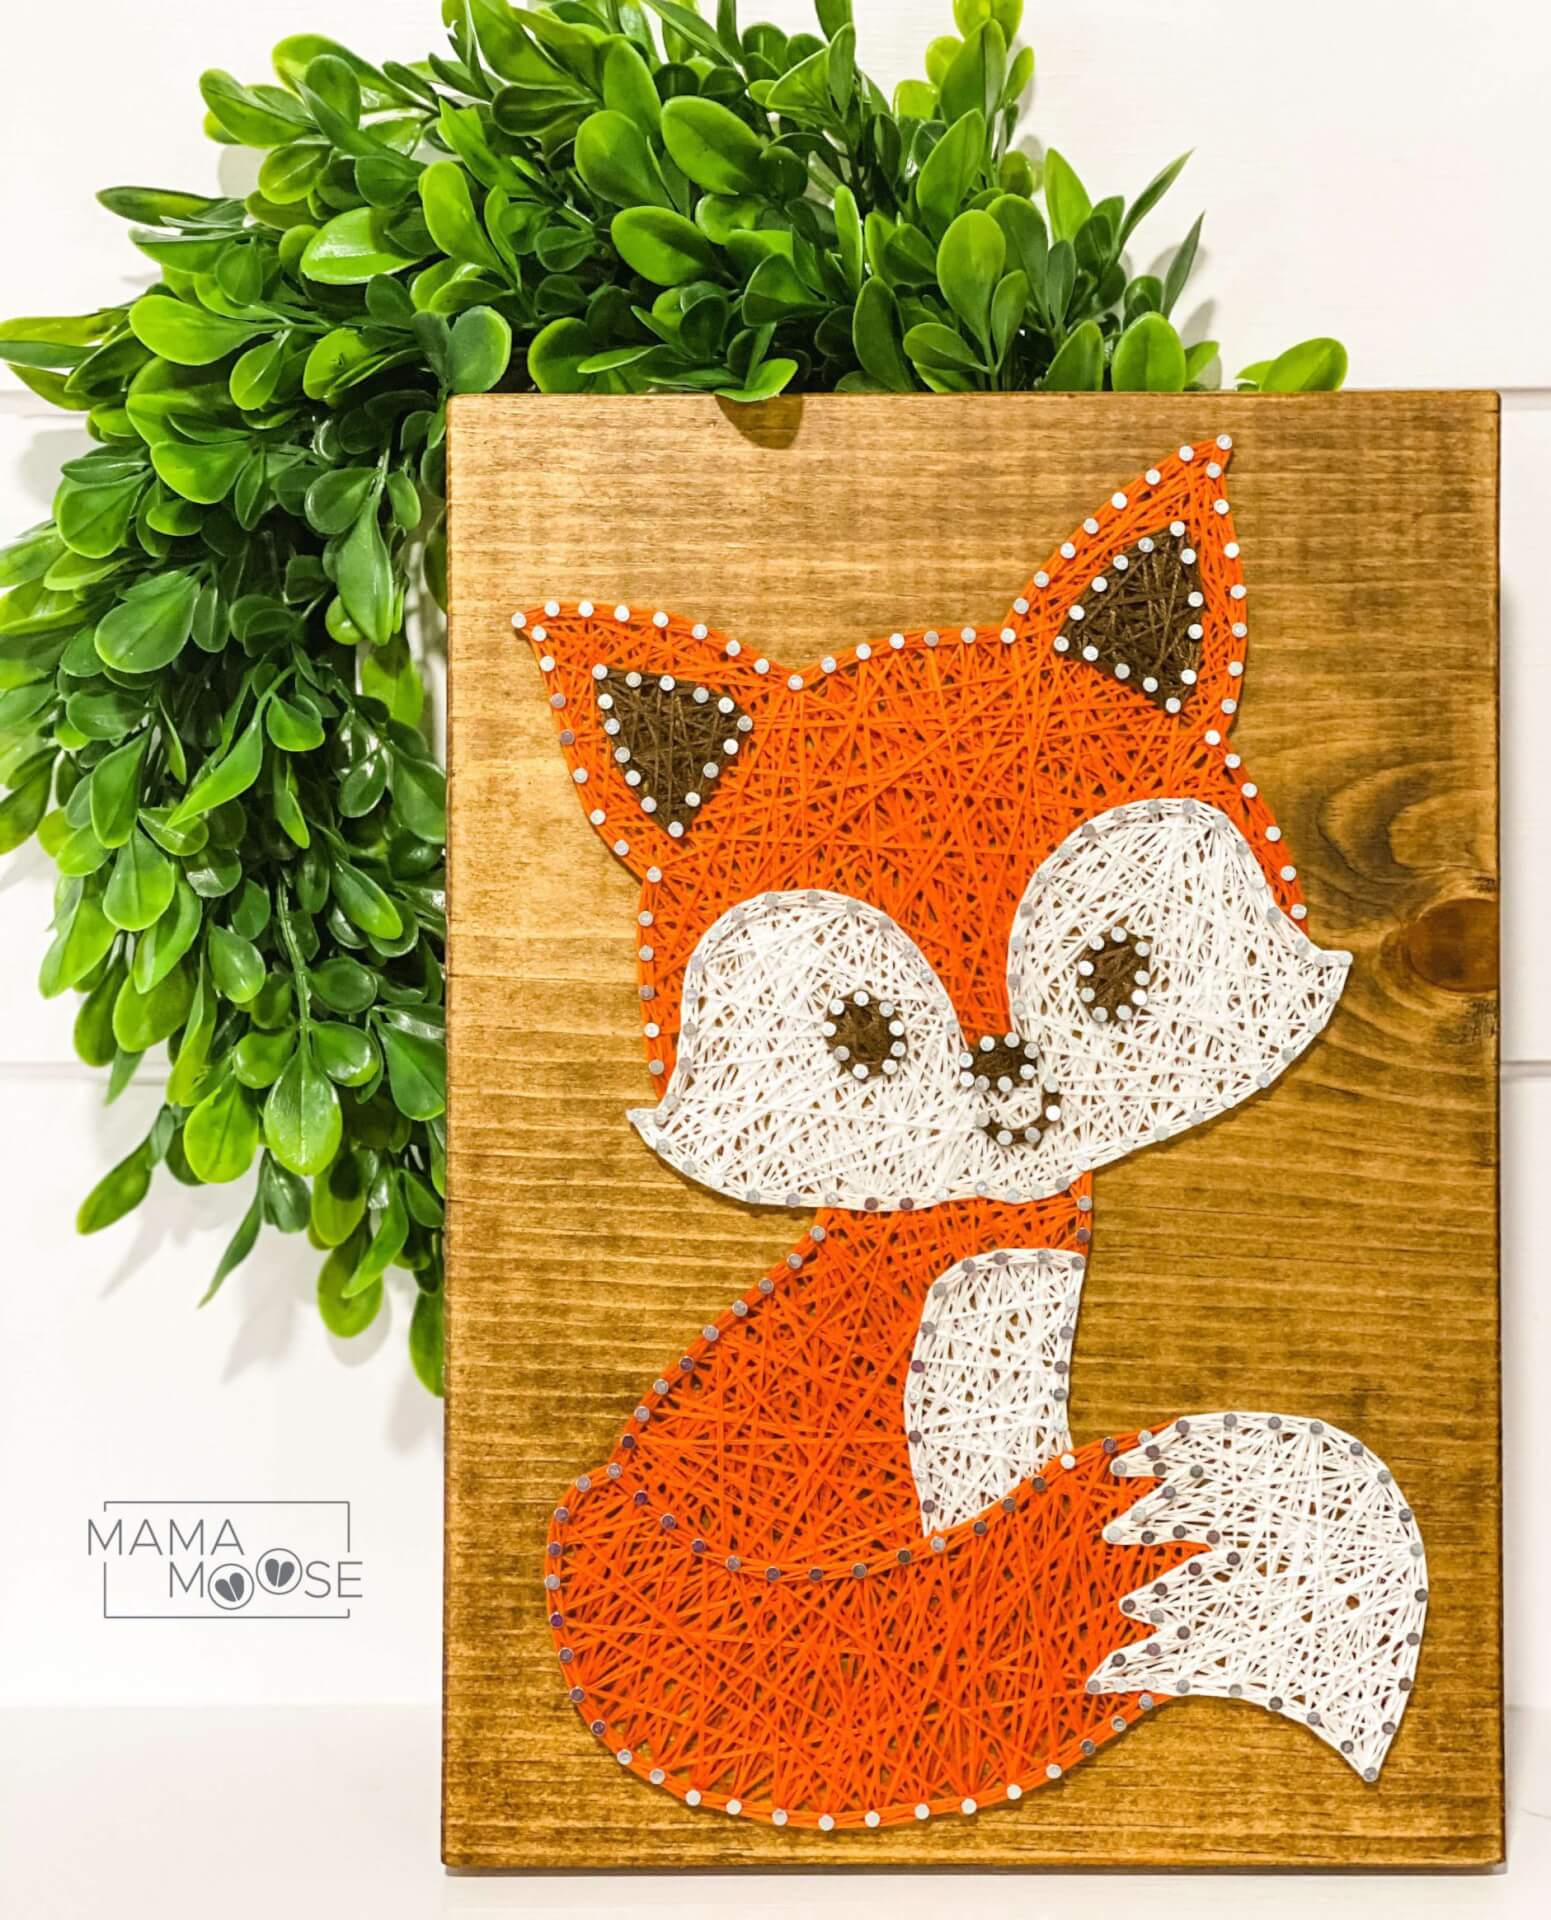
I have loved creating string art. I have done several string art projects: two state string art, family name string art, and an inverted bison string art.
Supply List
- Wood Board
- Wire Nails (#18 x 5/8″)
- Embroidery Floss (String)
- Fox Template
- Wood Stain, optional
Step 1: Wood Board Prep
I used a 1″ x 12″ board cut to the length of 8 inches final dimensions were 8″ x 11-1/2″. I lightly sanded the rough edges of the board. Followed with one coat of Early American wood stain.
Step 2: Download/Print Template
The fox template can be downloaded below or you could print off any animal silhouette for this project.
Step 3: Nails, Nails, Nails
Tape the template to the board and hammer nails into all the points of the fox to help hold the template in place.
Now begin hammering nails along all the lines. This step is quite time consuming. I think it took me more than an hour.
Note: I noticed that if I used a pushpin to poke little holes along an entire area it made hammering the nails in much easier.
When hammering the nails make sure to leave the nail poking up about 1/4″.


Step 4: Remove Template
Yay! The nails are all hammered into place. Do a little happy dance!
Now rip off the template. As you begin removing the template you will notice a few little tiny pieces get stuck on the nails and are hard to reach to pull off. No worries! Just grab a dish brush and scrub it’s bristles over all the nails and those little pieces will just come right off. (See my Two State String Art post for detailed pictures.)

Step 5: Embroidery Floss (String)
Time for the fun part!
Note: I only used 3/6 of the Embroidery floss stands for this entire project.
WHITE STRING
Begin by tying your string onto one of the nails with a knot, as I did in my two state string art tutorial.
Take the string and begin looping it around random nails, going at random angles. Just keep looping until it is “filled in” to your liking. I did all the white areas first.

ORANGE STRING
Begin the orange string by tying your string onto one of the nails with a knot.
Take the string and begin looping it around random nails, going at random angles. Just keep looping until it is “filled in” to your liking. I did all the orange areas second.

BROWN STRING
Begin the brown string by tying your string onto one of the nails with a knot.
Take the string and begin looping it around random nails, going at random angles. Just keep looping until it is “filled in” to your liking. I did all the brown areas last.

OUTLINING – VERY CRITICAL
Outline brown first, then outline white and lastly outline orange. If you do it in a different order than this you will end up with areas that need be worked around with a needle and threading your string. (Trust me I tell you this from experience.) I did orange first and had to use a needle to do the white outlining. (Picture below.)

PLEASE VIEW VIDEO BELOW ON OUTLINING STRING ART.
I have put together a video on the best ways to outline your art. If you choose to not outline your art you may end up with your string popping off the nails. If this happens just use a toothpick to place it back on the nails.


If you only use 3/6 of the floss, how are separating it? Are you cutting lengths, splitting as you go,..?
Sorry for the late response. Something is broken on my site so I just saw this question. I cut a very long length and then split that entire piece.