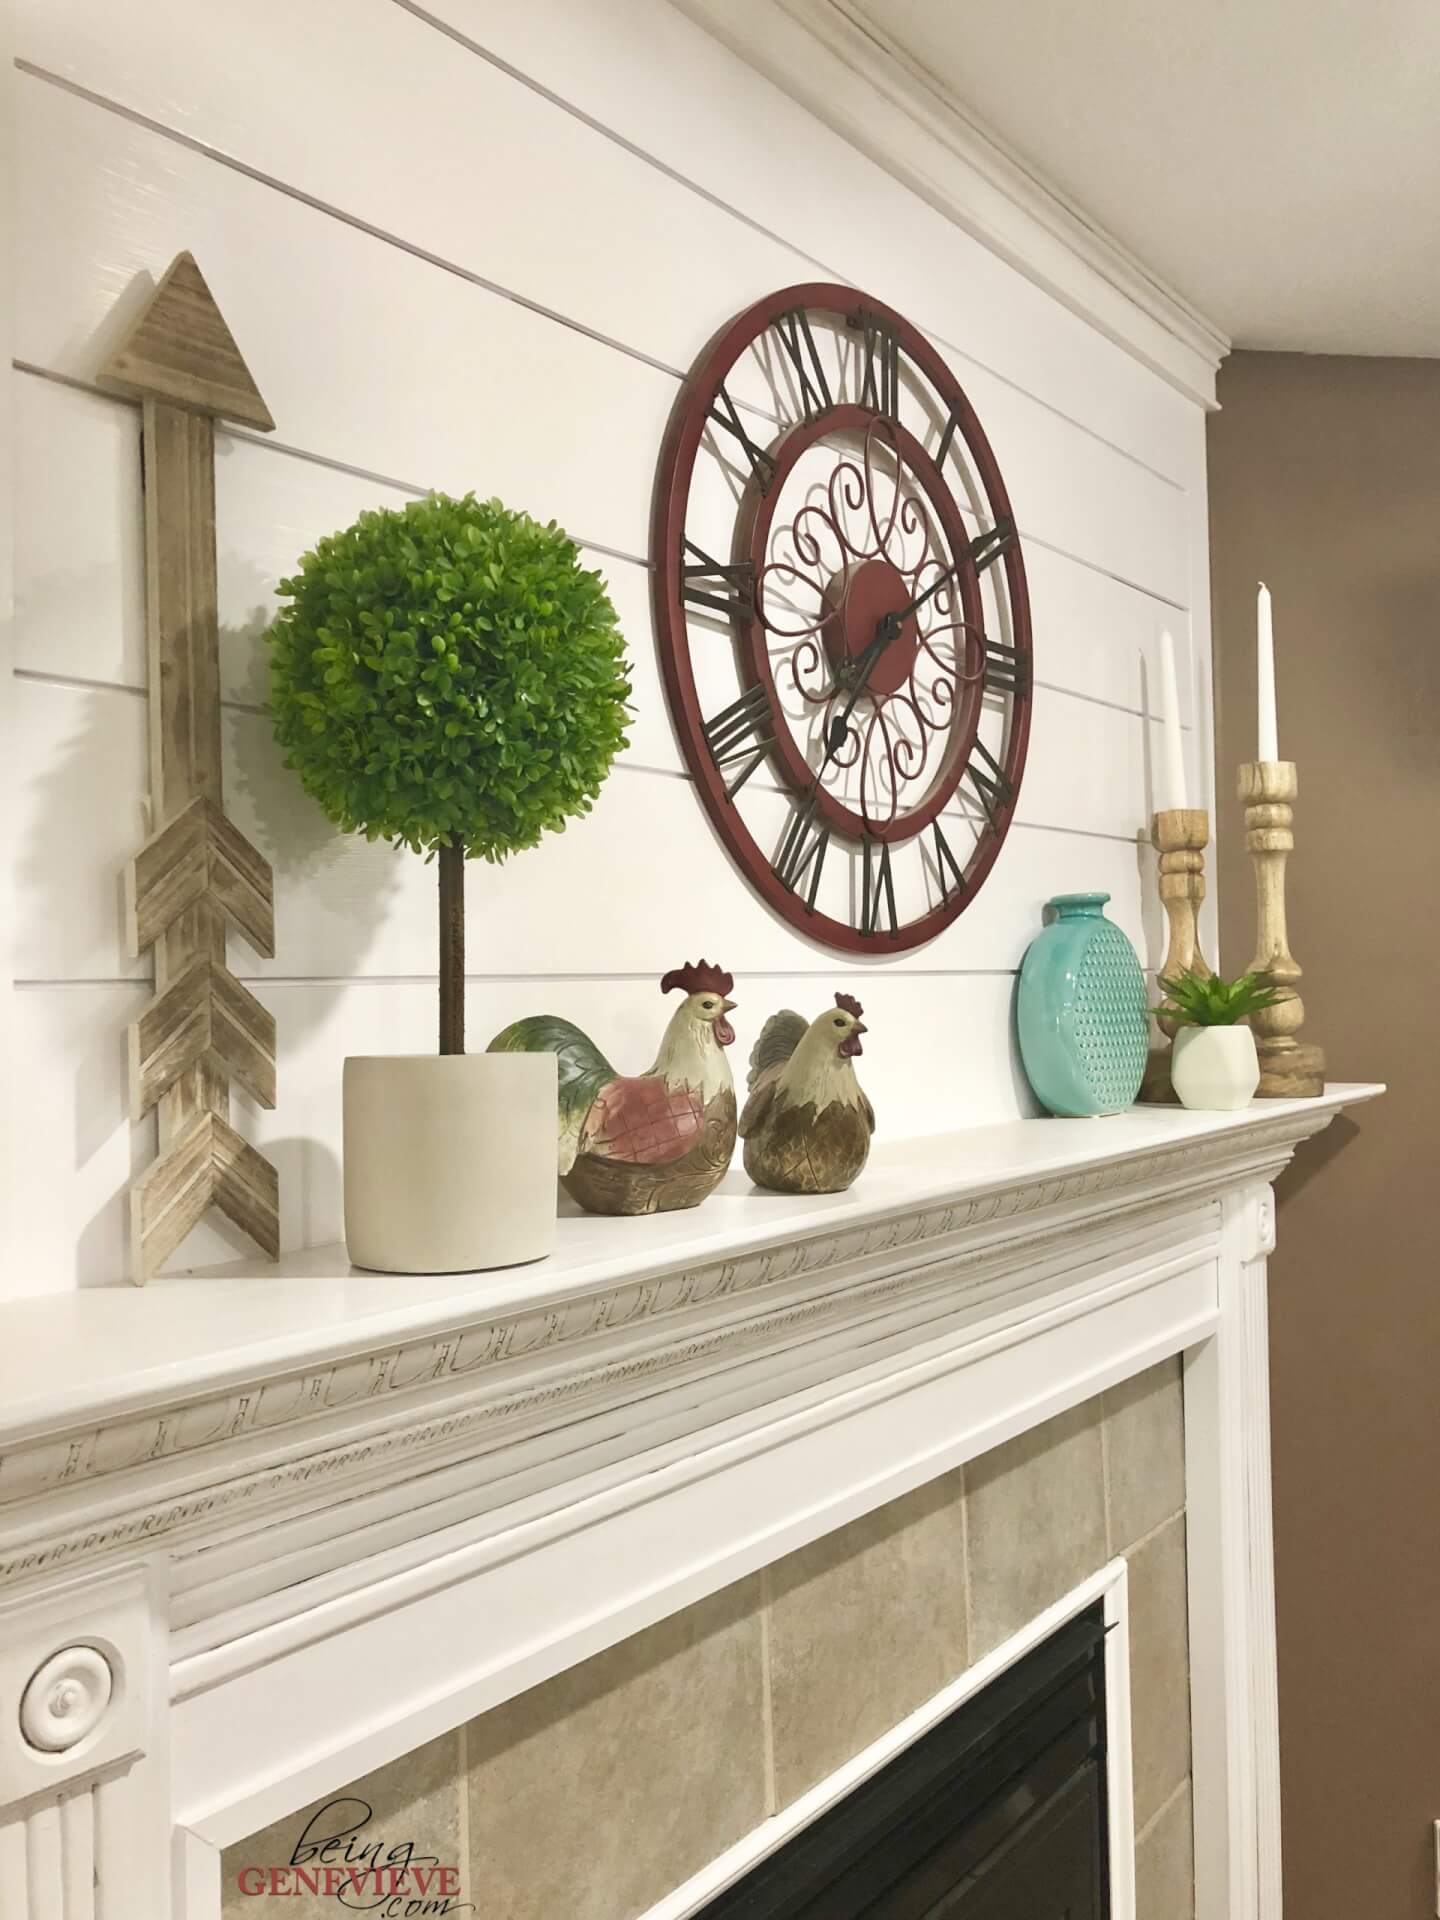
I love the look of white shiplap; It gives a clean, finished look with a little added interest! I recently have finished shiplapping both of our fireplaces. It is surprisingly quite easy. Here is how I did it . . .
Before & After photos of both fireplaces. . .

NOTE: I did my upstairs fireplace and my downstairs fireplace so the pictures I have provided are from both projects.
Now let’s get started. . .
Step 1: Measure
Before you can begin, you need to know the dimensions of the area that you plan to shiplap. The shiplap I used was 6″ tall. So for example, my fireplace area, on my downstairs fireplace, was 39″ to the ceiling so I needed to plan to have 6 pieces of shiplap. The extra 3″ would be covered by the decorative molding/trim.

If your wall is curved, like my upstairs fireplace, you will need to figure out the angle of the wall and cut those pieces all on your miter saw.

Step 2: Supplies Needed
- Shiplap
- 11/16″ x 2 1/2″ MDF
- 3 1/2″ Decorative Molding
- 1 1/8″ Decorative Trim (around fireplace face, optional)
- 2″ Nails (with Nail Gun or Hammer)
- Level
- White Caulk
- Putty
- Painters Tape
- White Paint
- Liquid Nails (optional)
Step 3: Cut & Install Shiplap
I measure the width of the area I plan to shiplap and then subtract the MDF width for both sides. For example, my width downstairs was 60″ so if I subtract my MDF sides (2 1/2 + 2 1/2) it would end up being 55″ for each of my shiplap lengths.
After my shiplap is all cut (you can do this with a miter saw or have your local hardware store do it for you), I begin by installing the shiplap that will rest on the fireplace mantle first. Use your level to make sure it is level and now nail it in place making sure you nail through the wall studs.
Now place your next shiplap piece on top and do the same. The amazing thing about shiplap is that is has pre-cut grooves that you just have to rest your other shiplap board onto to get that perfect shiplap spacing look.
Finish installing all your shiplap pieces.
Step 4: Cut & Install MDF
Now measure how long your MDF board needs to be for each side. Cut to the desired length and nail the MDF butt-up against the sides of your shiplap.
Step 5: Cut & Install Decorative Molding/Trims
Now for the decorative molding at the top. I measured from the outside edge of the MDF to the other outside edge of the MDF to get my length and I did a 45 degree miter cut. Then I cut another 45 degree cut with the miter saw to put cap-like edges onto my decorative molding.

I cut 3″ squares to attach behind the decorative molding since my molding would be placed on top of the MDF and the shiplap. It gave the molding an added support to be attached to.

For the optional decorative trim, around the face of the fireplace. I bought 1 1/8″ decorative trim that I miter cut 45 degrees to fit around the tile on the face of the fireplace. Then I applied a little liquid nails and taped it into place and let it set-up for 24 hours.
Step 6: Caulk & Putty
Now caulk around all the edges and putty your nail holes. Here is how I do caulk (blog post coming soon).
Step 7: Tape & Paint
Tape off all the edges with painters tape and begin painting.

My favorite white that I have found is the Behr Alkyd Semi-Gloss Enamel. I do about 2-3 coats of paint until it is to the look I like.


Step 8: Paint Metal Louvres
Remove the louvres and spray paint black.

Step 9: Apply Glaze, optional
Now for my upstairs fireplace I opted to leave it very white without a glaze, because there wasn’t much fine woodwork that I wanted to show off.

Finished

My downstairs fireplace on the other hand had beautiful woodworking done to the mantel. So I applied a glaze just to the areas where I wanted to show off the woodwork. I left everything else very white and clean. Here is how I did the glaze (blog post coming soon).


Finished!


