A few weeks ago, I attended a cooking demonstration put on by King Arthur Flour, whose headquarters is located in Vermont. Utah was one of their stops in their Baking Across America tour. It was wonderful! I went to the class on pies and scones and then I attended a class on breads and rolls. I love to bake and to learn new helpful tricks and tips to make my baked goods look better, taste better or even just have a reassurance that I am doing it correctly.
In this cooking demonstration I learned a new way to knead dough and how to shape the bread dough to have the bread turn out perfectly shaped and without any air pockets in the bread. They used the Walter Sands’ Basic White Bread Recipe. Just a heads up . . in the cooking class, they altered the recipe slightly:
- Powdered milk is optional, which is good because I never have any in my pantry.
- Flour ranges anywhere from 5 to 6 cups flour, depending on the humidity levels where you live. I usually only need 5 cups, maybe 5-1/2 cups and I live in the dry state of Utah. The full 6 cups makes the bread much too dry.
- UPDATE: This last time I used 2 cups Milk (I used whole, but any percentage would work), in place of the water, the bread tasted just as moist and fresh the third day as it does right out of the oven. (Not sure if it does after the third day because we have finished off the loaf by then.) Give it a try. . . I warmed two cups of milk in the microwave for 45 seconds; cold milk would work well too your dough will just rise a little slower.
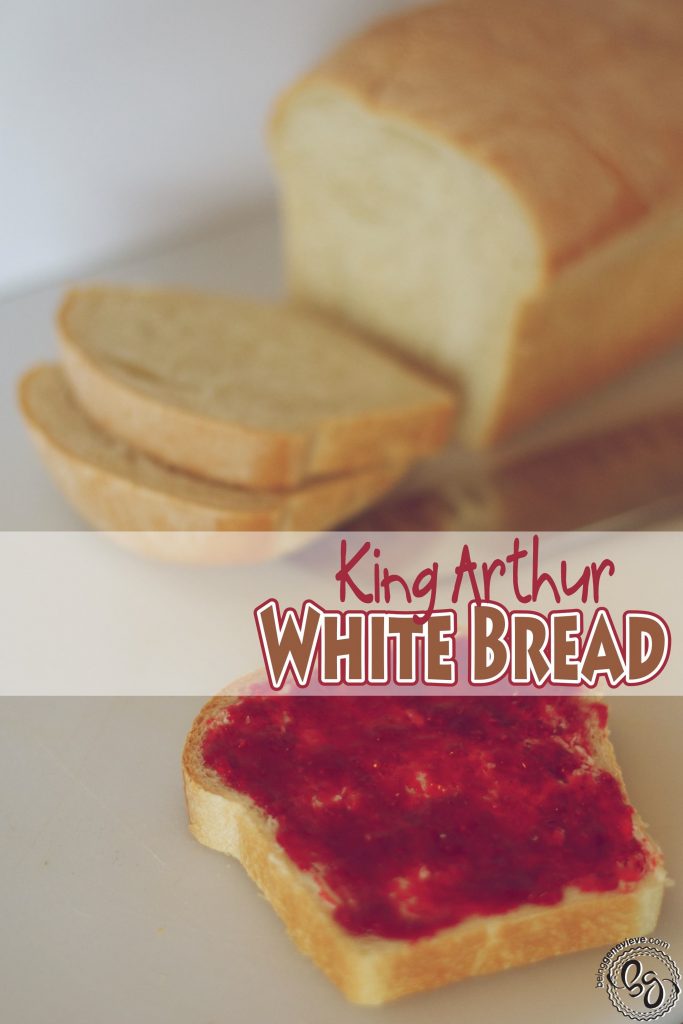
King Arthur White Bread
Ingredients
- 2 cups Water, warm -or- 2 cups Milk, warm
- 2 T. Sugar
- 2-1/2 tsp. Active Rise Yeast
- 2 T. Butter, softened
- 5 – 6 cups Flour
- 2 tsp. Salt
Directions
Mix warm water, sugar and yeast while you get together the other ingredients.
Combine the dry ingredients (4 cups flour, salt and butter). Add to yeast mixture. Add the next 1 to 1-1/2 cups, one cup at a time so that you don’t add to much. Note: I use the remaining 1/2 cup for dusting the counter while kneading and rolling out.
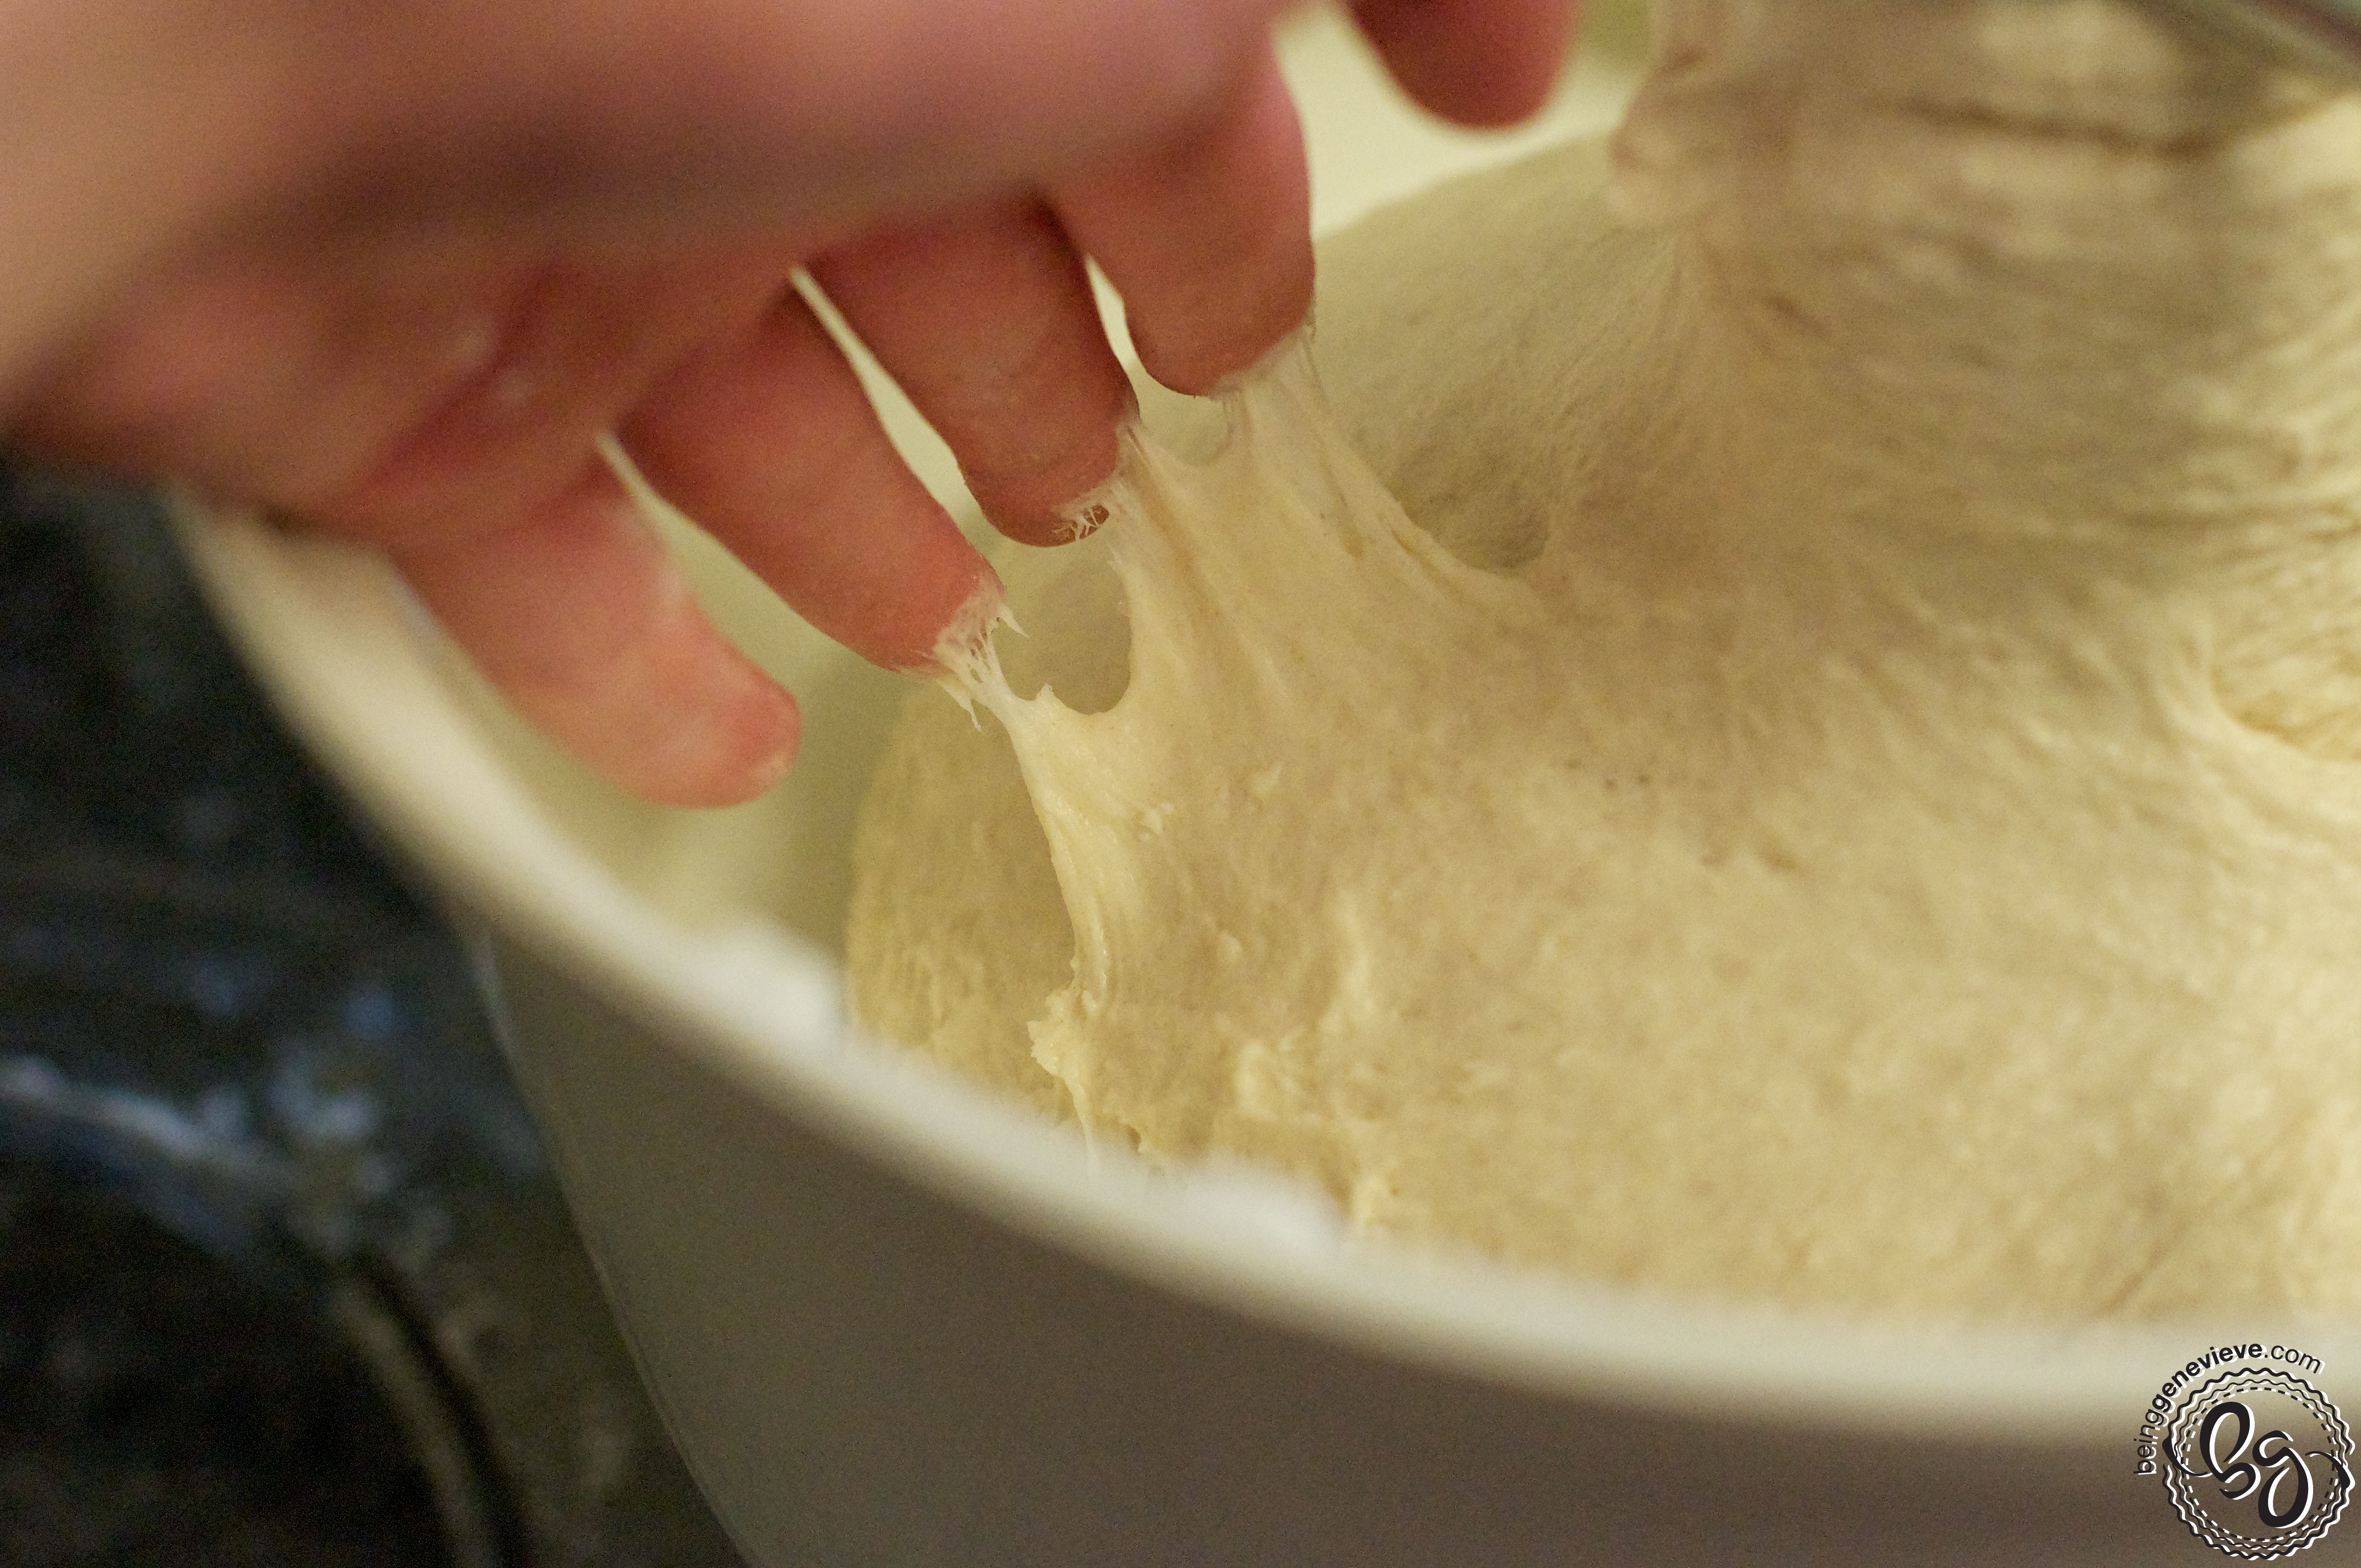
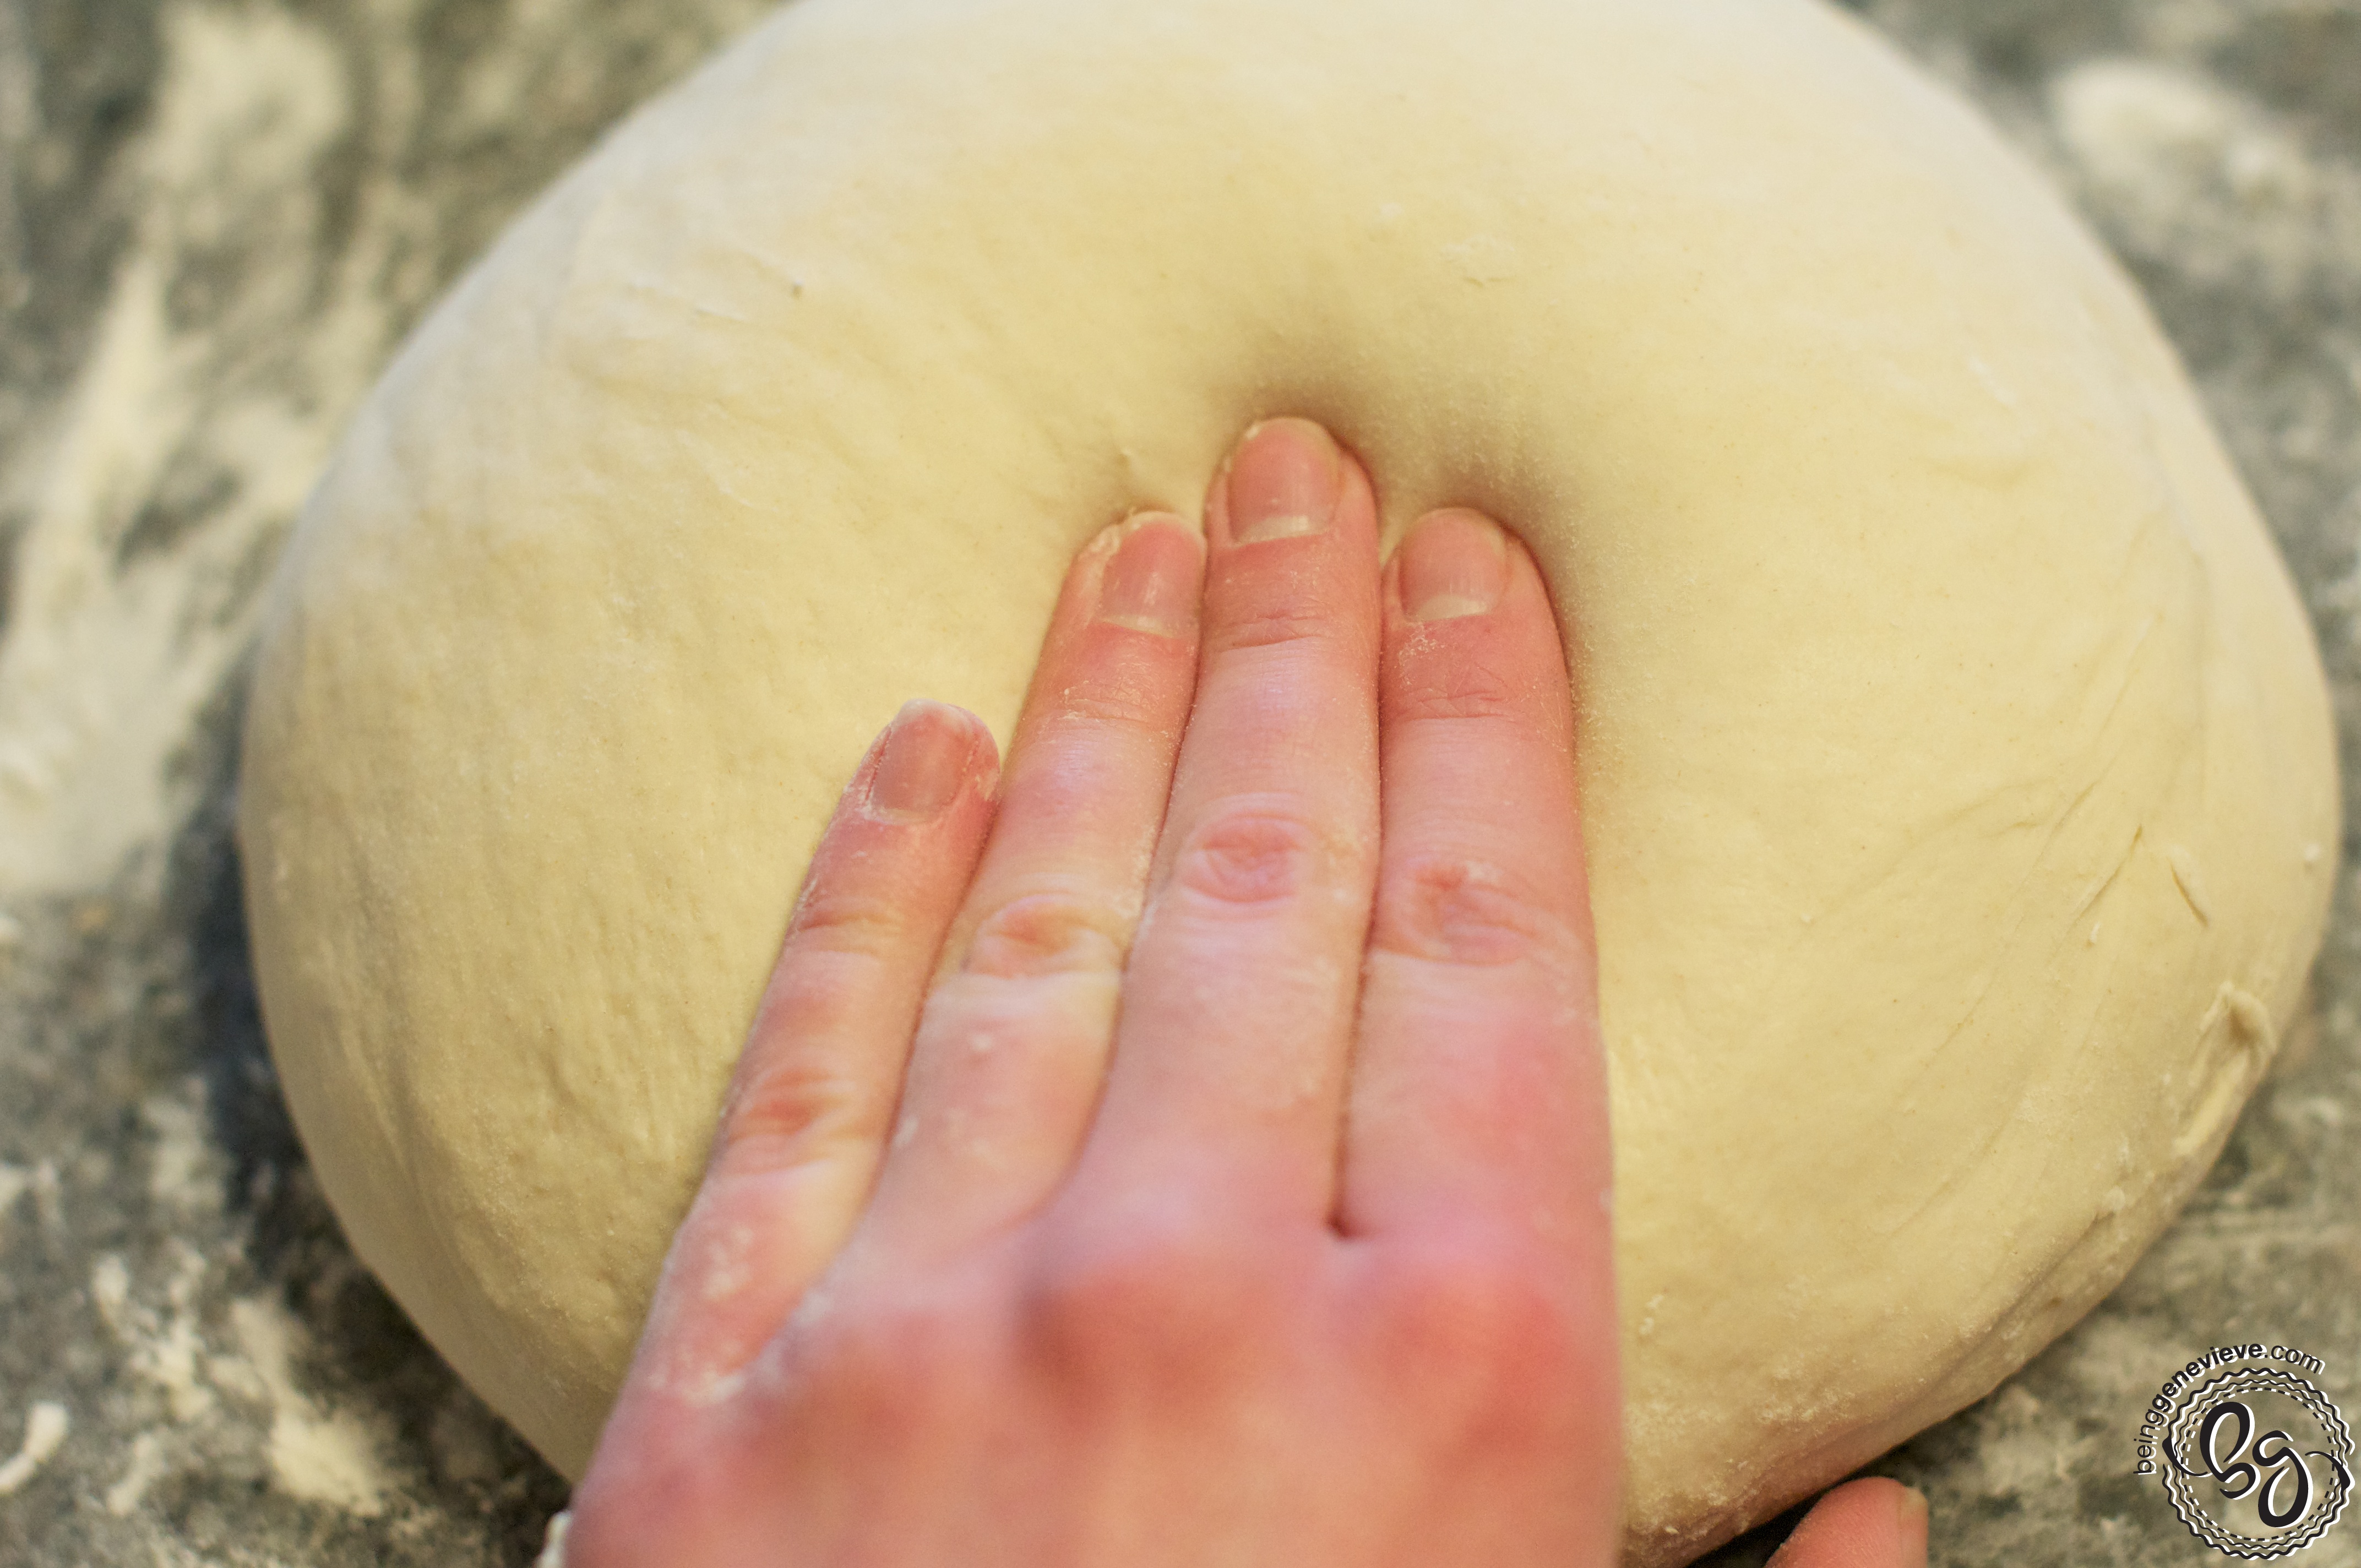
Mix into a dough. Knead dough until smooth and springs back when you do the finger test.
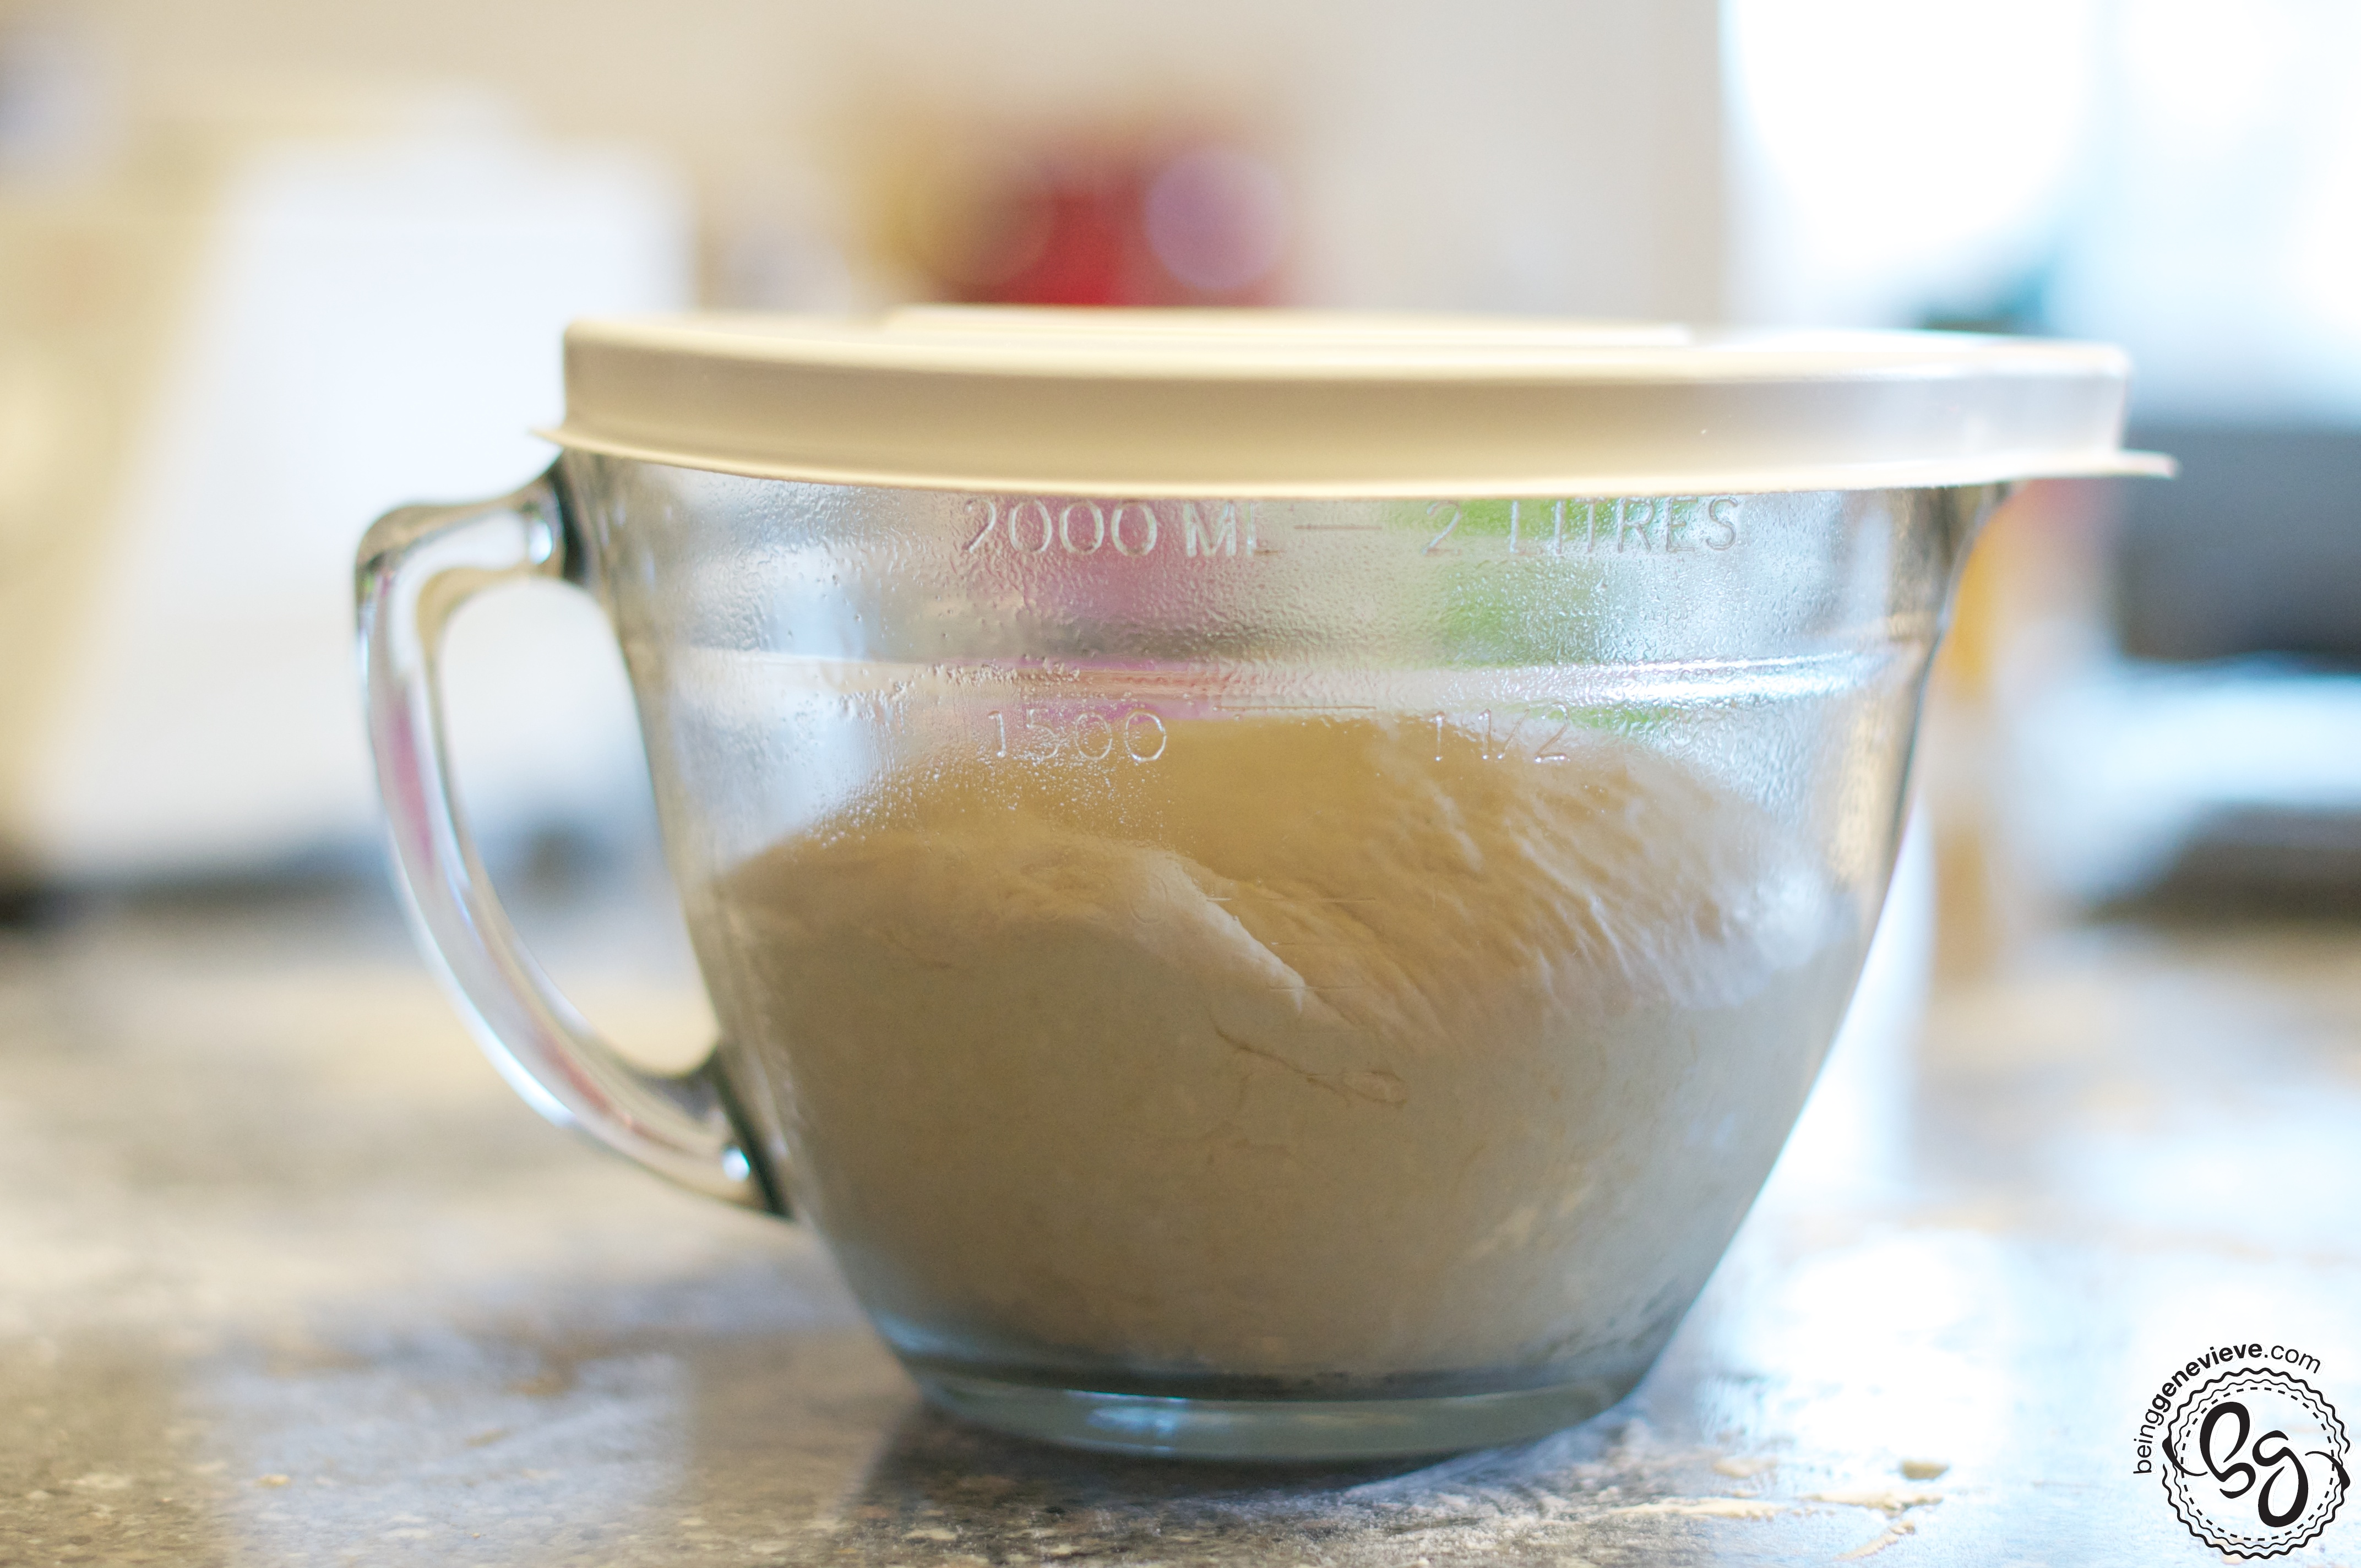
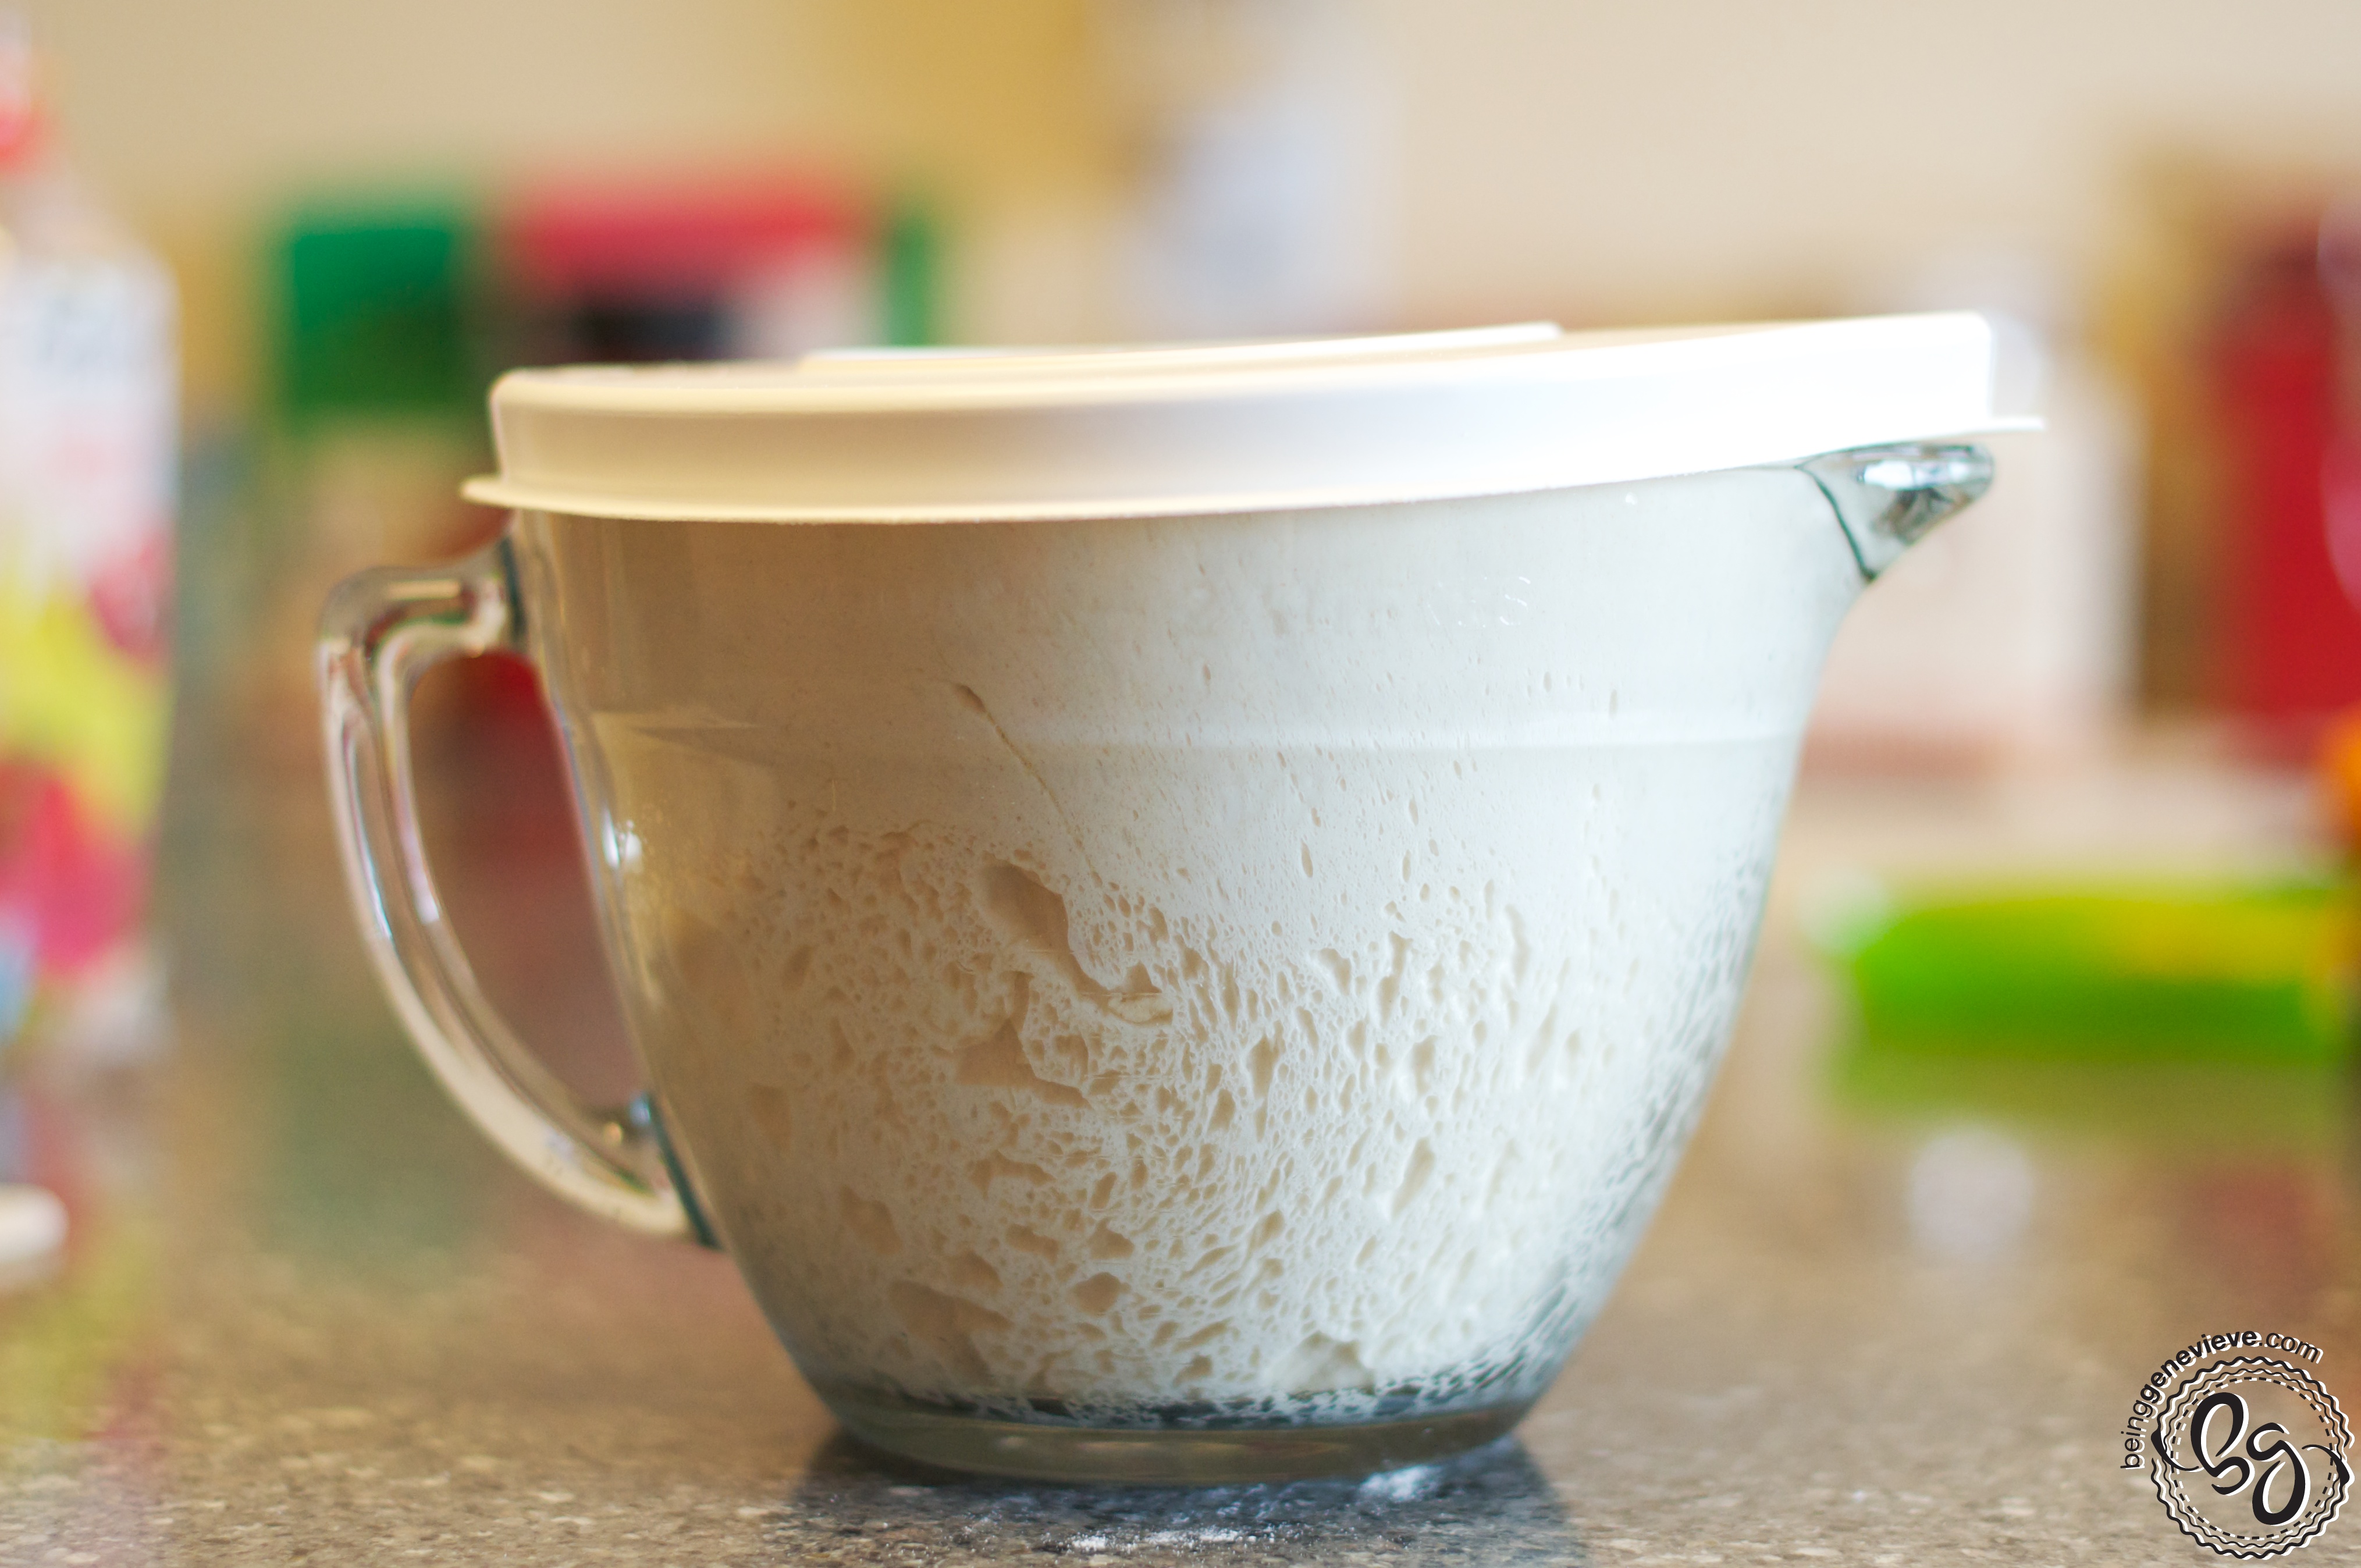
Place in greased air-tight container and let rise until doubled.
Cut in half and shape into 2 loves. Cover and let rise.
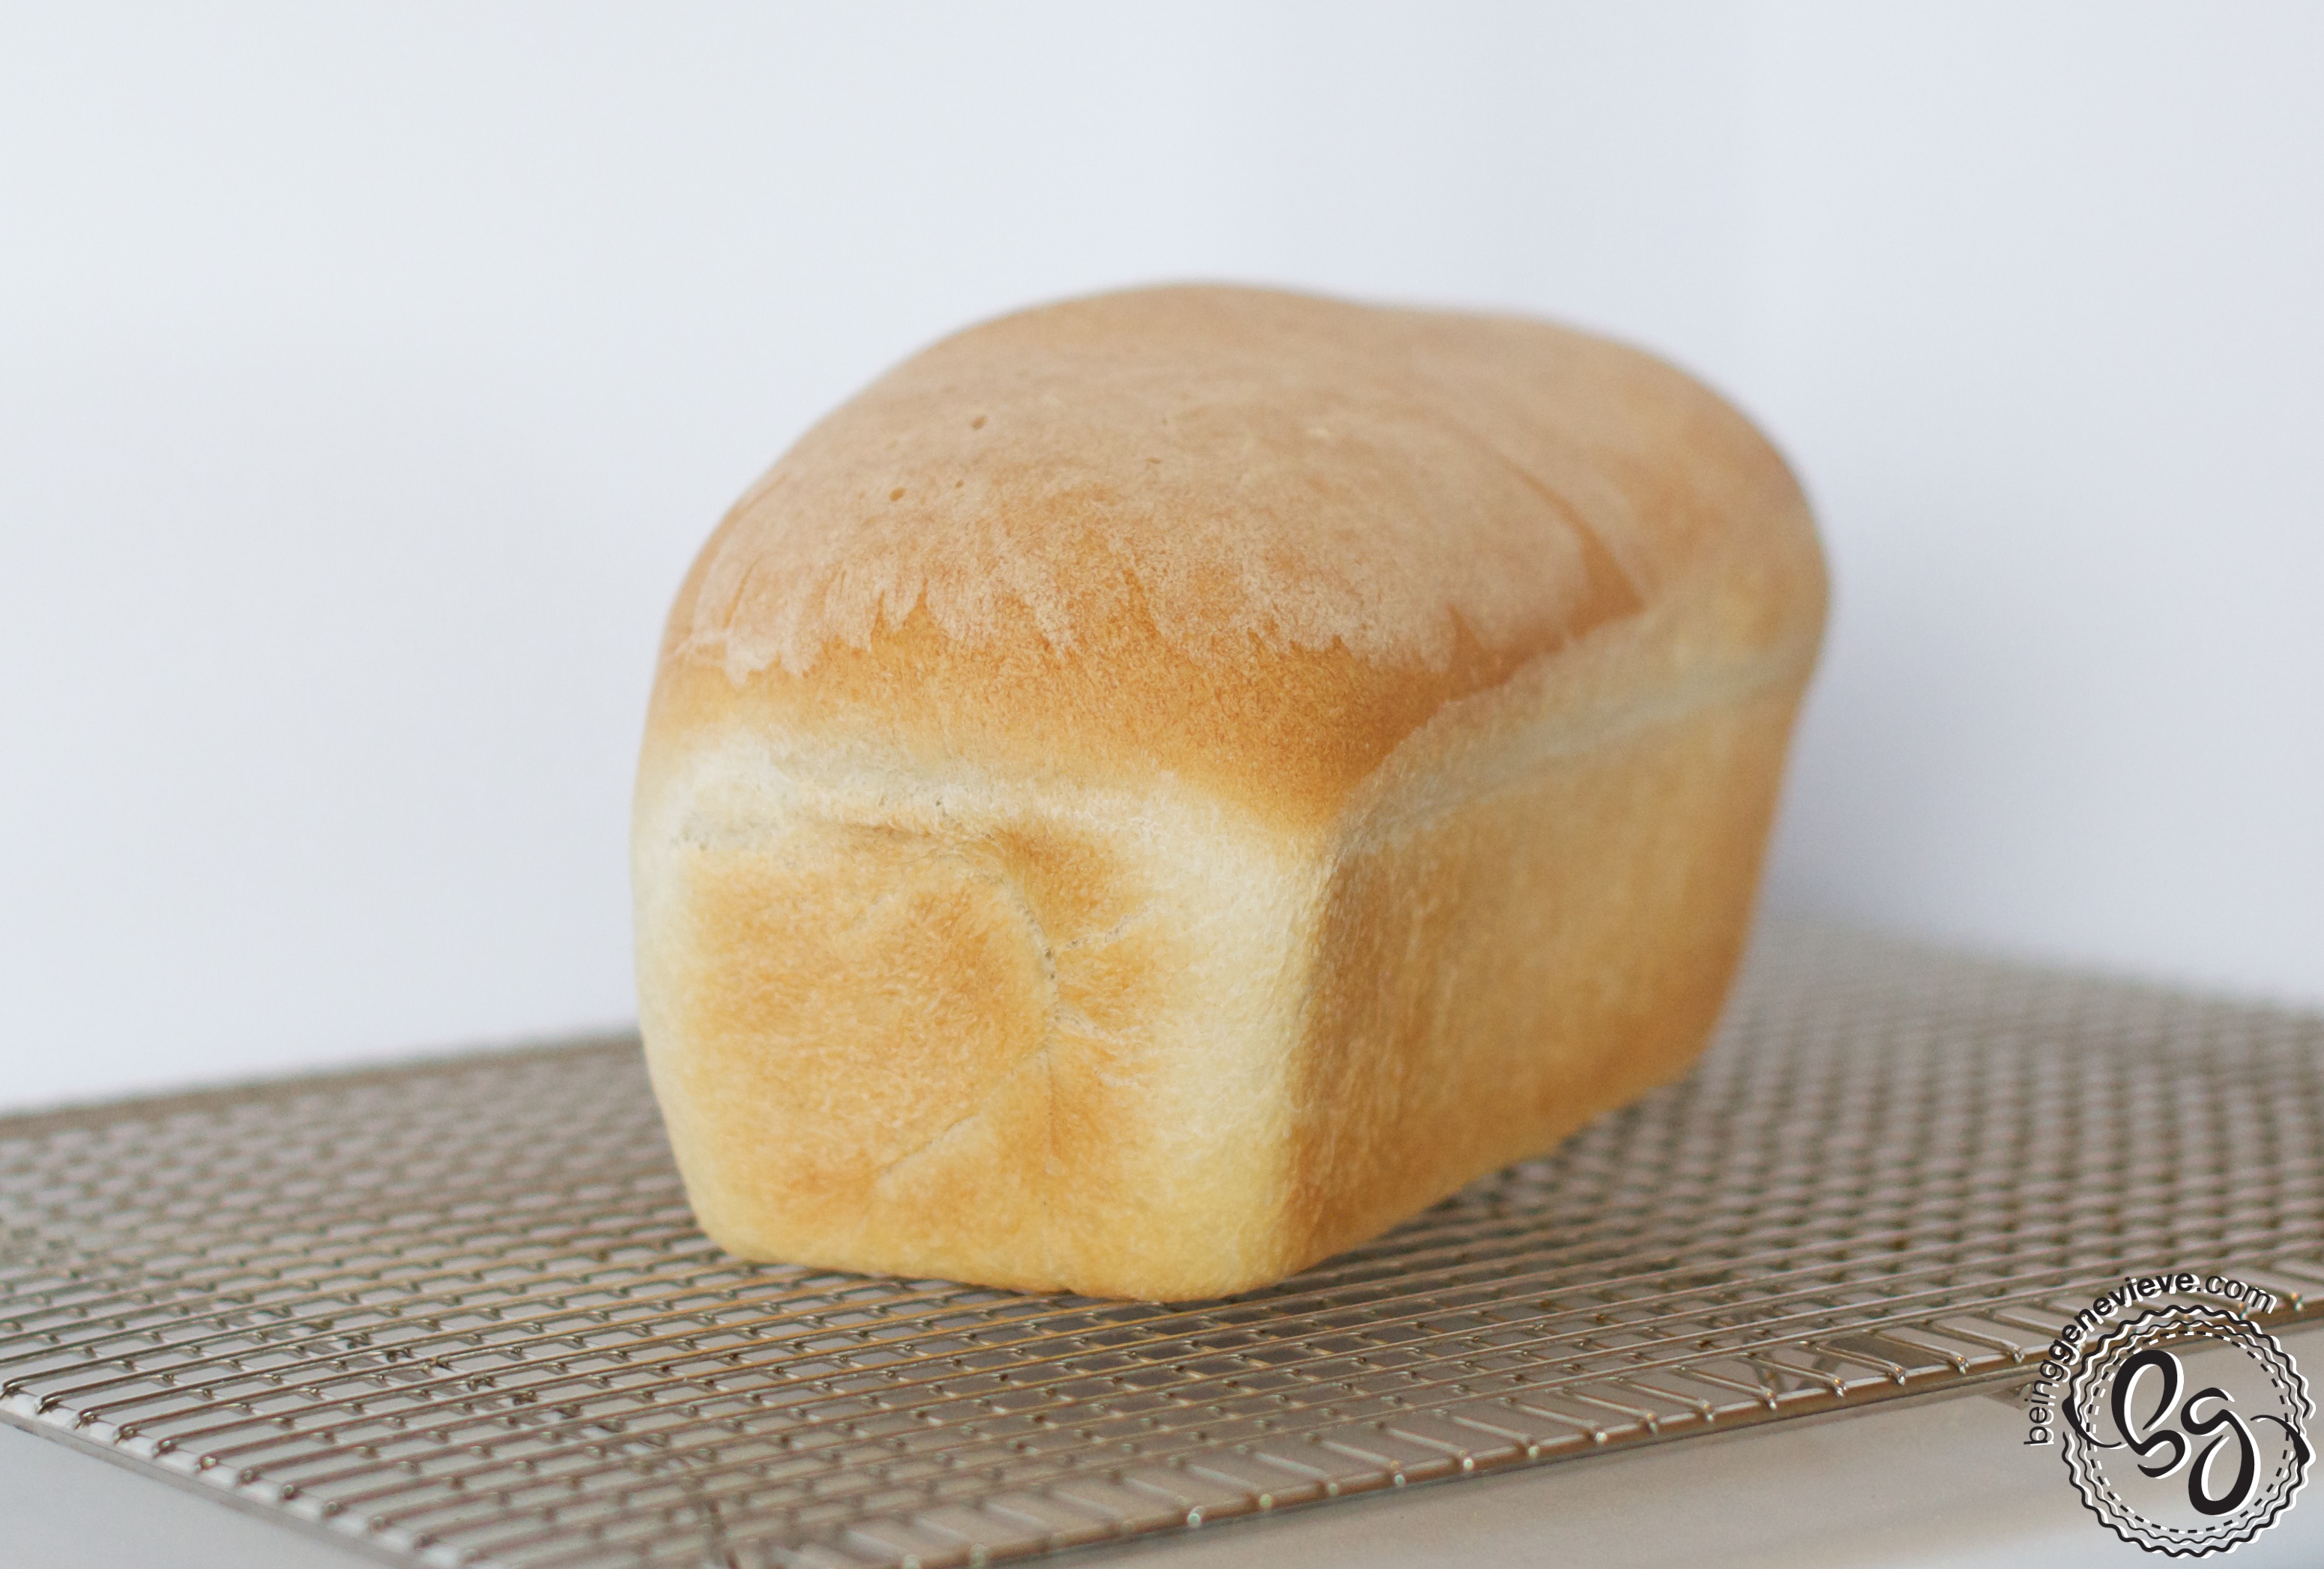
Preheat the oven to 350°F and bake for 35 to 40 minutes, or until nicely browned. Remove from oven and immediately dump onto a rack to cool completely before slicing.


Here is how they made their bread in the cooking demonstration. . .
Step 1: Measuring Flour Correctly
Stir the flour and then sprinkle into measuring cup with spoon. Level off the measuring cup. If you dip and scoop the flour out you will end up with way too much flour. The flour measurements in all the King Arthur recipes are always measured this way: stir, sprinkle and level.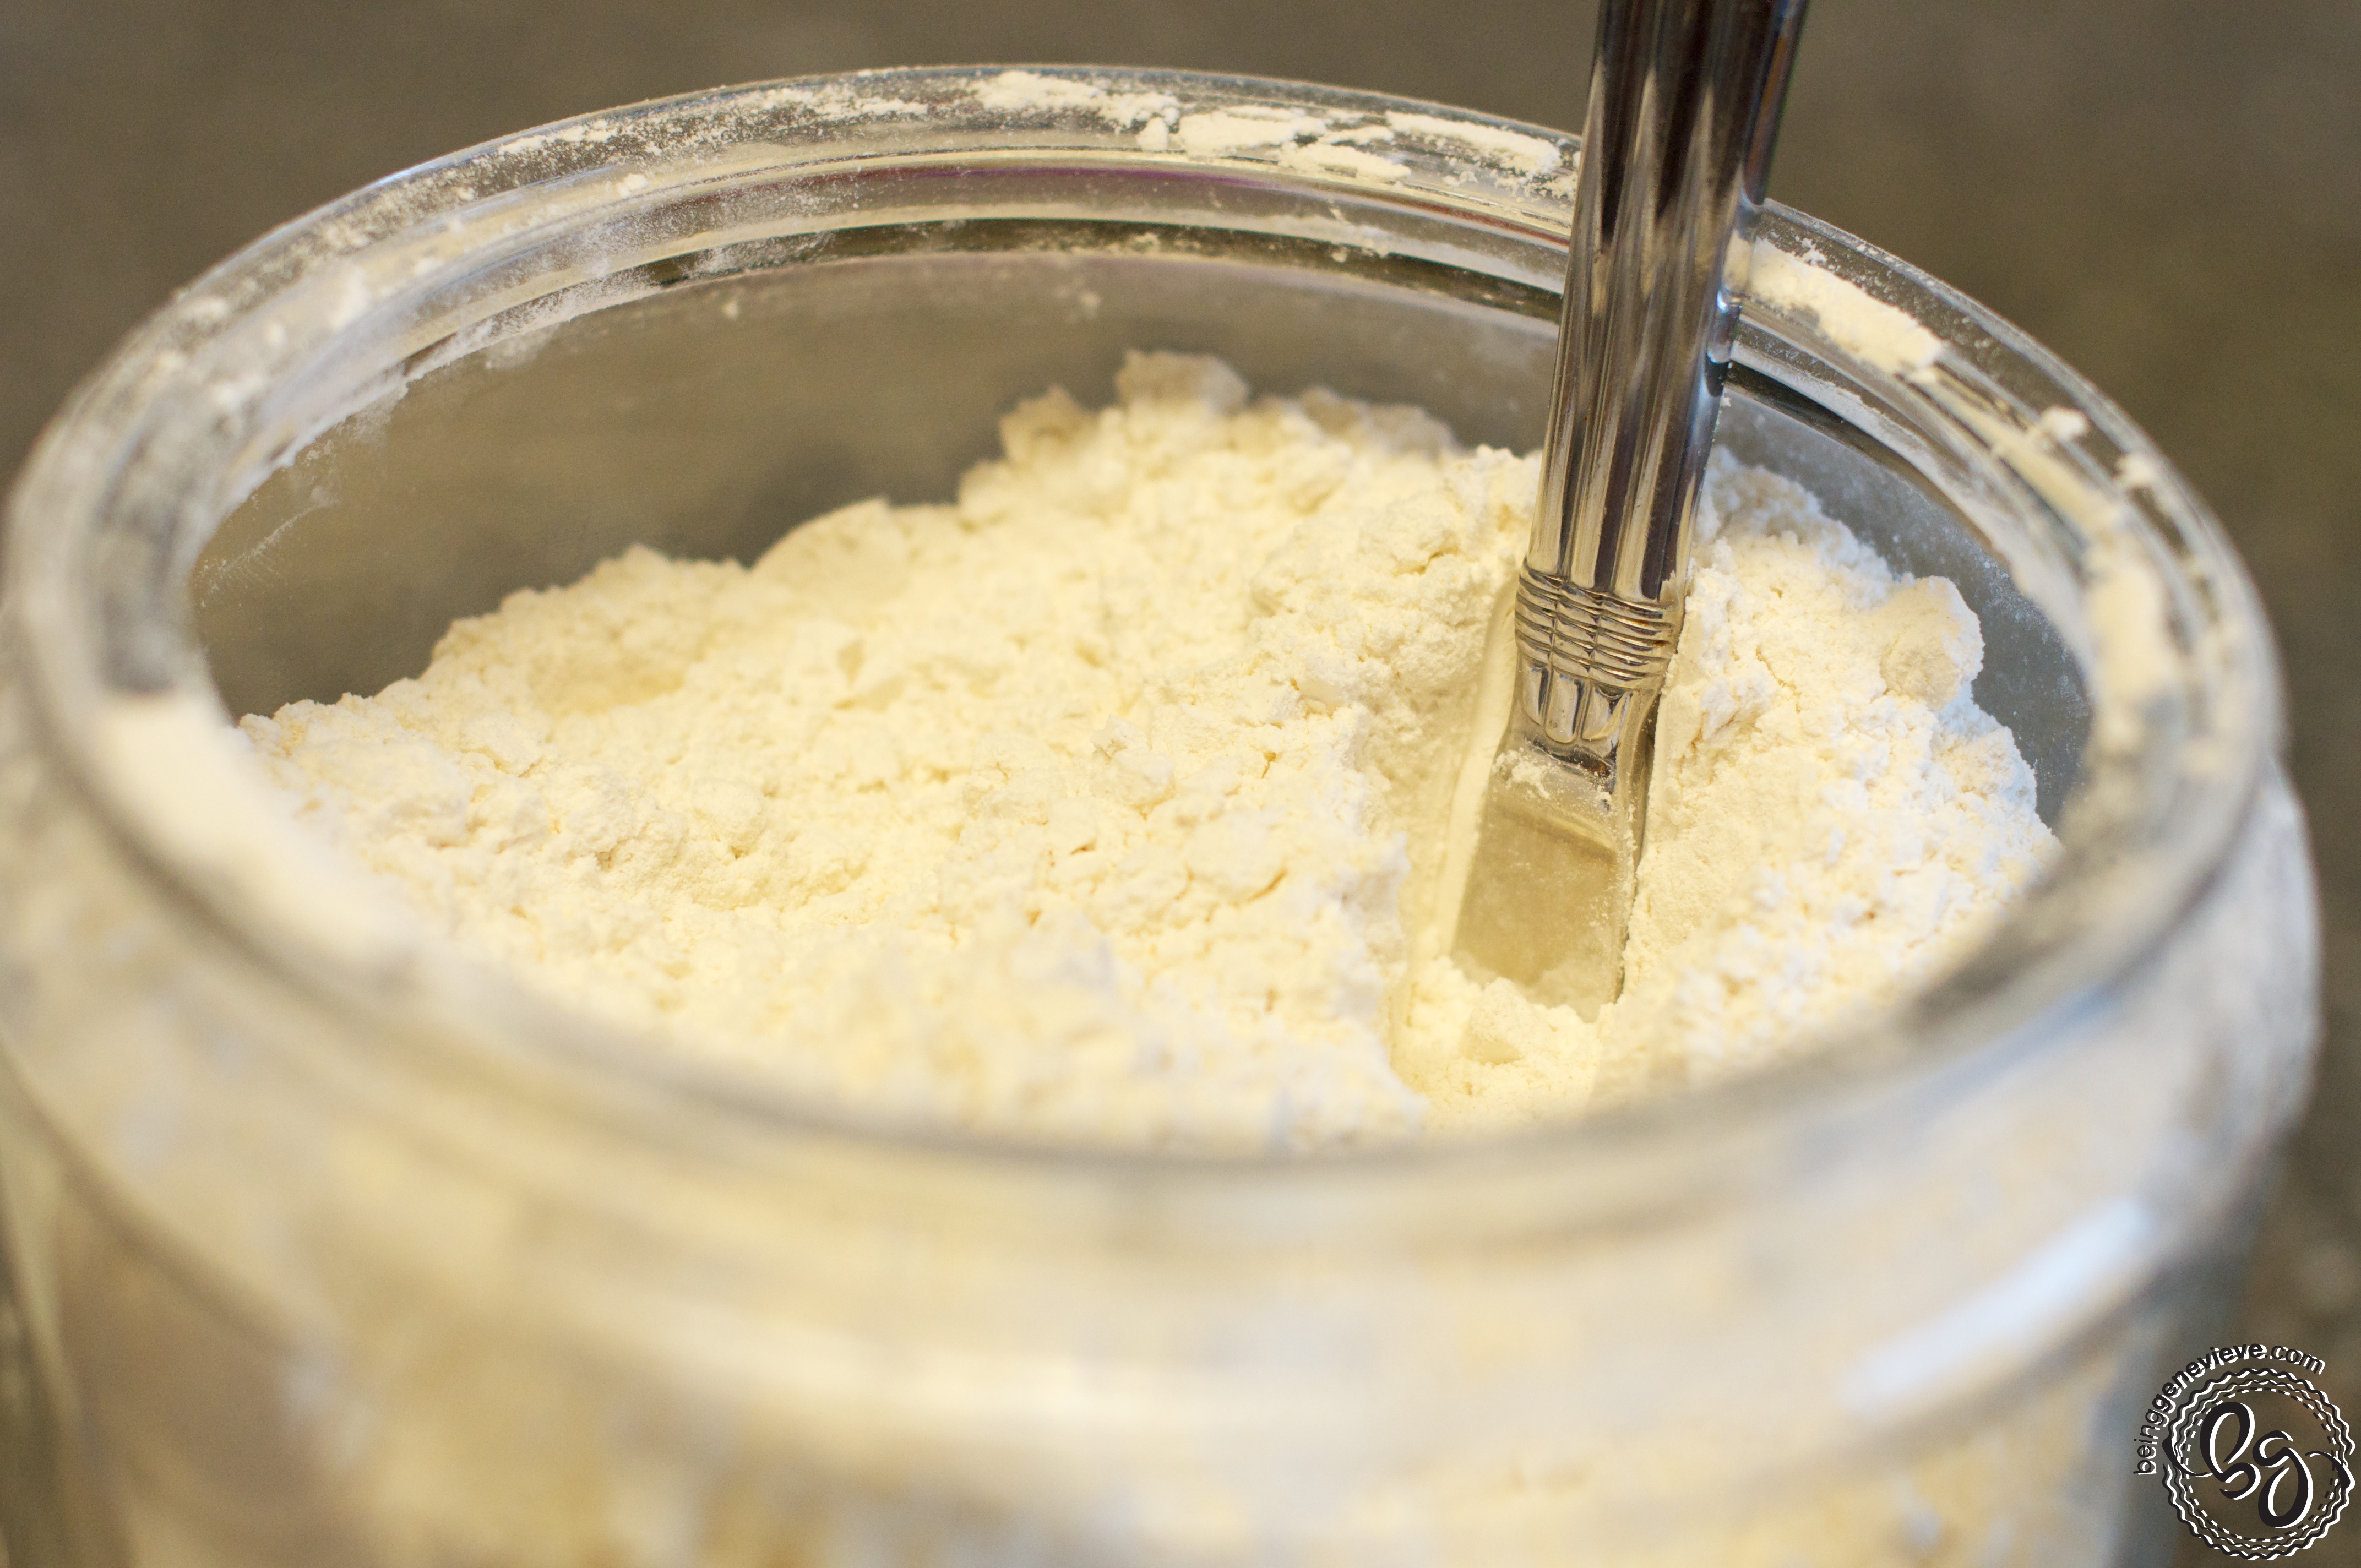
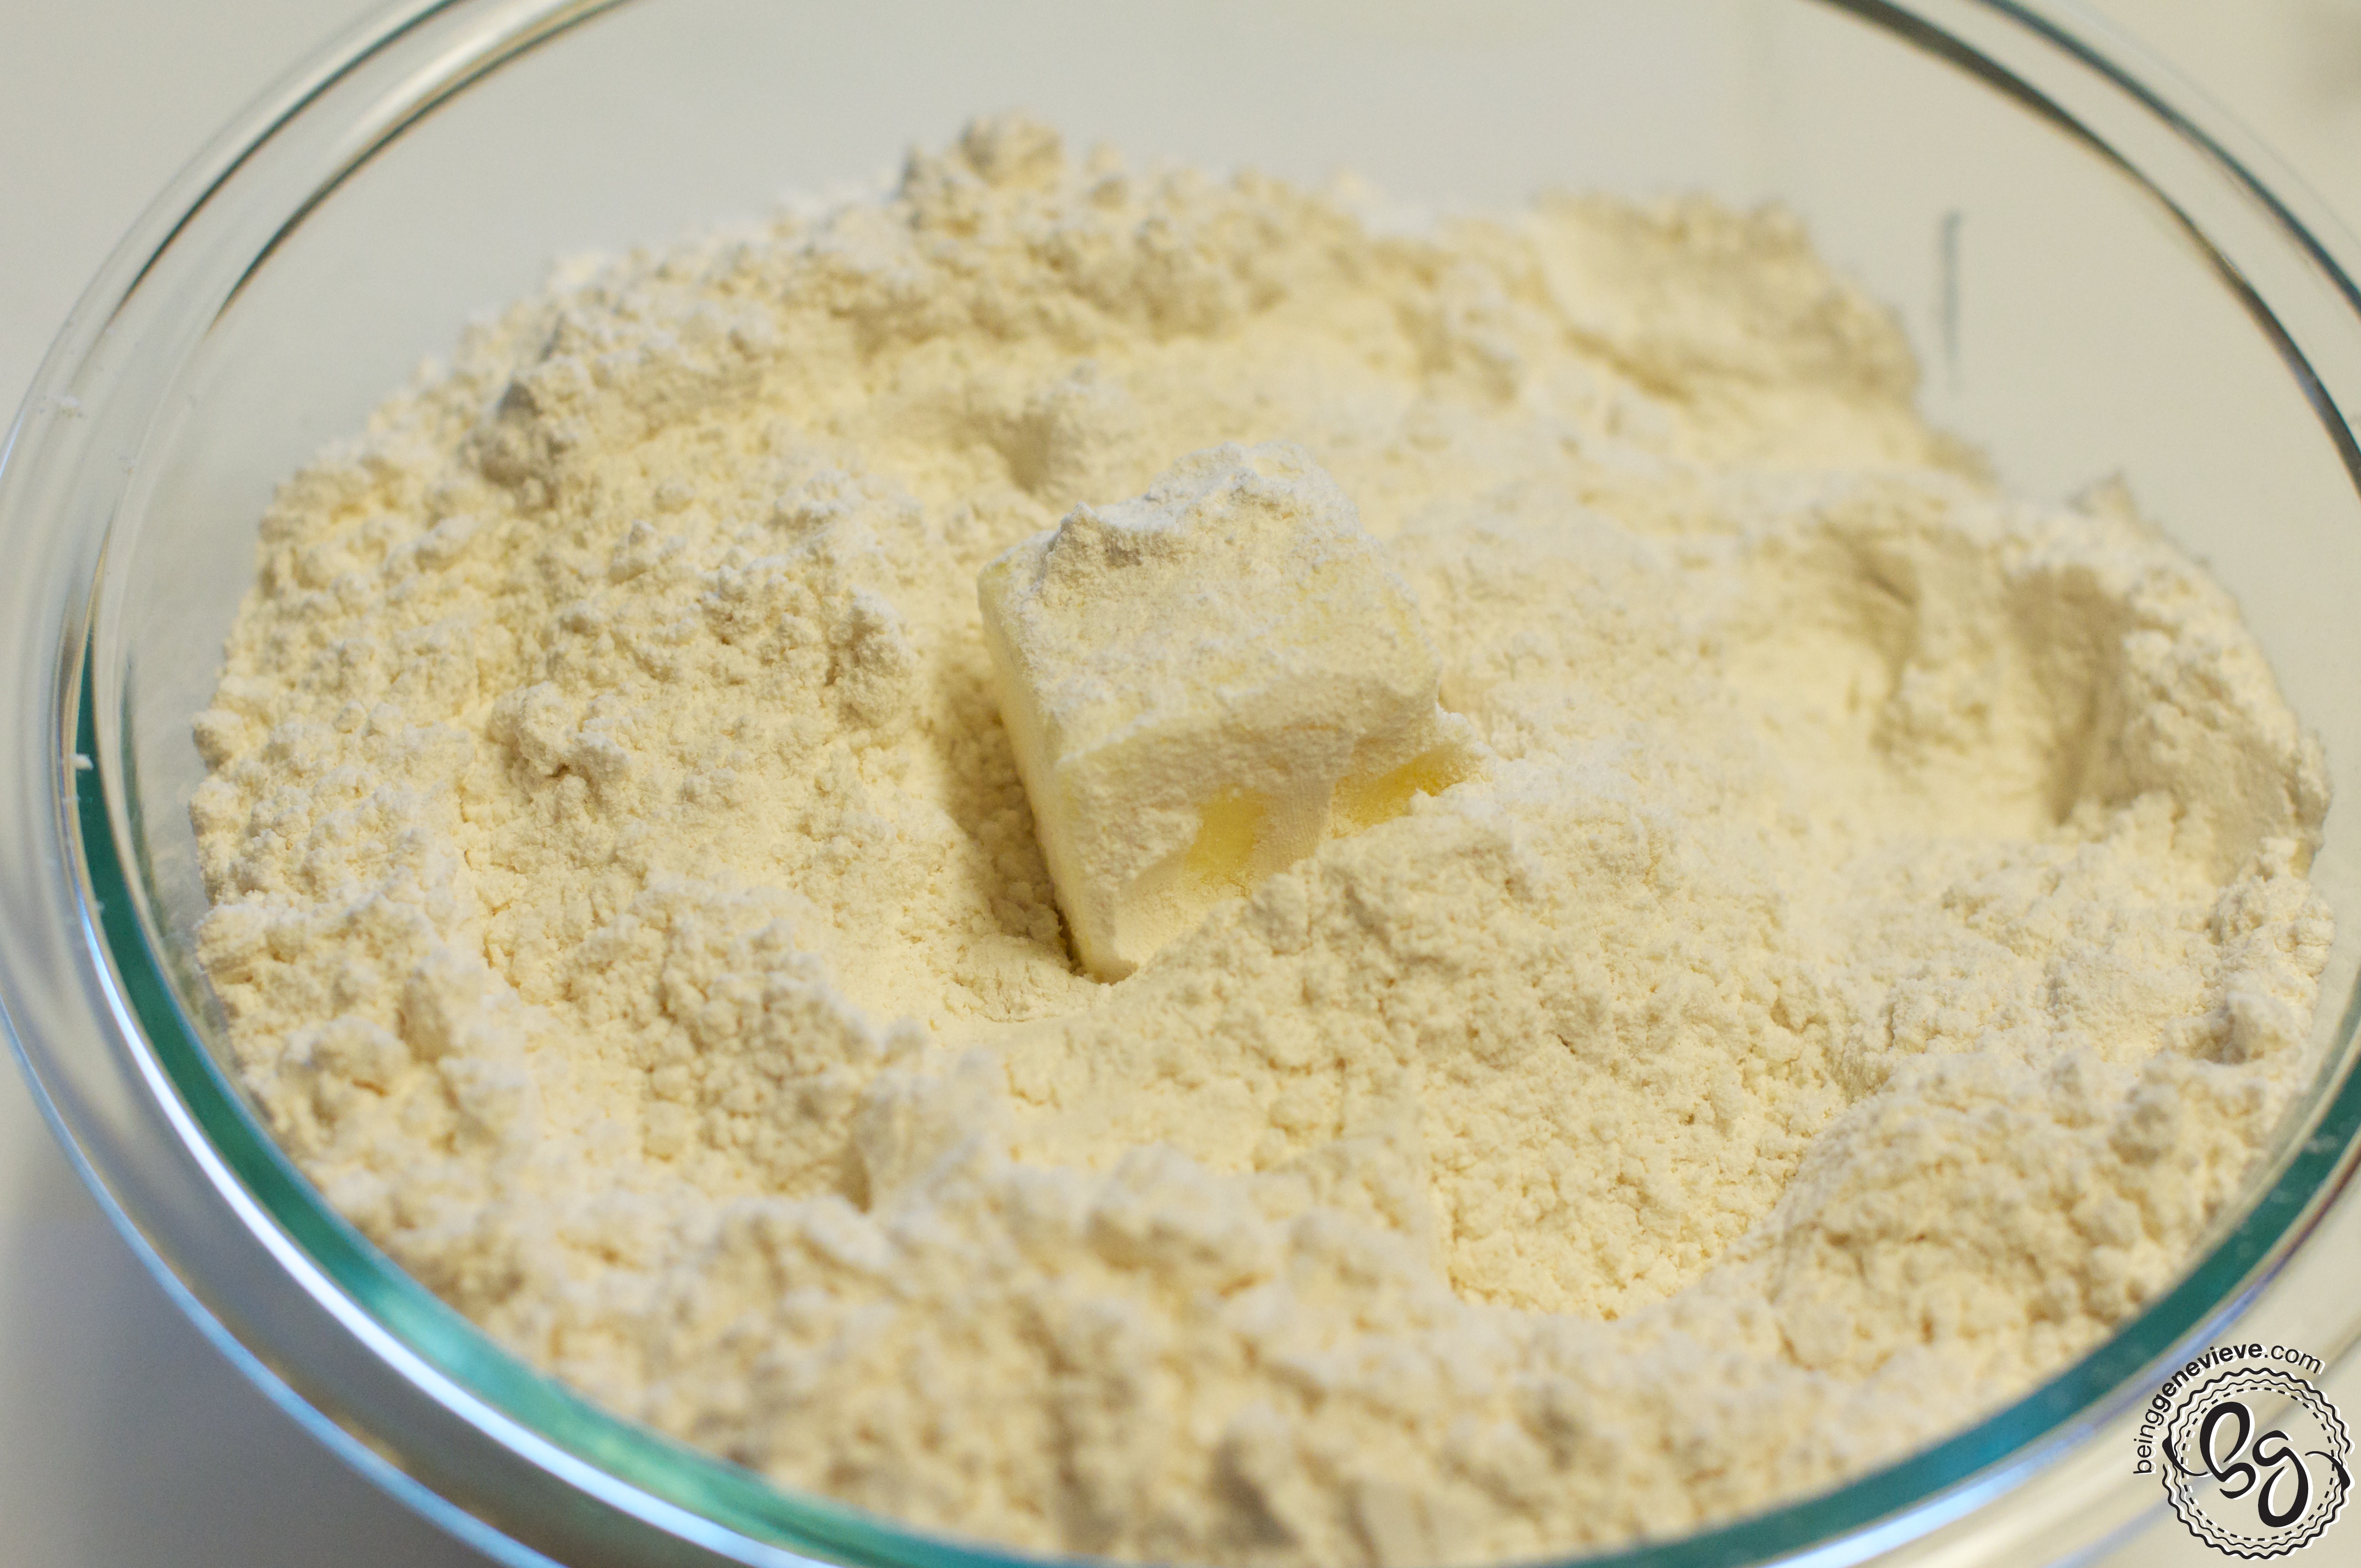
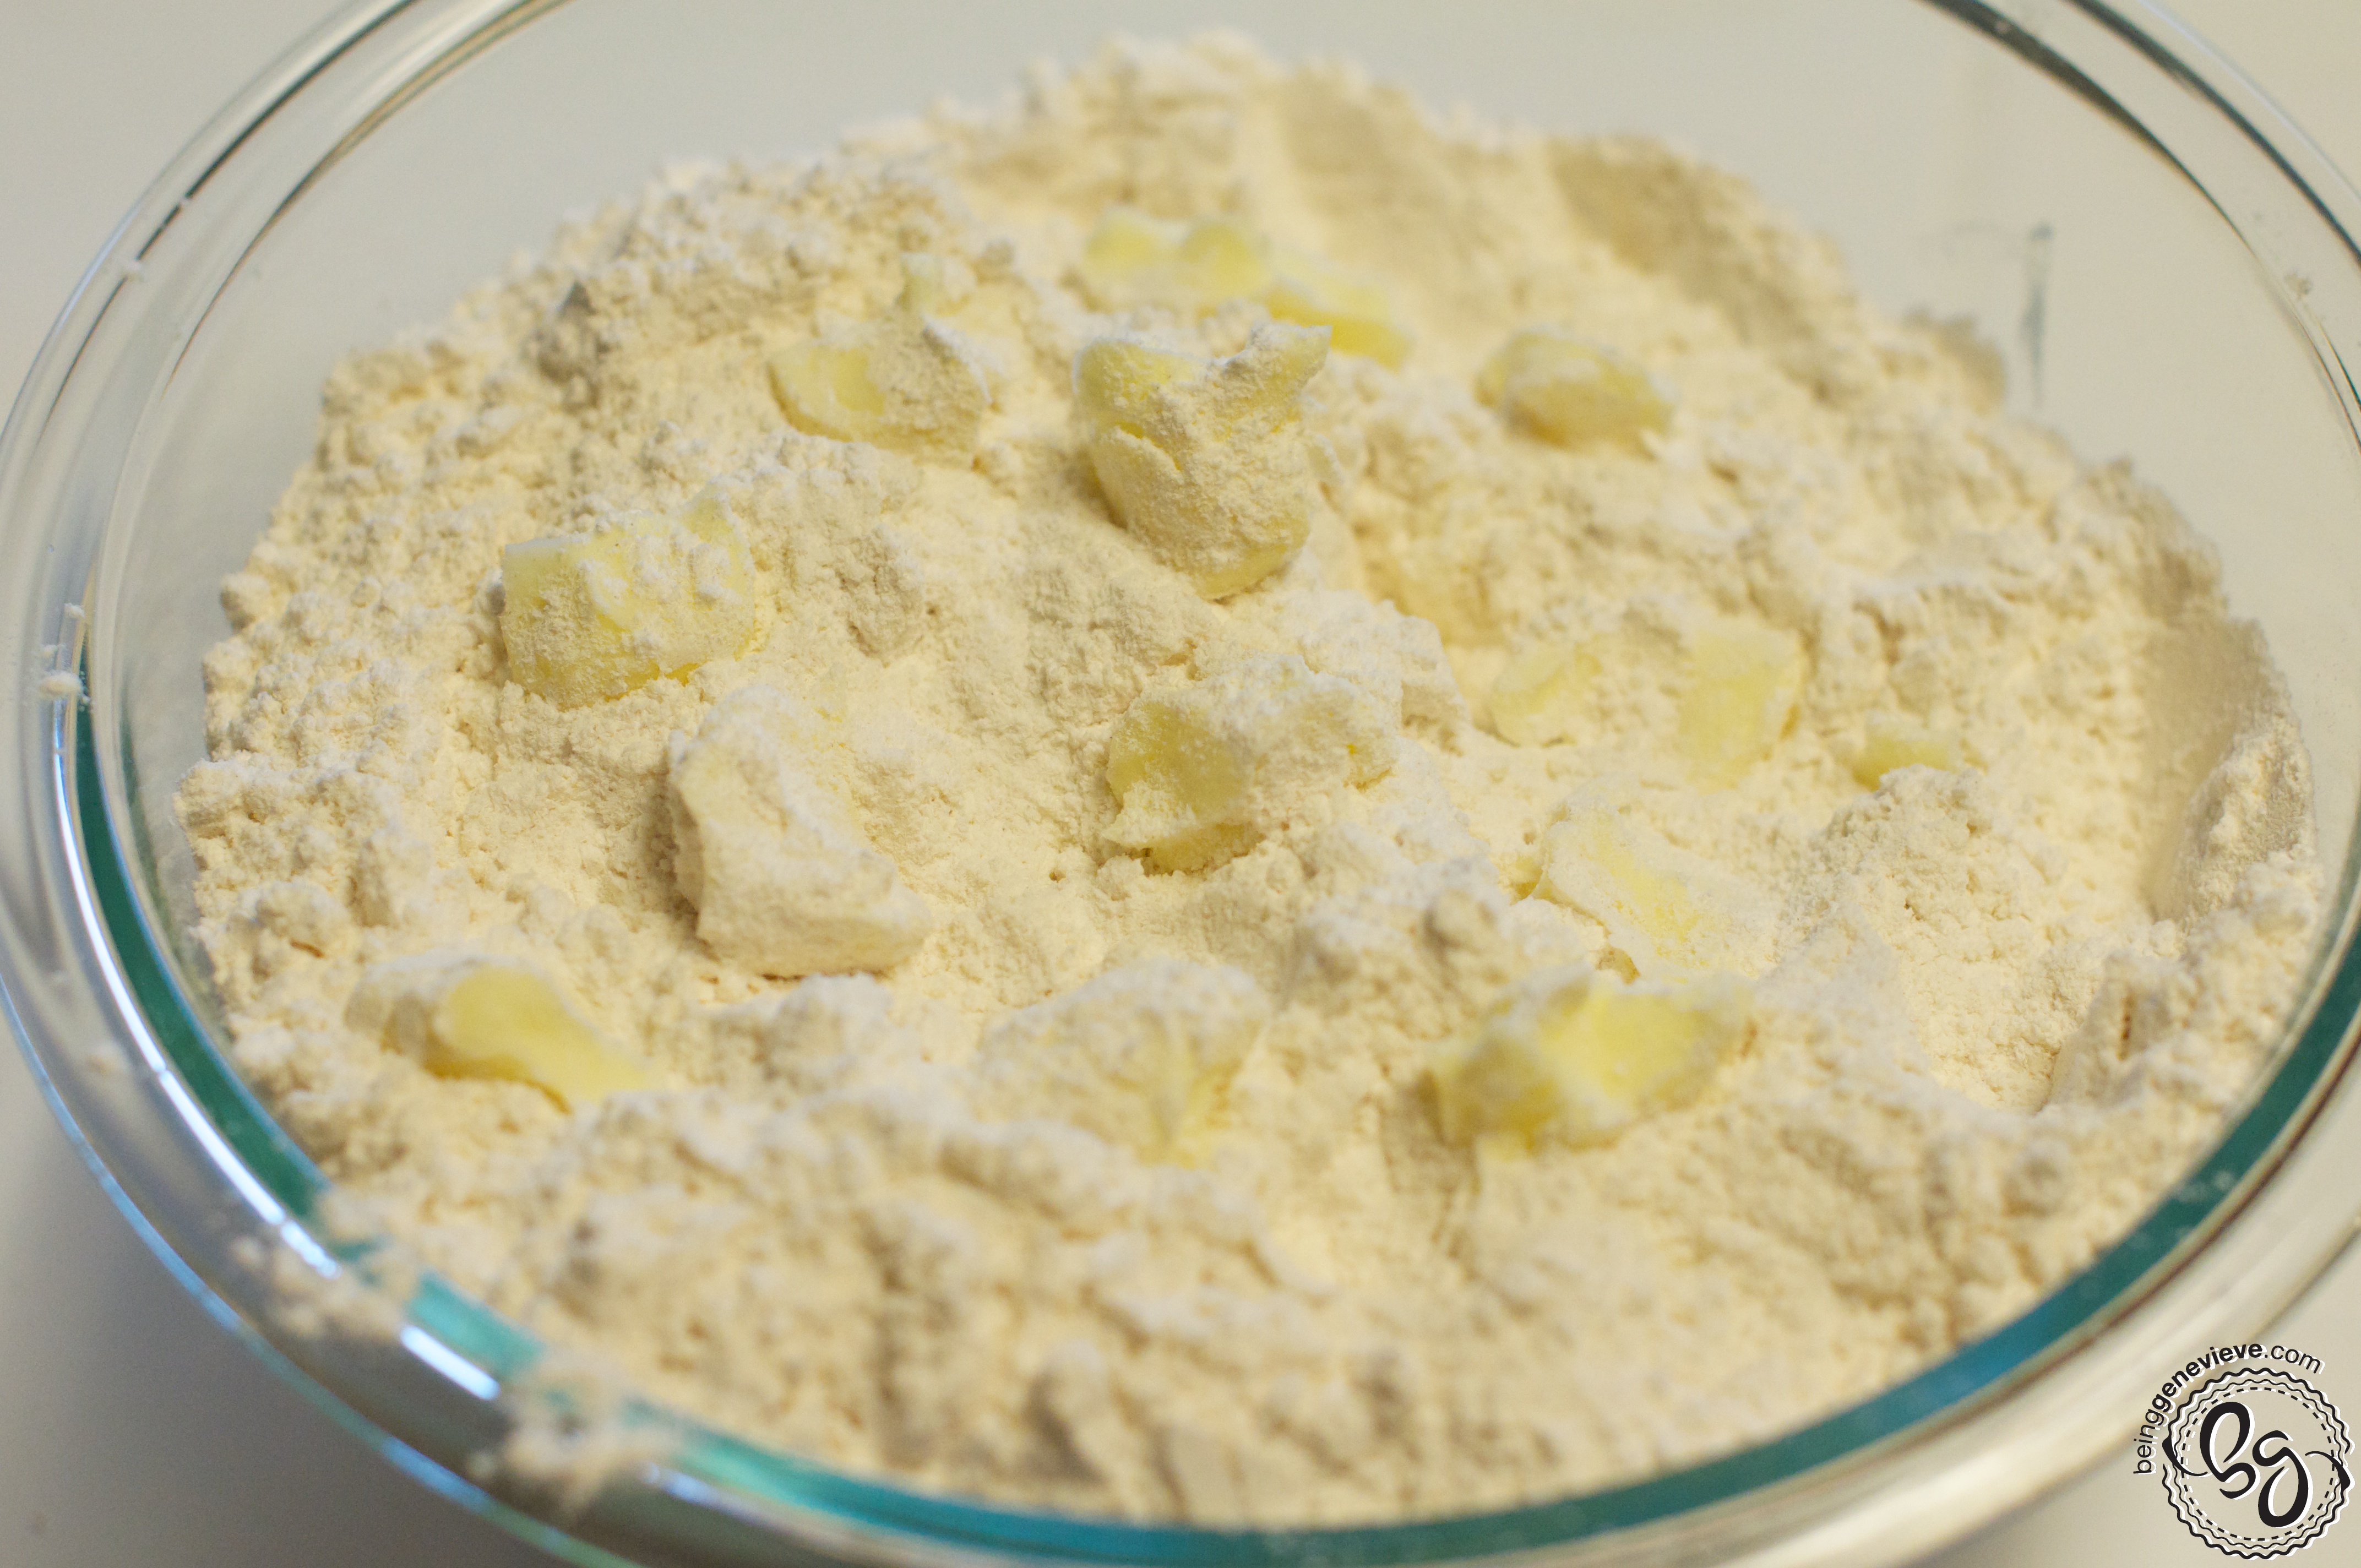
Even though I use instant active rise yeast, I still mix the yeast, sugar and water together just while I combine the dry ingredients (4 cups flour, salt and butter). Coat the butter in the flour and break into pieces. Mix the flour, salt and butter together with fingers. Add to yeast mixture. Add the next 1 to 1-1/5 cups one cup at a time so that you don’t add to much. Don’t use all 1-1/2 cups if not necessary.
Note: Once you have made this a couple of times and will have a feel for how much flour you need each time (I need 5 to 5-1/8 cups each time) you can just thrown everything in all at the same time. I toss in the liquid, yeast, sugar, salt, butter and flour all at once into the mixer and turn it on. It couldn’t be easier!
Mix the dough together by hand or with a stand mixer. Remember that the dough should still be tacky, but not a sticky wet mess. If the dough doesn’t stick to your fingers at all it is too dry.
Knead the dough by hand or in stand mixer. If kneading by hand, here is a wonderful way to knead. Fold dough in half and roll away from you. Turn the dough and repeat (fold in half, roll and turn).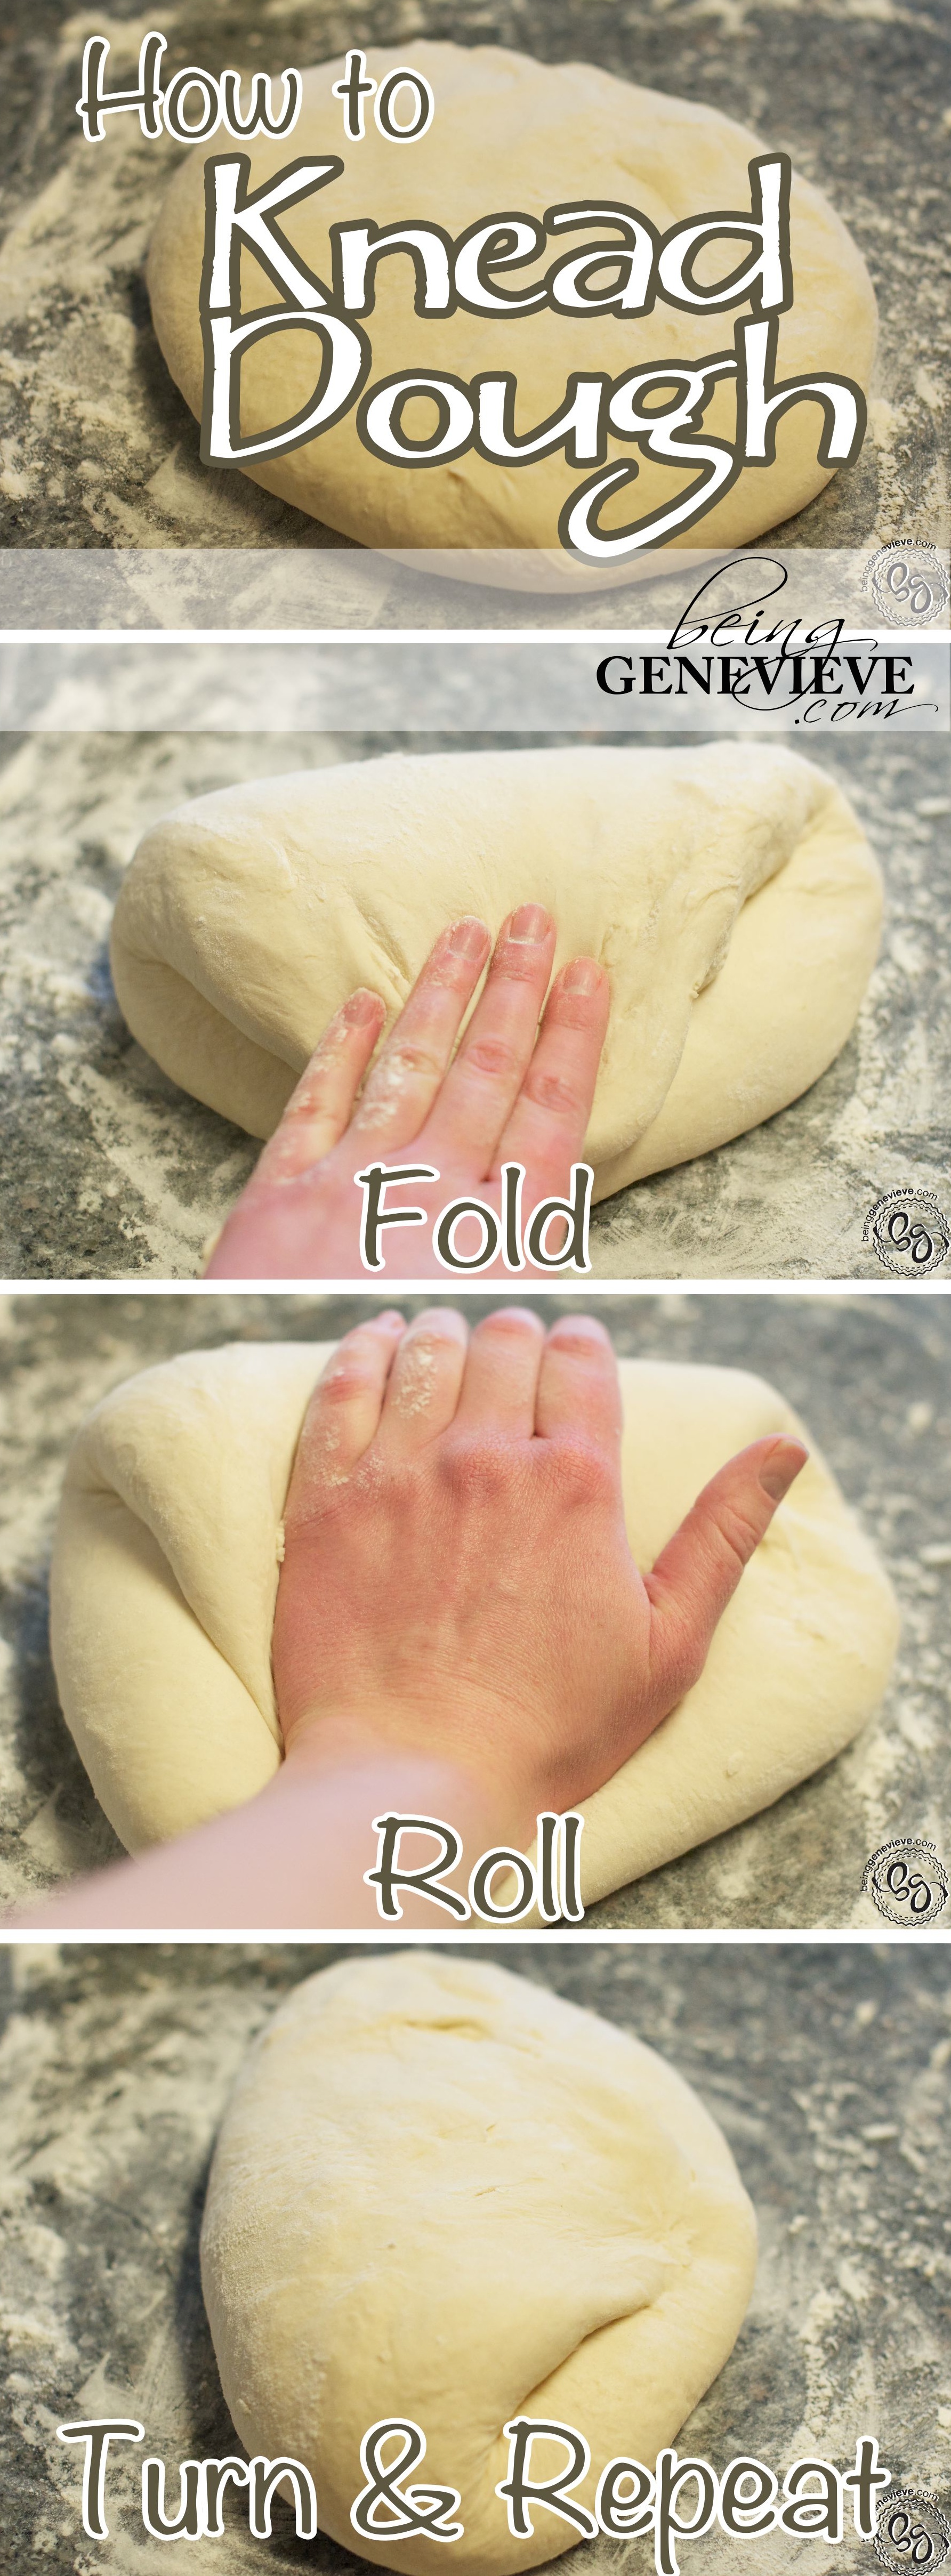
Step 4: Let Rise
Place the dough into a greased bowl. Flip over so both sides are coated. Let it rise until doubled, 1 to 2 hours. 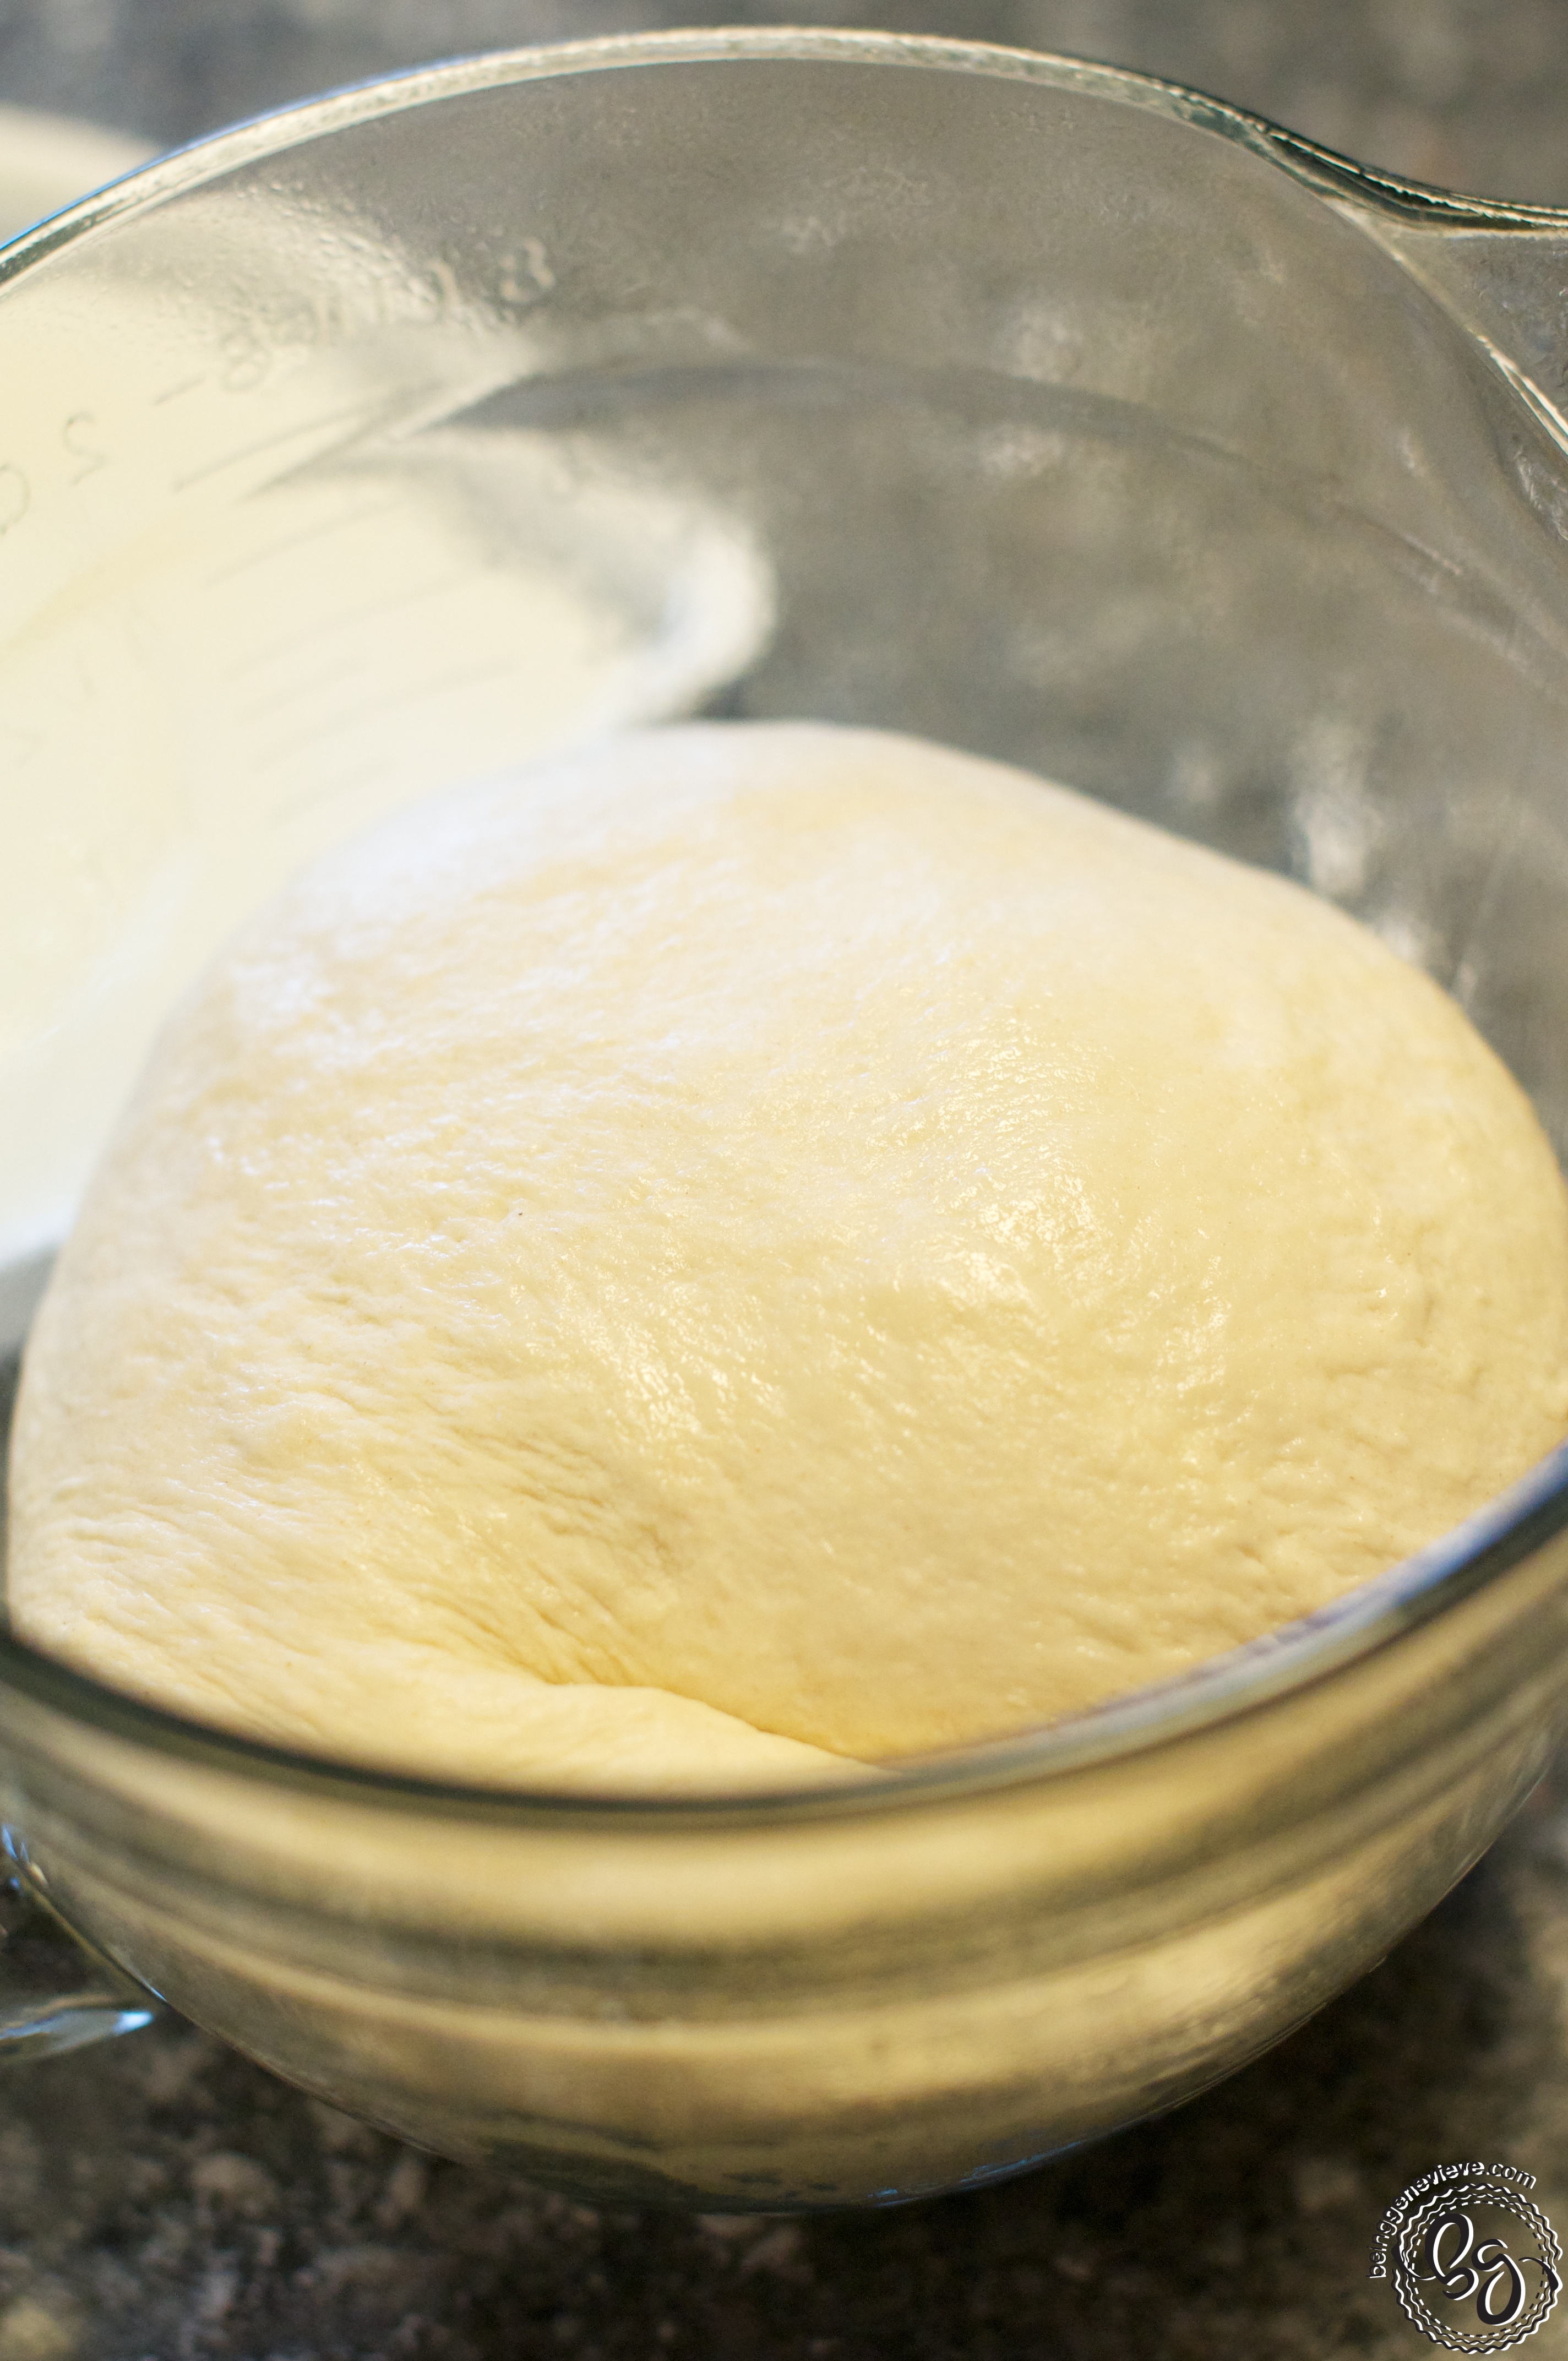
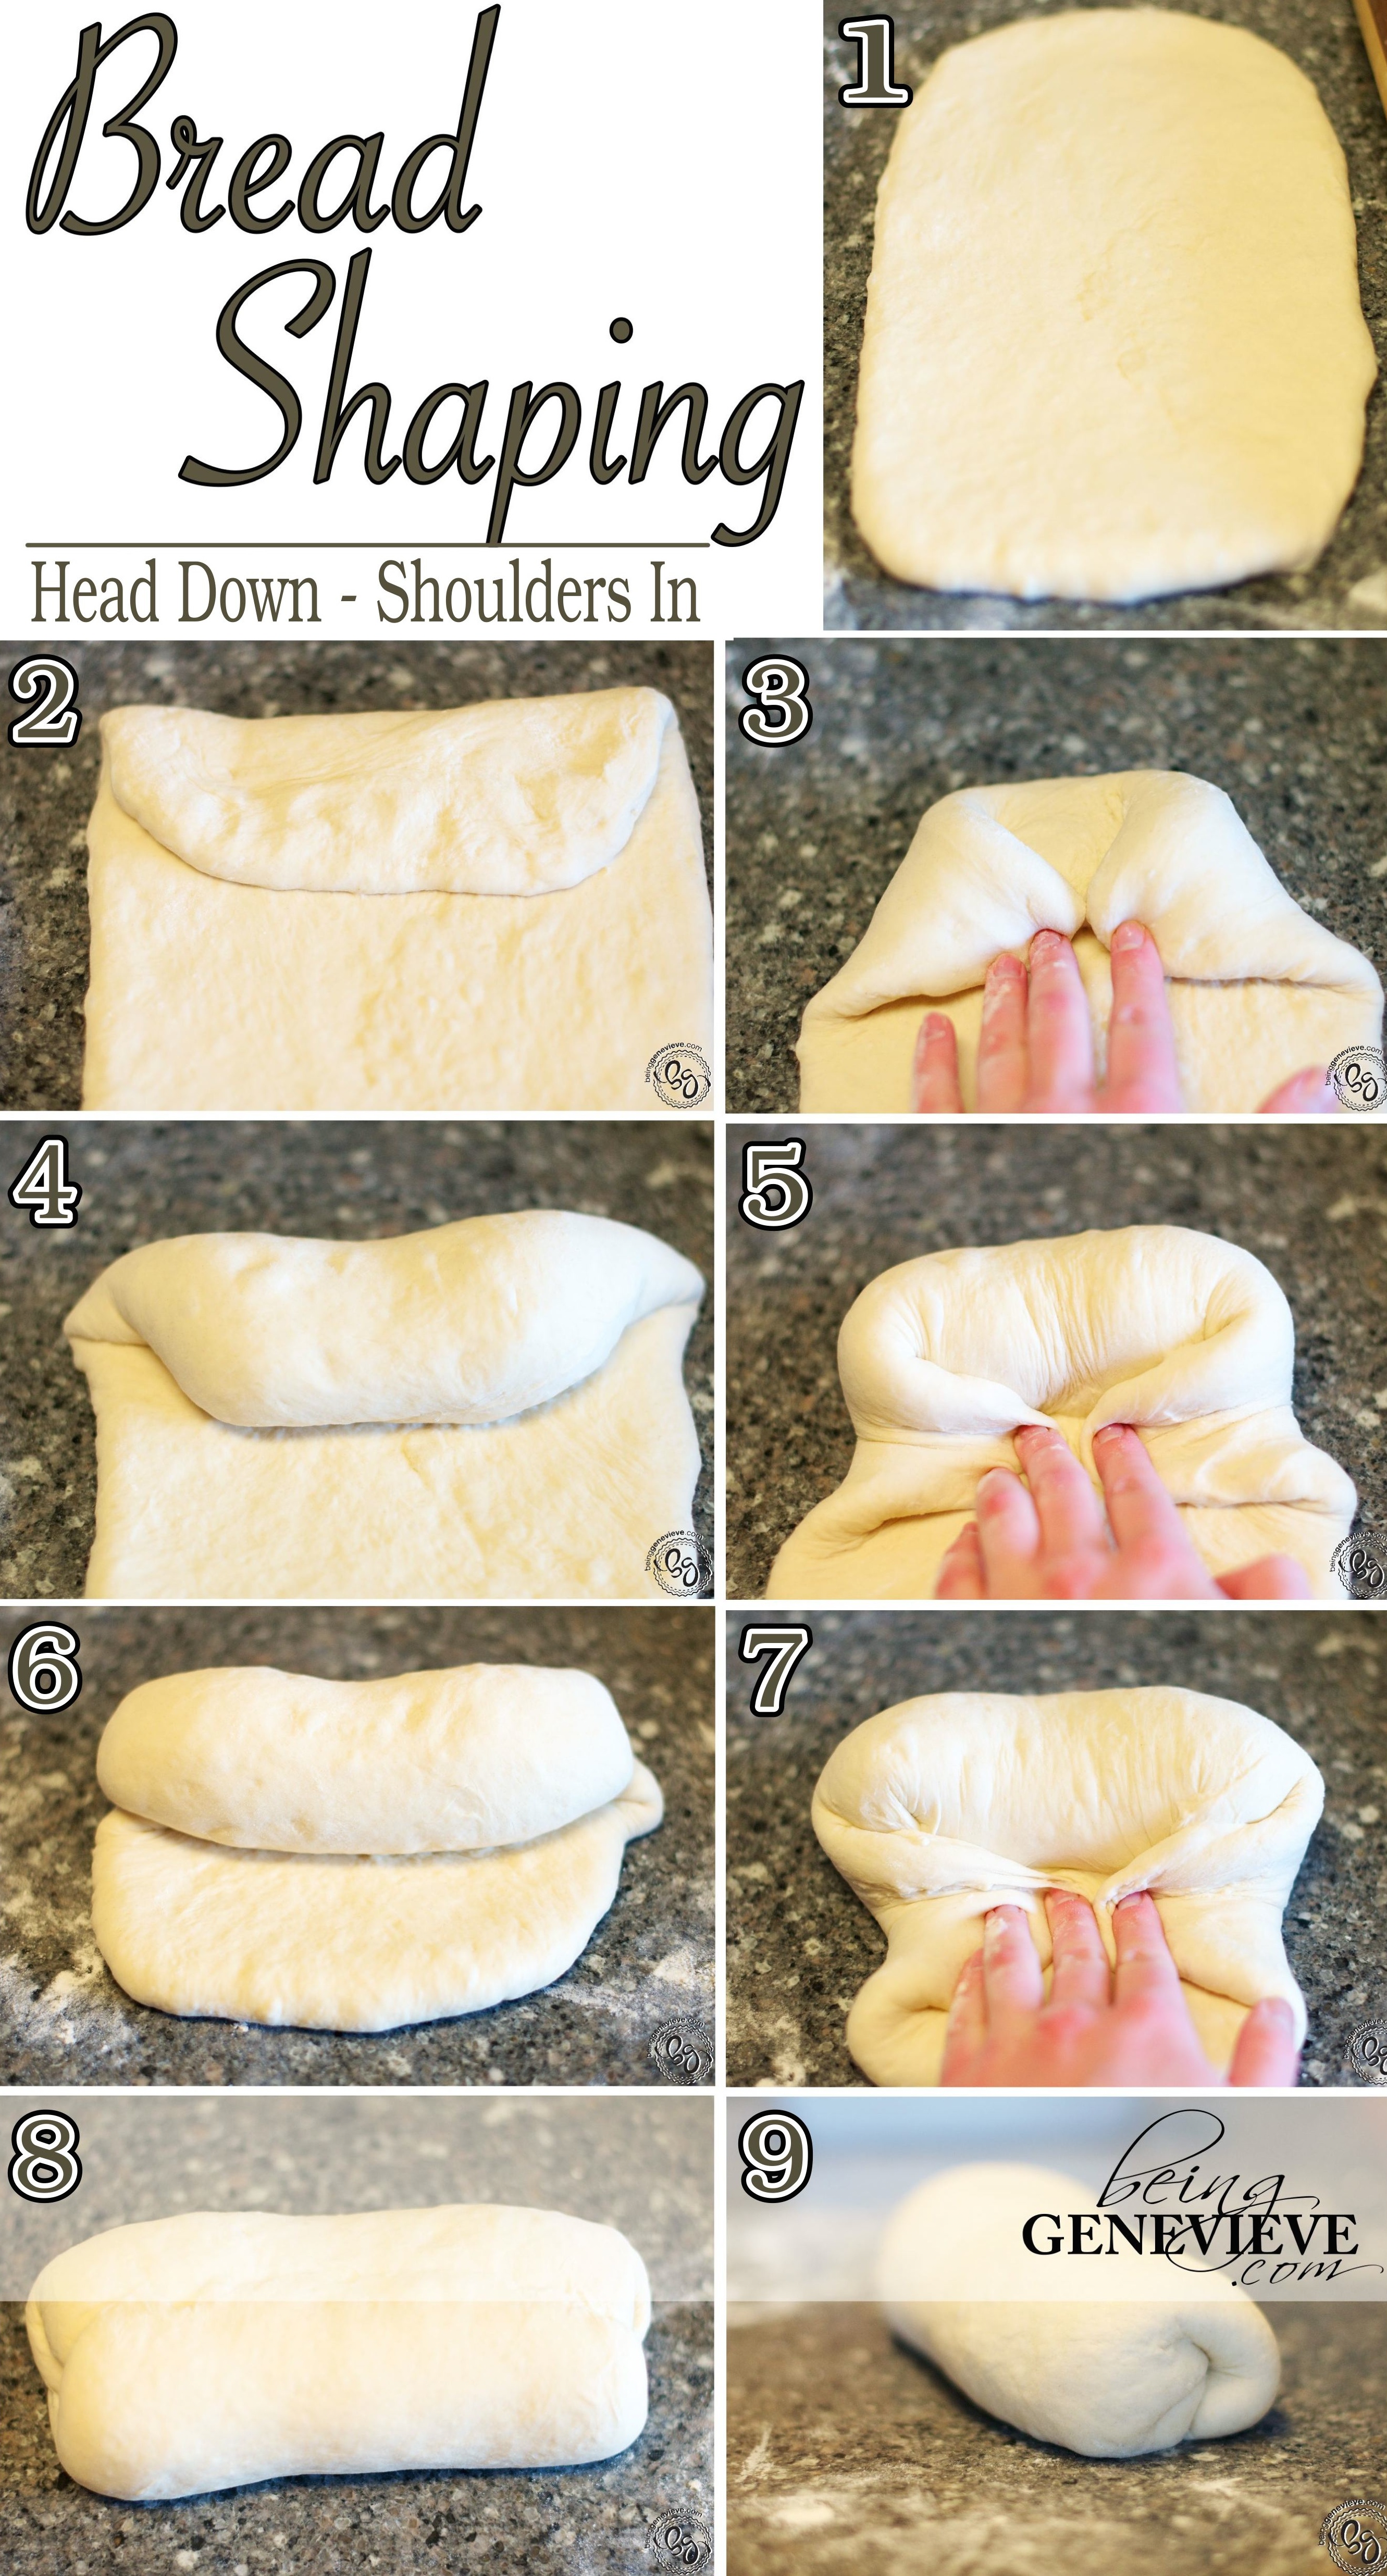
Step 5: Shape
Punch down the dough and divide it in half. Form into loaves by using the “head down, shoulders in” diagram I have below.
- Step 1: Roll out, but not wider than the 8-1/2″ pan.
- Step 2: Bring “head” down.
- Step 3: Pull “shoulders” in.
- Step 4-7: Repeat bringing head down and shoulders in until you reach the end of the dough.
- Step 8: Pinch the seam to seal.
- Step 9: Place seam down.
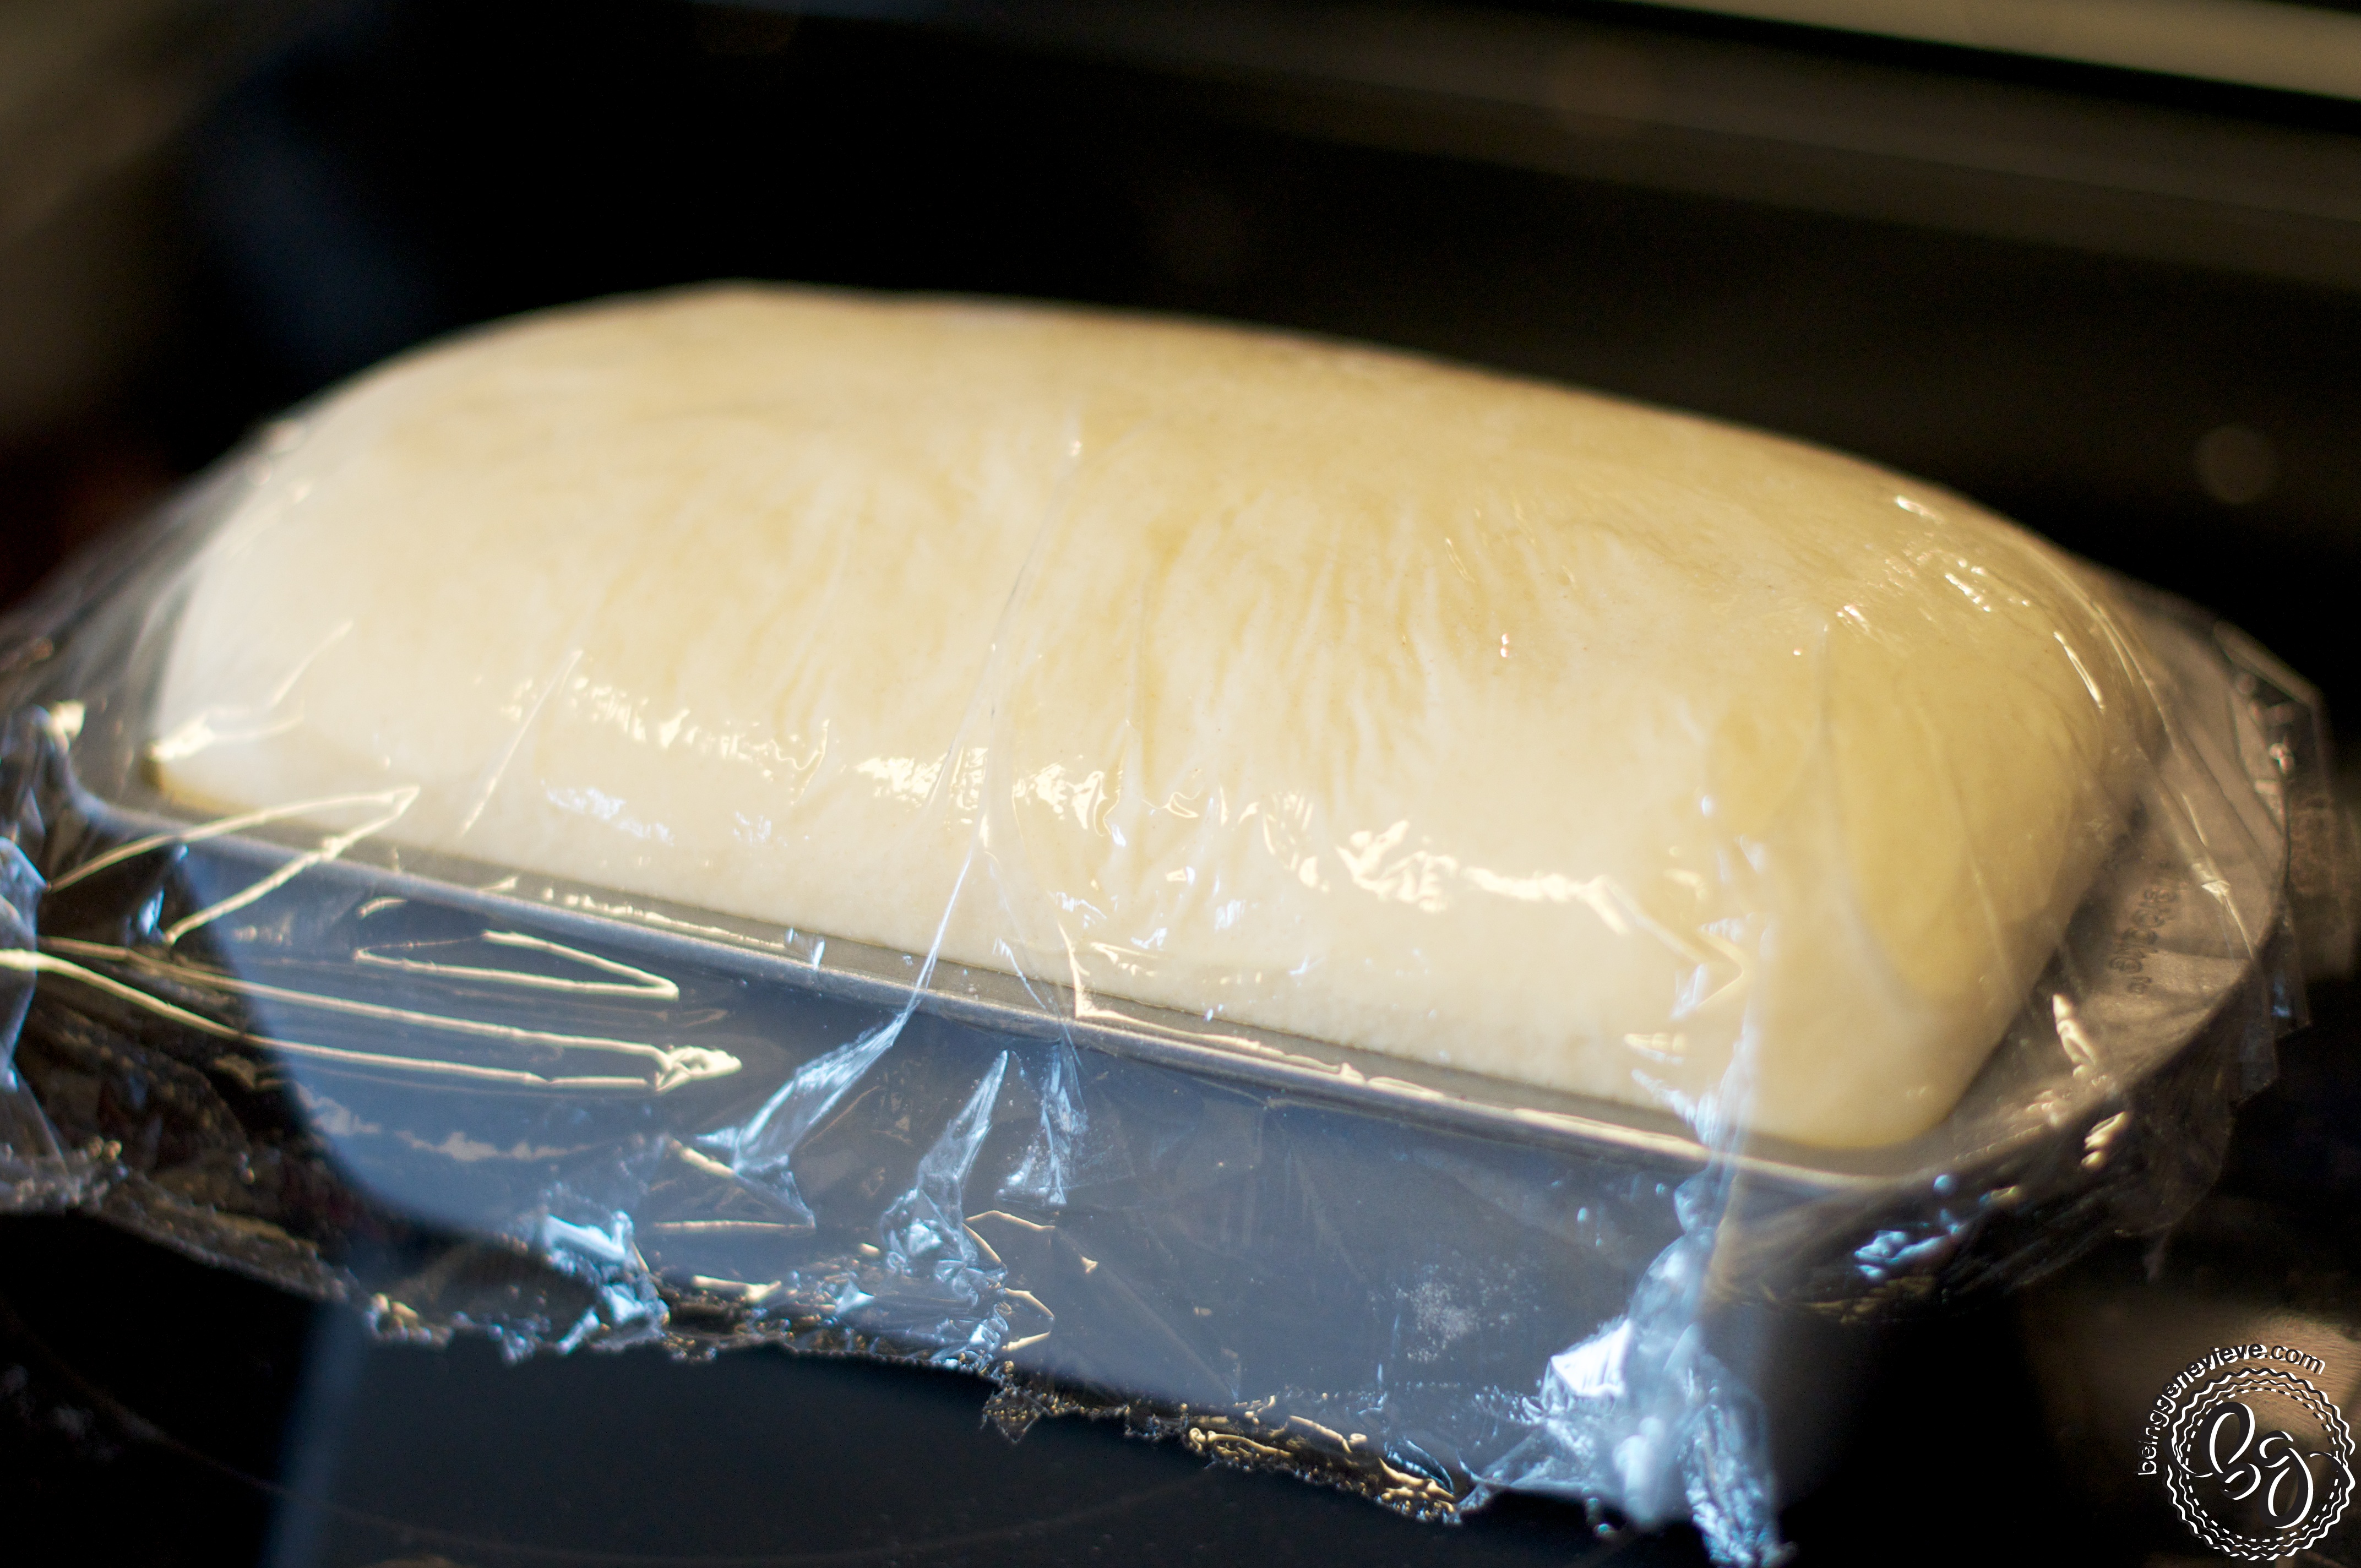
Place into greased pan (8-1/2″ x 4-1/2″) and cover with greased plastic wrap.
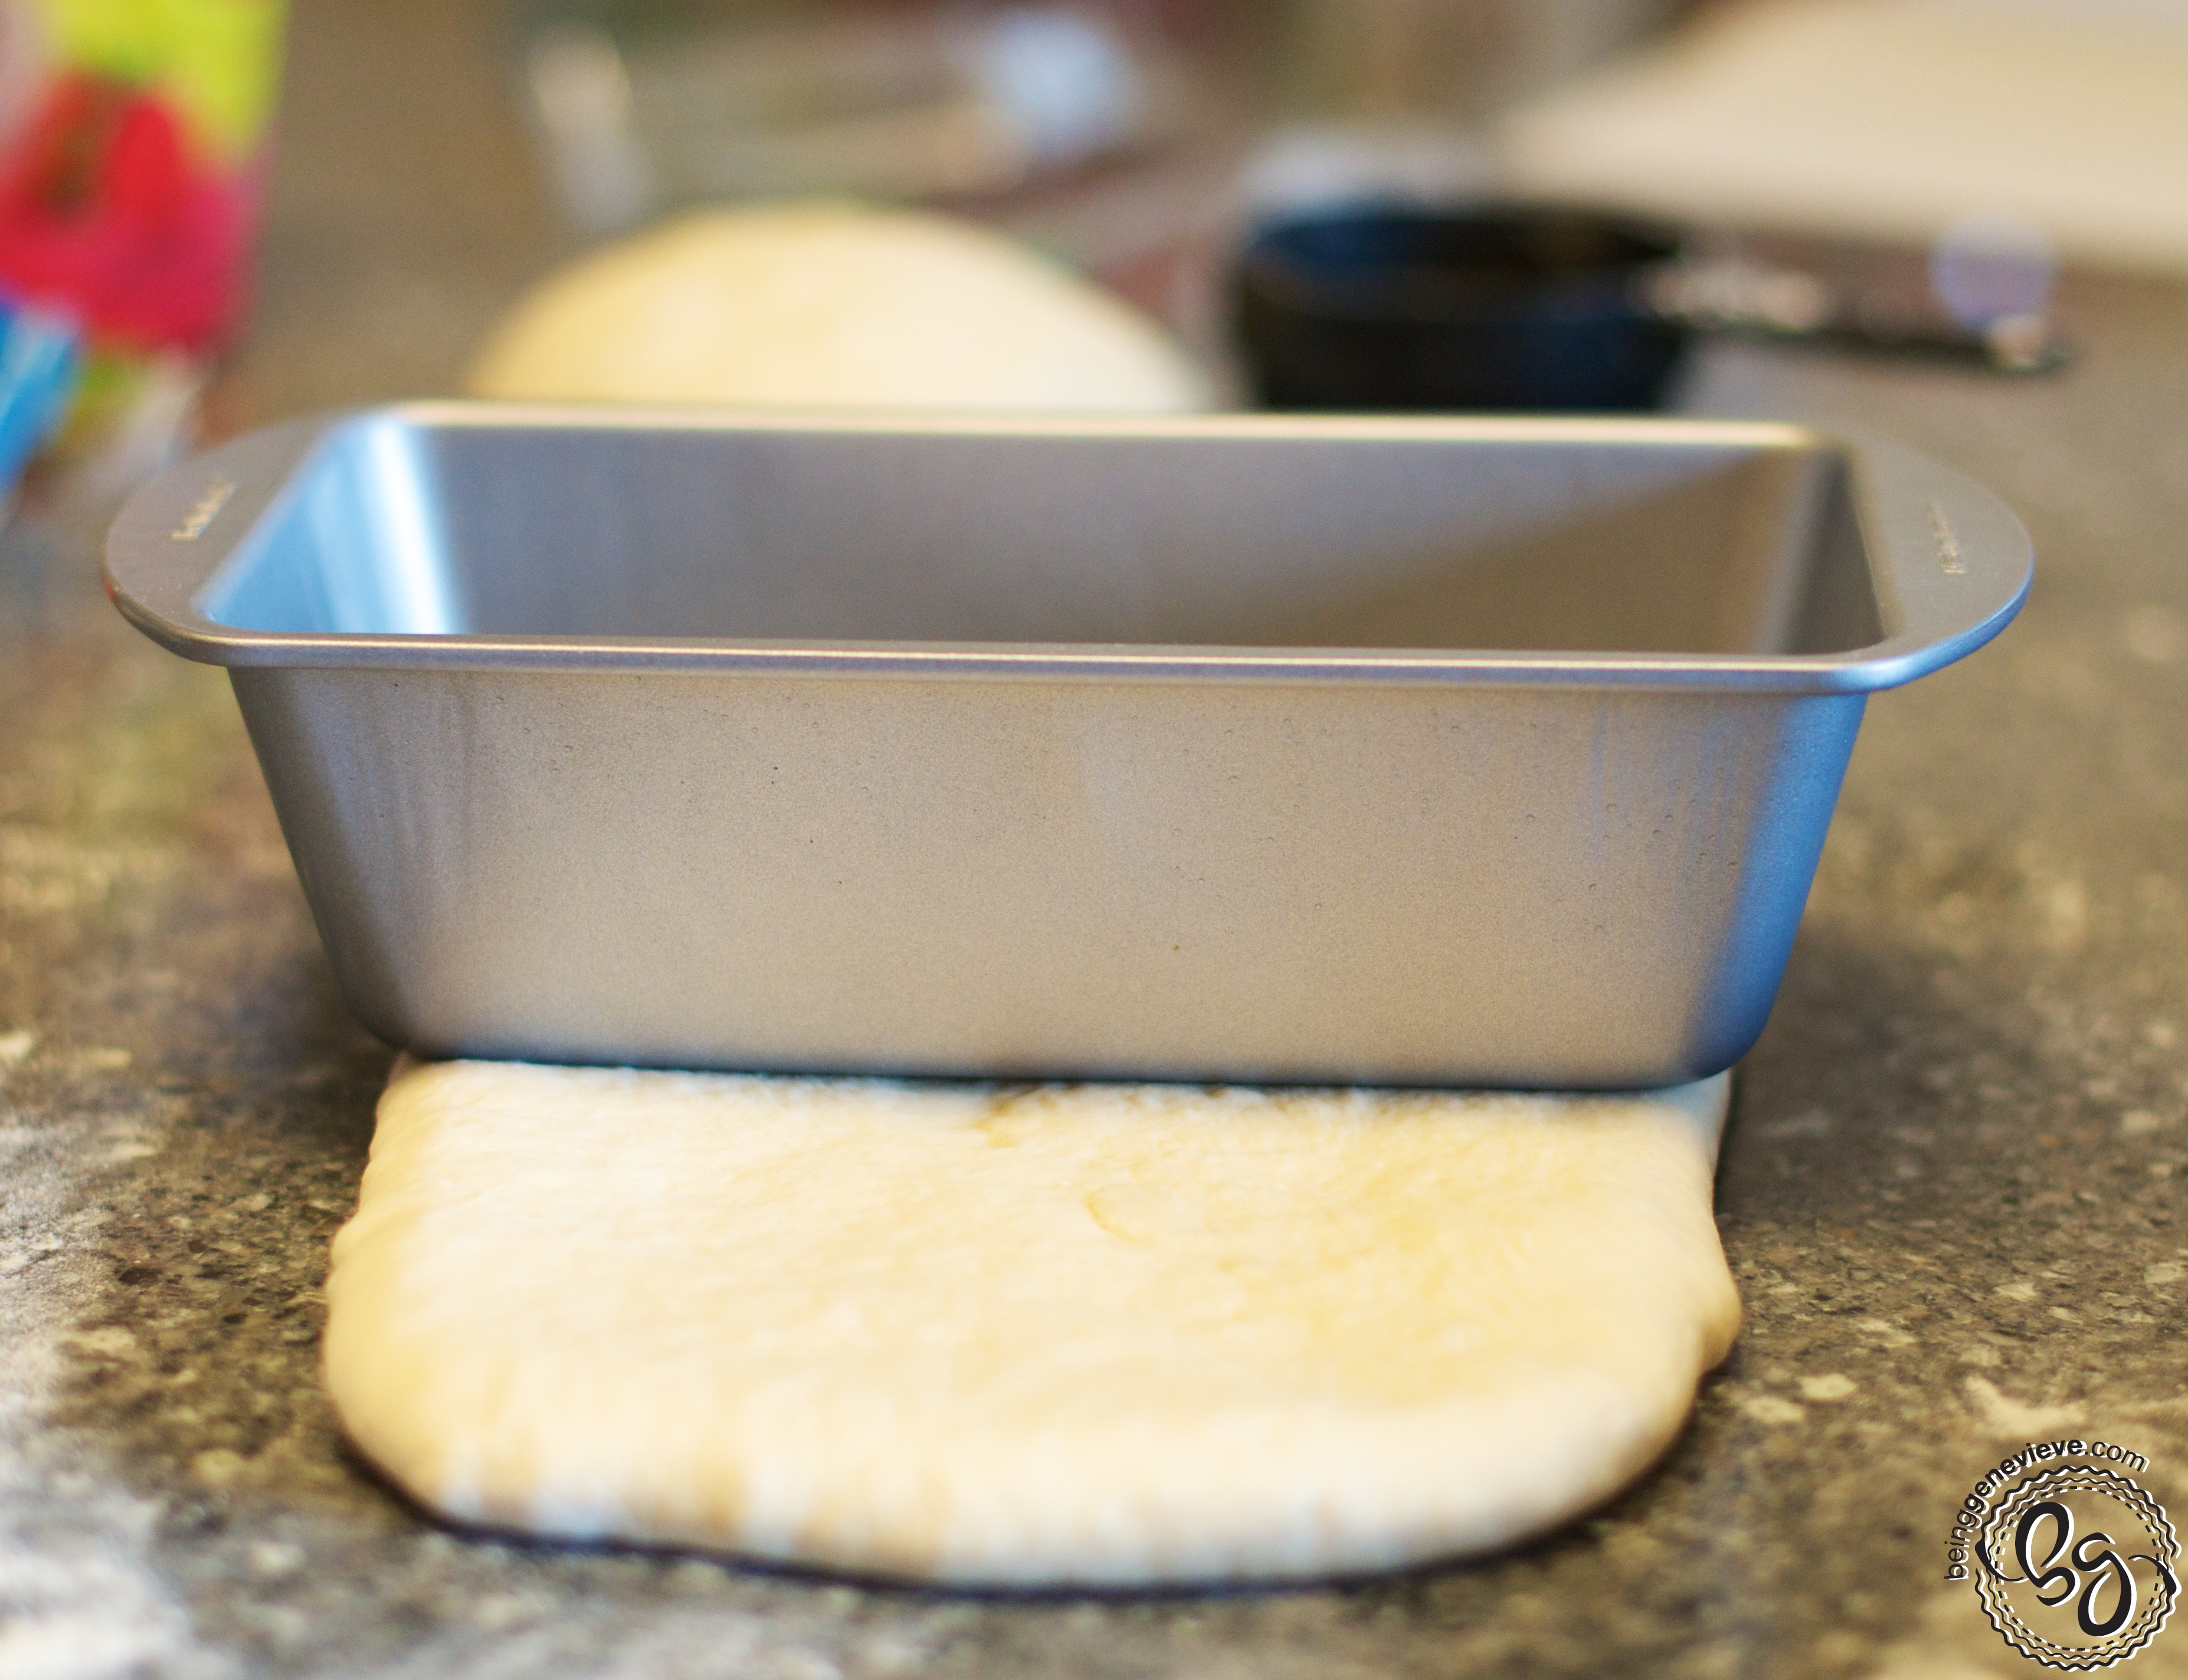
Roll out, but not wider than 8-1/2″ pan.
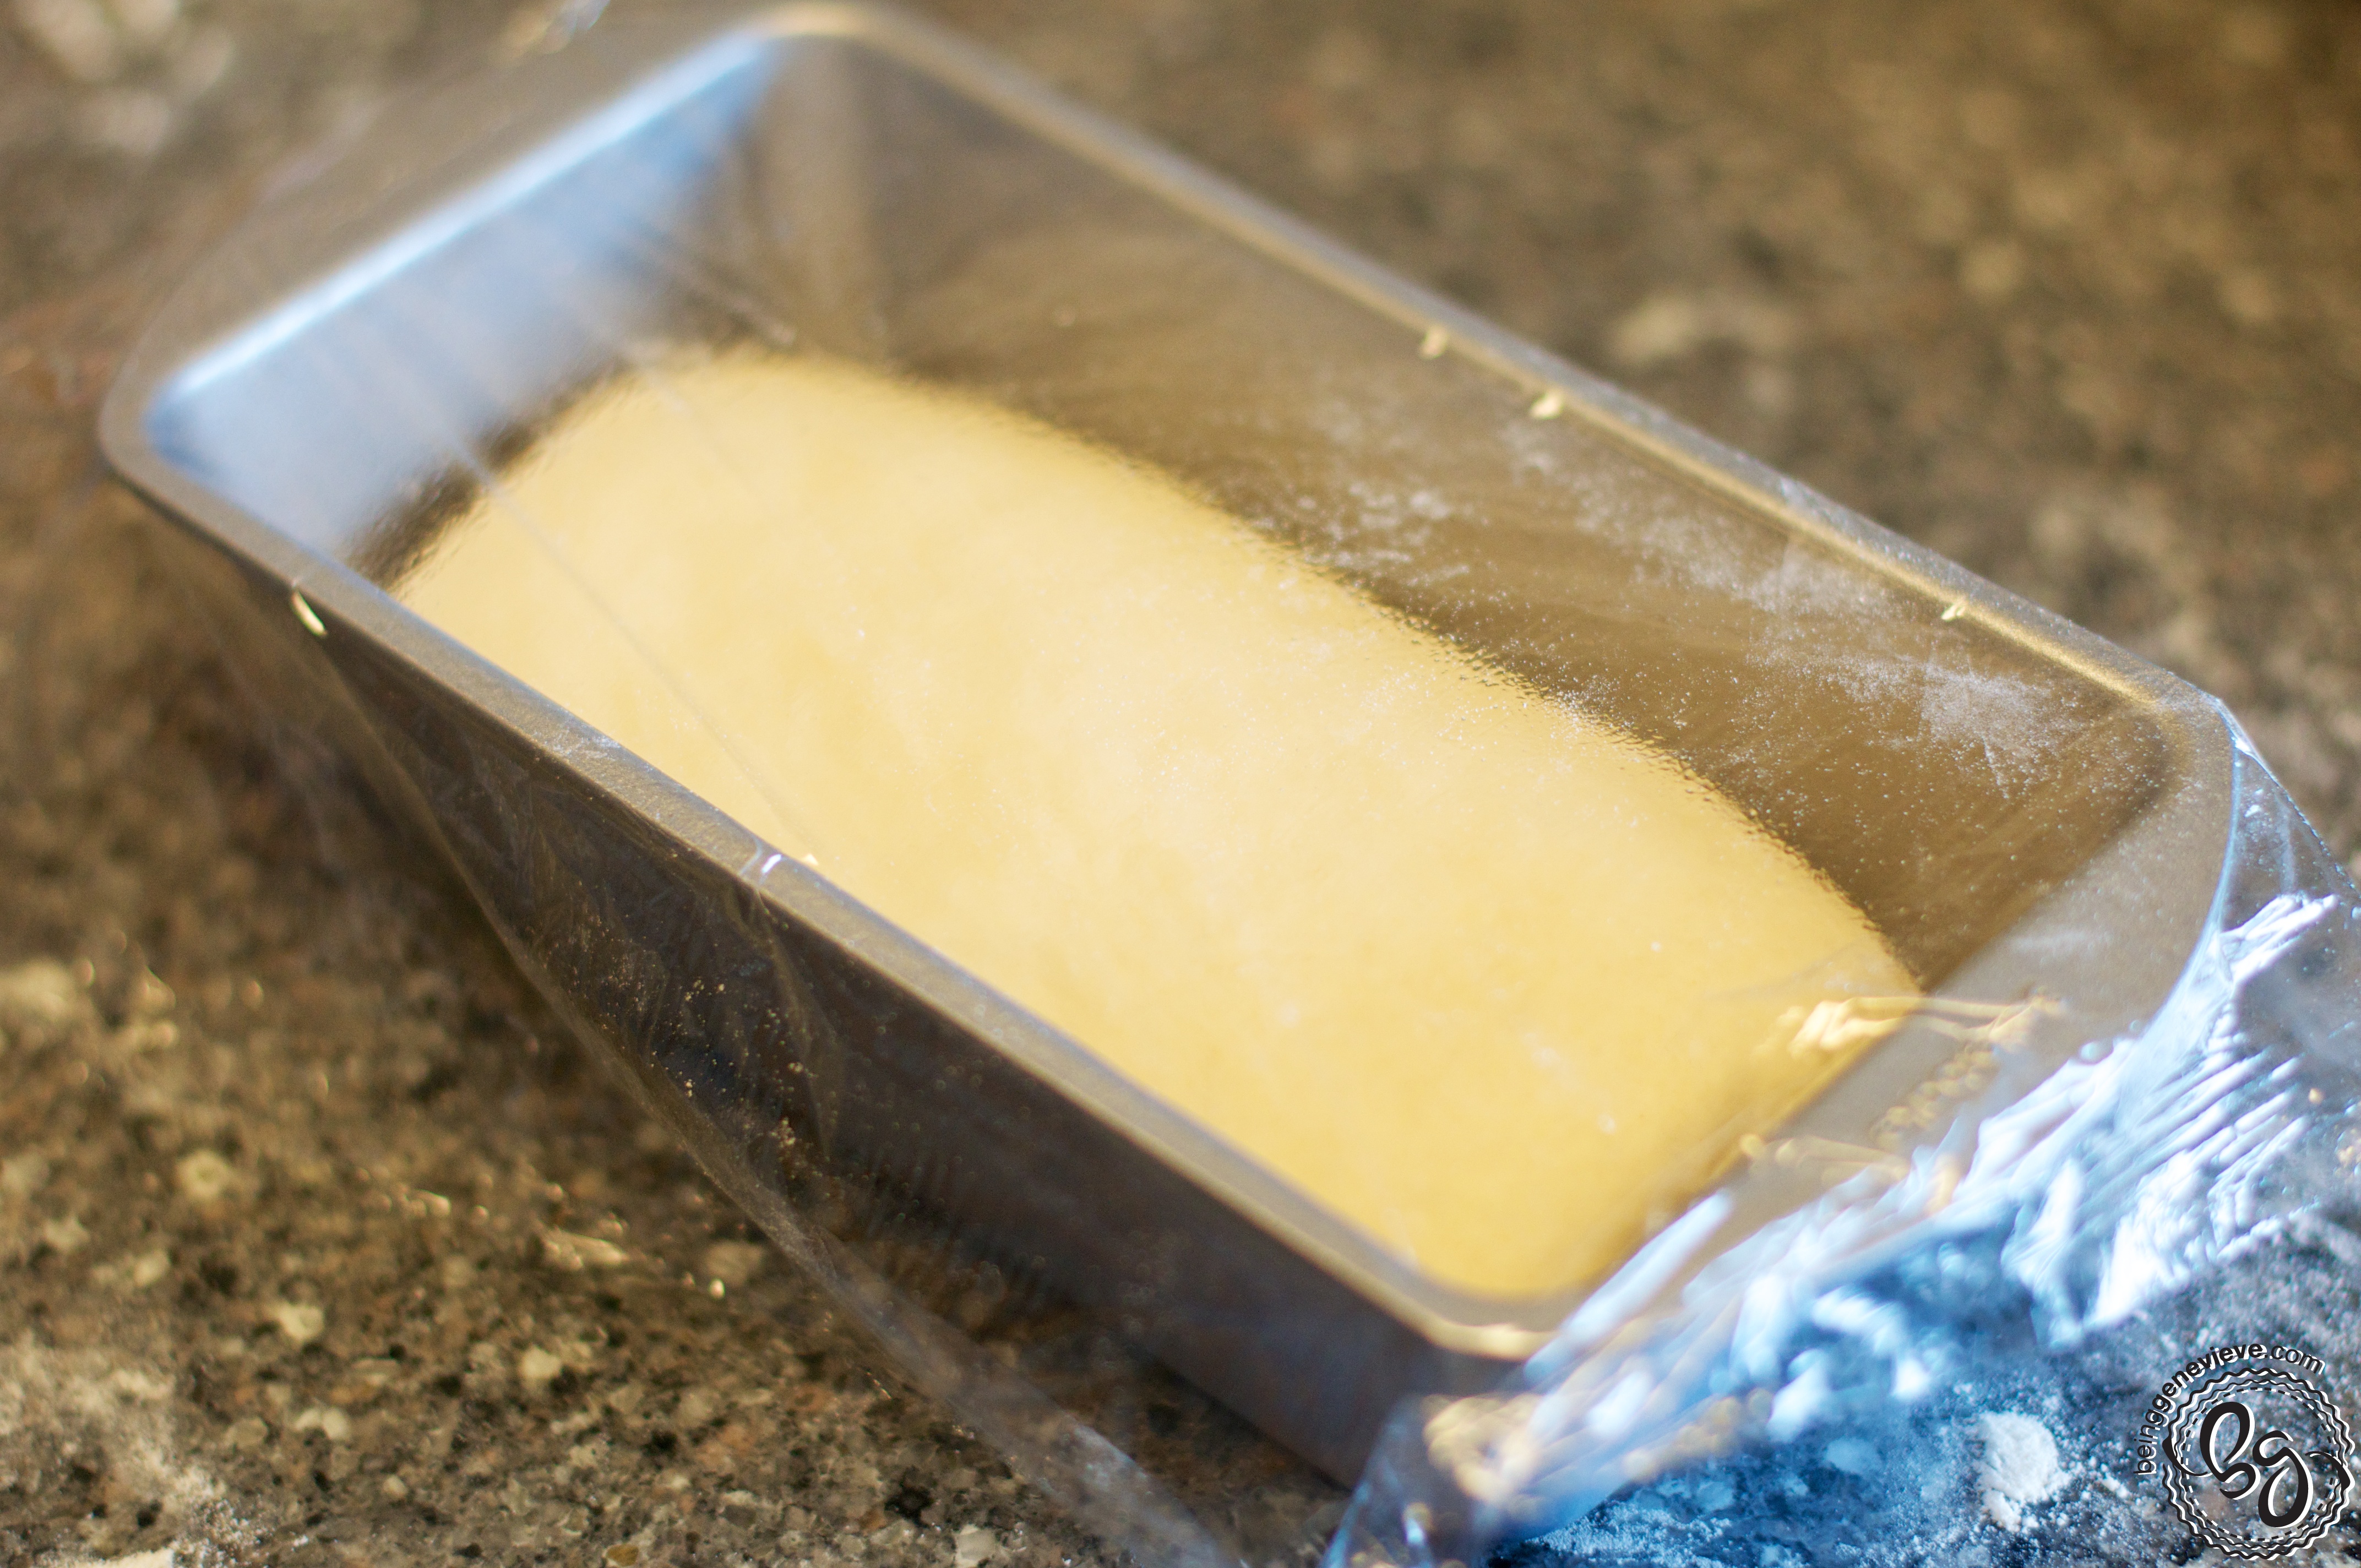
Let rise until the dough domes an inch above the rim of the pans.