Let me just say that having 5 boys, ages 8 and under makes for a dirty, messy house.
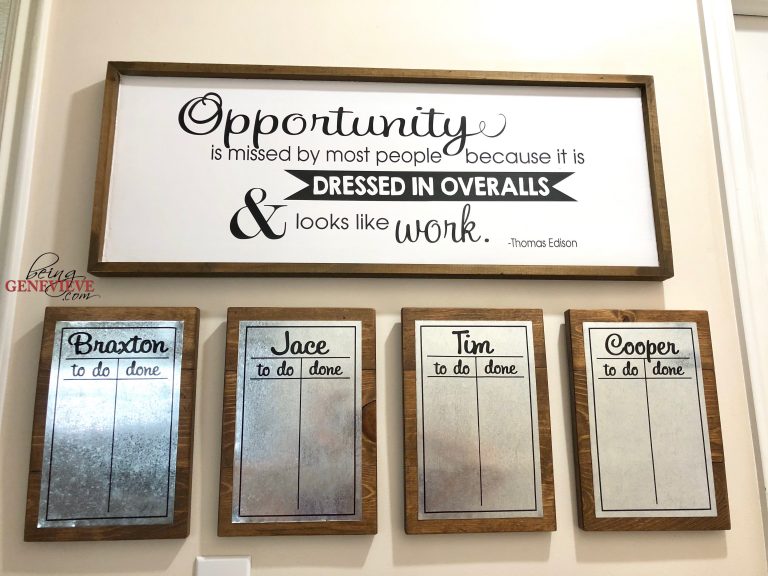
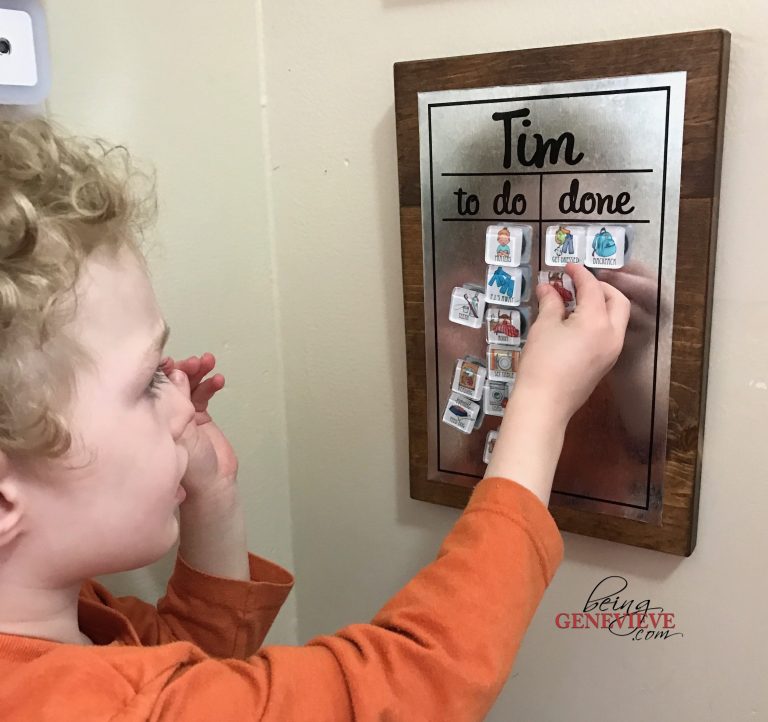
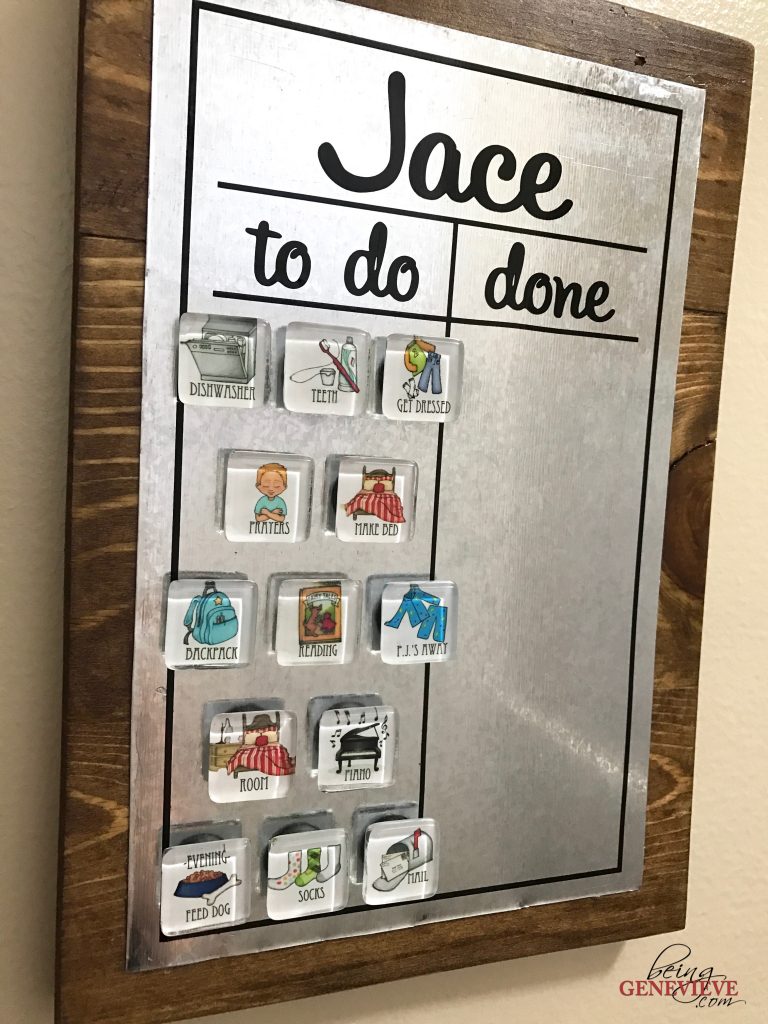
If I end up doing all the cleaning and picking up I quickly get frustrated with everyone and everything. I also have a strong belief that kids should learn a good work ethic early on. So, I came up with these magnetic chore charts, complete with picture magnets so the younger ones can know what they need to do. I love that they don’t need to know how to read in order to help around the house. Let’s get started . . .
Supplies
- 1″ x 12″ Board
- Galvanized Sheet Metal
- Tin Snips
- E6000 or Liquid Nails
- Vinyl or Stickers
- Sawtooth Picture Hanging Hooks
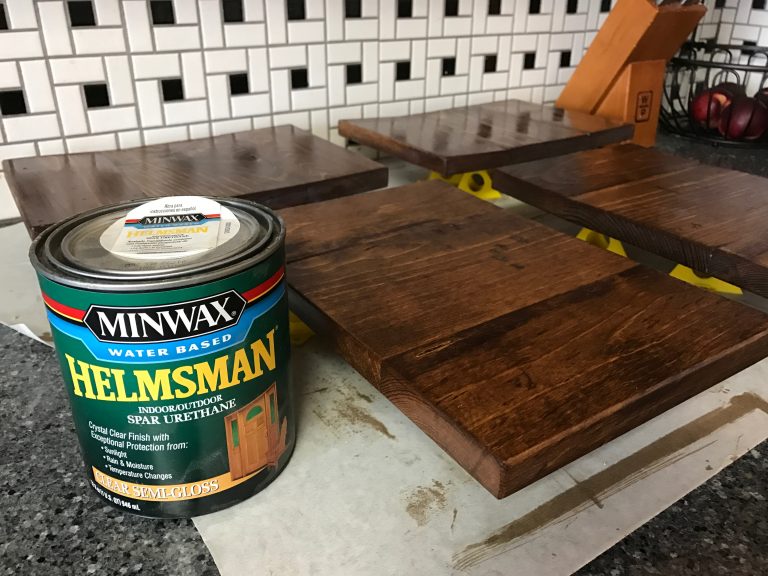
- Wood Stain, optional
- Urethane, optional
Download Template Files


Purchase Custom Vinyl
Purchase Completed Custom Chore Chart
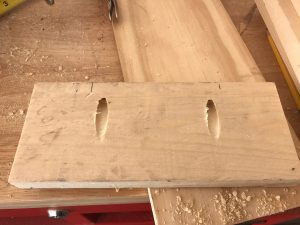
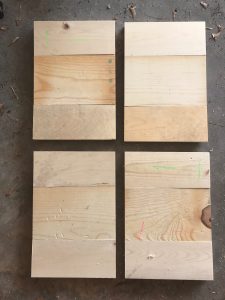
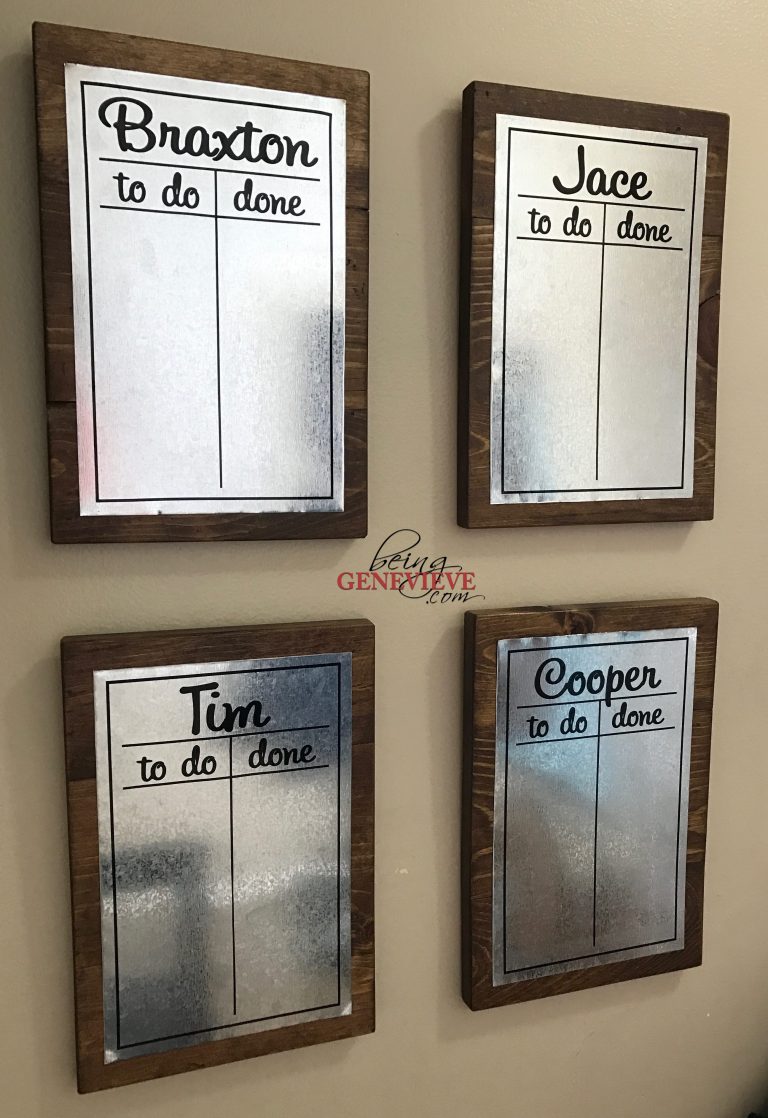
These chore charts could be made to any size. The chore charts I made measure 8″ x 11 3/4″ (1 inch deep). You could purchase a 1×12 and cut it 8″ long.
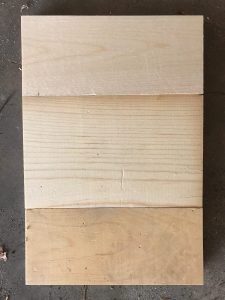

I, on the other hand, just used a bunch of wood scraps I had lying around. 

I cut them 8″ long and created pocket holes to screw them together. (I measured 2″ in on both sides of the board and drilled the inside pocket hole. Then I just used pocket hole screw to screw the 3 boards together.) 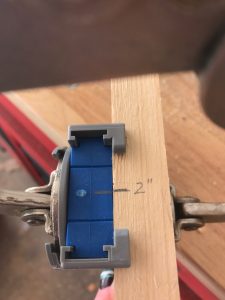


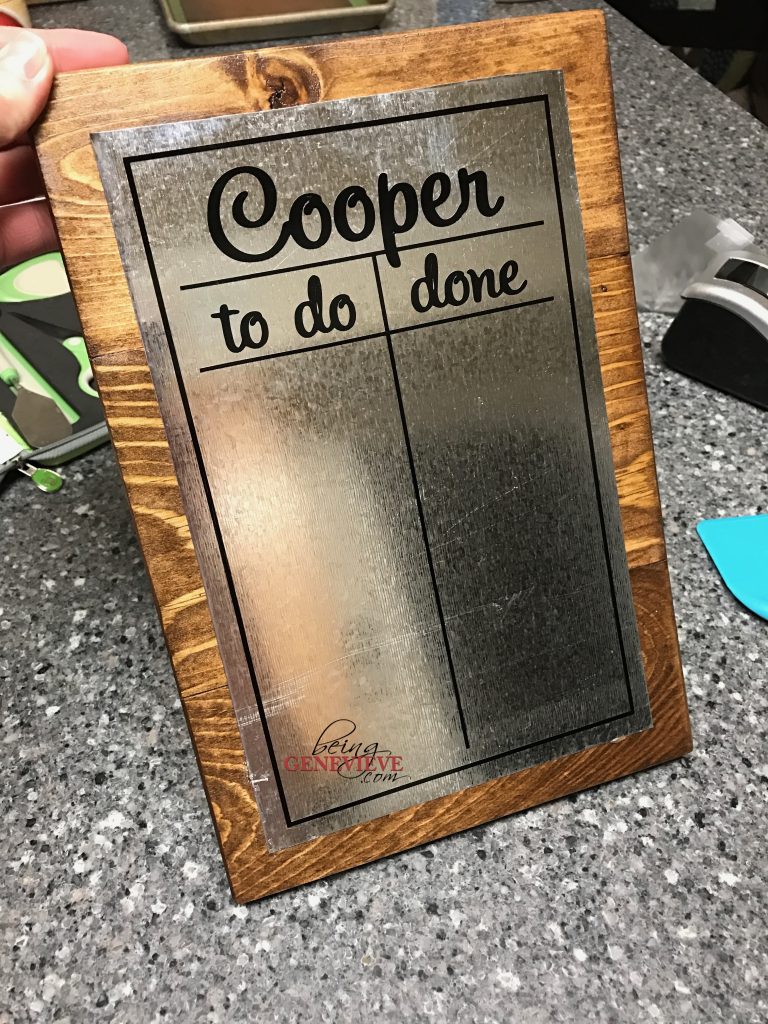
Step 2: Attach Magnetic Sheet
Now for the metal sheet. You can buy metal sheets at any craft store, but they are a little pricey to me and the sizes are very limited. So, I go to my local hardware store and purchase some galvanized sheet metal. Galvanized sheet metal is very inexpensive and comes in many different sizes. I usually buy a large sheet so that I can use it for several projects.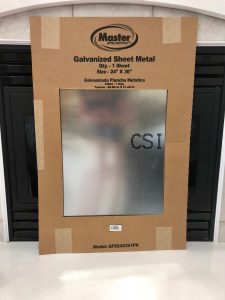
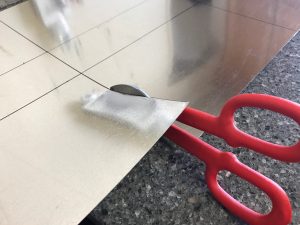
For the chore charts, I measured out 6 1/2″ x 10 1/2″ and marked it with a permanent marker. I then used my tin snip scissors to cut the sheet metal.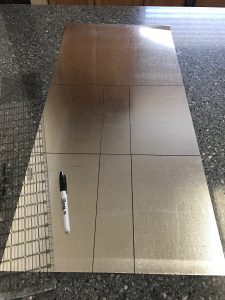
Now use some E-6000 or liquid nails to glue the metal sheet to your board. 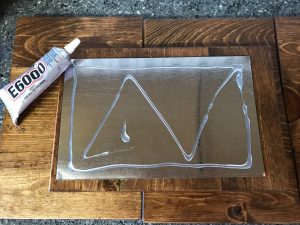
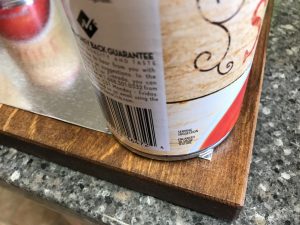
After gluing the metal sheet to the board, place something heavy (I like to use cans.) on the corners of the metal sheet and let the glue dry and set up overnight. 
Step 3: Cut Vinyl
Now for the vinyl . . . My vinyl measured 5.9″ x 9.65″. Just download the SVG and PDF files of my design below. To add your own name, just place the SVG into your cutting software, split/break the image and delete our name. Now you can add your name. I used the font SweetHeartScript-limited. It can be downloaded for free here. ![]()
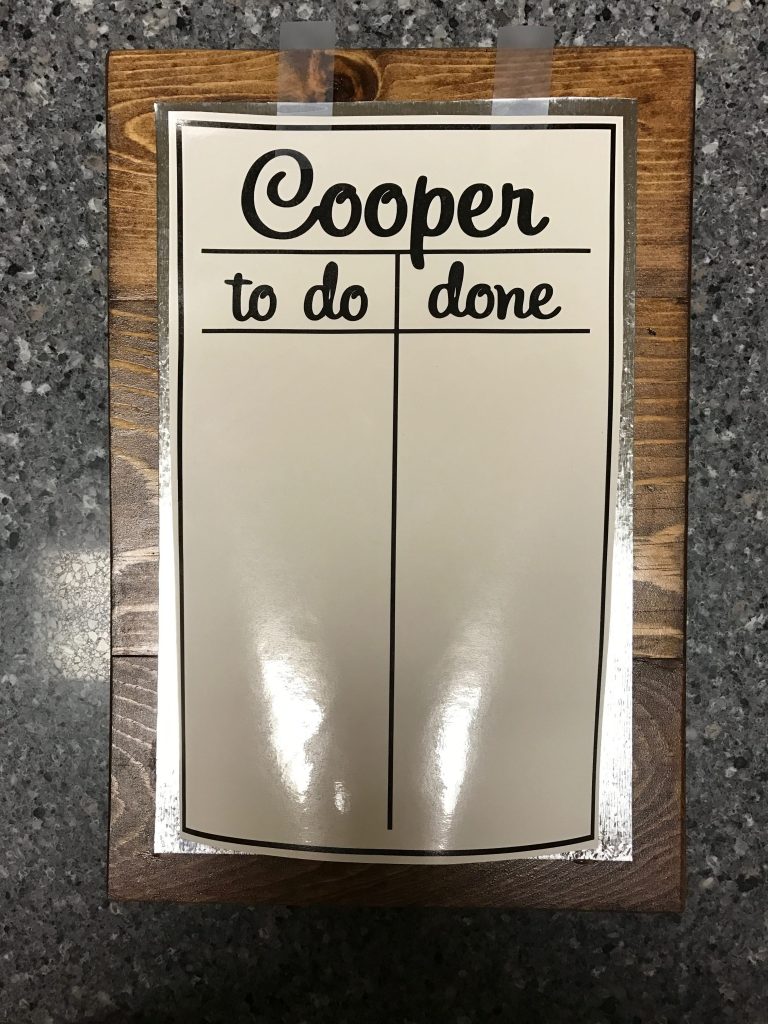

Step 4: Attach Vinyl
Now just apply the vinyl to your board. Here is my vinyl application method.

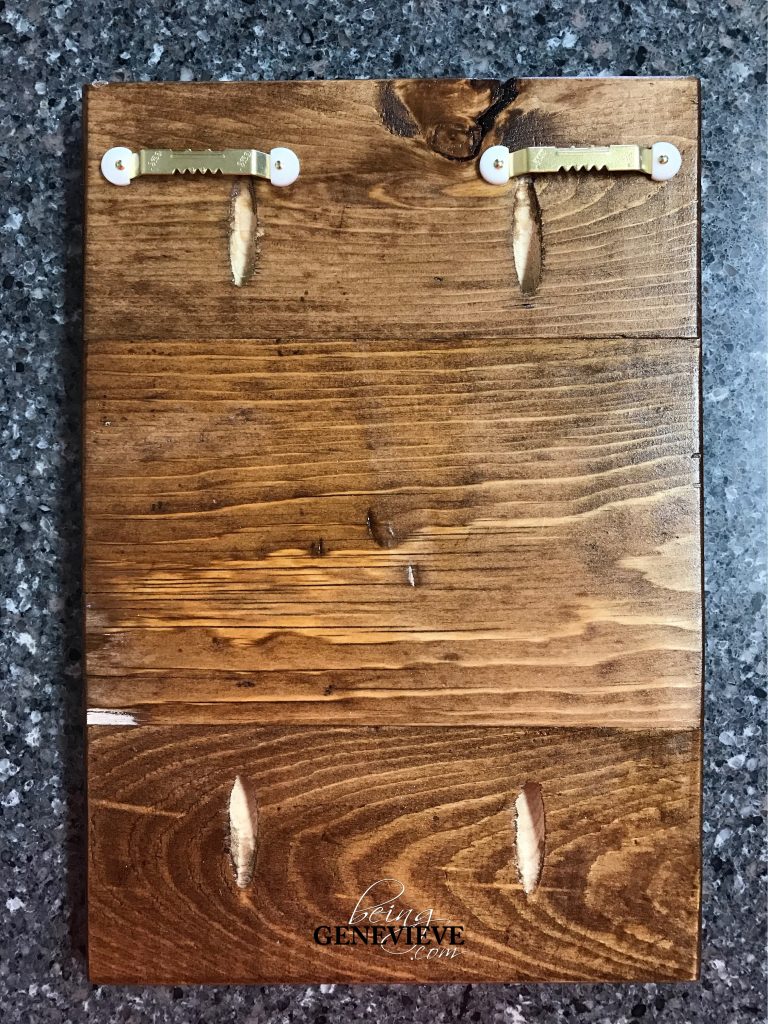
Step 5: Add Hanging Hooks
I purchased some sawtooth picture hanging hooks and had my kids help hammer them in. 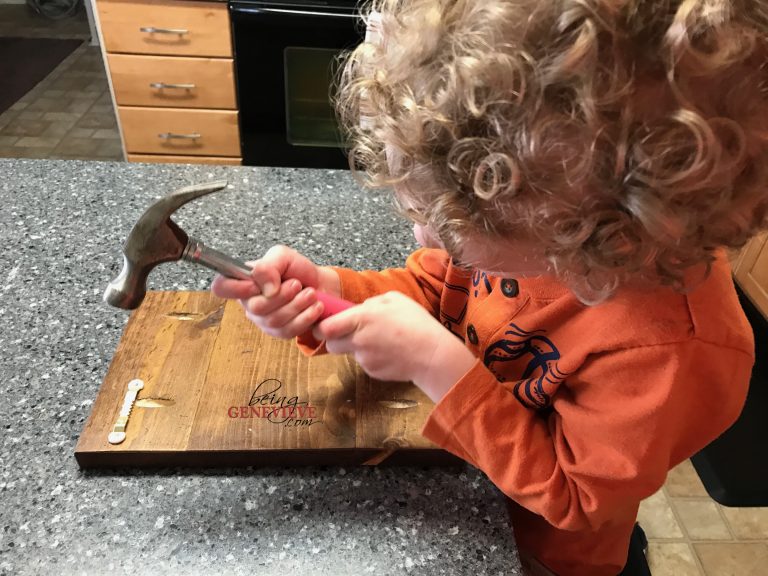


Step 6: Hang Up
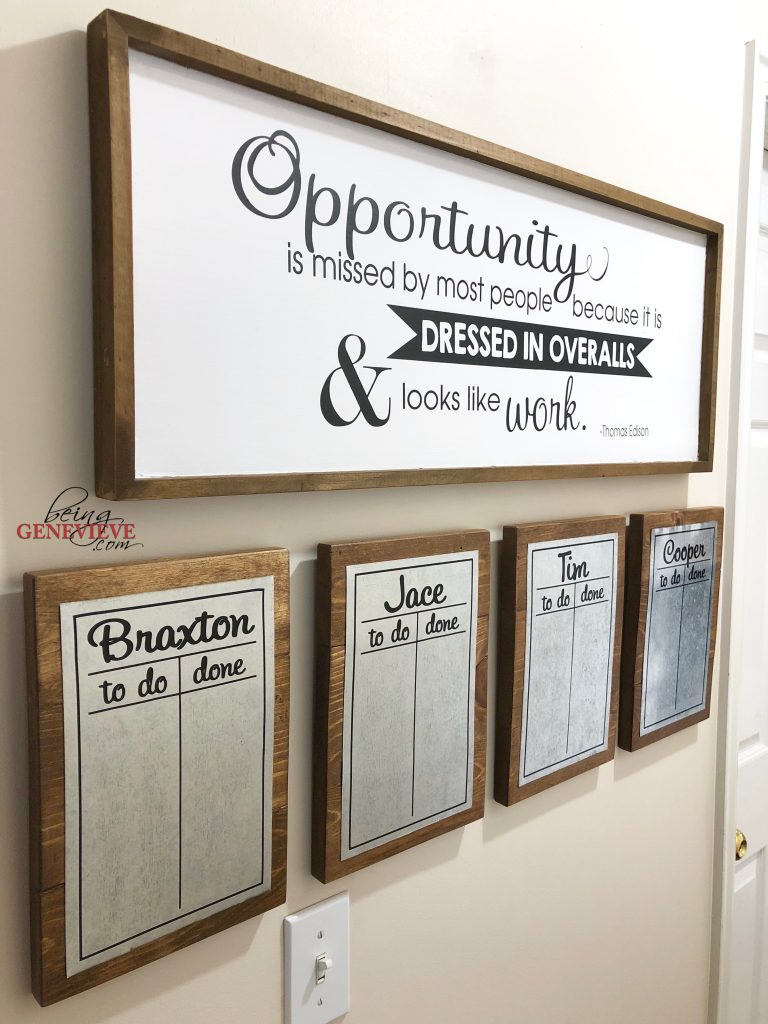
Now all you have to do is hang these wonderful chore charts up and start tracking who has done what with these adorable chore chart picture magnets.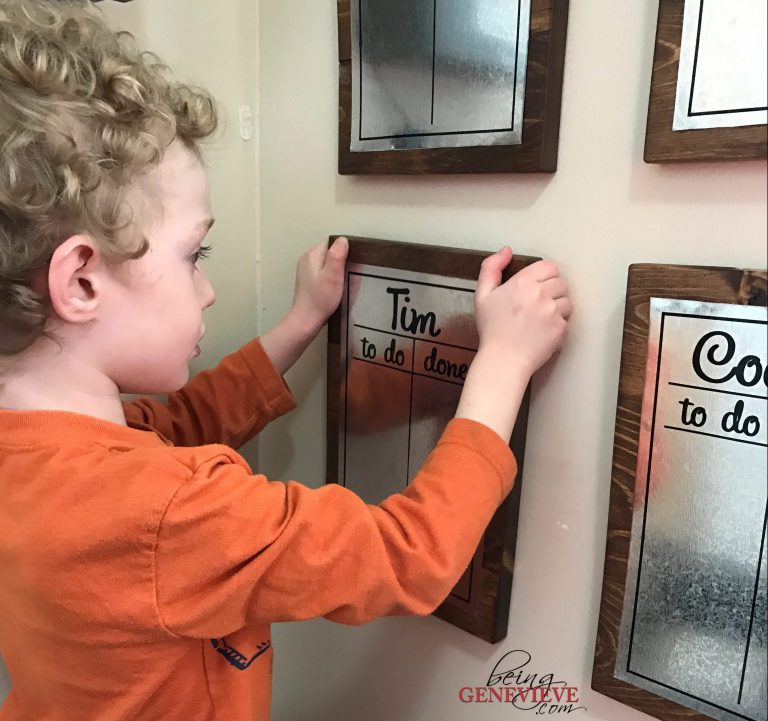


Now you can simply just hang these boards on the wall and keep your extra chore magnets in a different location or . . .

You can make my opportunity magnet board to hang above to keep your unused magnet chores easily accessible.