
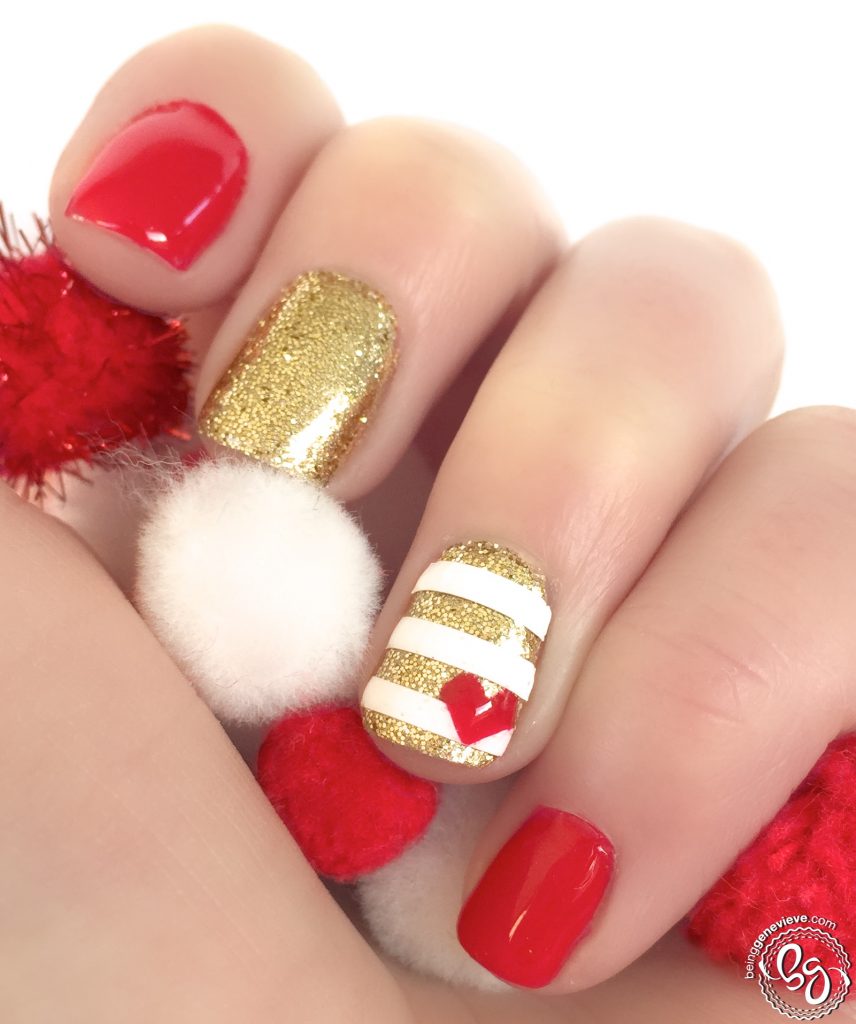
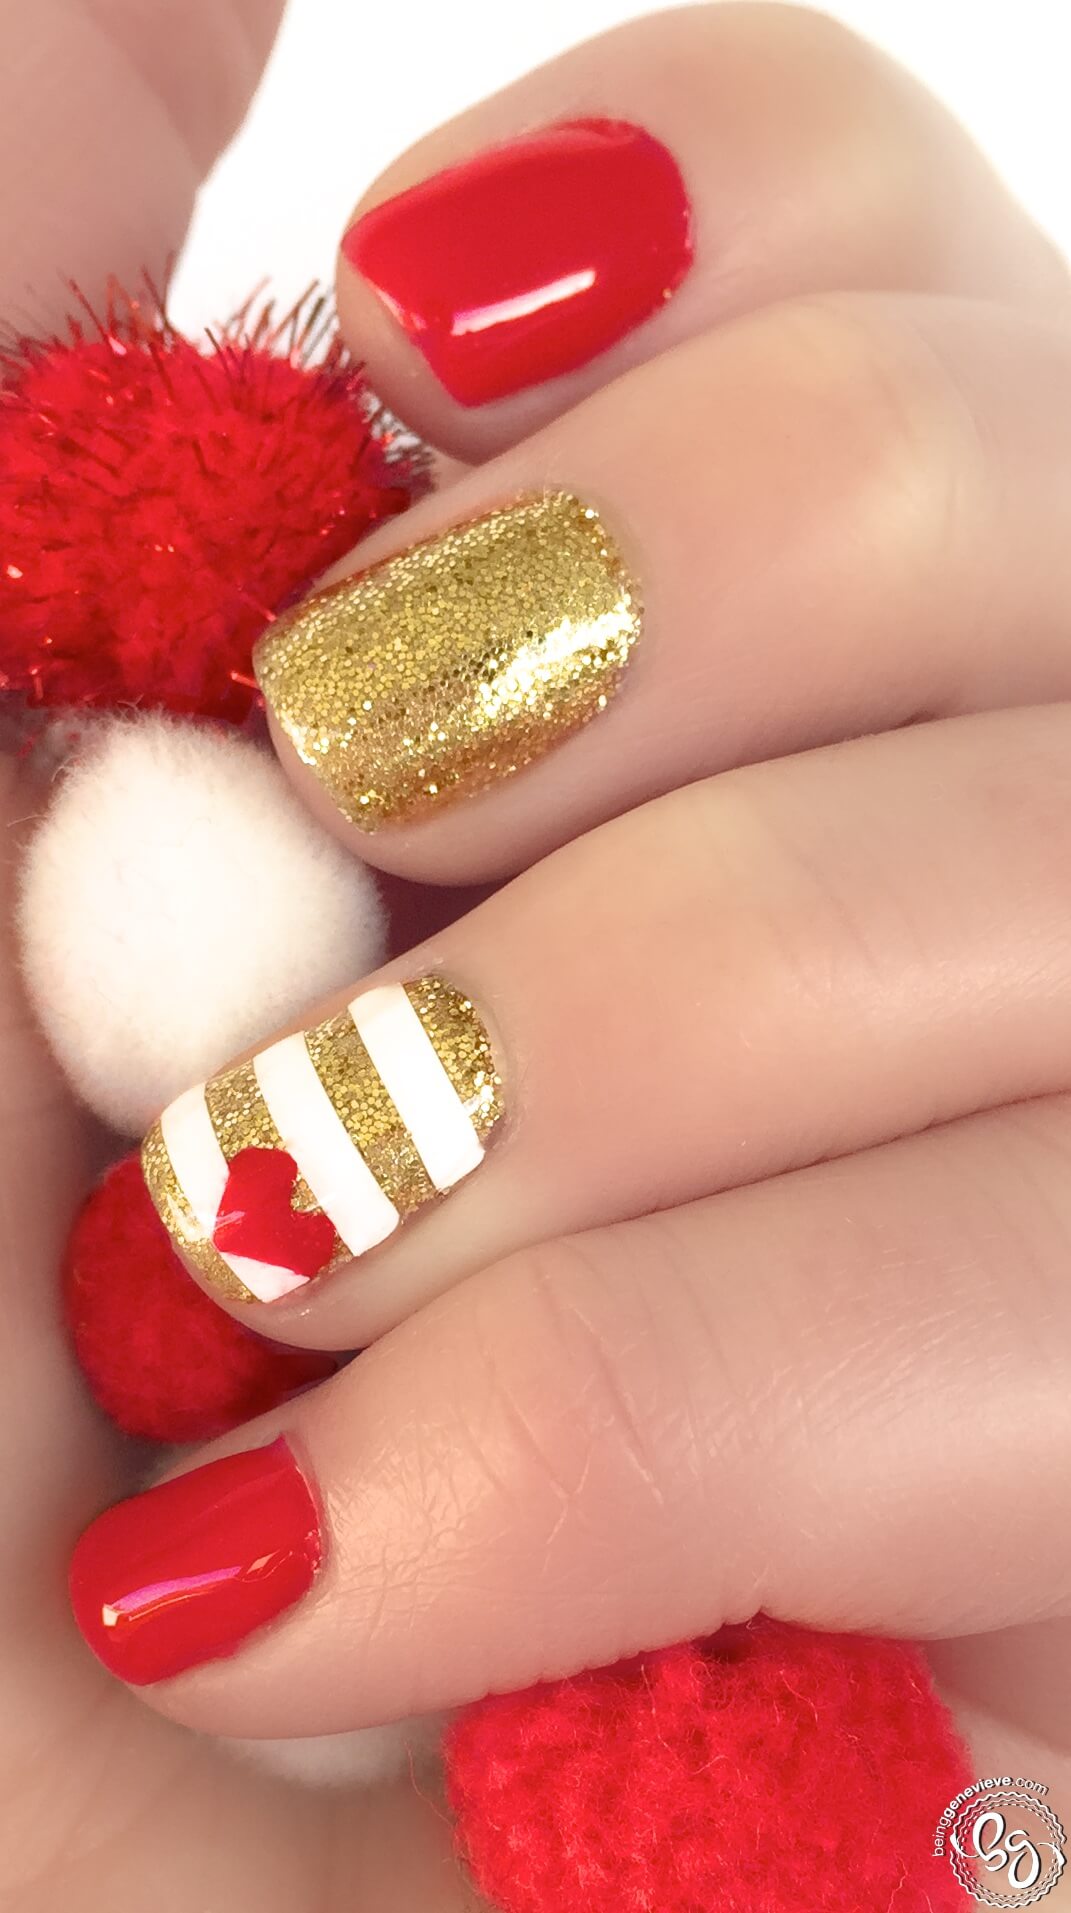
I am loving this nail design that I did to welcome in the Christmas season. I love red, white and gold together and to me the color combo just screamed Christmas. I ended up using white vinyl

Note: I will be providing instructions on how to achieve this look with plain polish, along with Gel Polish.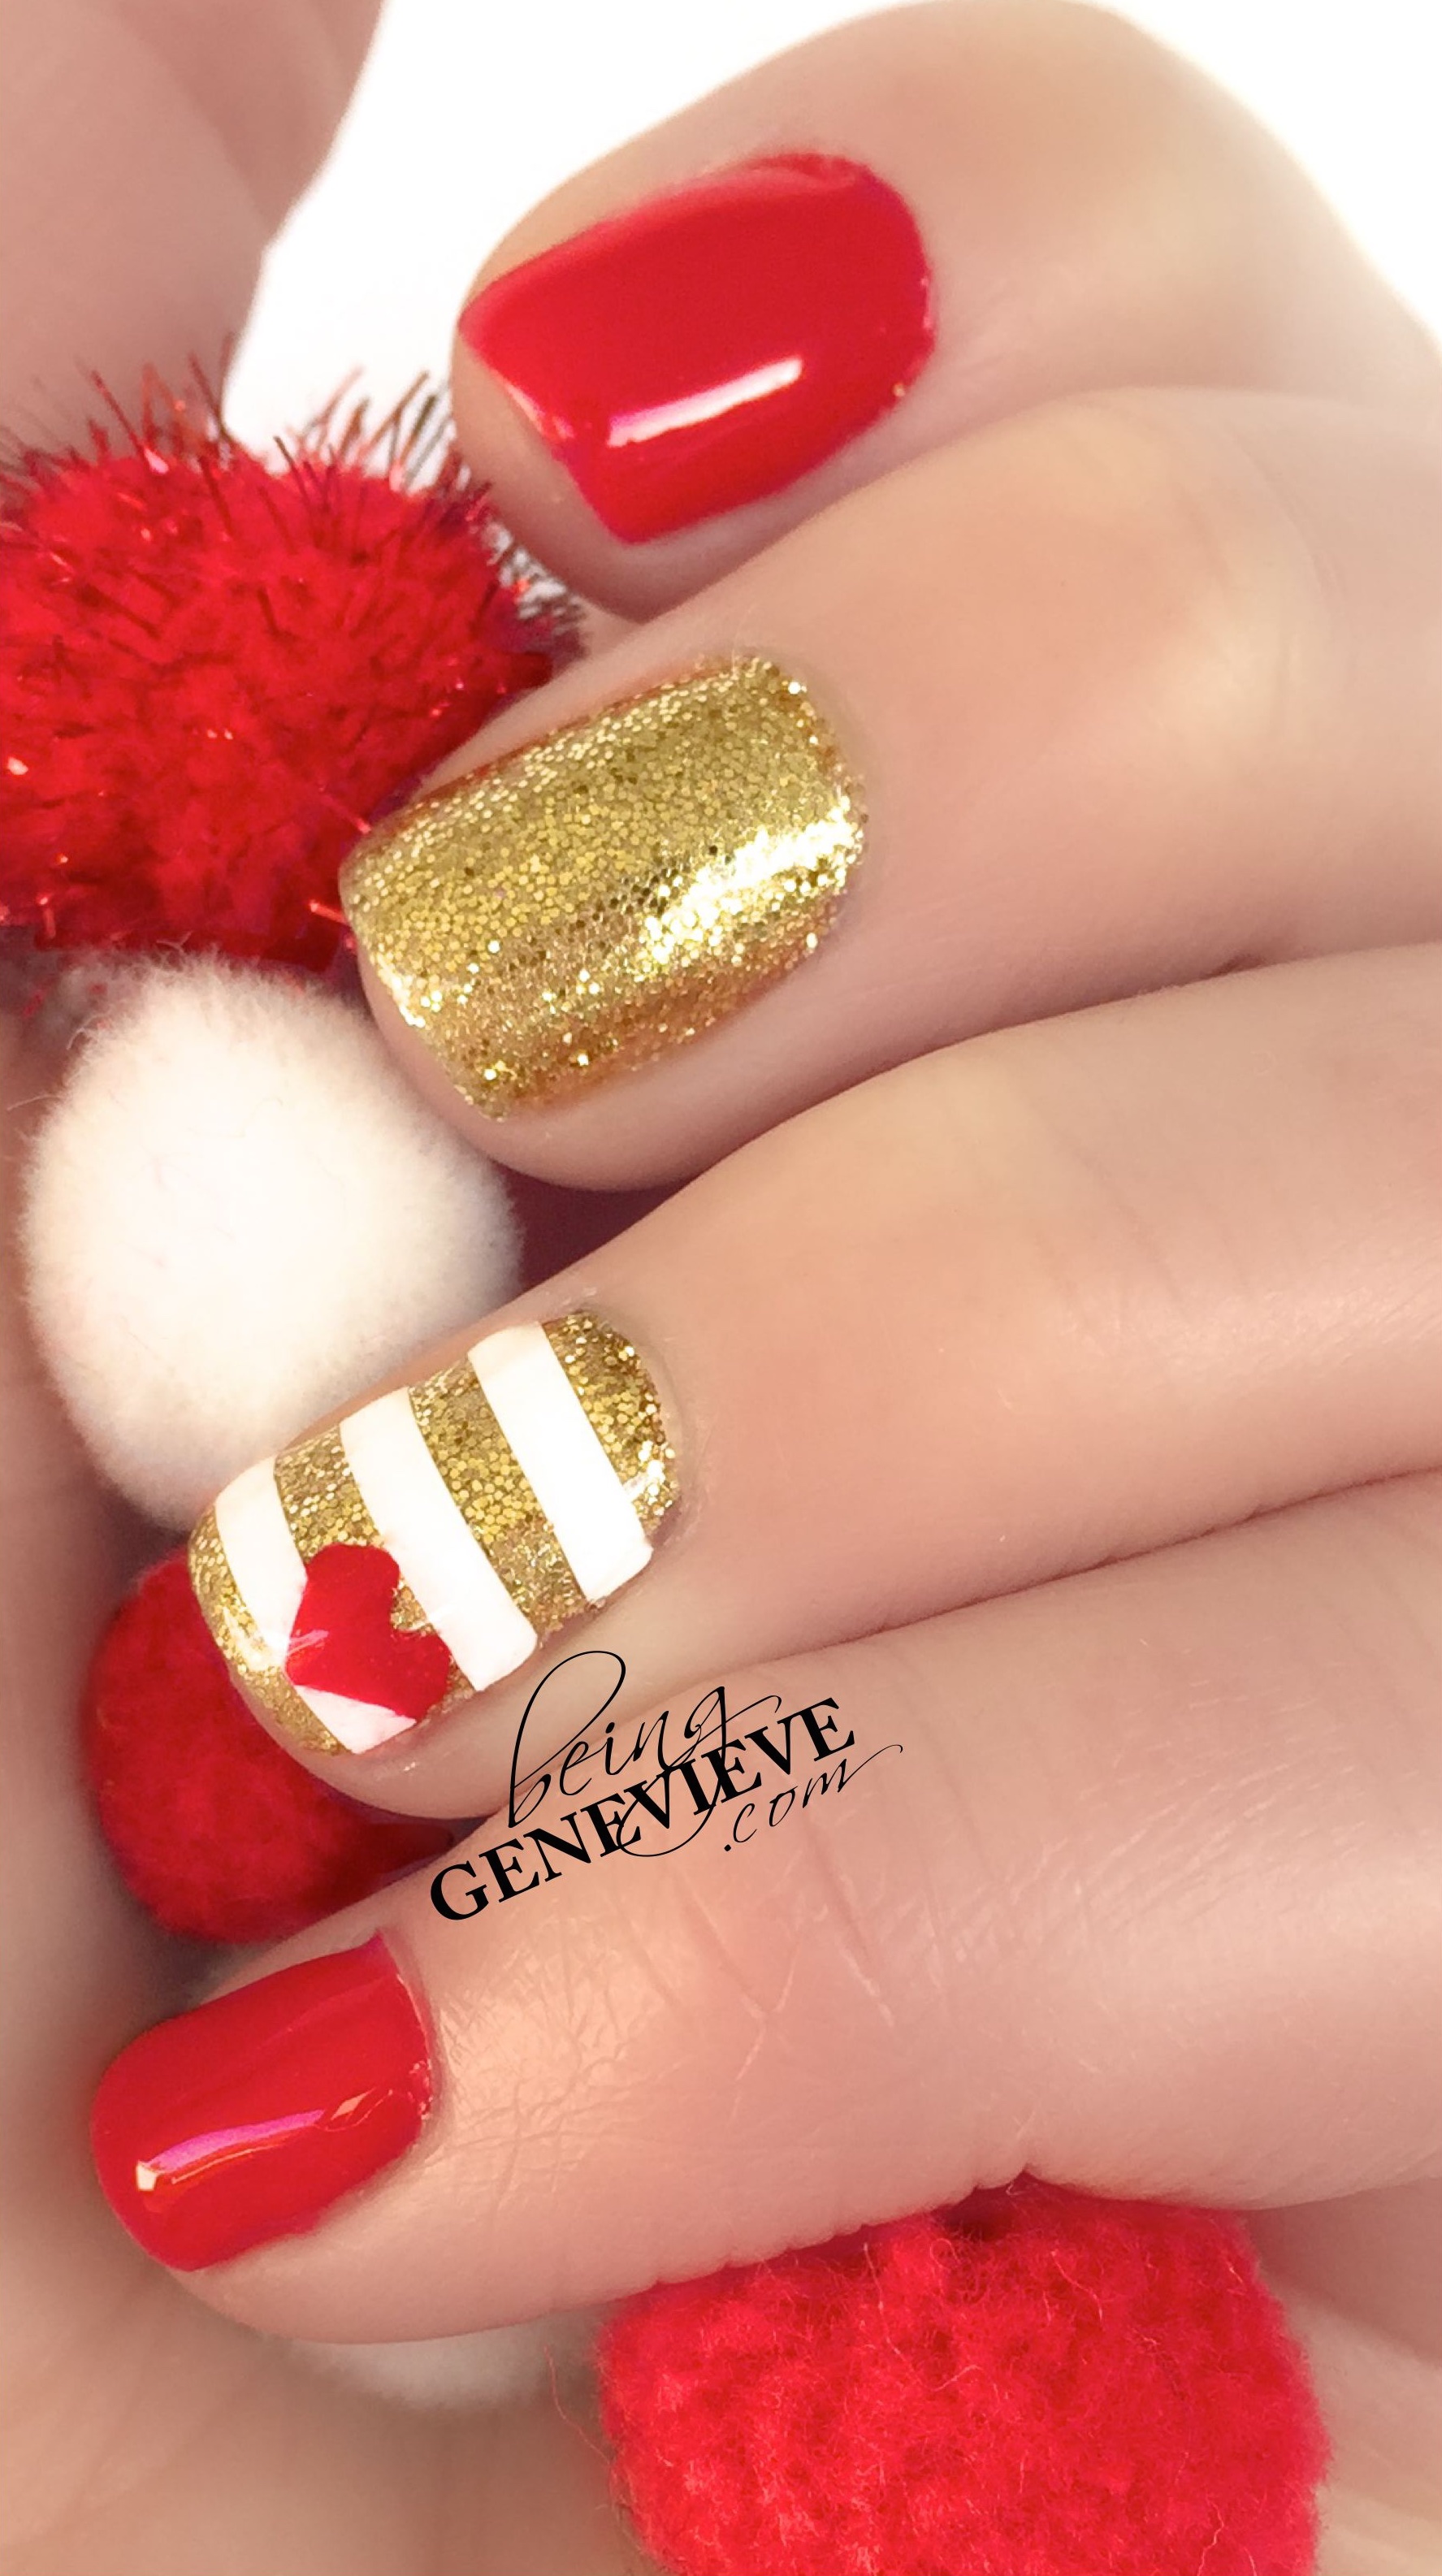
Step 1: Prep Nails
View my post on Nail Polish Prep.
Step 2: Paint Color onto Nails
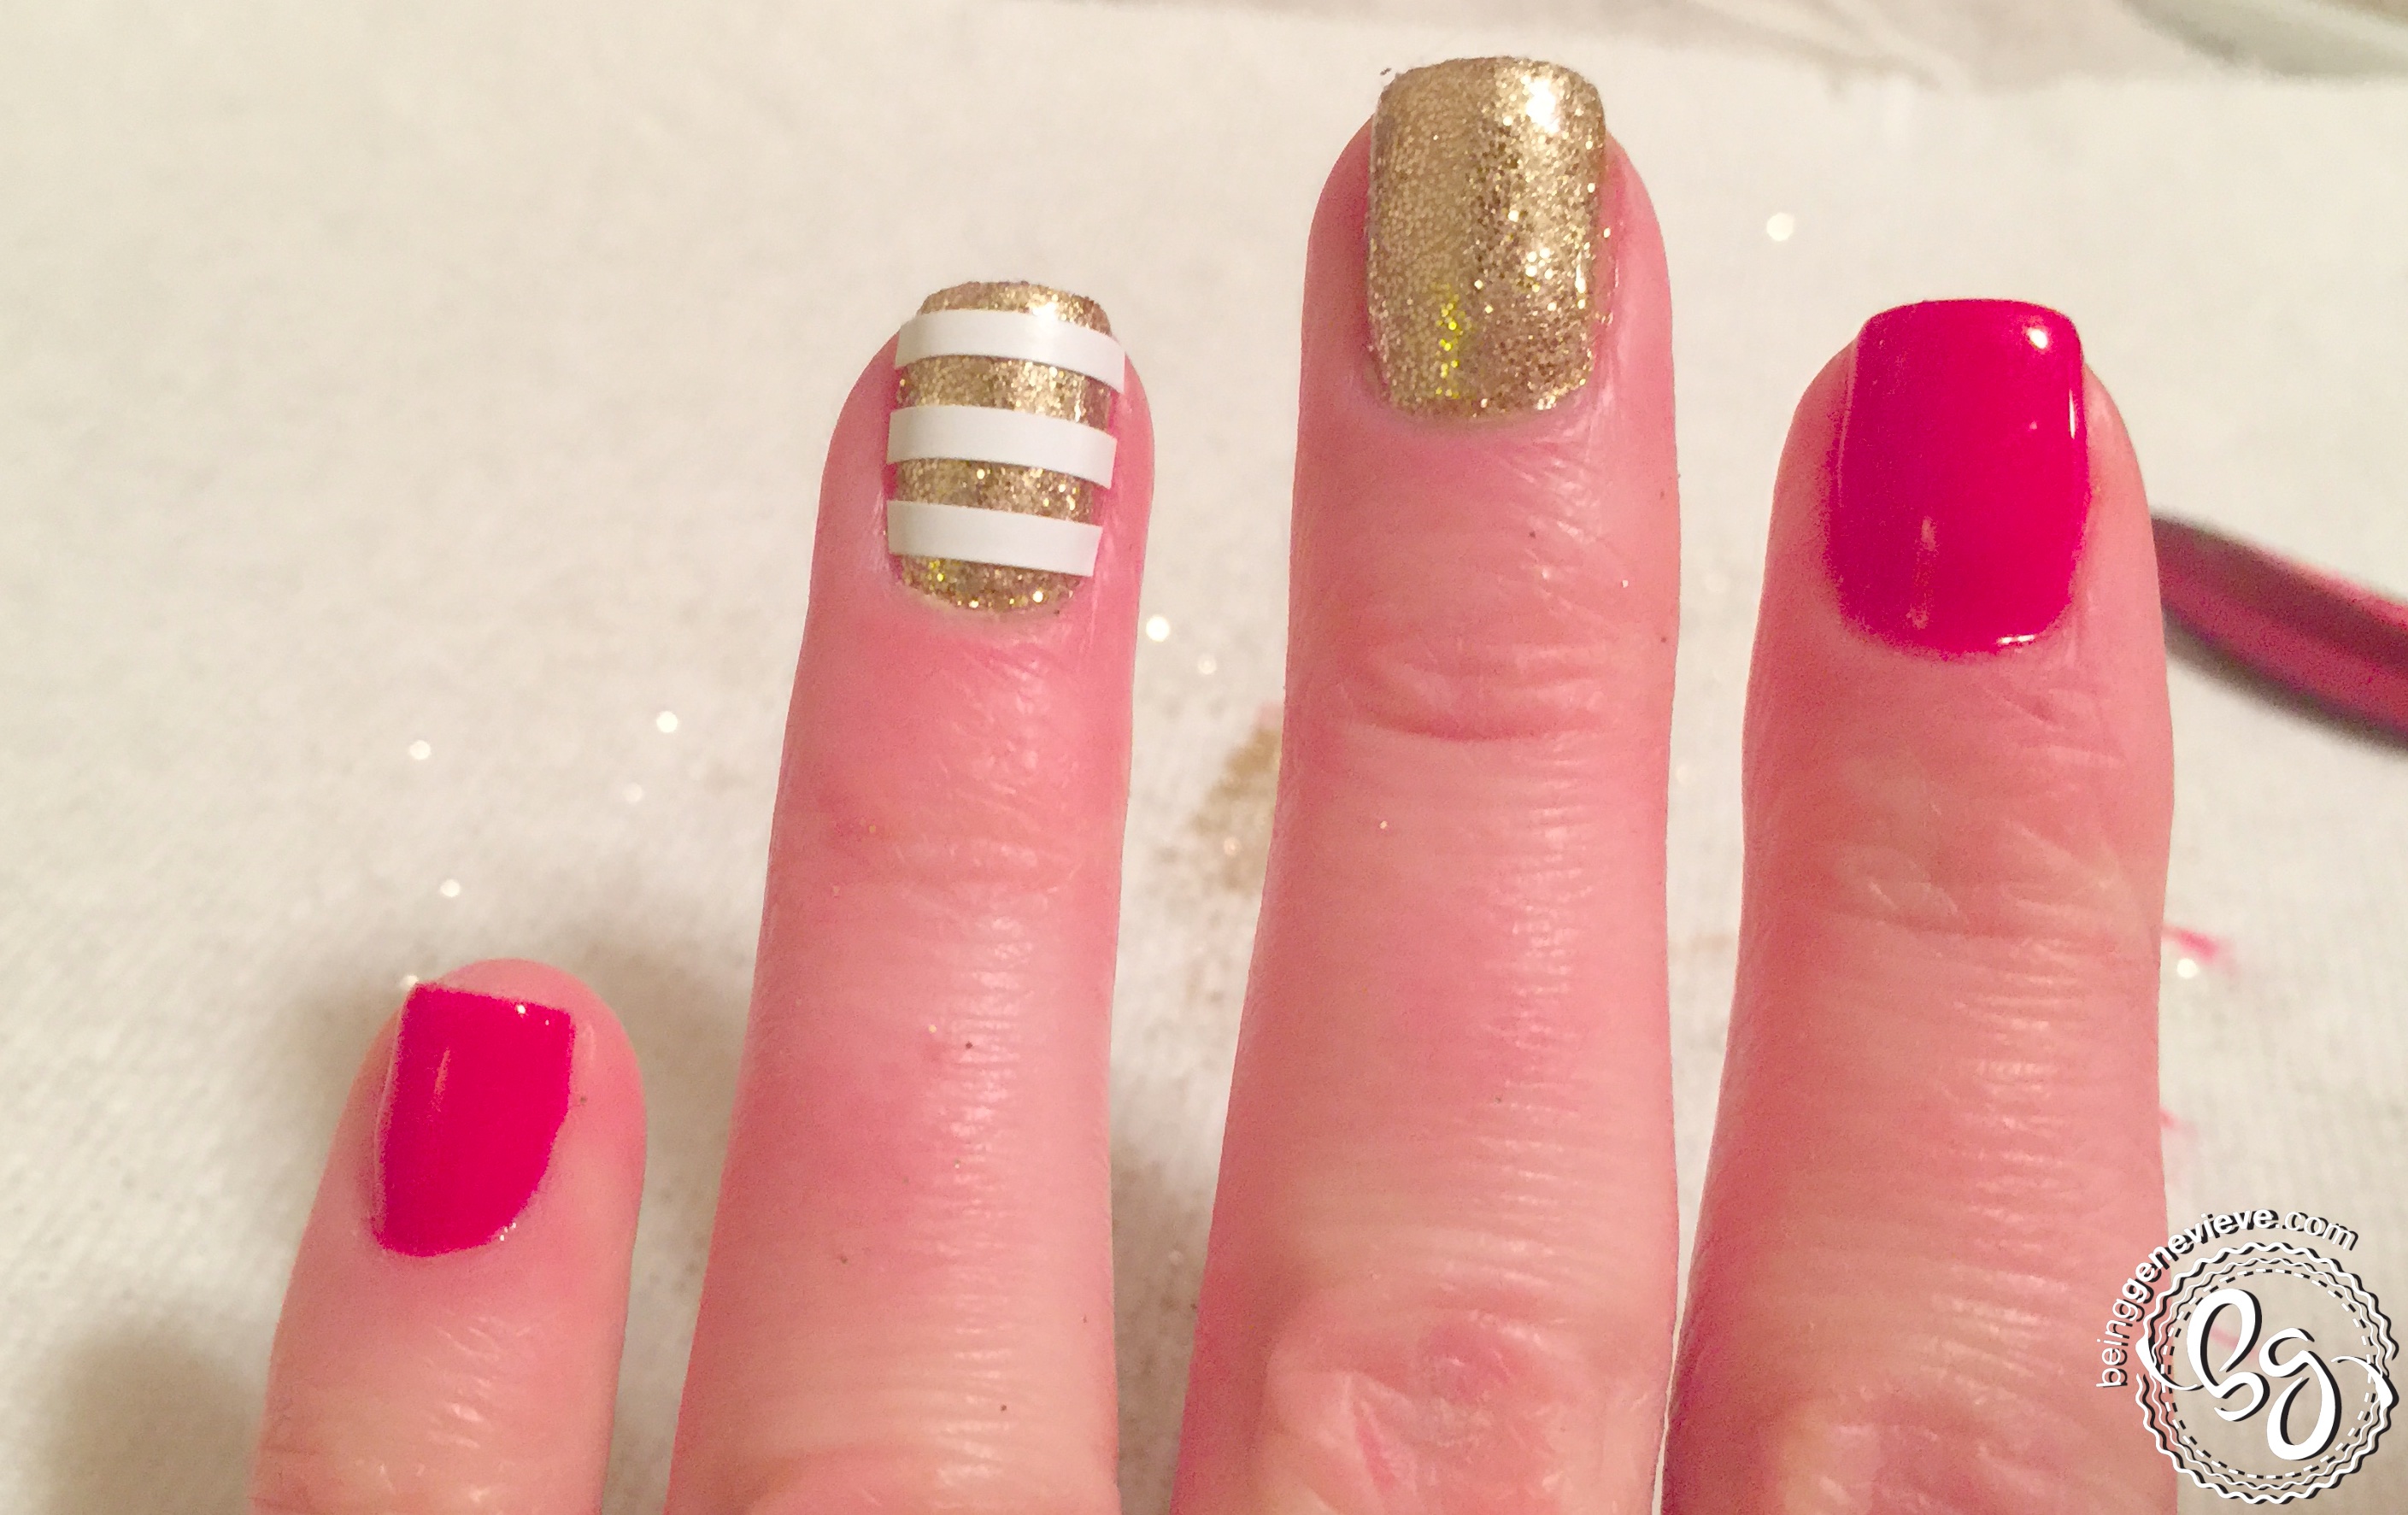
Paint all of the nails, except the middle and ring fingers, with two coats of red polish. I used the Shellac color called, Wild Fire. Paint the middle and ring fingers with two coats of gold polish. I used the Shellac color called, Locket Love.
Gel Polish: Apply two coats of polish. Cure 2 minutes in the UV light, or 1 minute in an LED light.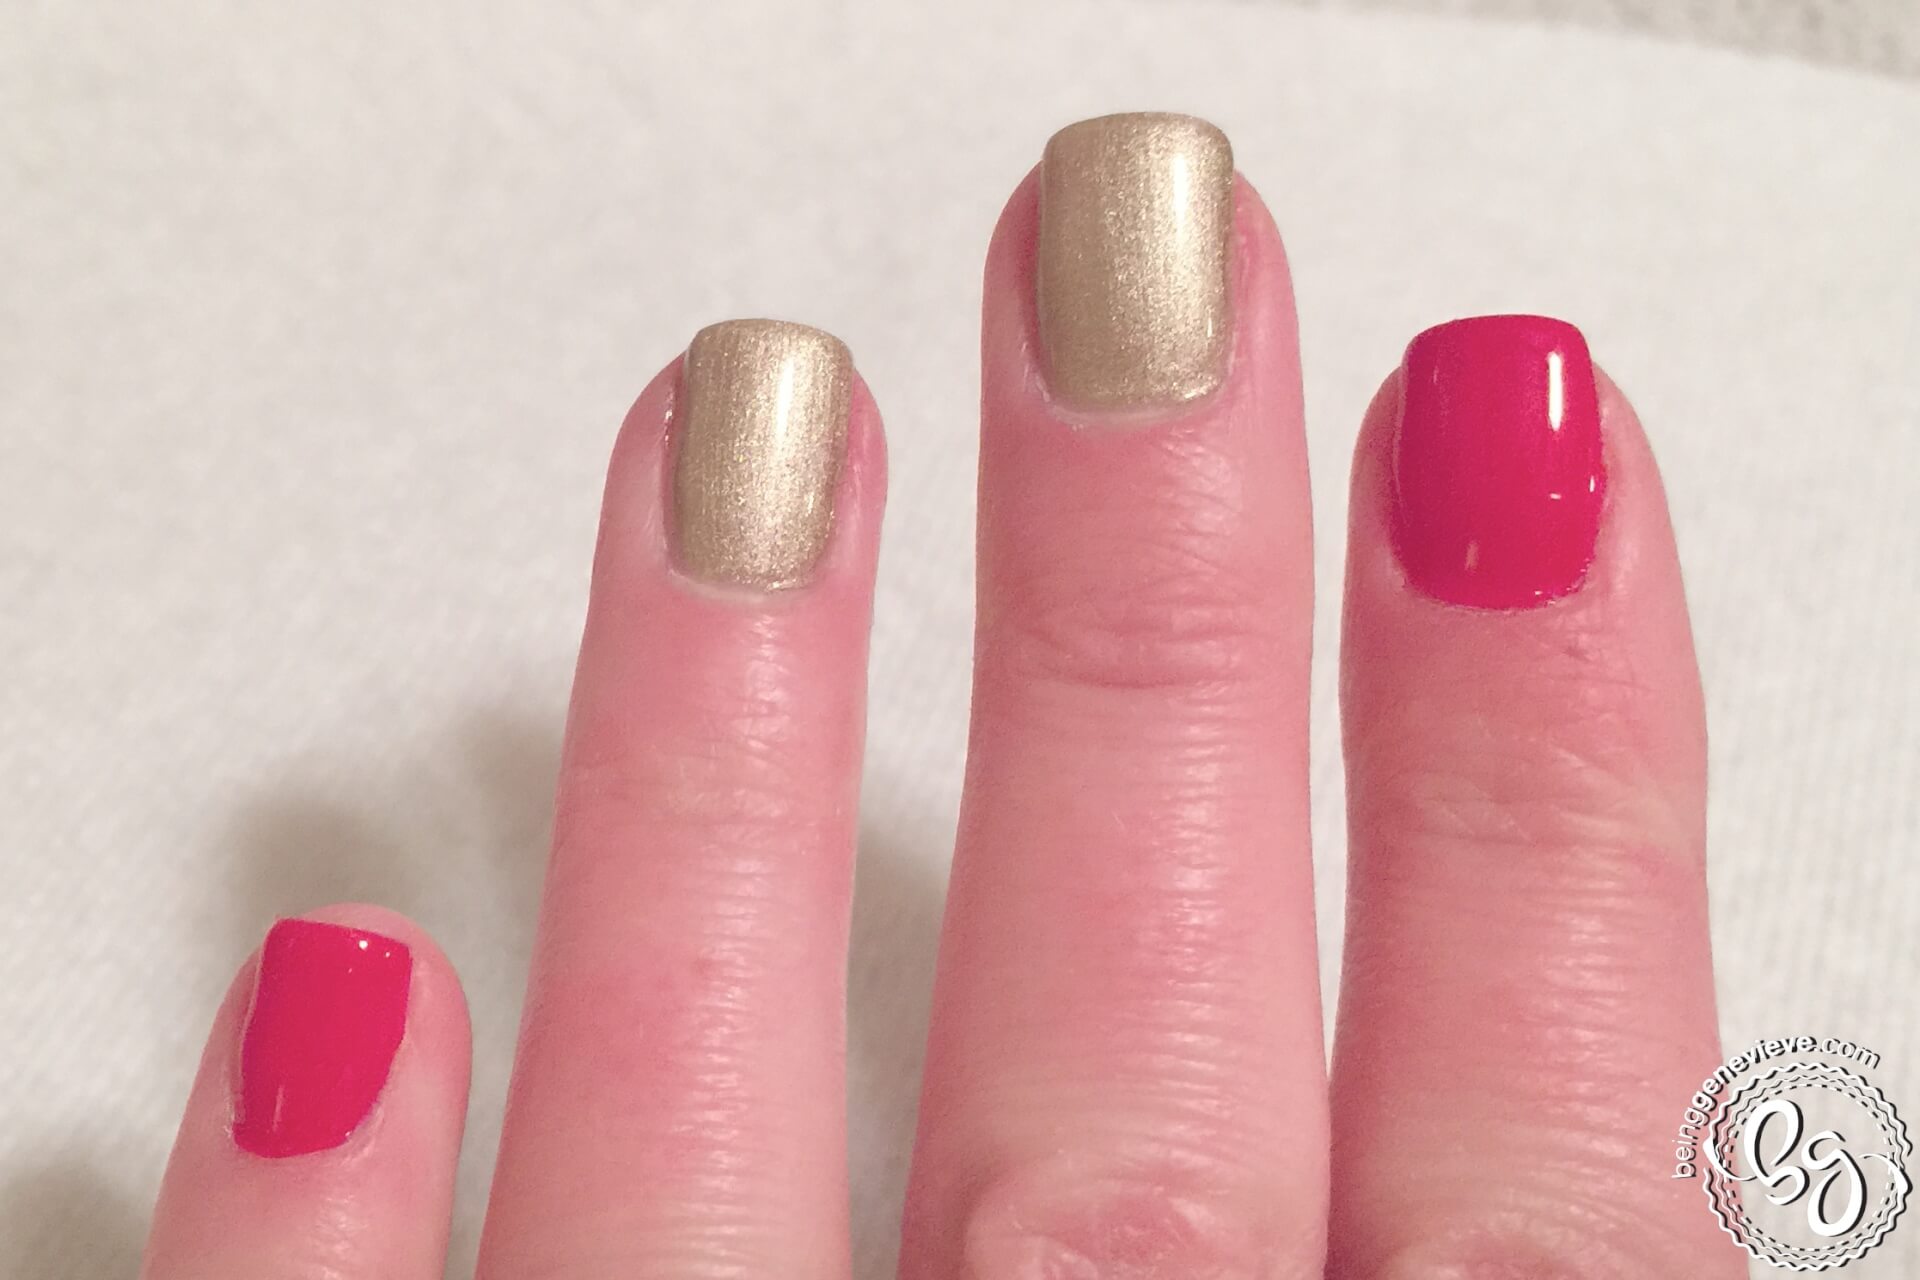
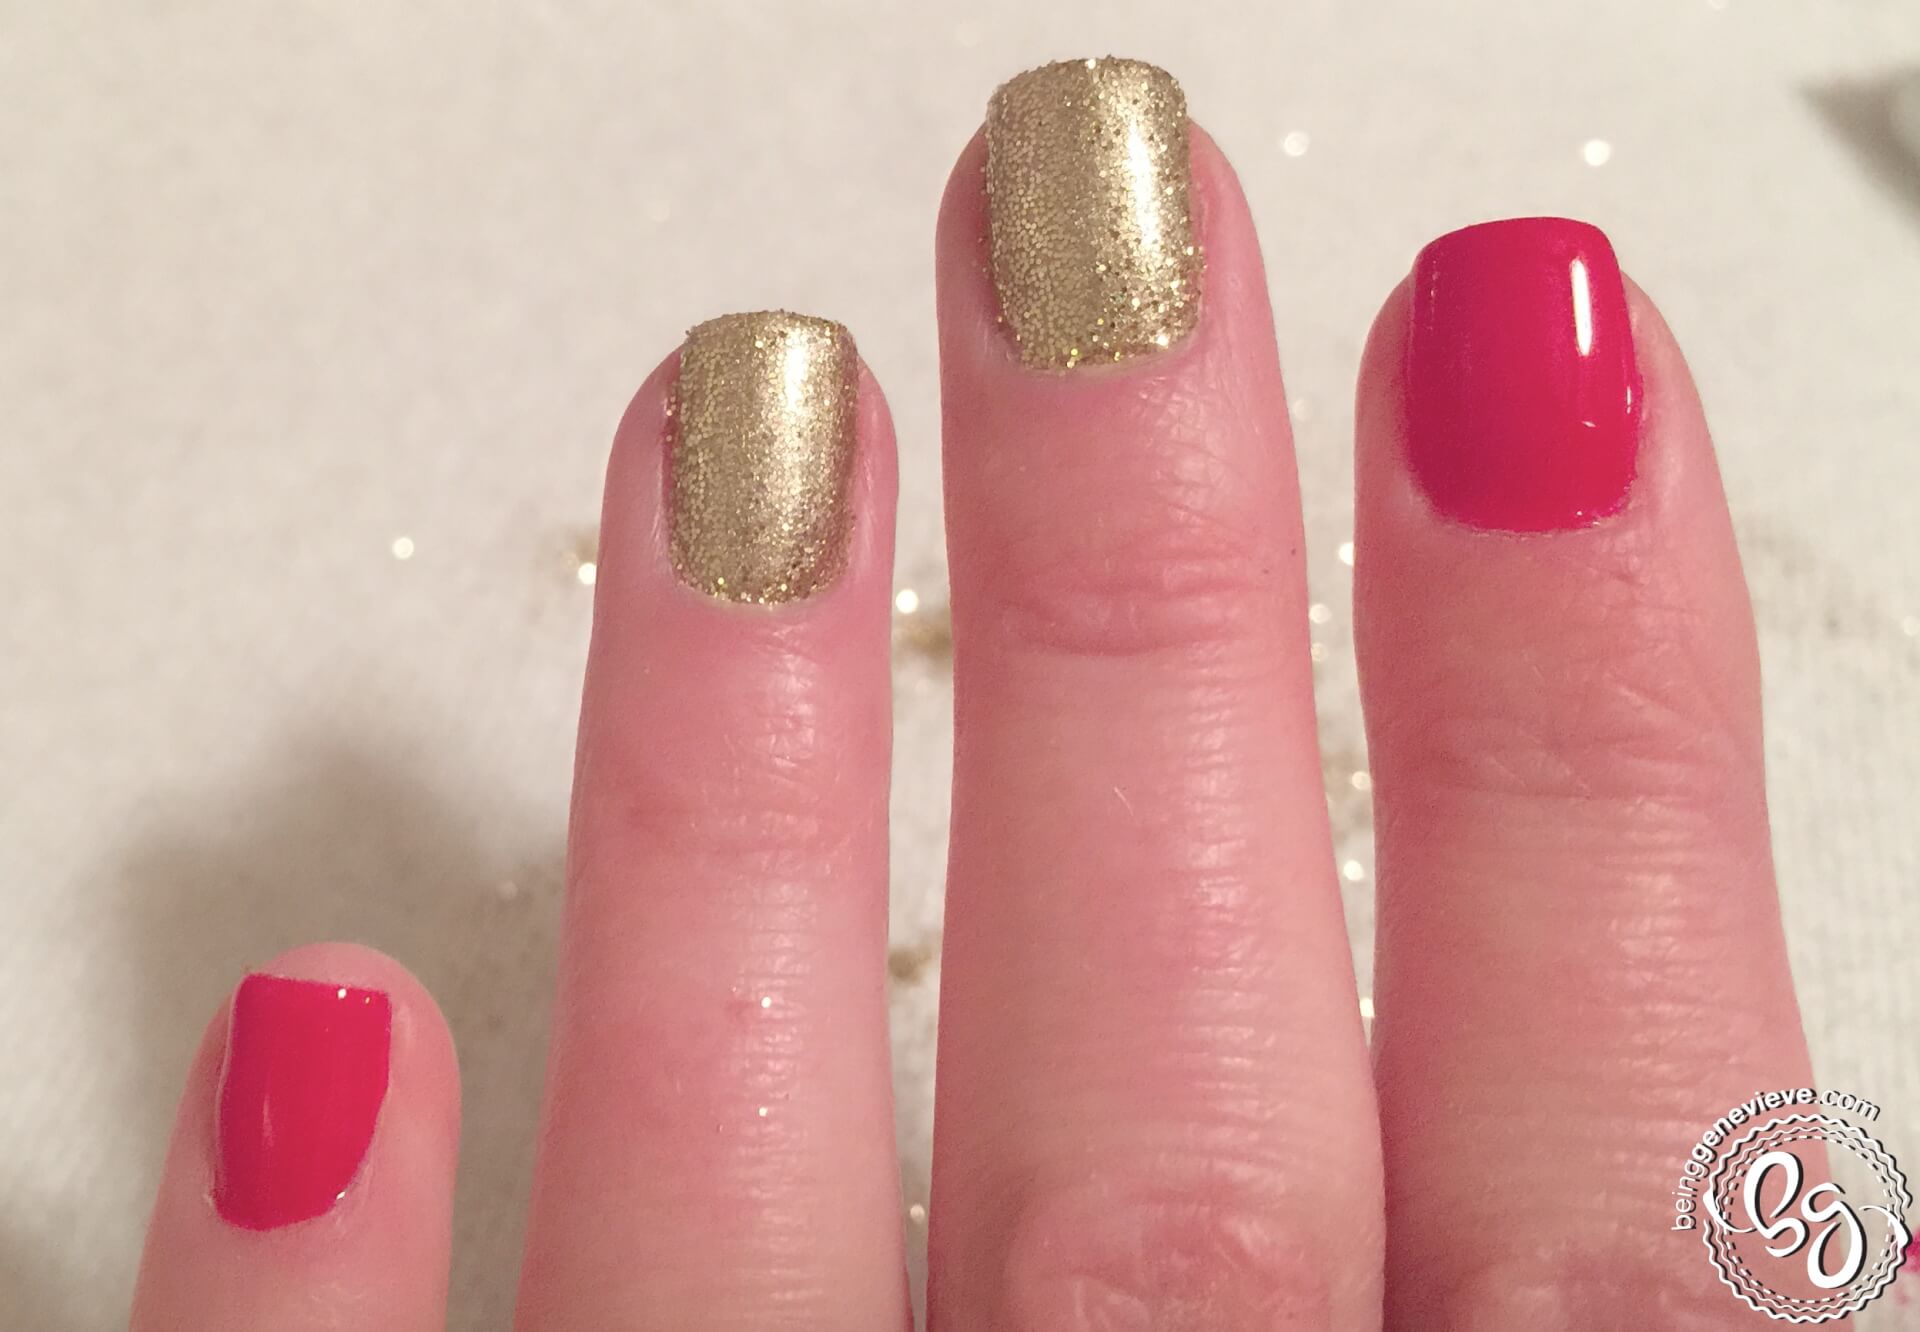
Step 3: Glitter
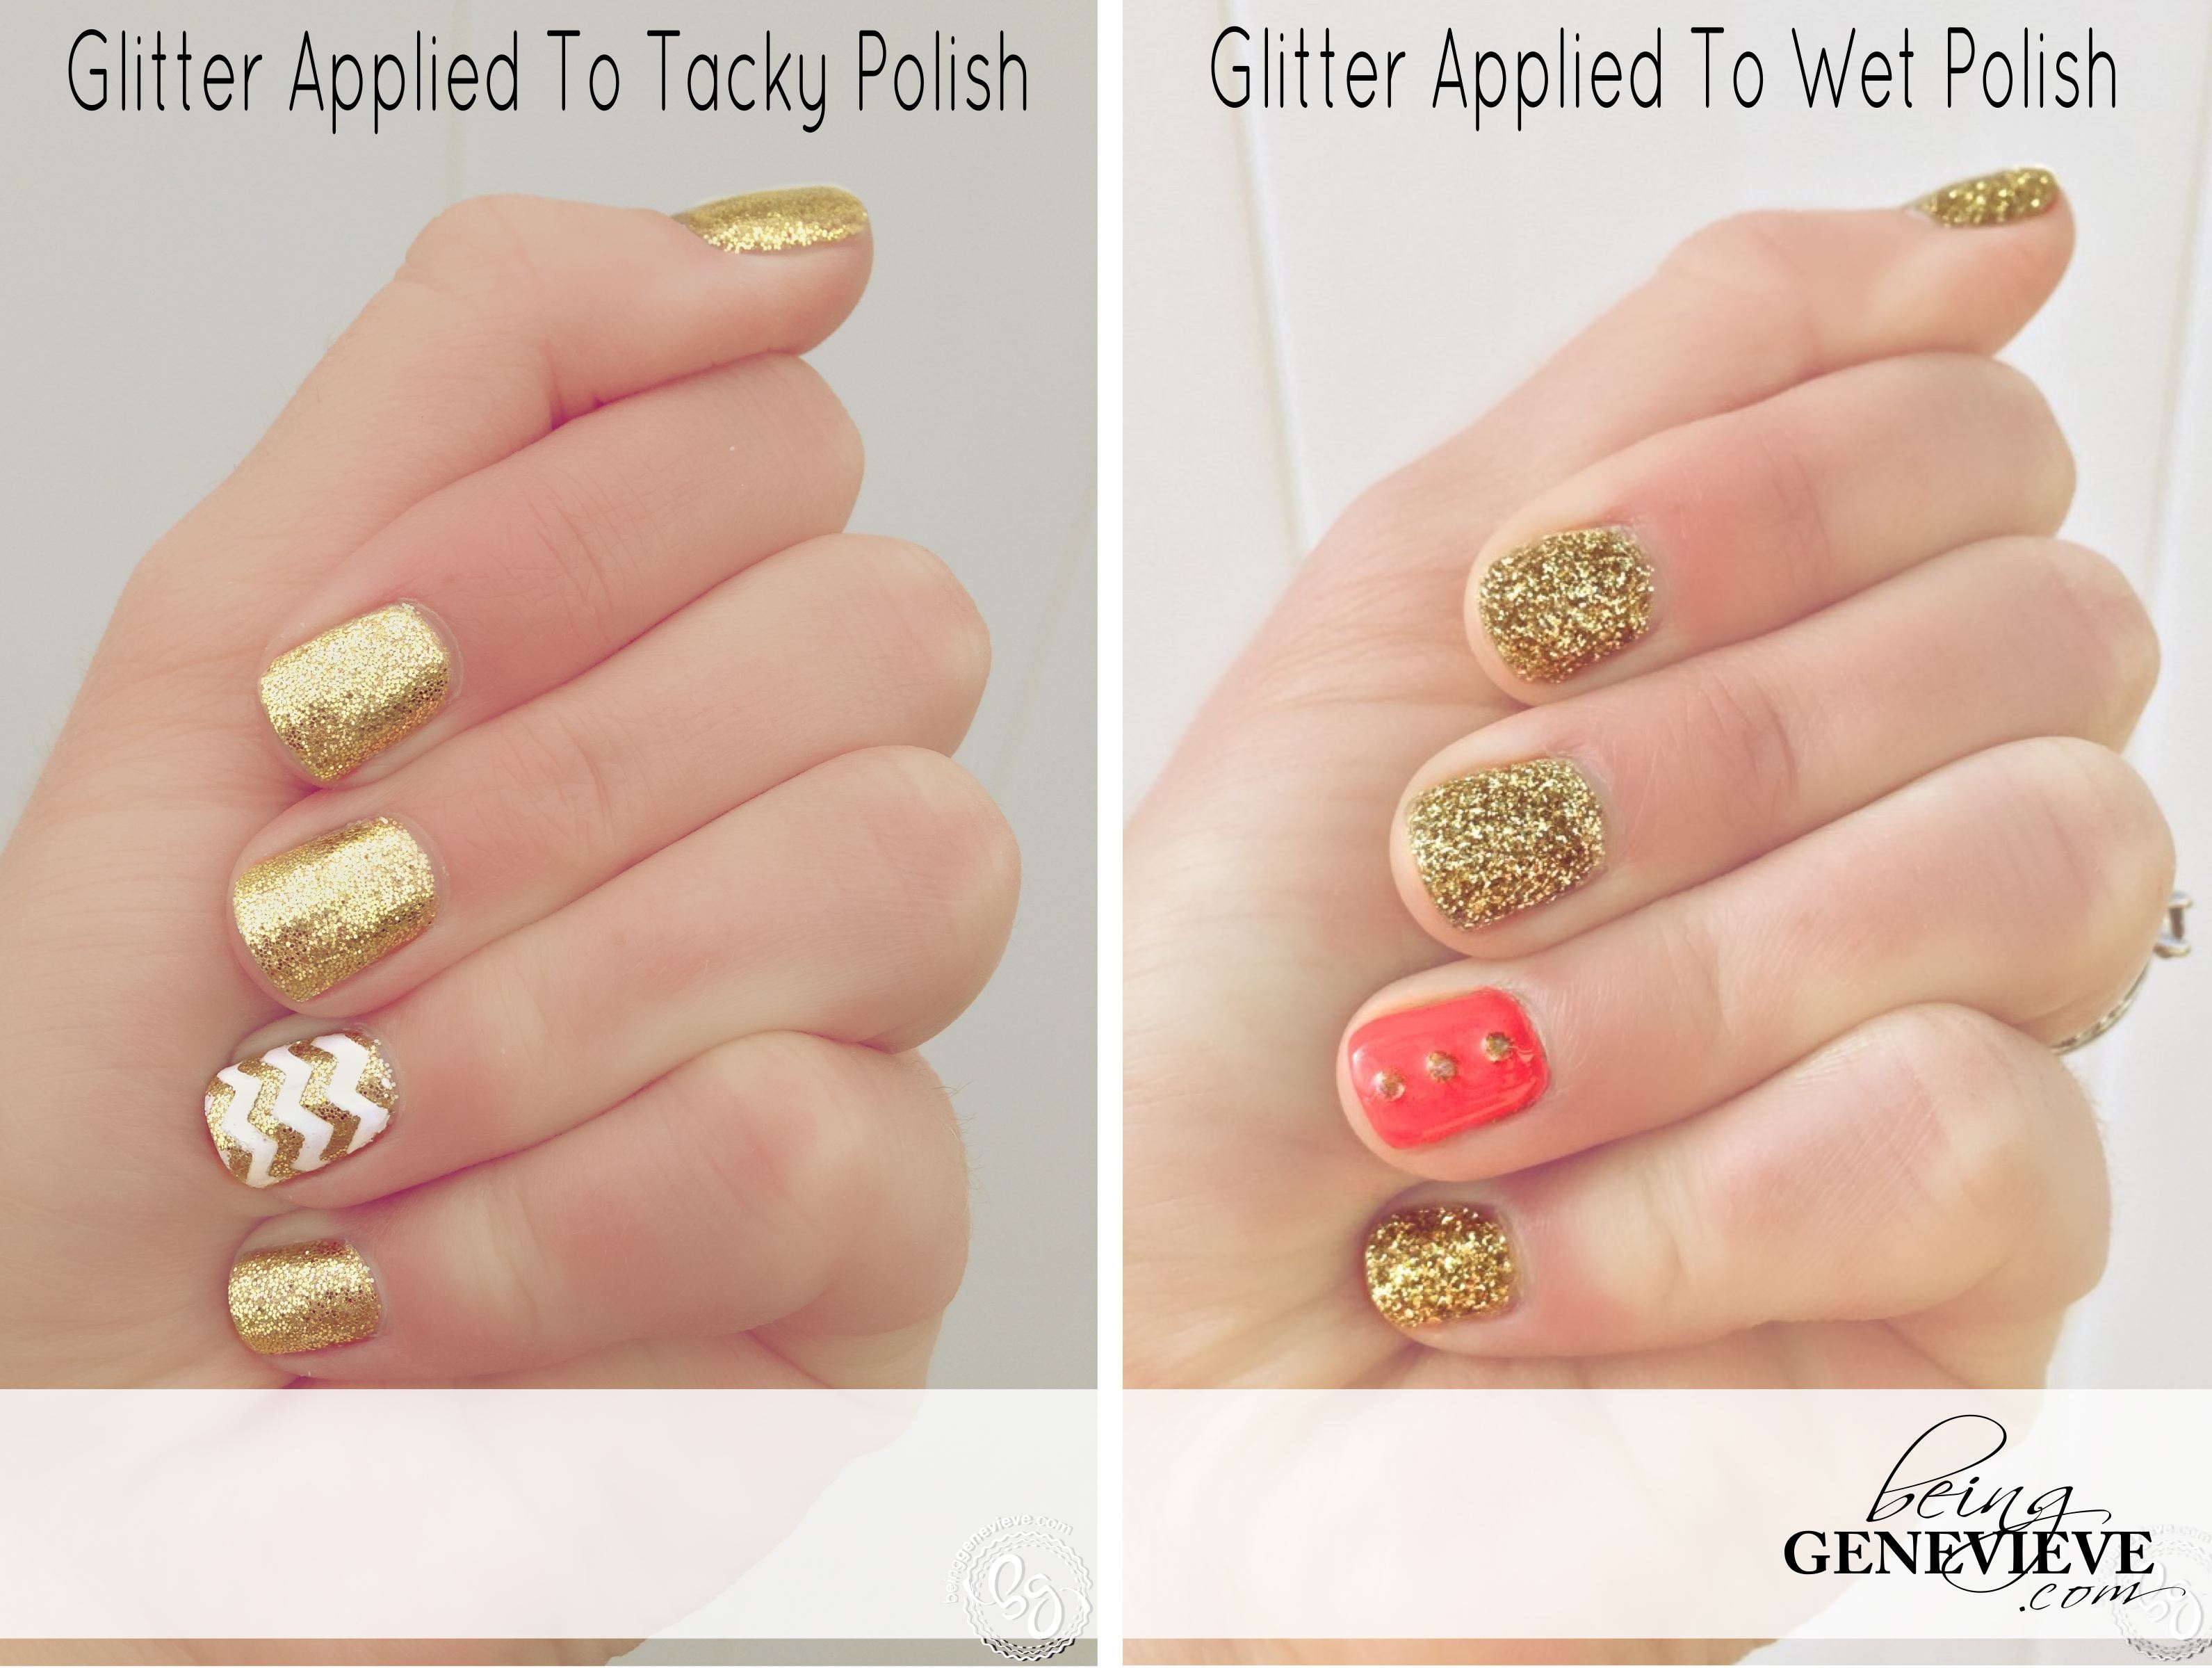
While the second coat of polish is tacky, not wet, gently dust a fine layer of gold glitter onto the polish, just as I did for my Simply in Love nails. I used Martha Stewart craft glitter
Gel Polish: Apply gold glitter after the second coat of gold polish is cured, but still has that tacky residue on the surface. Now apply a top coat over the glitter and cure 2 minutes in the UV light, or 1 minute in an LED light.
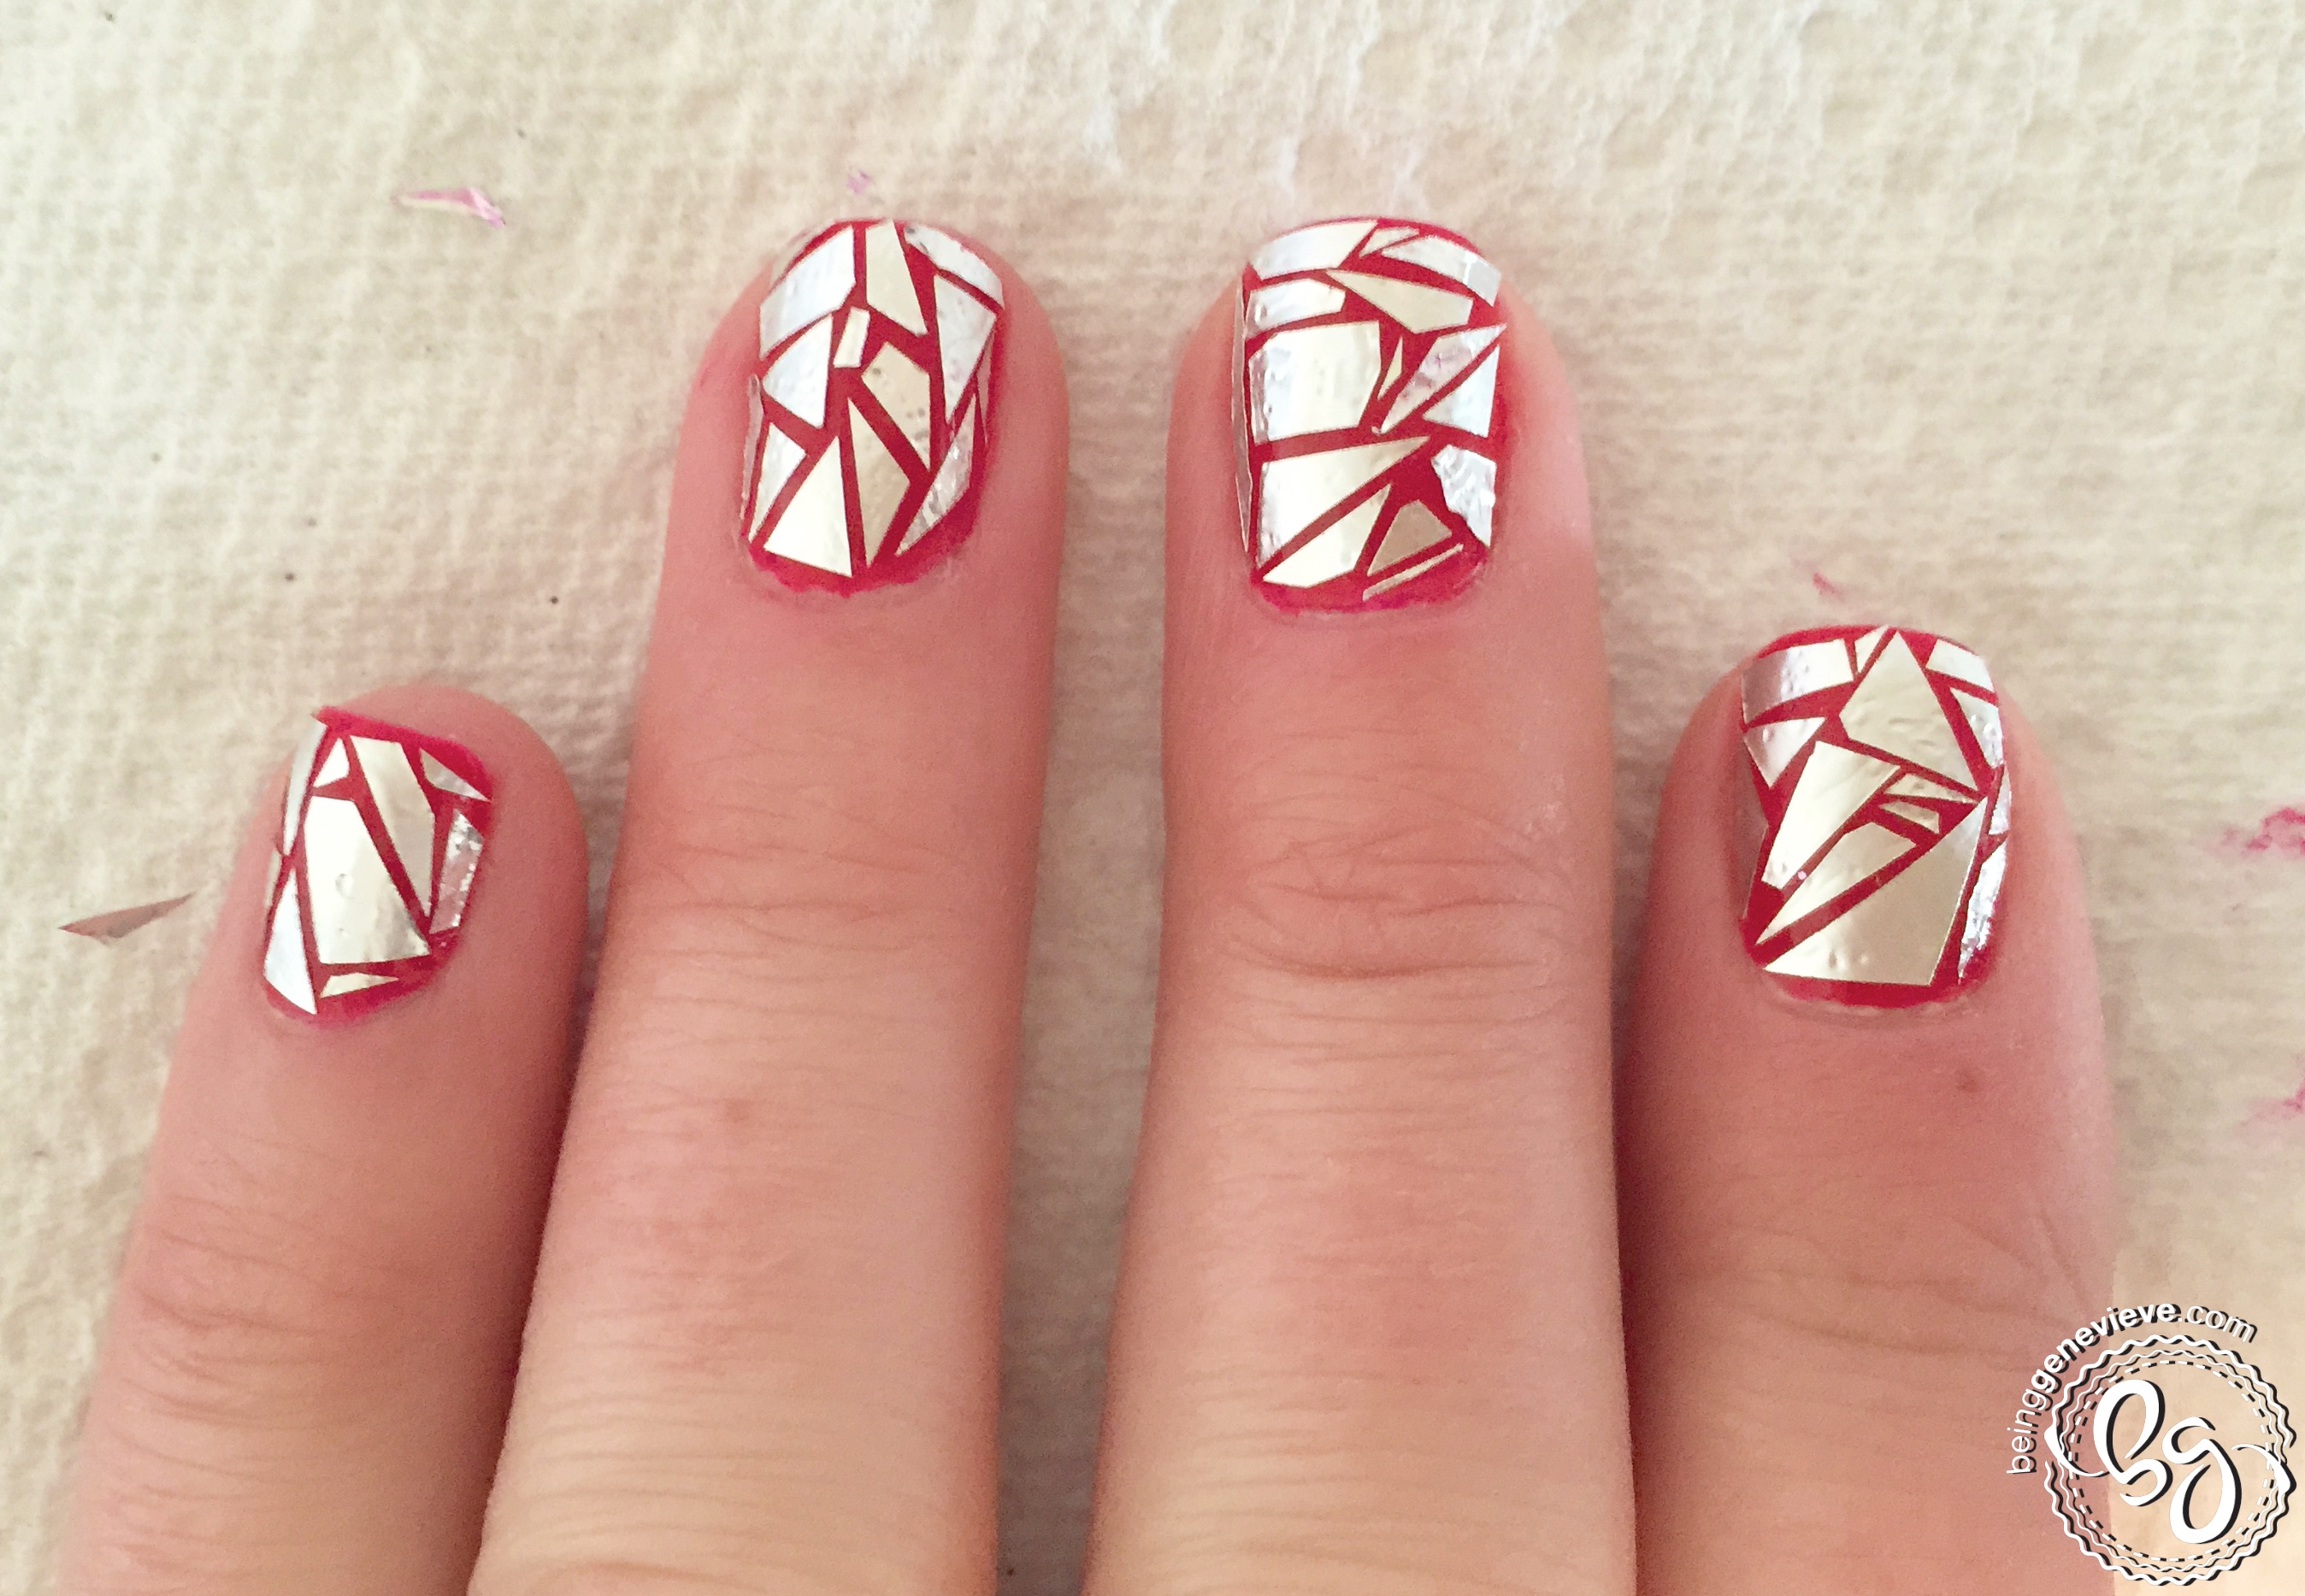
Step 4: Apply Vinyl
Take a small piece of white vinyl (with the backing still on) and cut into thin strips. I used my paper cutter, but scissors would work as well. Note: You could buy this Assorted Vinyl pack so you could apply different colors of vinyl strips through out the year.
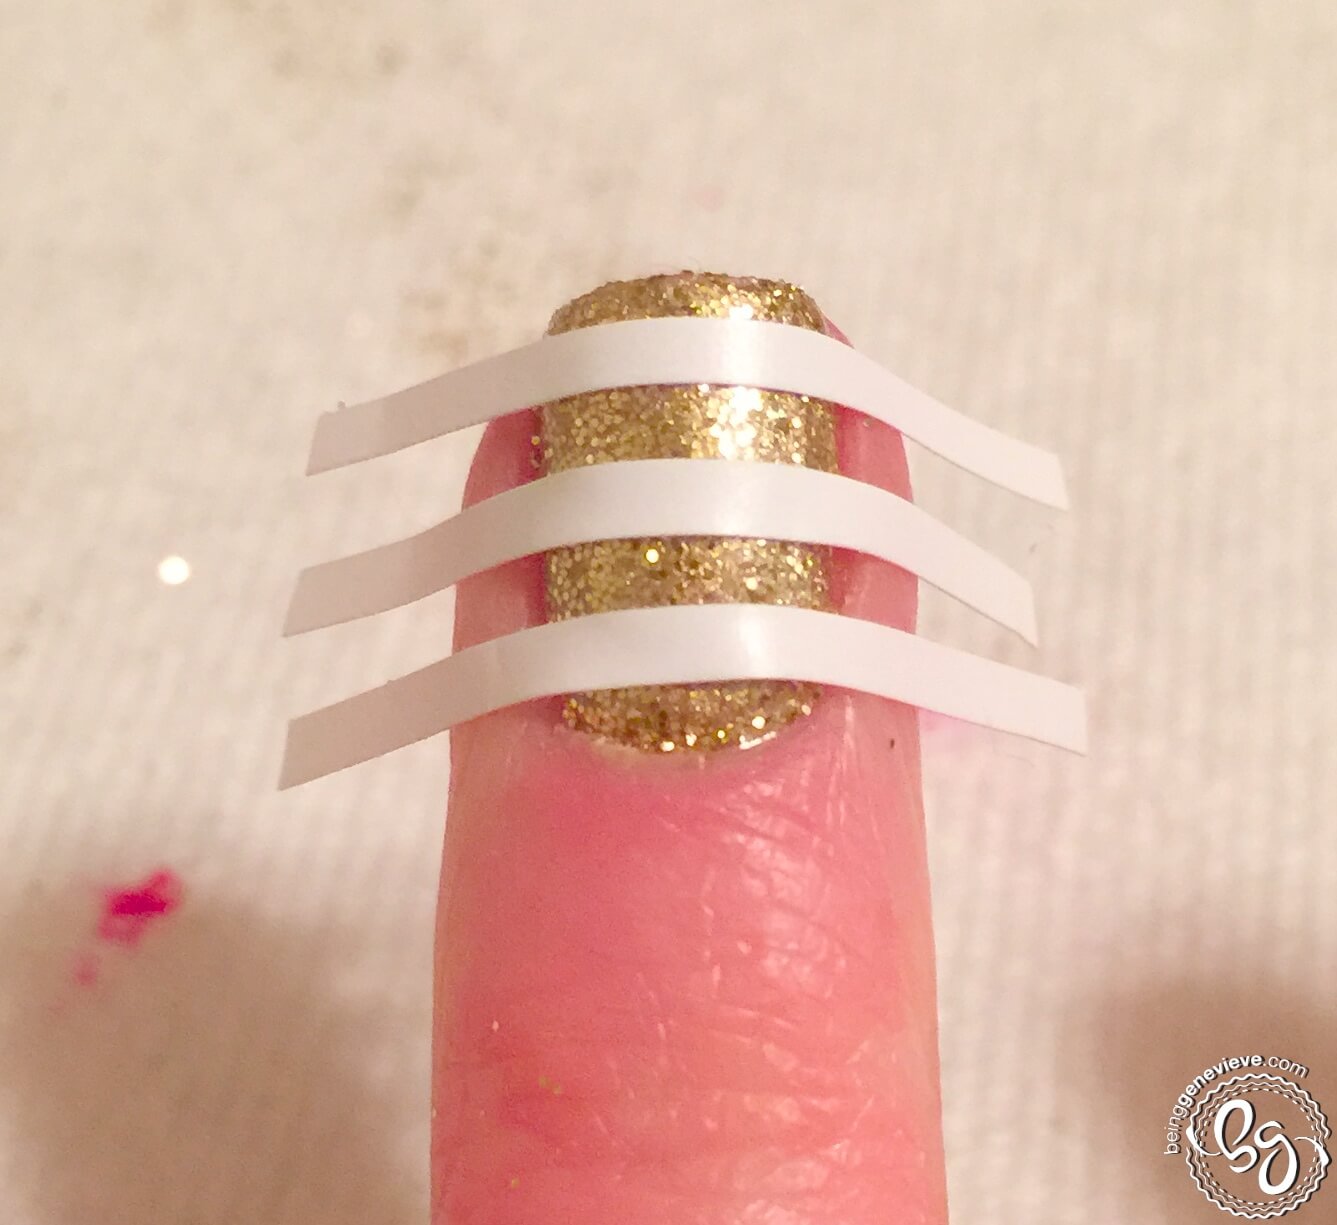
Now apply the vinyl strips by removing the paper backing. Cut the edges of the vinyl with small scissors or with cuticle nippers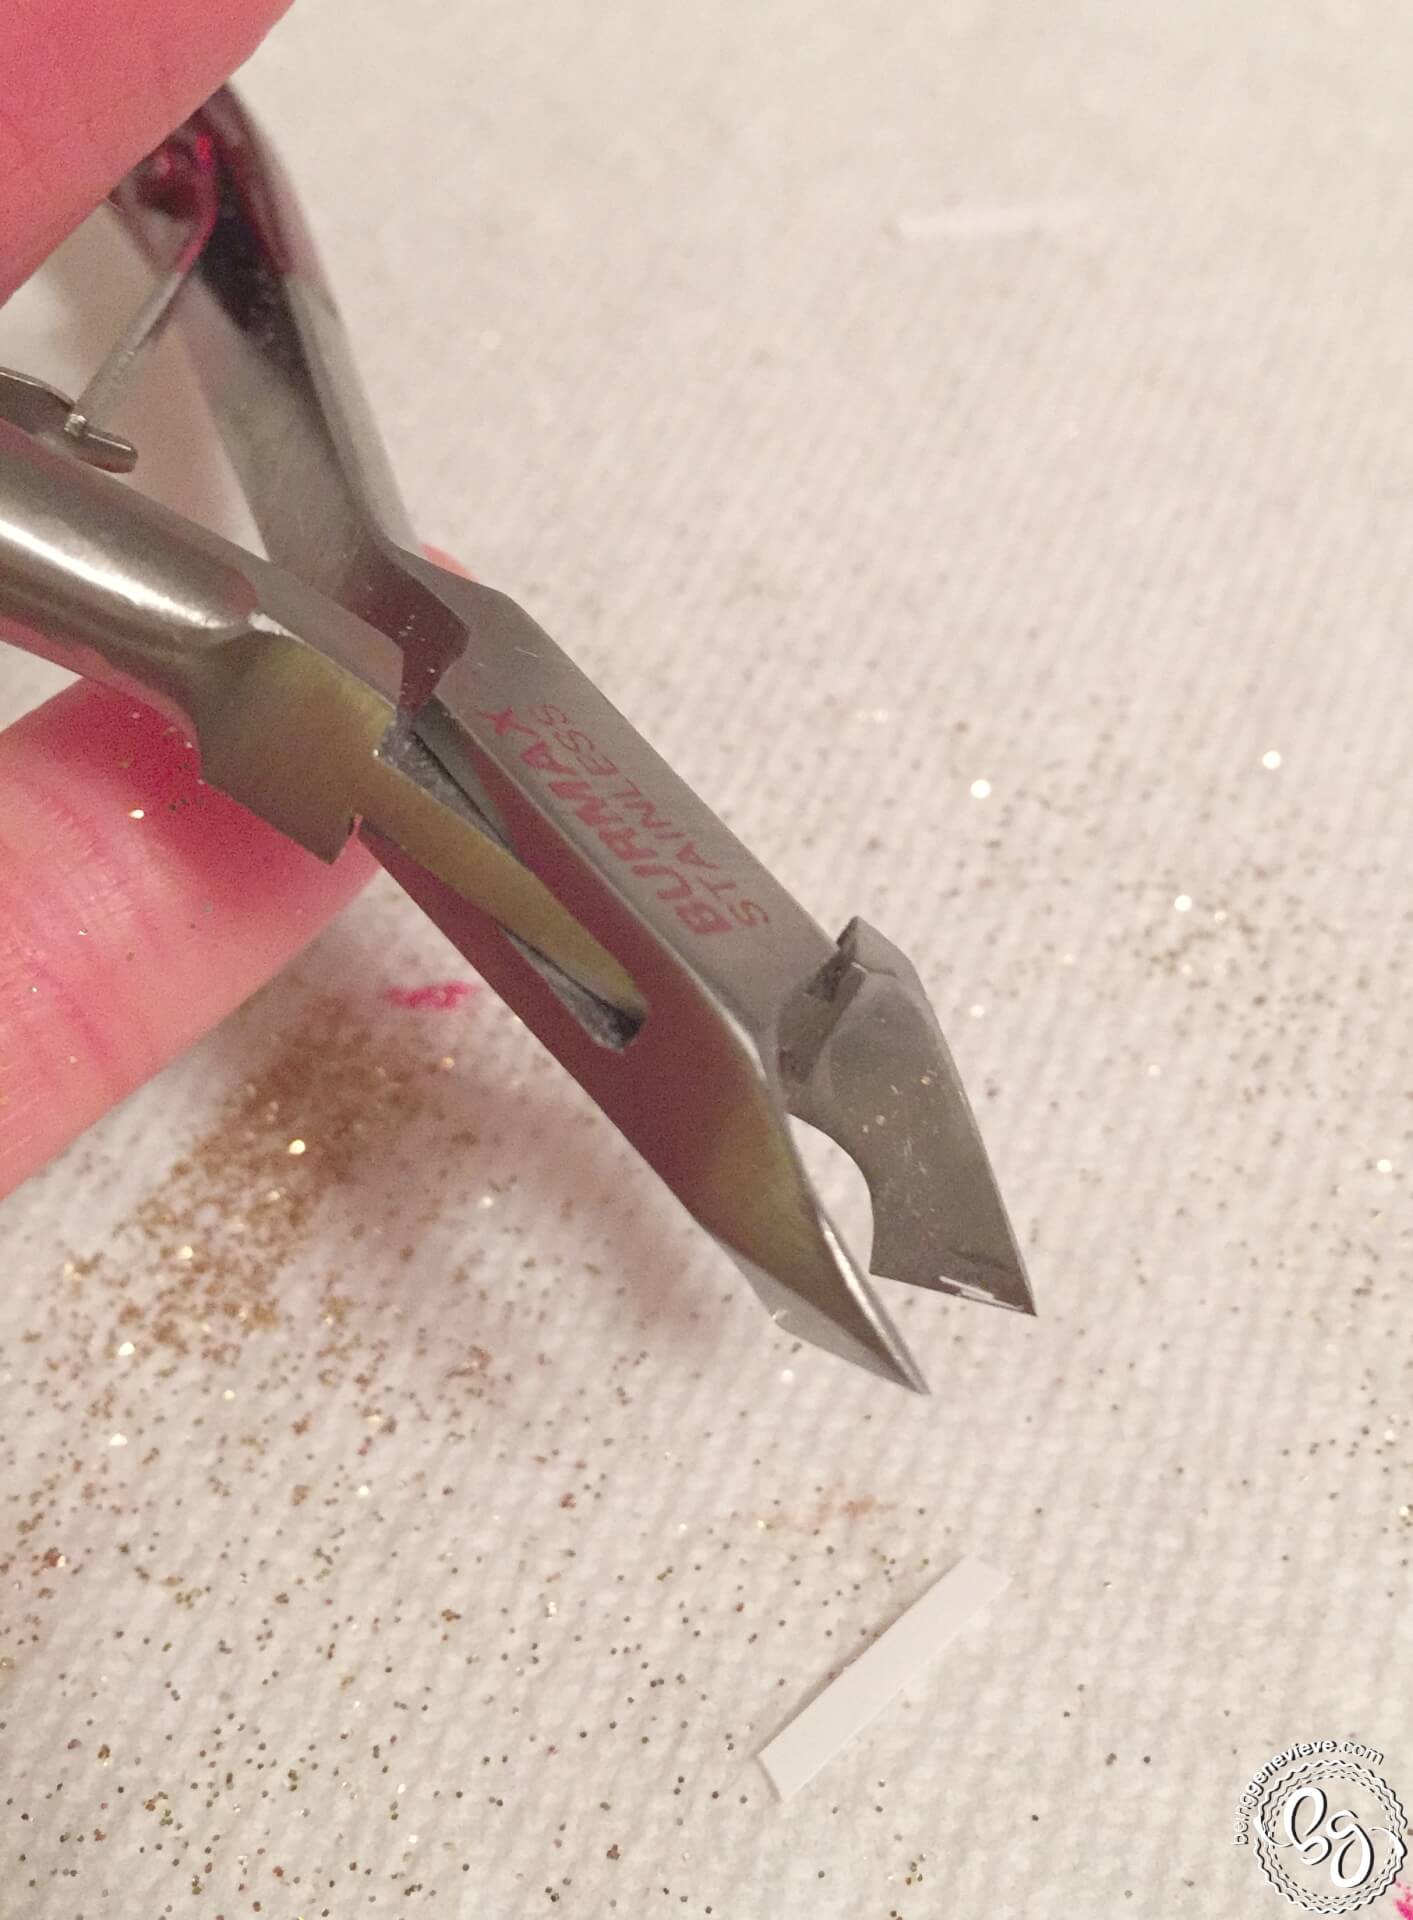
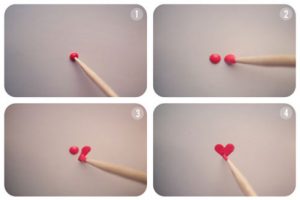
Step 5: Hearts
Pick up some red polish on a toothpick and paint a heart on the white striped nail (picture below shows the easiest, best way to paint a polish heart.) You may need two coats of red polish to hide the white vinyl stripe behind the heart. Or you could use red acrylic paint like I did for my Spring Has Sprung nail design.


Gel Polish: I actually used the red gel polish and painted a heart, cured in the light for 30 seconds and then painted another coat over the top of that. The white vinyl was showing through the heart, but once I did a second coat over the heart it looked just like I wanted it to. After the second coat on the heart cure again for 30 seconds.
Step 6: Apply Final Top Coat
Now apply your top coat. Make sure the paint is completely dry before adding top coat to help avoid smearing. Seal the vinyl strips in well. I ended up doing two applications of top coat on my ring finger nails.
Gel Polish: Apply top coat and cure in UV light for 2 minutes. If needed, do another application of top coat and cure in light.
Step 7: Allow to Dry and Apply Cuticle Oil
Allow your polish to dry completely. Apply a cuticle oil just around your nails on the cuticle and rub into the skin.
Gel Polish: Remove sticky residue on top of nails with a little alcohol or polish remover and apply cuticle oil.

Remove gel polish after 2-3 weeks, check out Gel Polish Removal for the quickest, easiest and best way to remove gels.