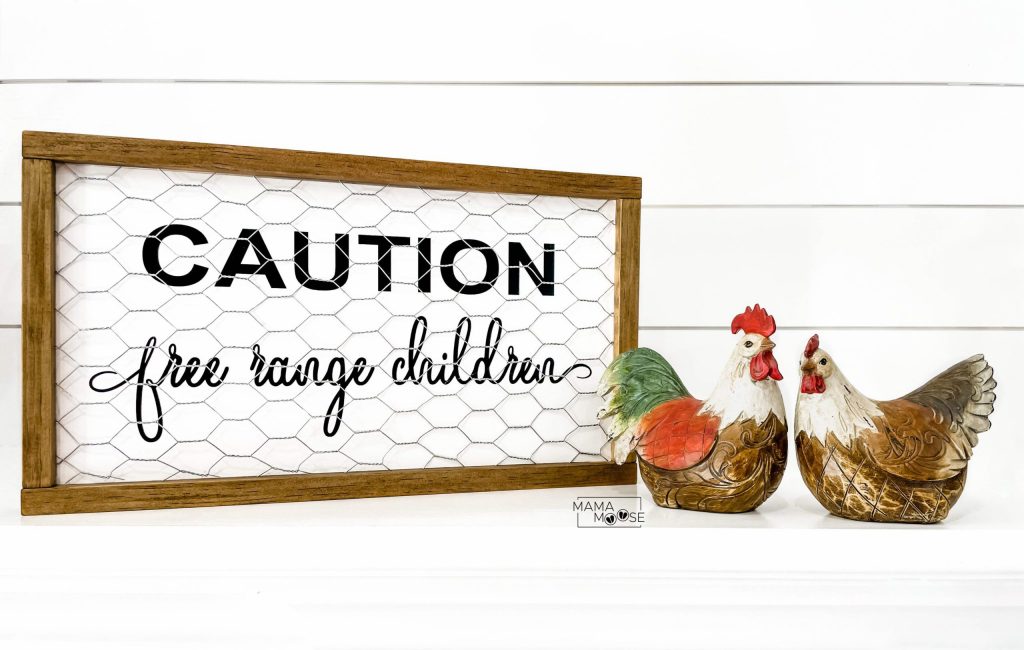
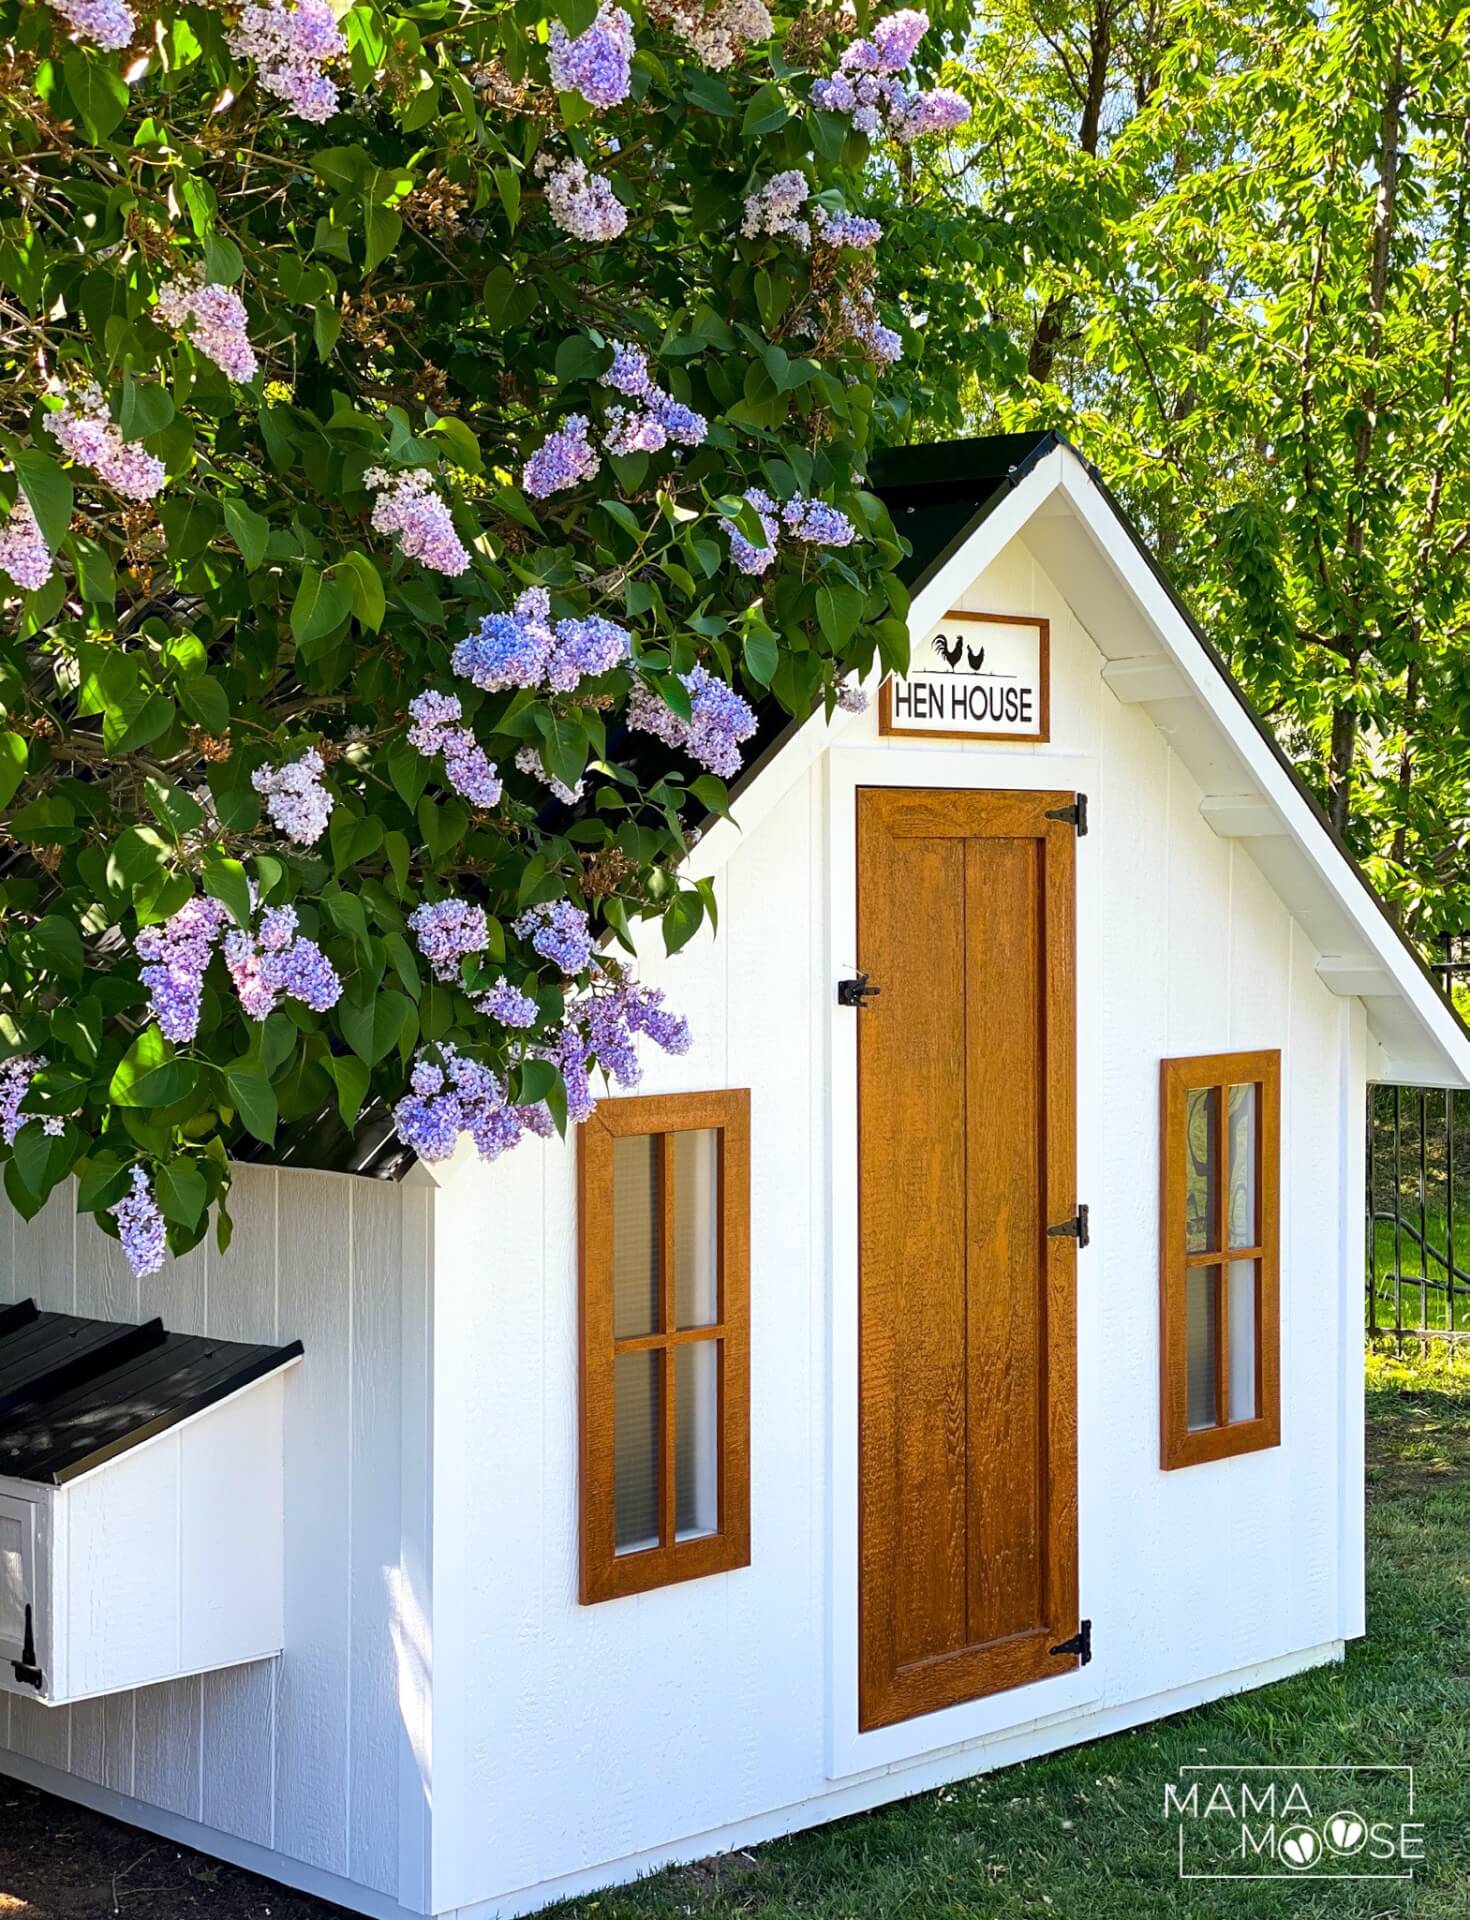
Sometime during the pandemic, I had a friend post a sign she recently purchased on her social media account of “free range children”. I could not stop smiling. I knew I needed a similar sign in my home. I mean . . . we do have 20 chickens out back. If your interested you can check out my Hen House tutorial.
Supplies:
- 1/4″ MDF
- 1″ x 2″ Pine Board
- Wood Stain, Early American
- White Paint (I prefer Behr Alkyd Semi-Gloss White Enamel)
- Vinyl (download template below)
- Chicken Wire, optional
- Gorilla Glue, clear-no foam
- Nail Gun, optional
Step 1: Cut Wood
FINISHED SIGN will be 18.5″ x 10.5″
For this project, I used a 1/4″ thick MDF board.
Now I cut the MDF into a 17″ x 9″ rectangle.
Cut two 18.5″ frame pieces and two 9″ frame pieces. I also cut four 1-1/2″ square pieces out of my left over 1″ x 2″ pine board. These are used as supports in the corners when attaching the frame.
Step 2: Stain Wood
I stained the pine board frame with a coat of Early American wood stain.
Step 3: Paint MDF
I paint my MDF board with TWO coats of the white behr paint and allow it to fully dry.
Step 4: Adhere Frame
You use the same technique here as I did in my Joy Farmhouse Sign, except I have been adding the “supports” to the corners of my MDF board when it’s a smaller sign.
I stain my “supports” just like I do the frame, even though they will not be seen. It’s just the OCD in me that wants them all to match.
Now glue the “supports” on to the corners of the frame and glue the frame corners together. I also use a nail gun to nail the “supports” and the frame together. The gorilla glue is strong enough that nails aren’t required though.
I then put some glue on top of the supports to adhere the MDF board to.
Step 5: Vinyl/Printable
Download the zip file below. It includes an SVG file and a PDF file. I cut my vinyl 15.4″ x 6.4″
Step 6: Chicken Wire
For the chicken wire, I planned to secure it to the board or frame with gorilla glue. But none of these worked. The chicken wire had a mind of it’s own and wouldn’t do anything. The perk of this was that the wire fit snuggly up again the frame and almost “stuck” it’s self into place.
So all you need to do here is just cut the wire maybe 1/8″ bigger than the white part of the sign 17-1/8″ x 9-1/8″. Now just push it into place and the sharp edges of the wire will secure it into place against the frame.

