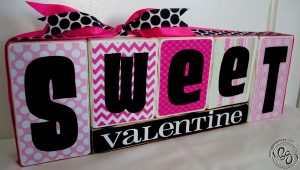
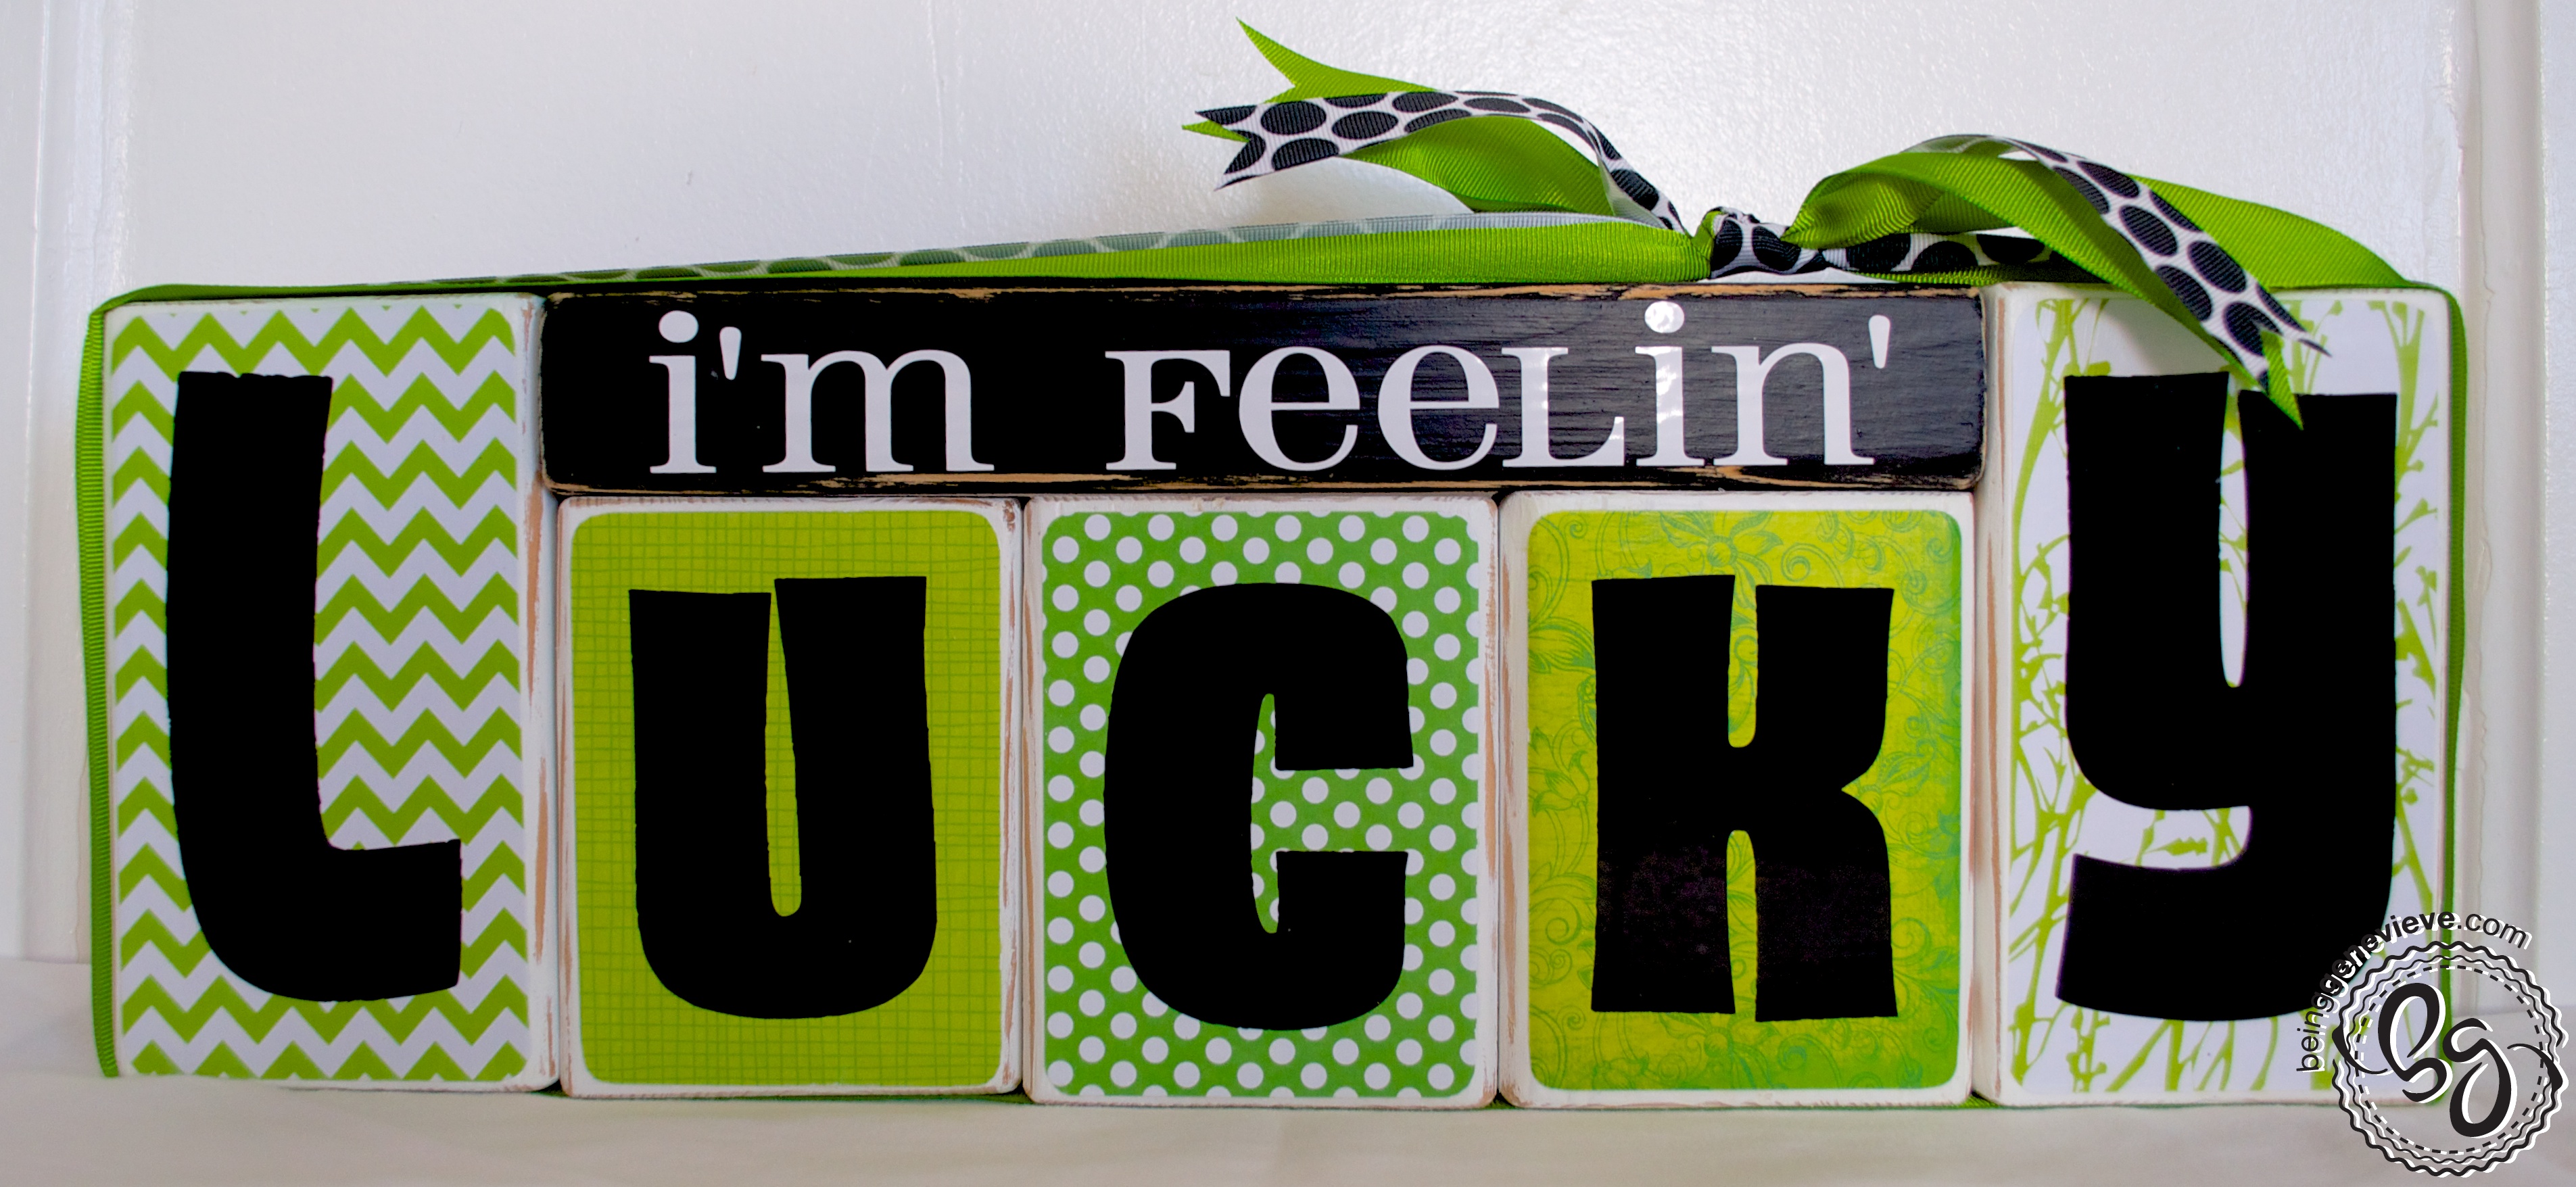
I have recently seen some reversible holiday blocks circulating on Pinterest. I knew the moment I saw the idea I had to come up with a few phrases and make my own! I love this tutorial I’m about to share because anyone can achieve this look with my few simple steps.
(The finished dimensions are 6″ x 17-1/2″)
Supplies:
- 2″ x 4″ board from Home Depot or Lowes (you will need 36″)
- Sandpaper, coarse texture
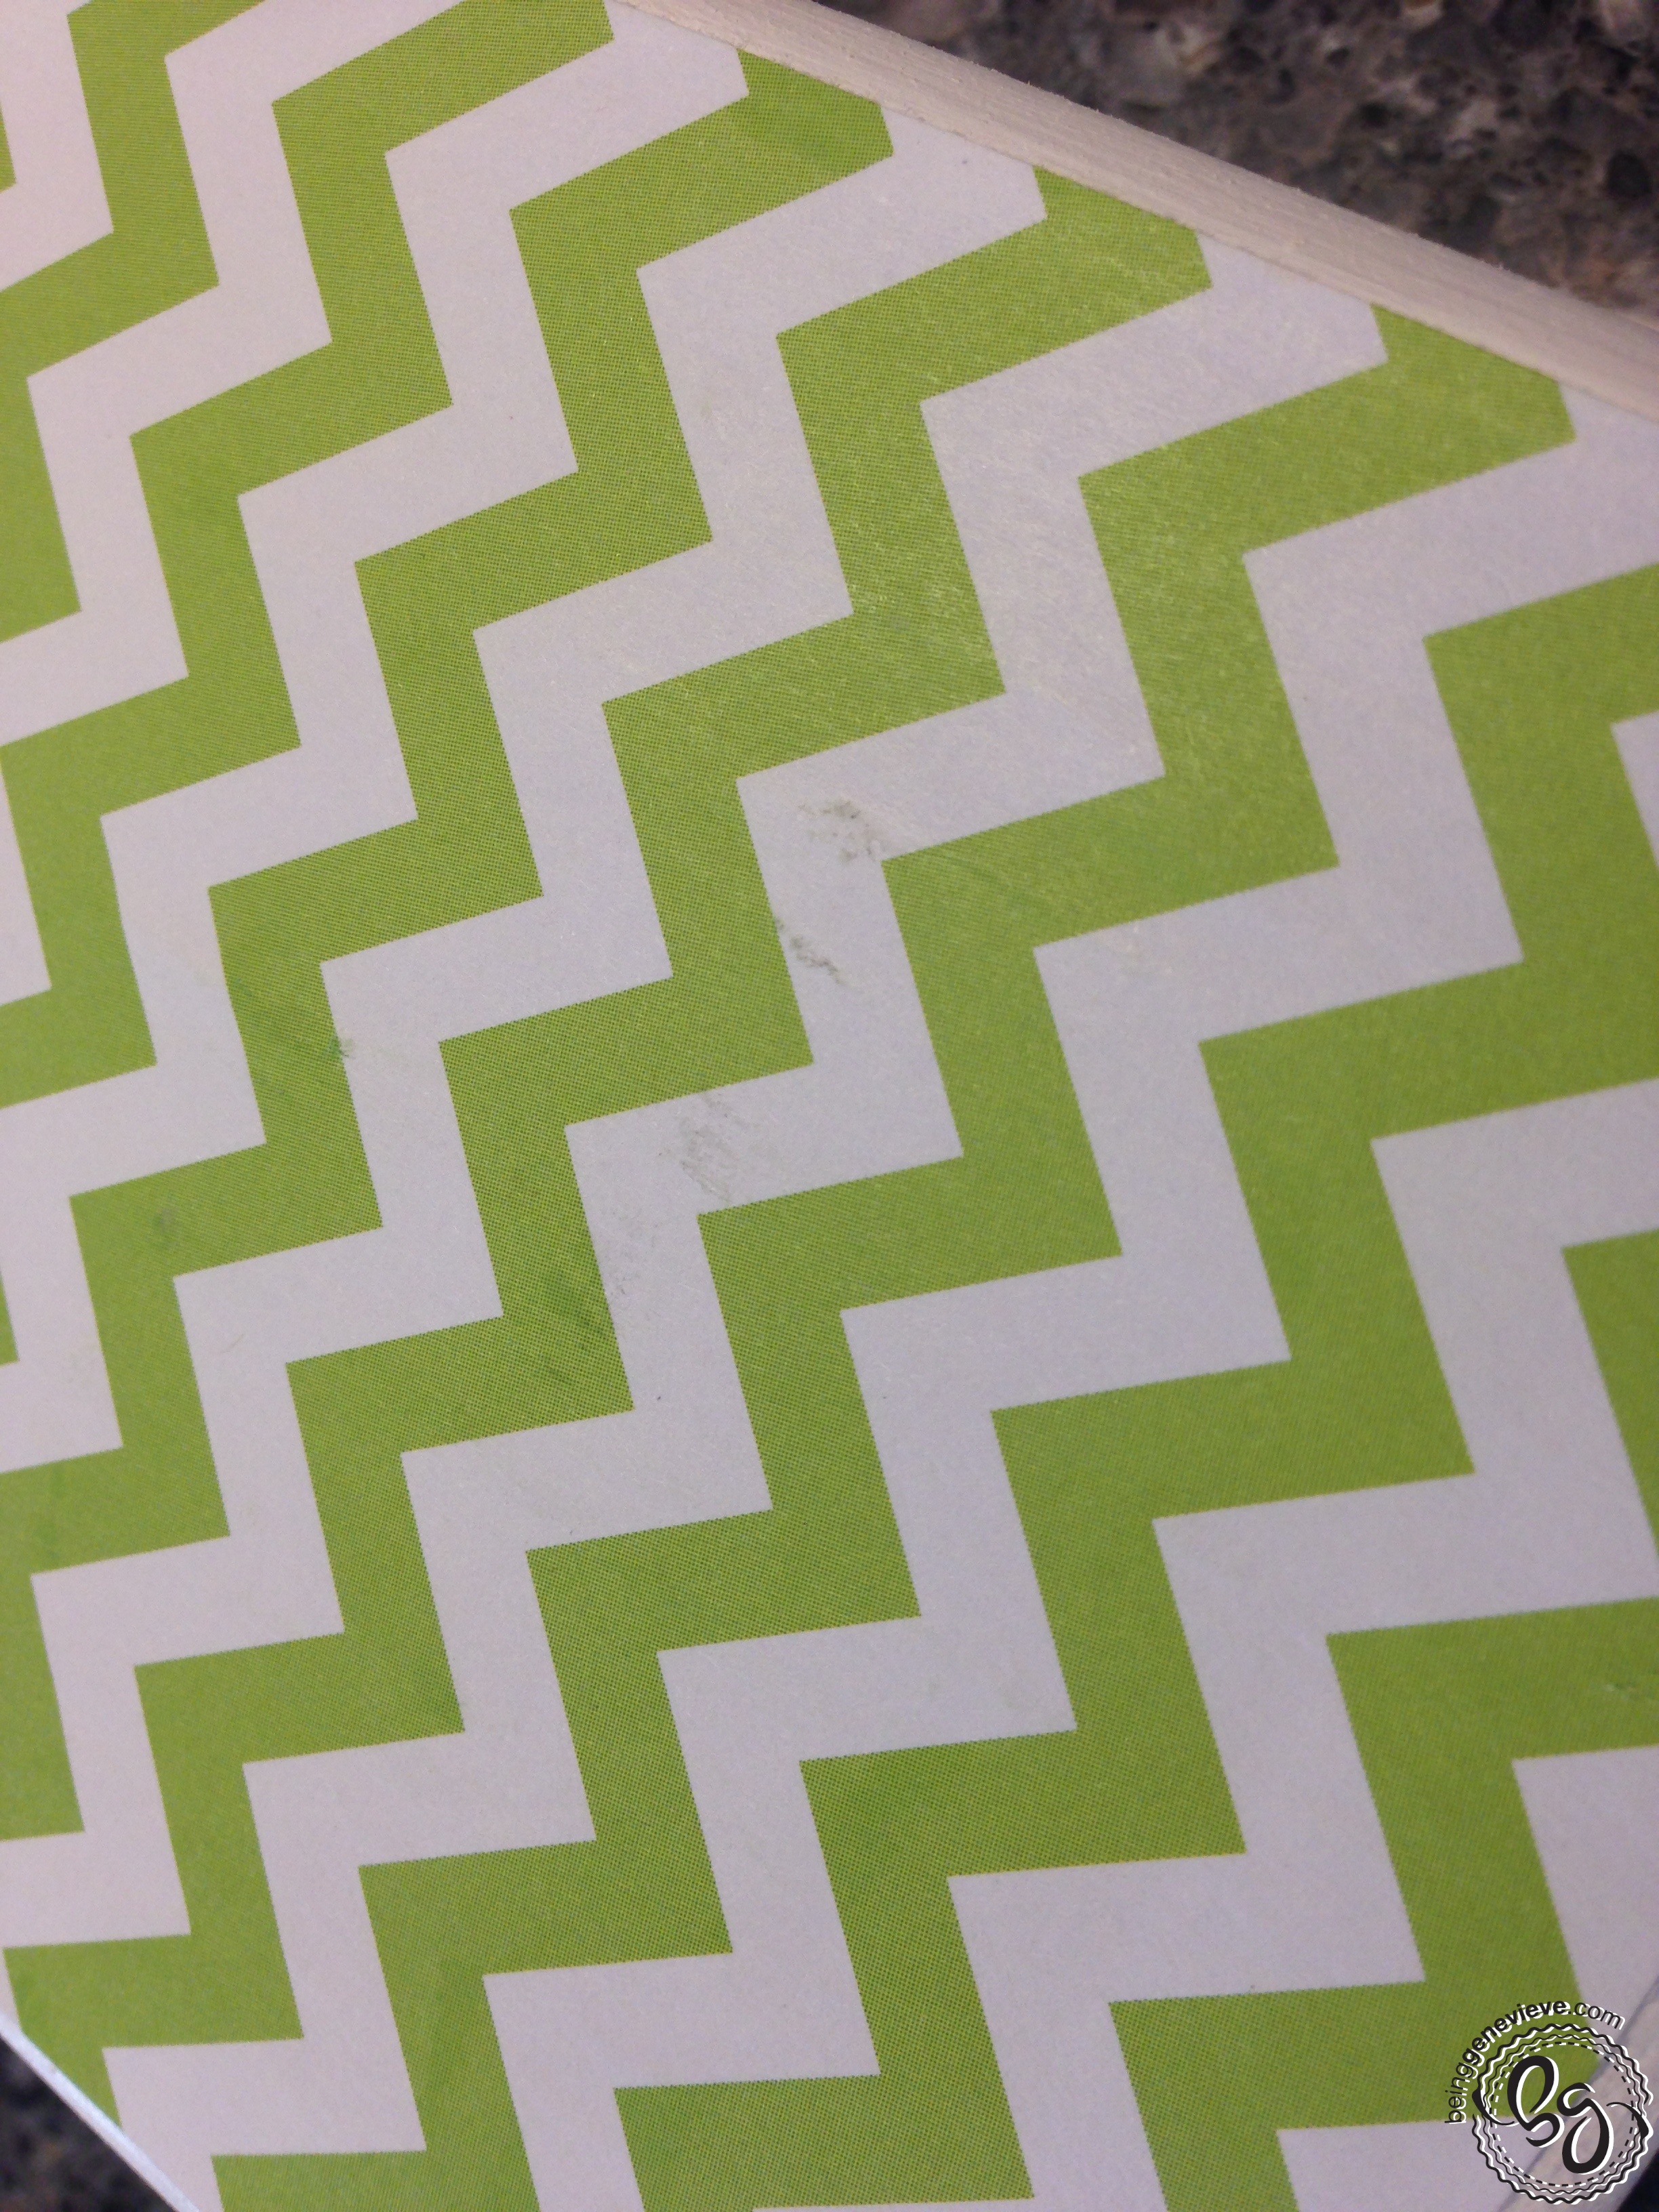
- Scrapbook Paper
- Mod Podge, matte finish
- Acrylic Paint, Black and White (Buy on Amazon –Black
- Sponge brush (Buy on Amazon – Sponge Brushes 9pk
- Vinyl or Stencil
- 1-1/2″ Solid Colored Ribbon, optional
- 7/8″ Black and White Polka-Dot Ribbon, optional

Directions:
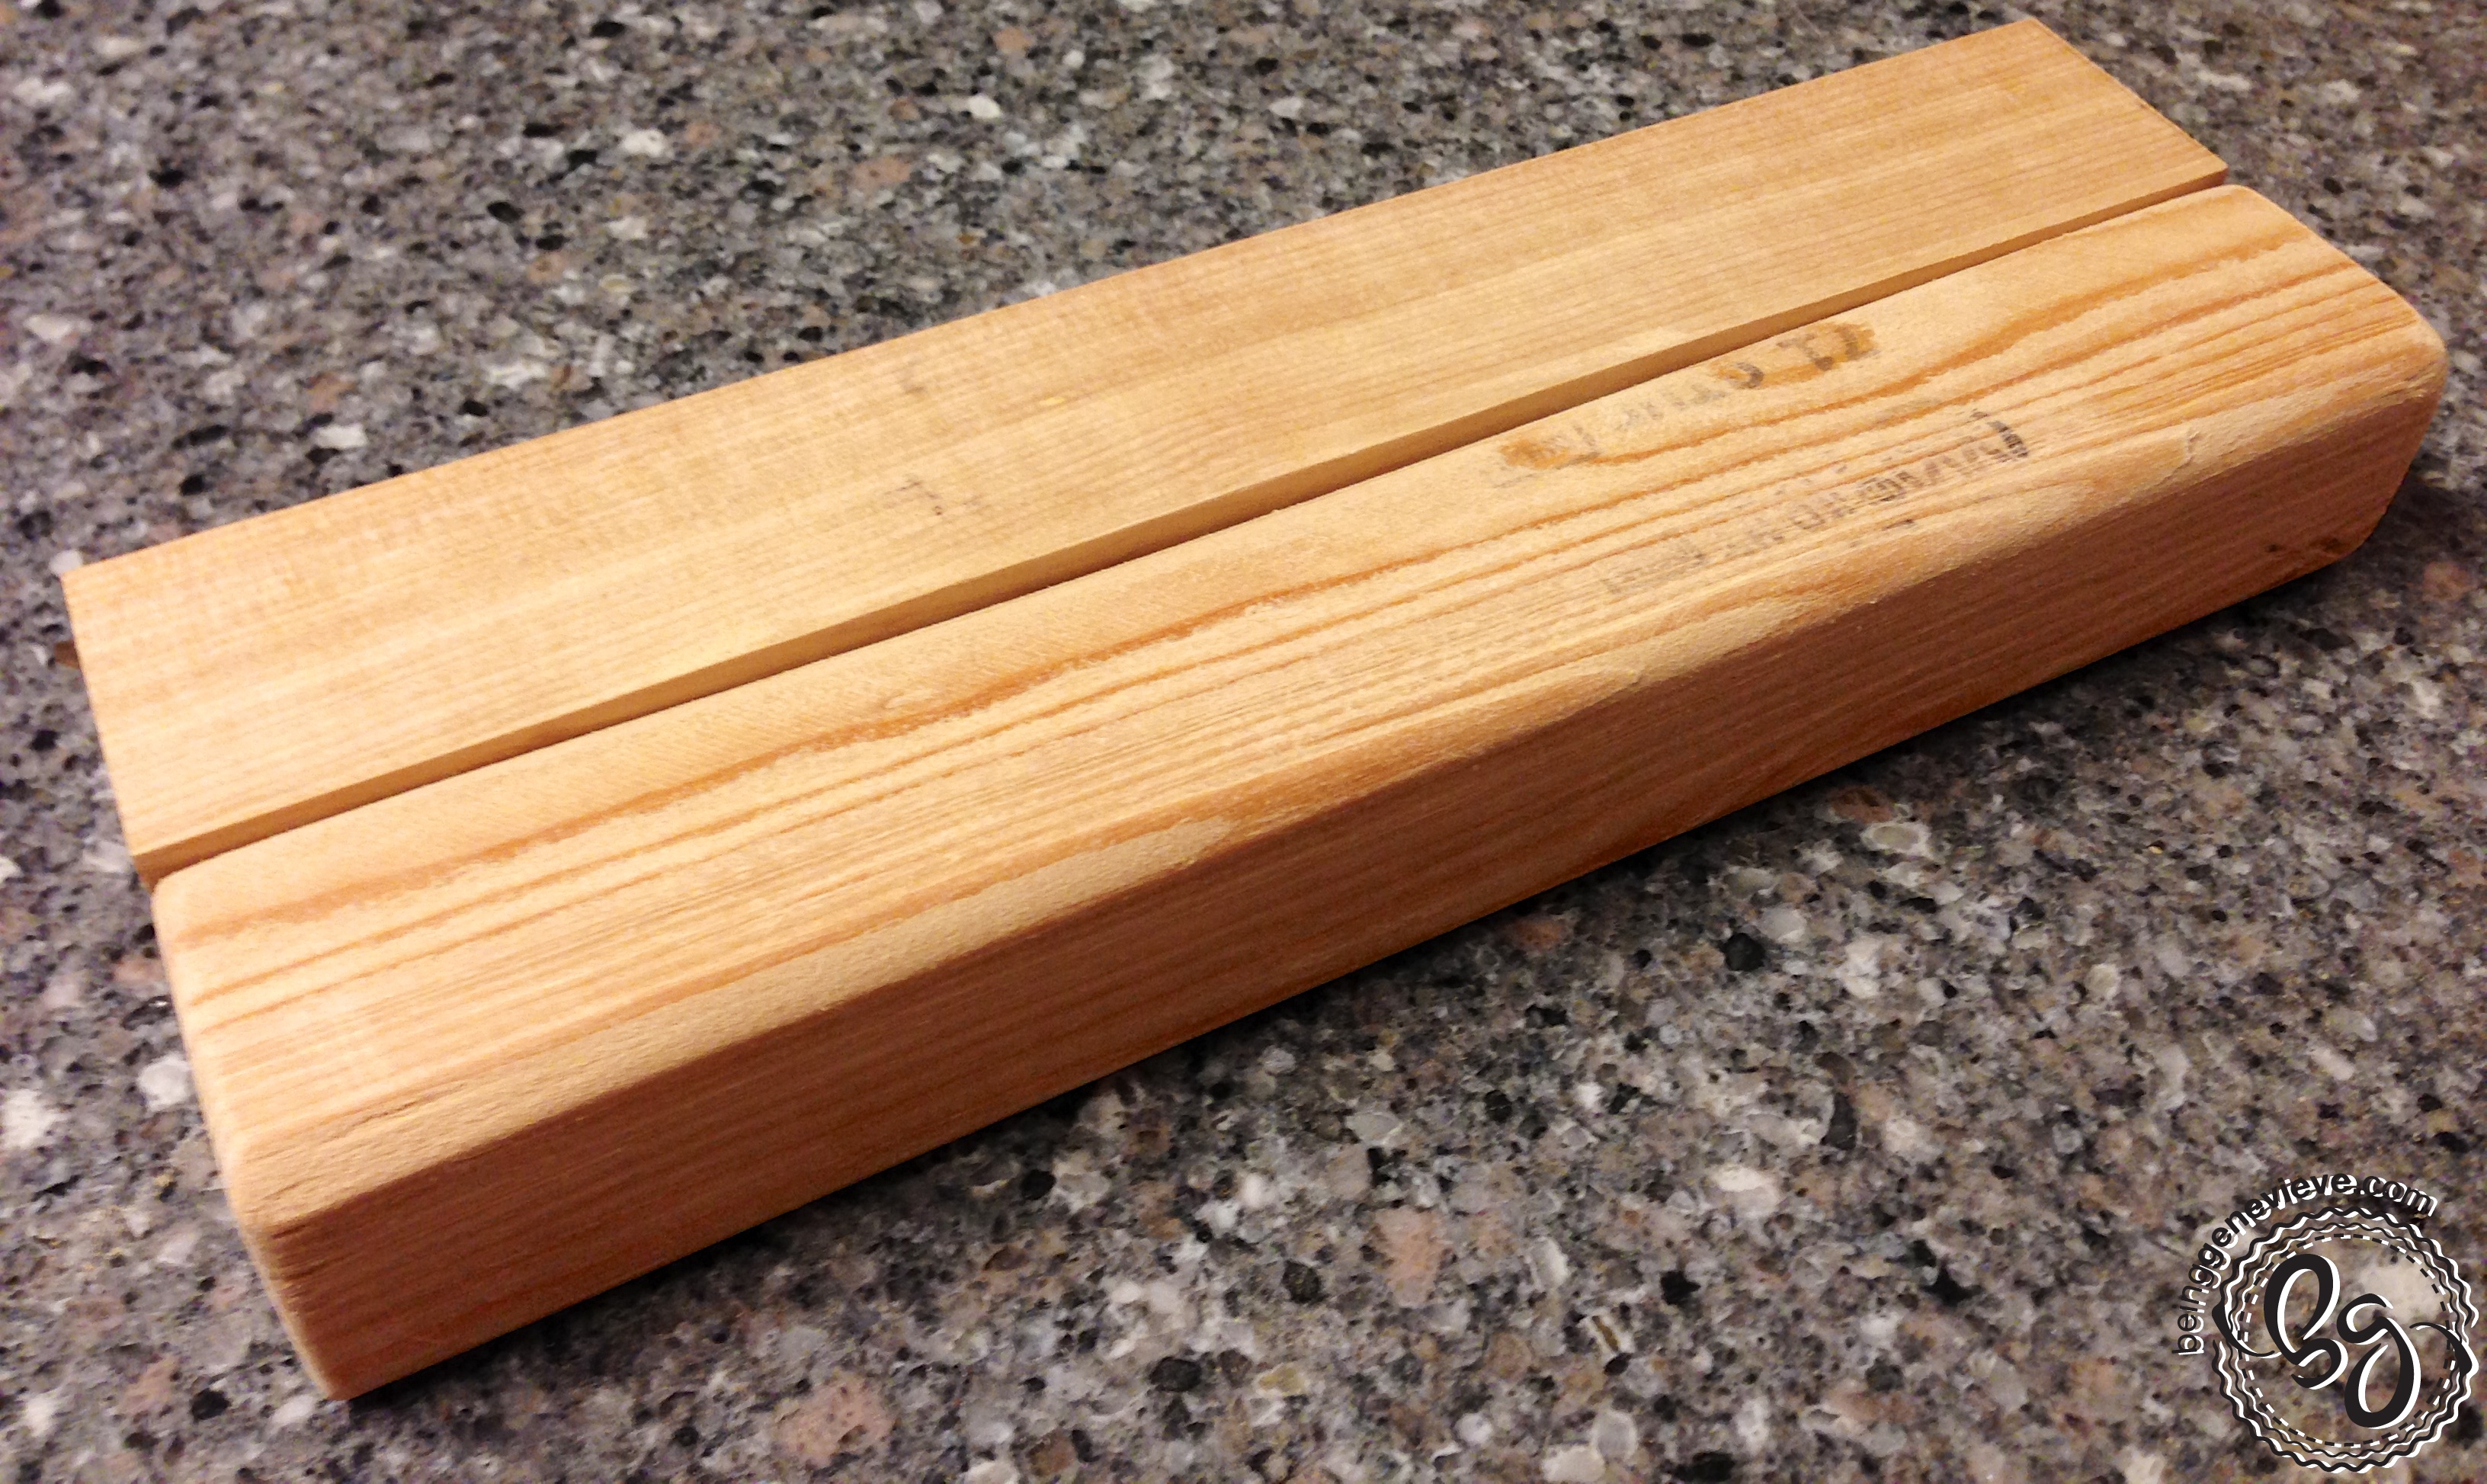
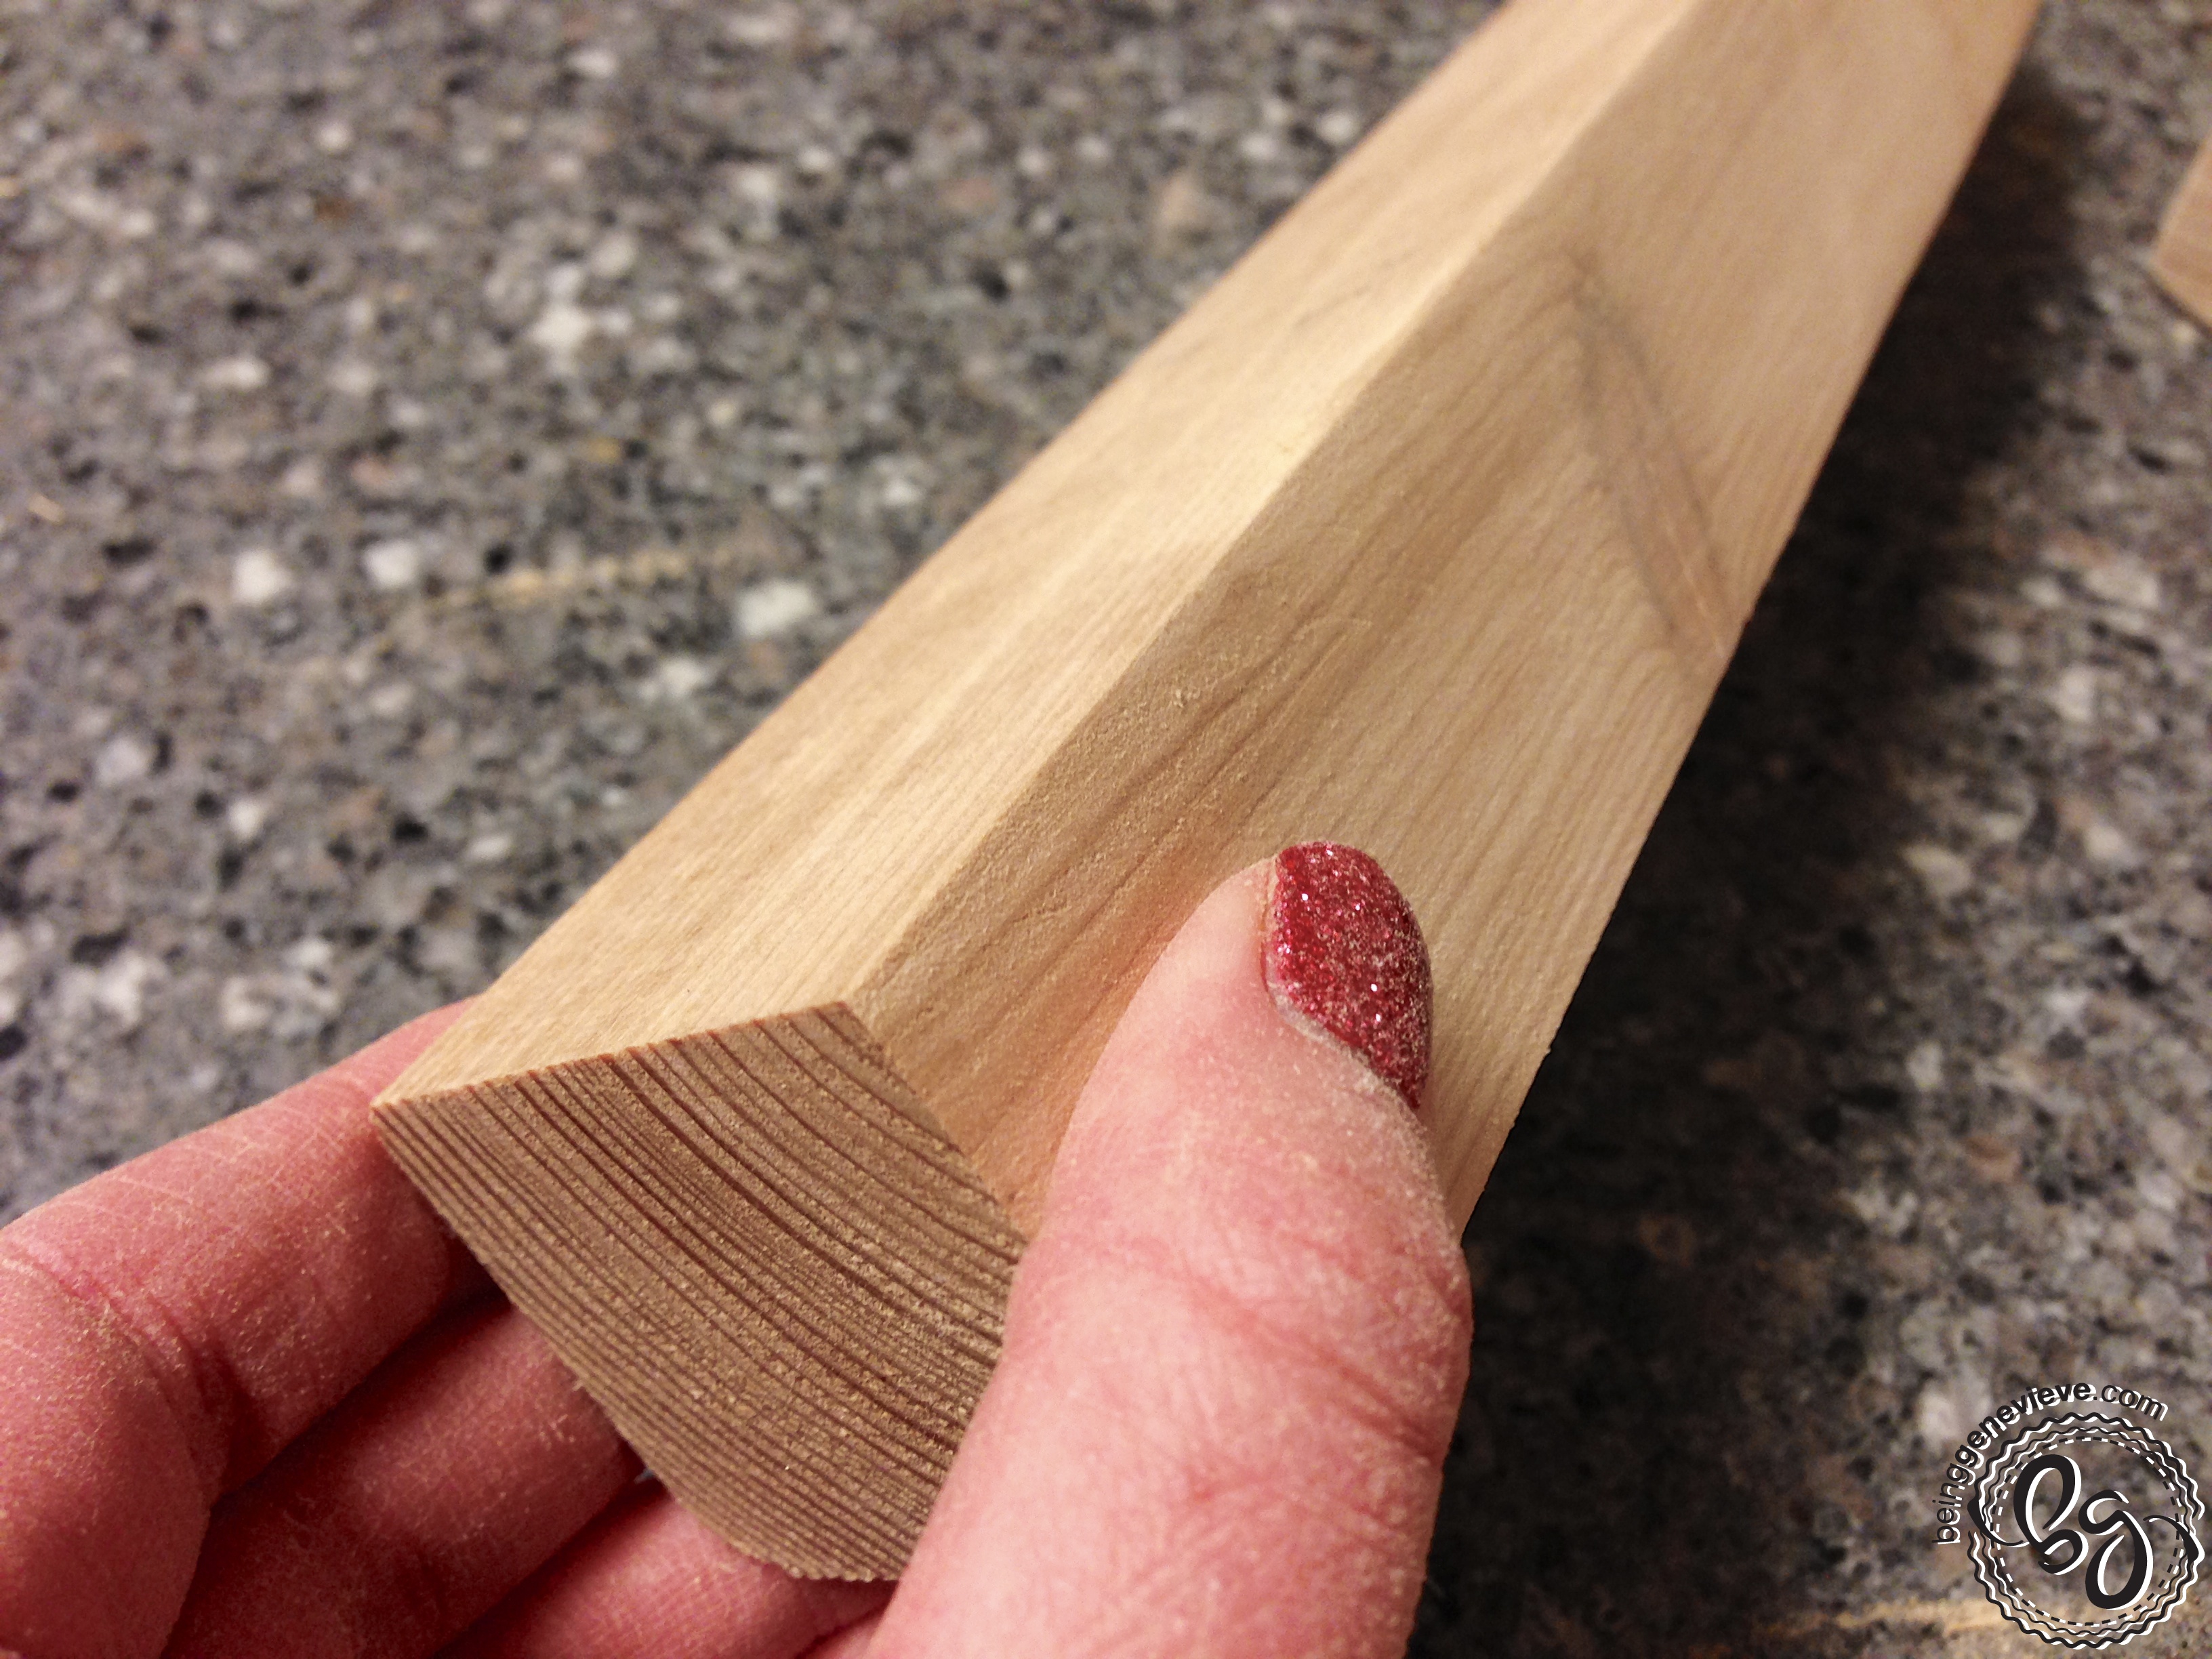
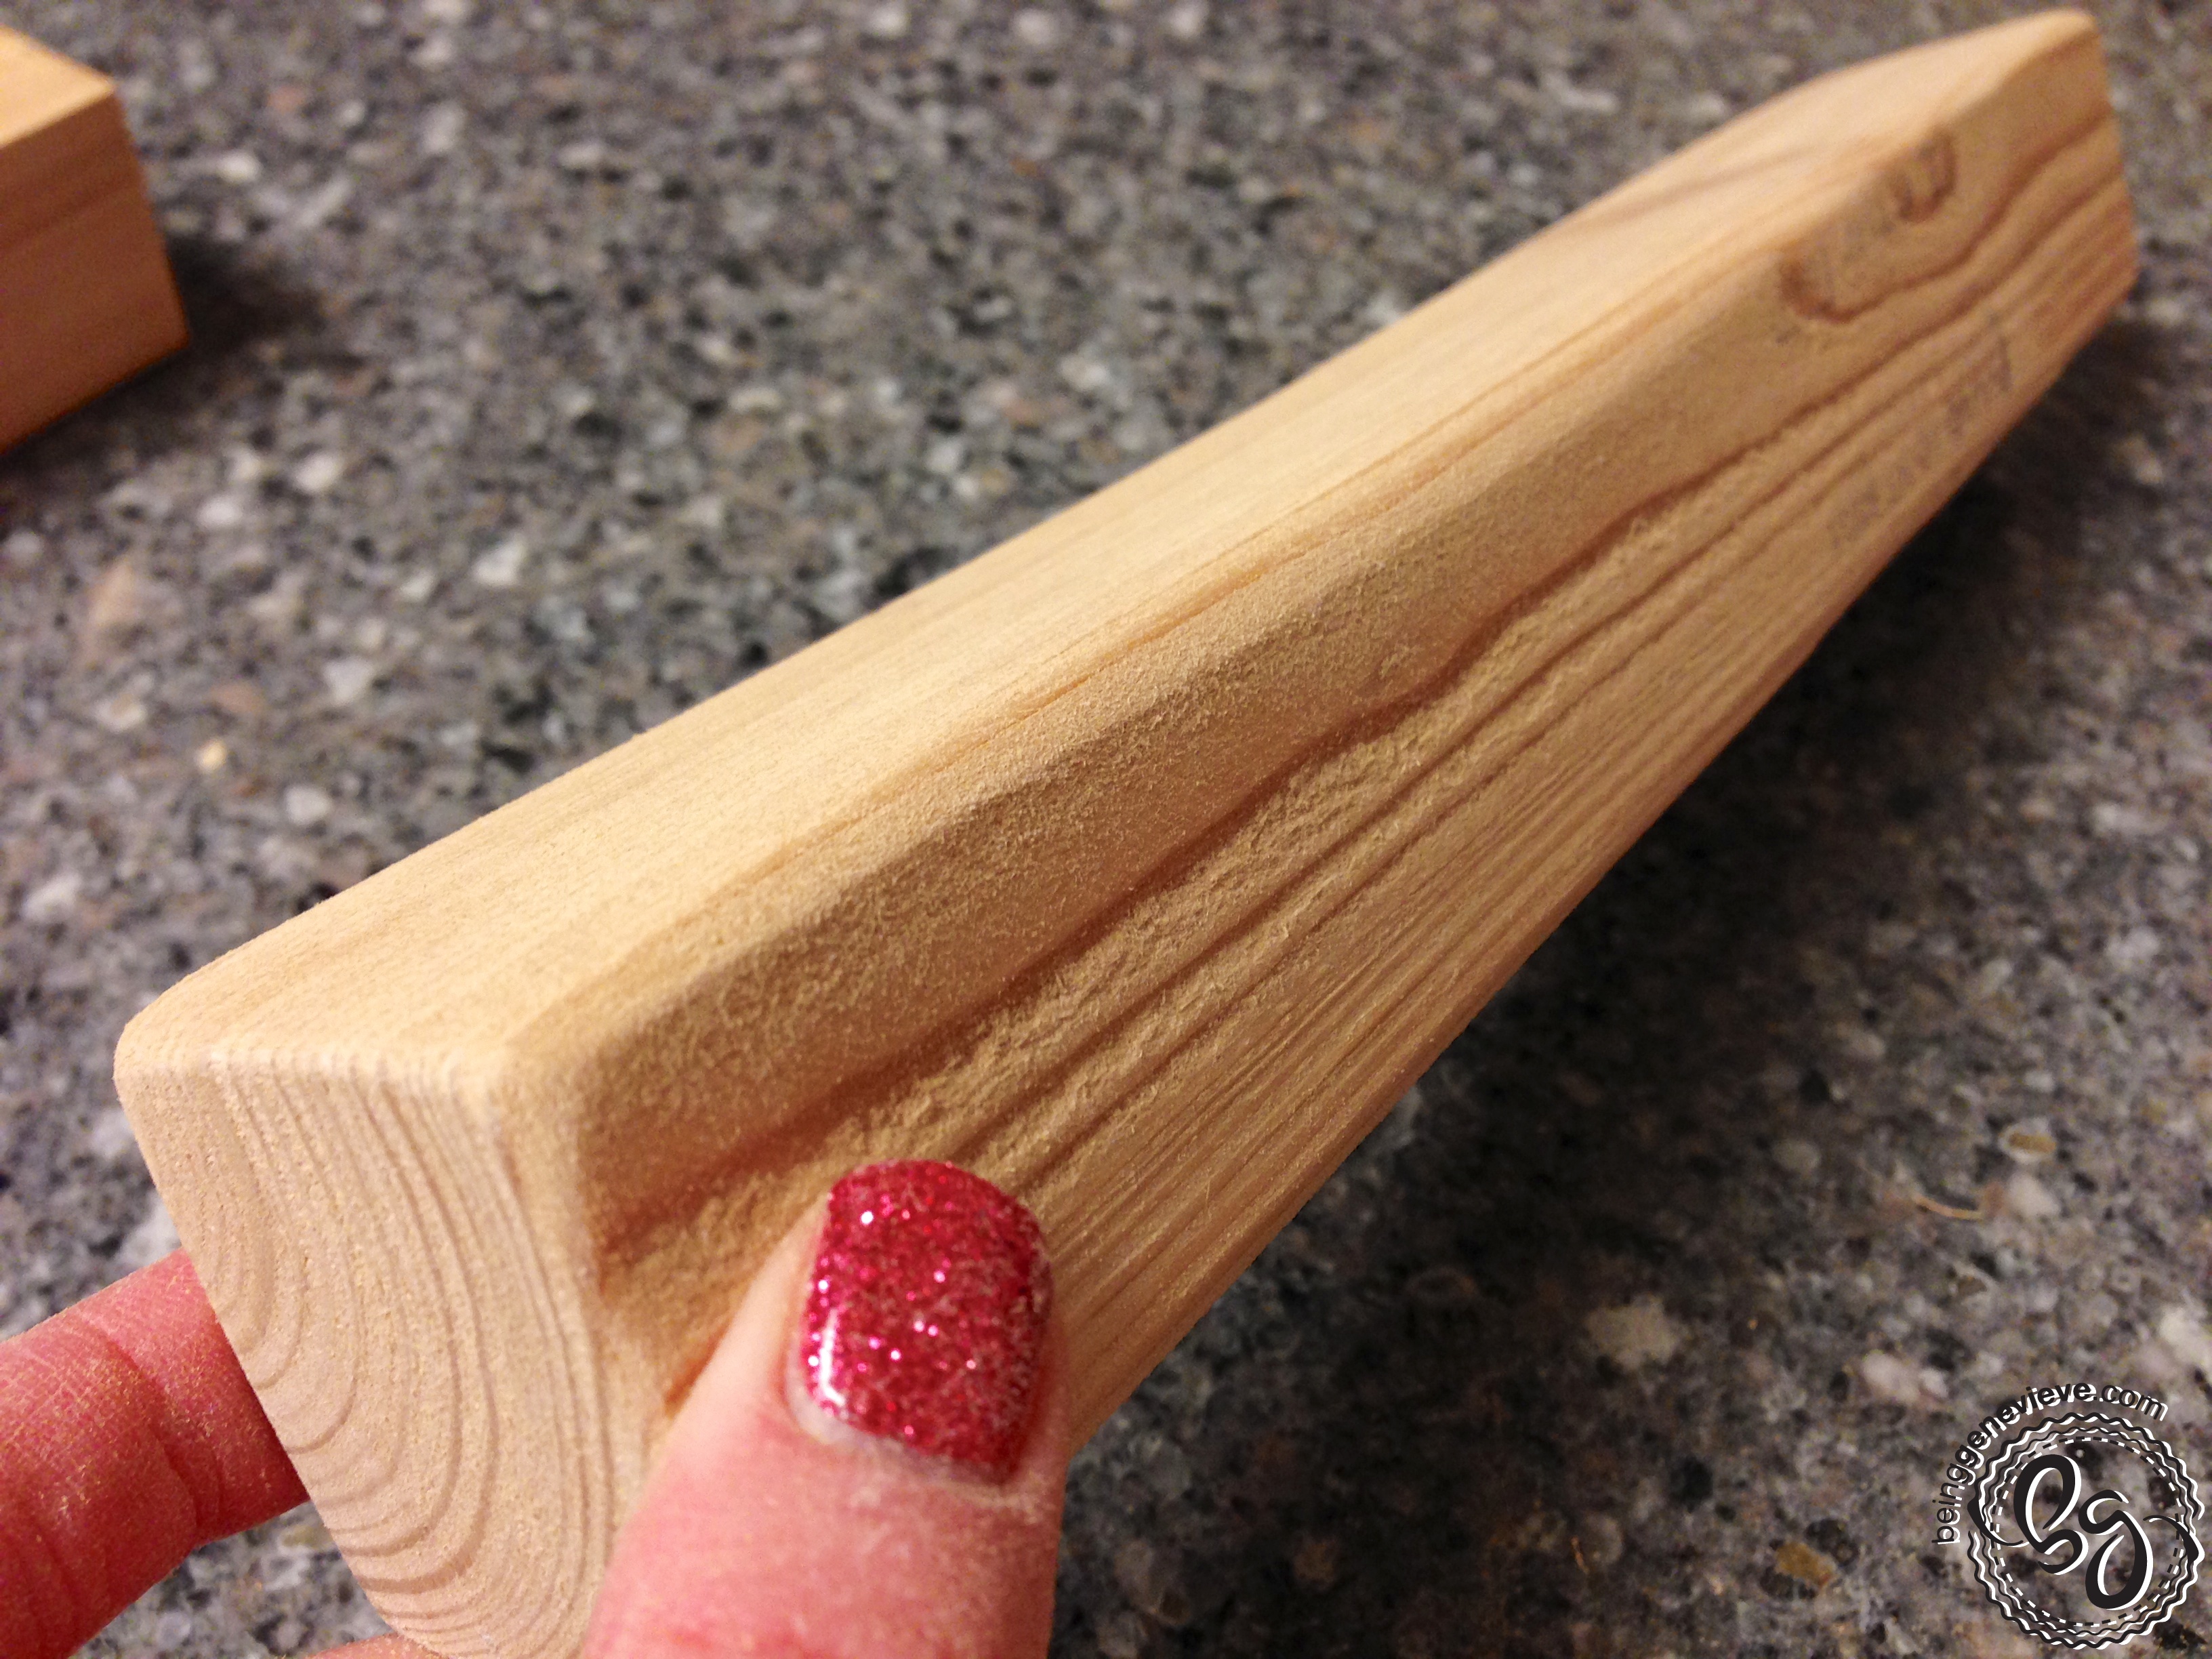
Begin by cutting your 2″ x 4″ (actual measurements are 1-1/5″ x 3-1/2″).
Cut two 6″ pieces. Cut three 4-1/2″. Then cut a 10-1/2″ piece in half down the middle.
Note: If you don’t have a saw you can pay Home Depot to cut the board for you (I think it’s like 20 cents a cut.)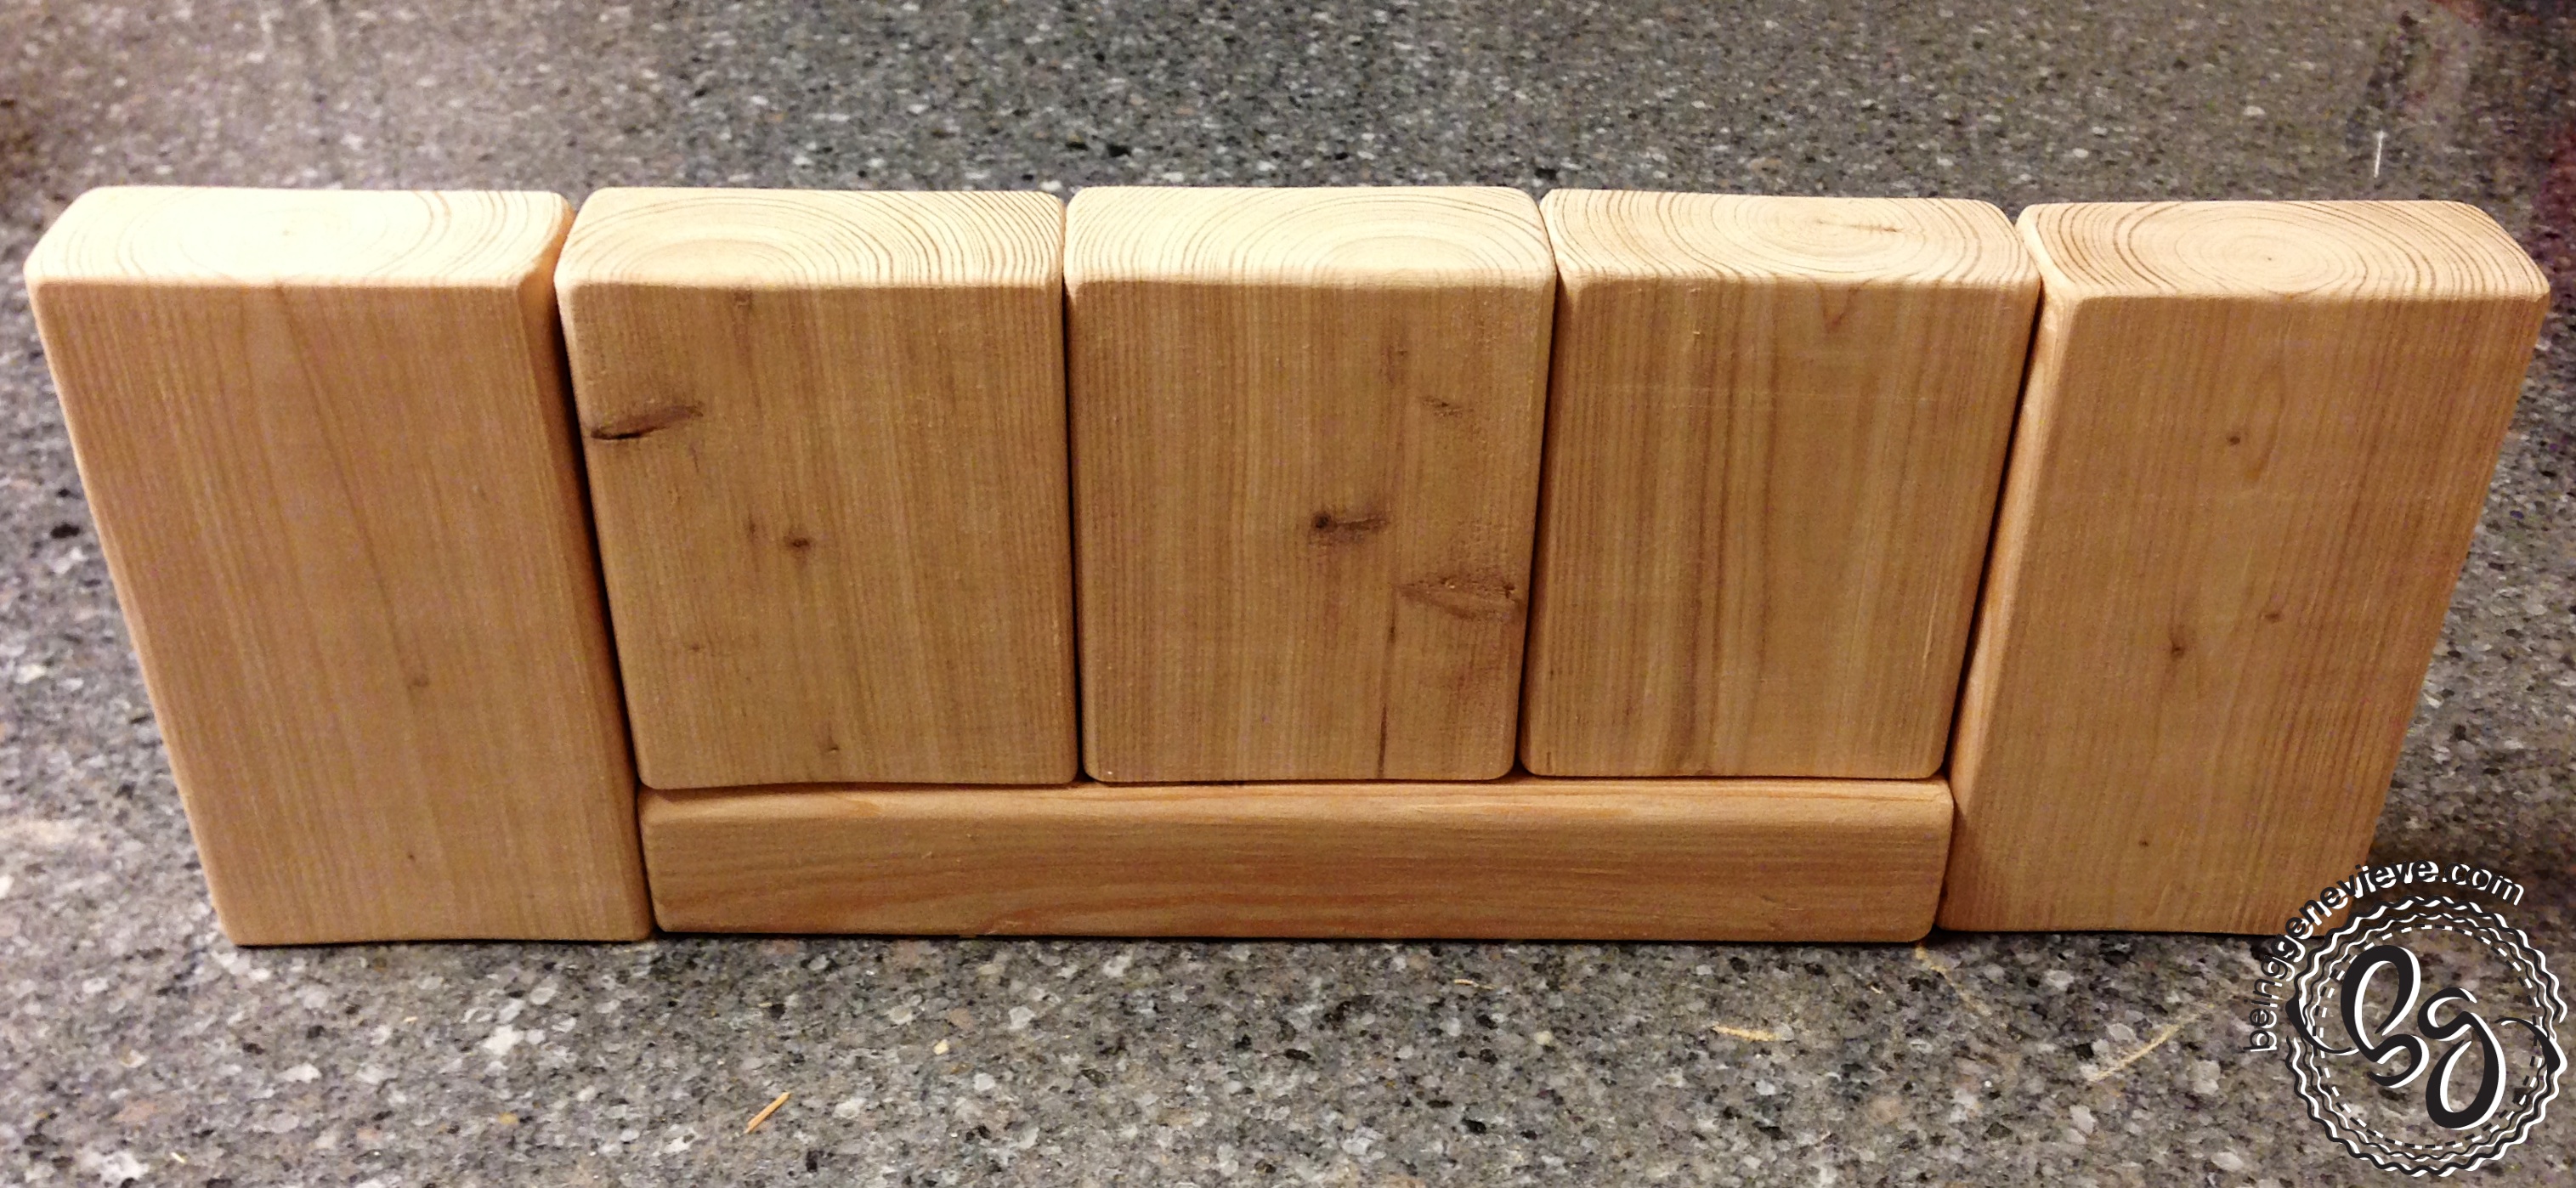
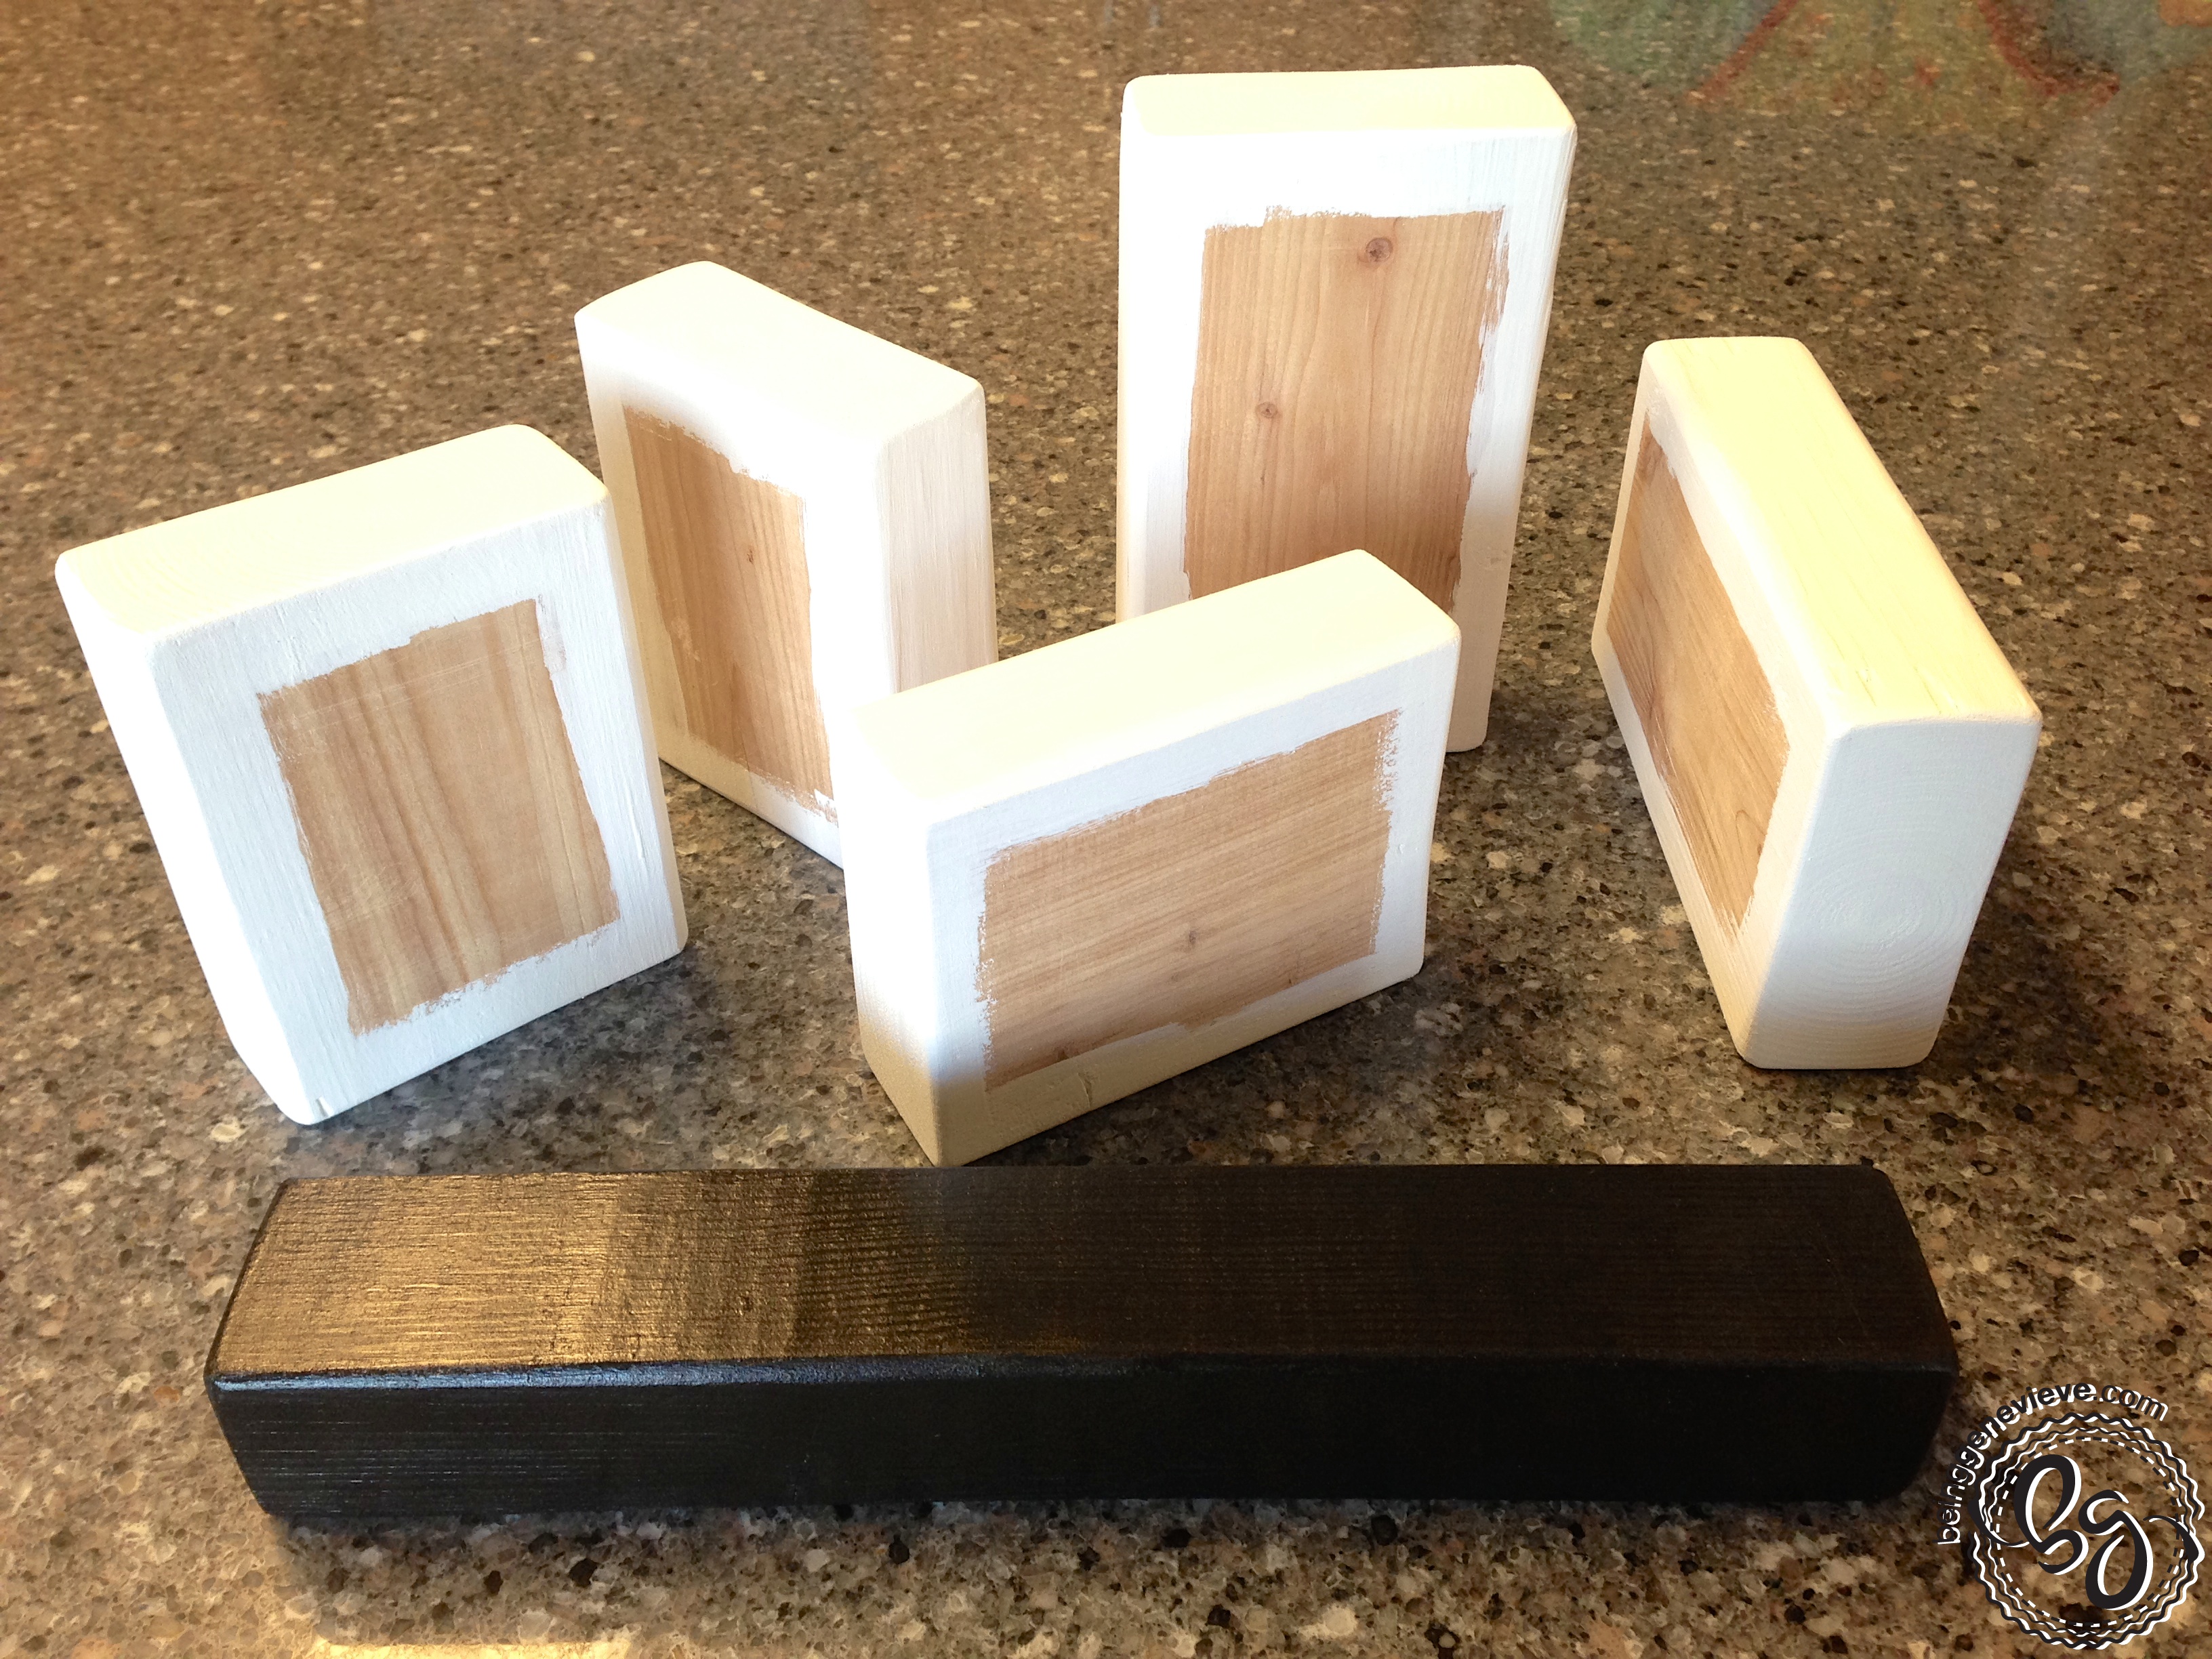
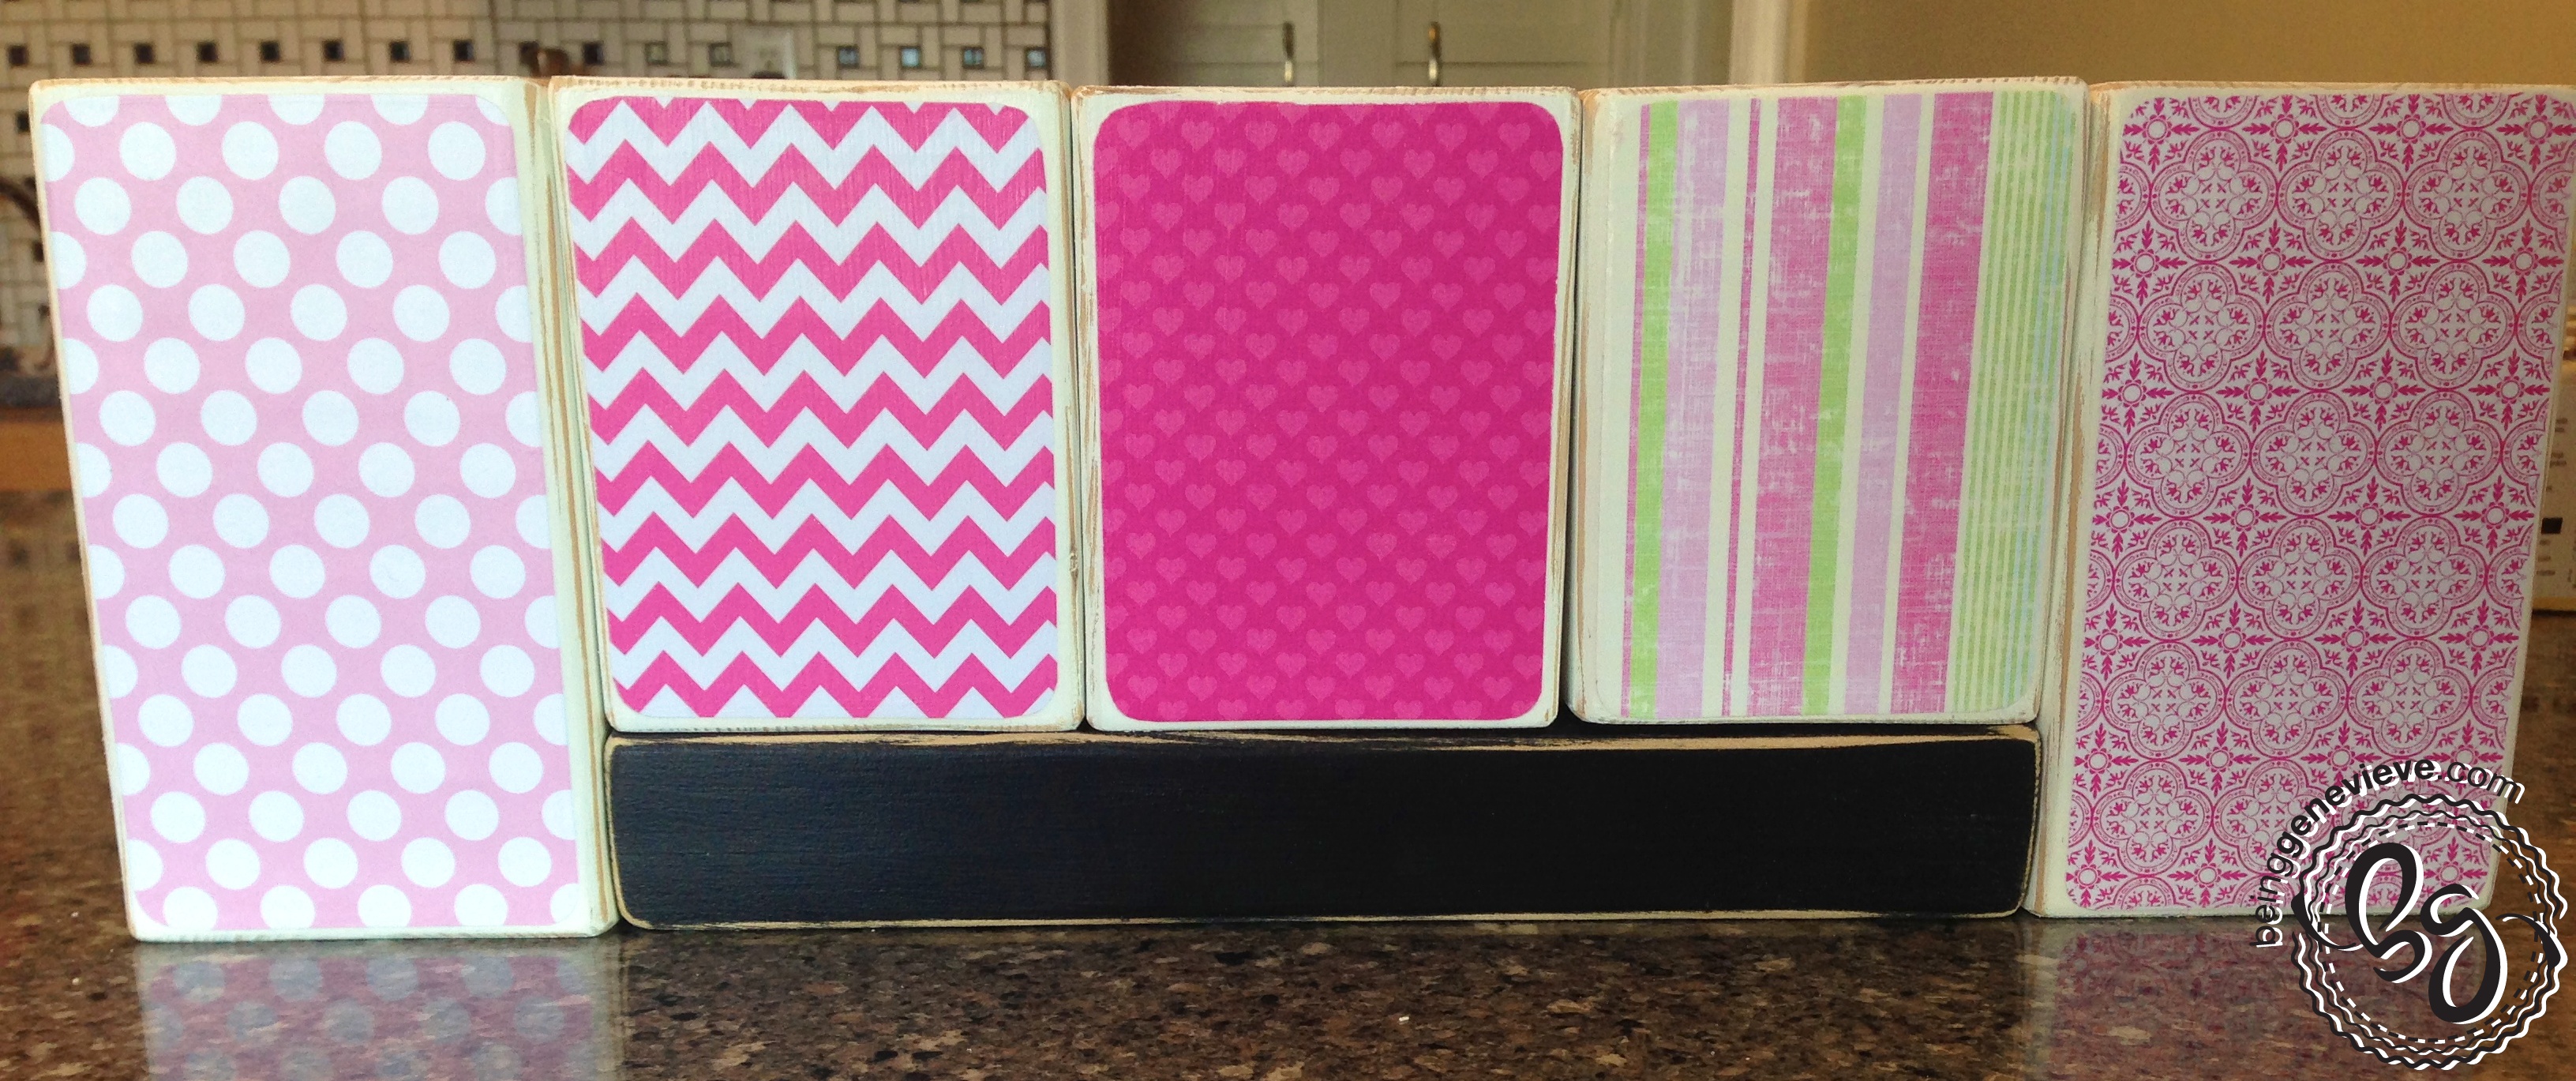
The 6″ block pieces will be cut into 3-1/8″ x 5-3/4″.
The 4-1/2″ block pieces will be cut into 3-1/8″ x 4-1/4″.
After cutting the paper round all the edges.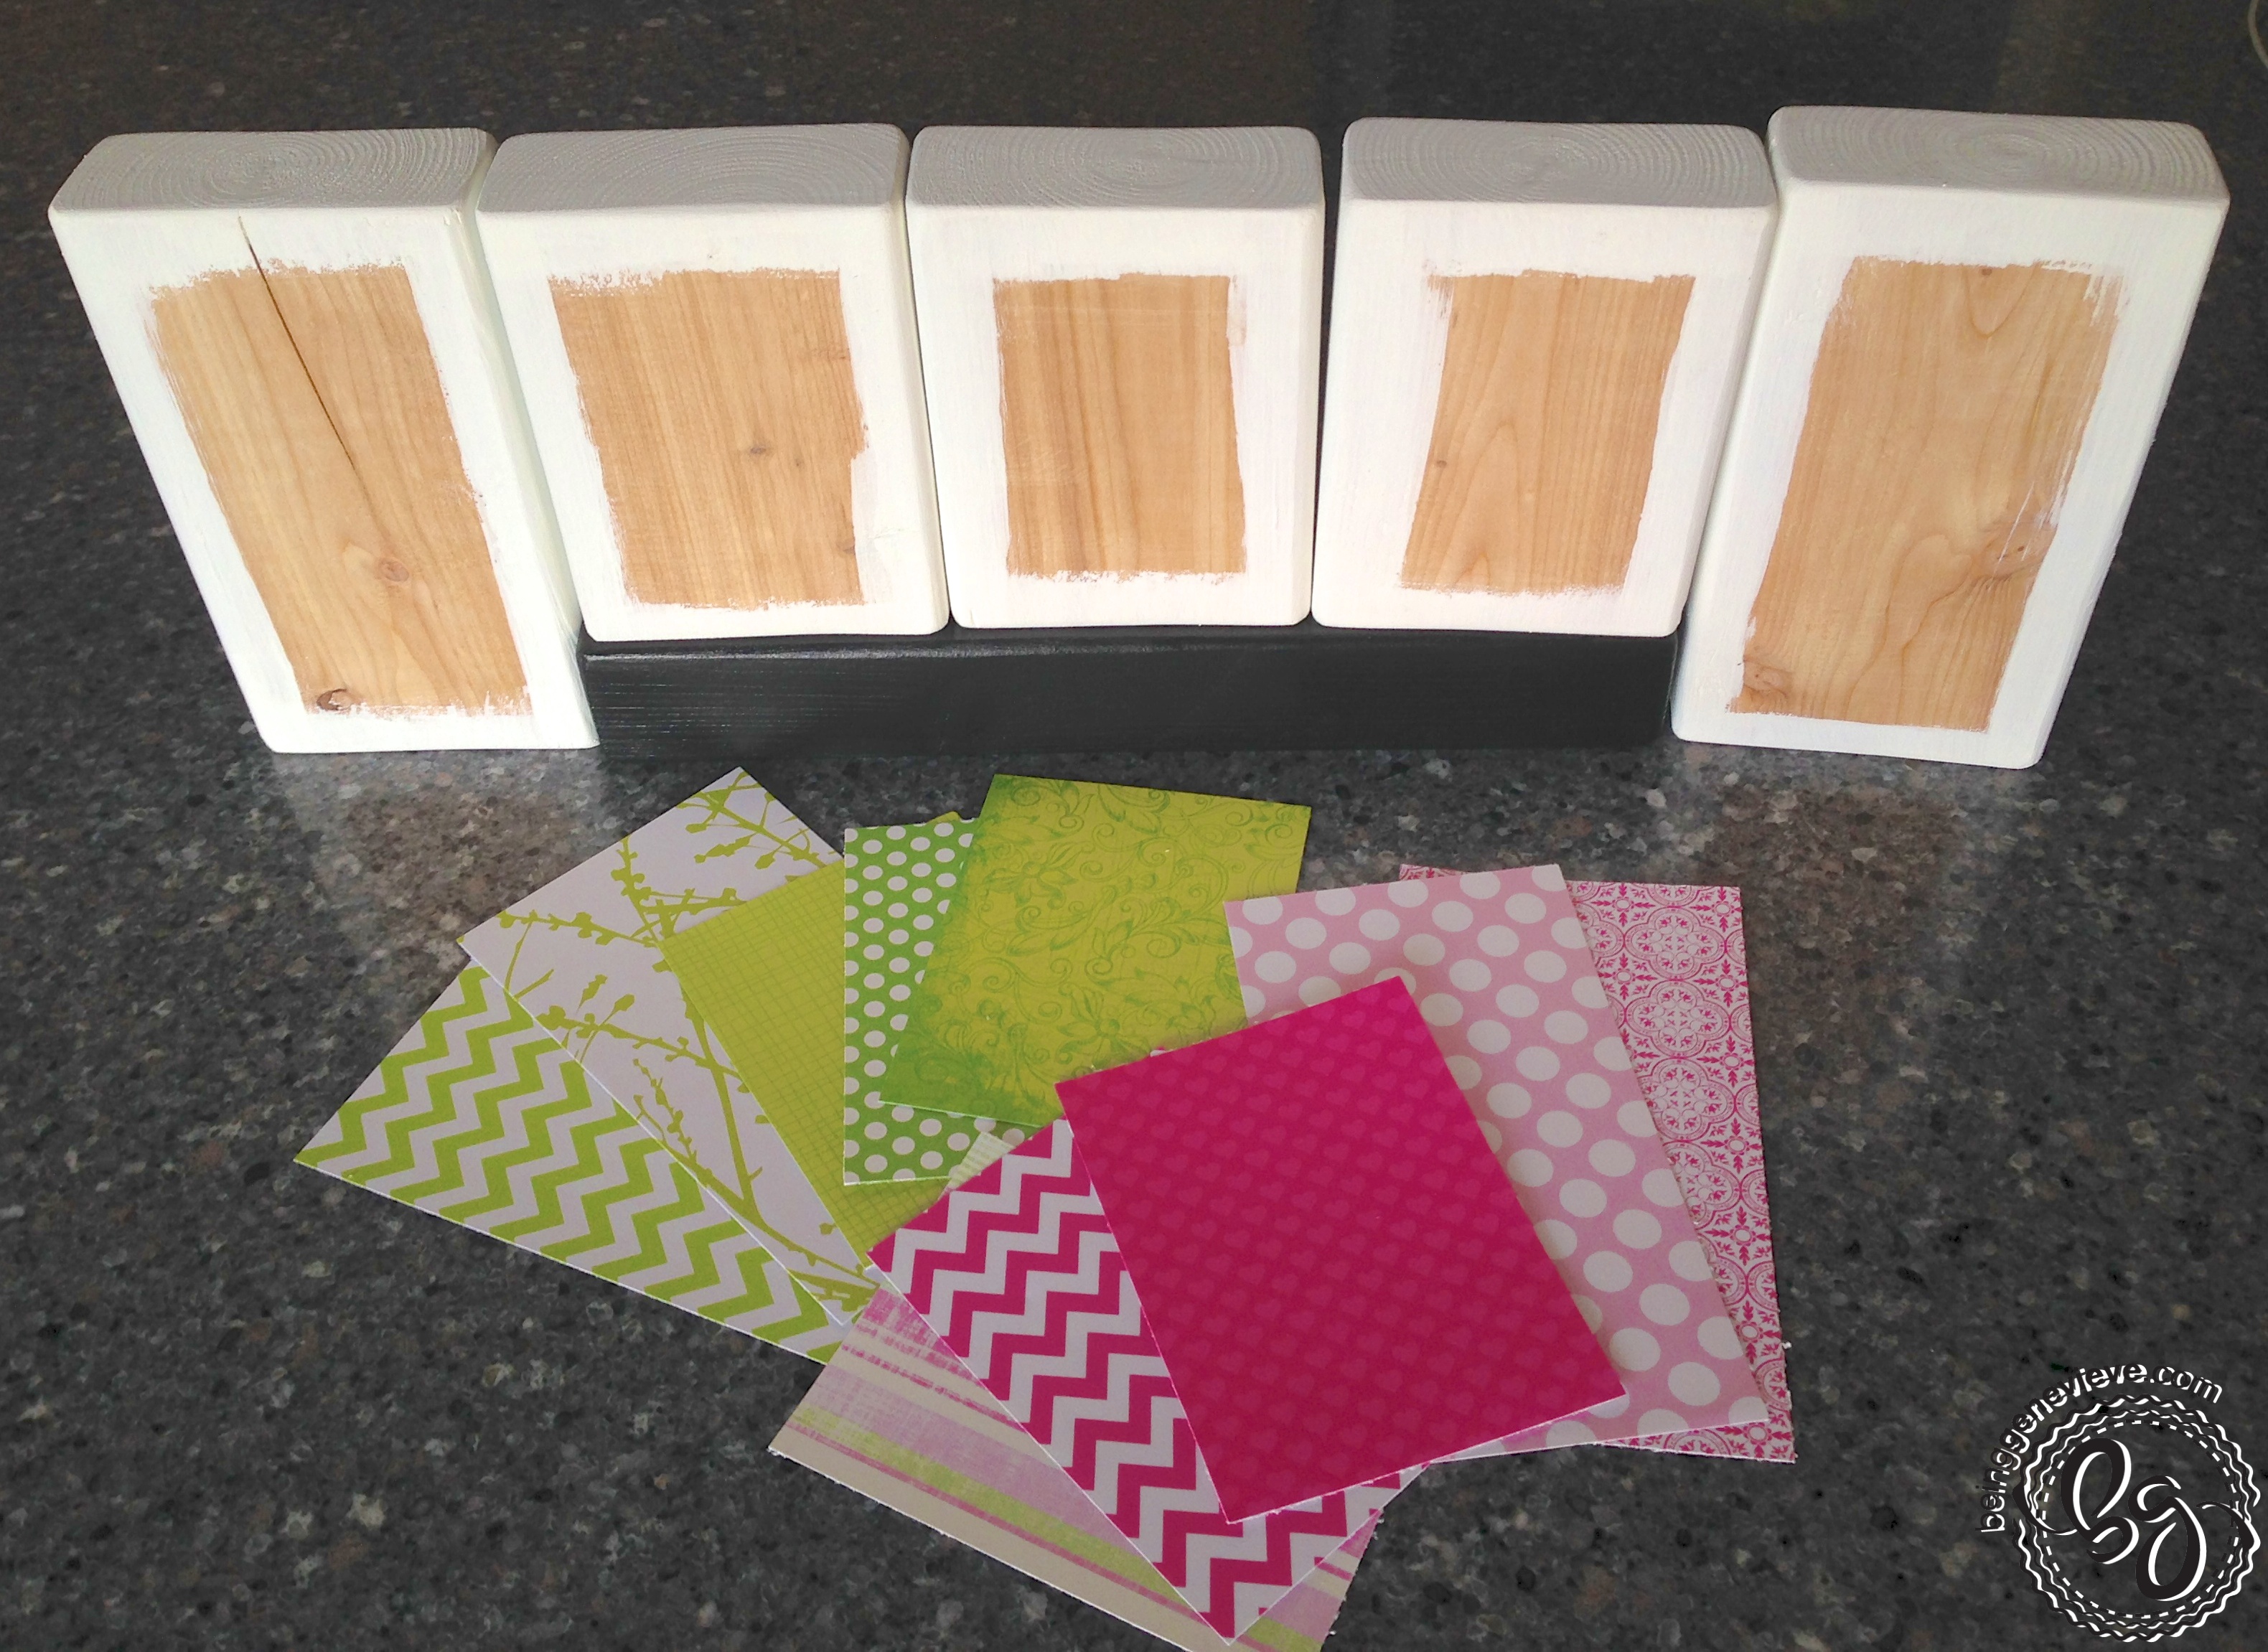

Now you will attach the paper to the blocks with mod podge. Paint a healthy amount onto the board, where the paper will be placed. Press the paper onto the board. I use a spatula (or you can use a credit card) to remove all air bubbles. This is done by pressing firmly from the center out to the edges. The excess mod podge will be squeezed out near the edges. Note: Make sure your credit card is clean or it will leave black lines on your paper.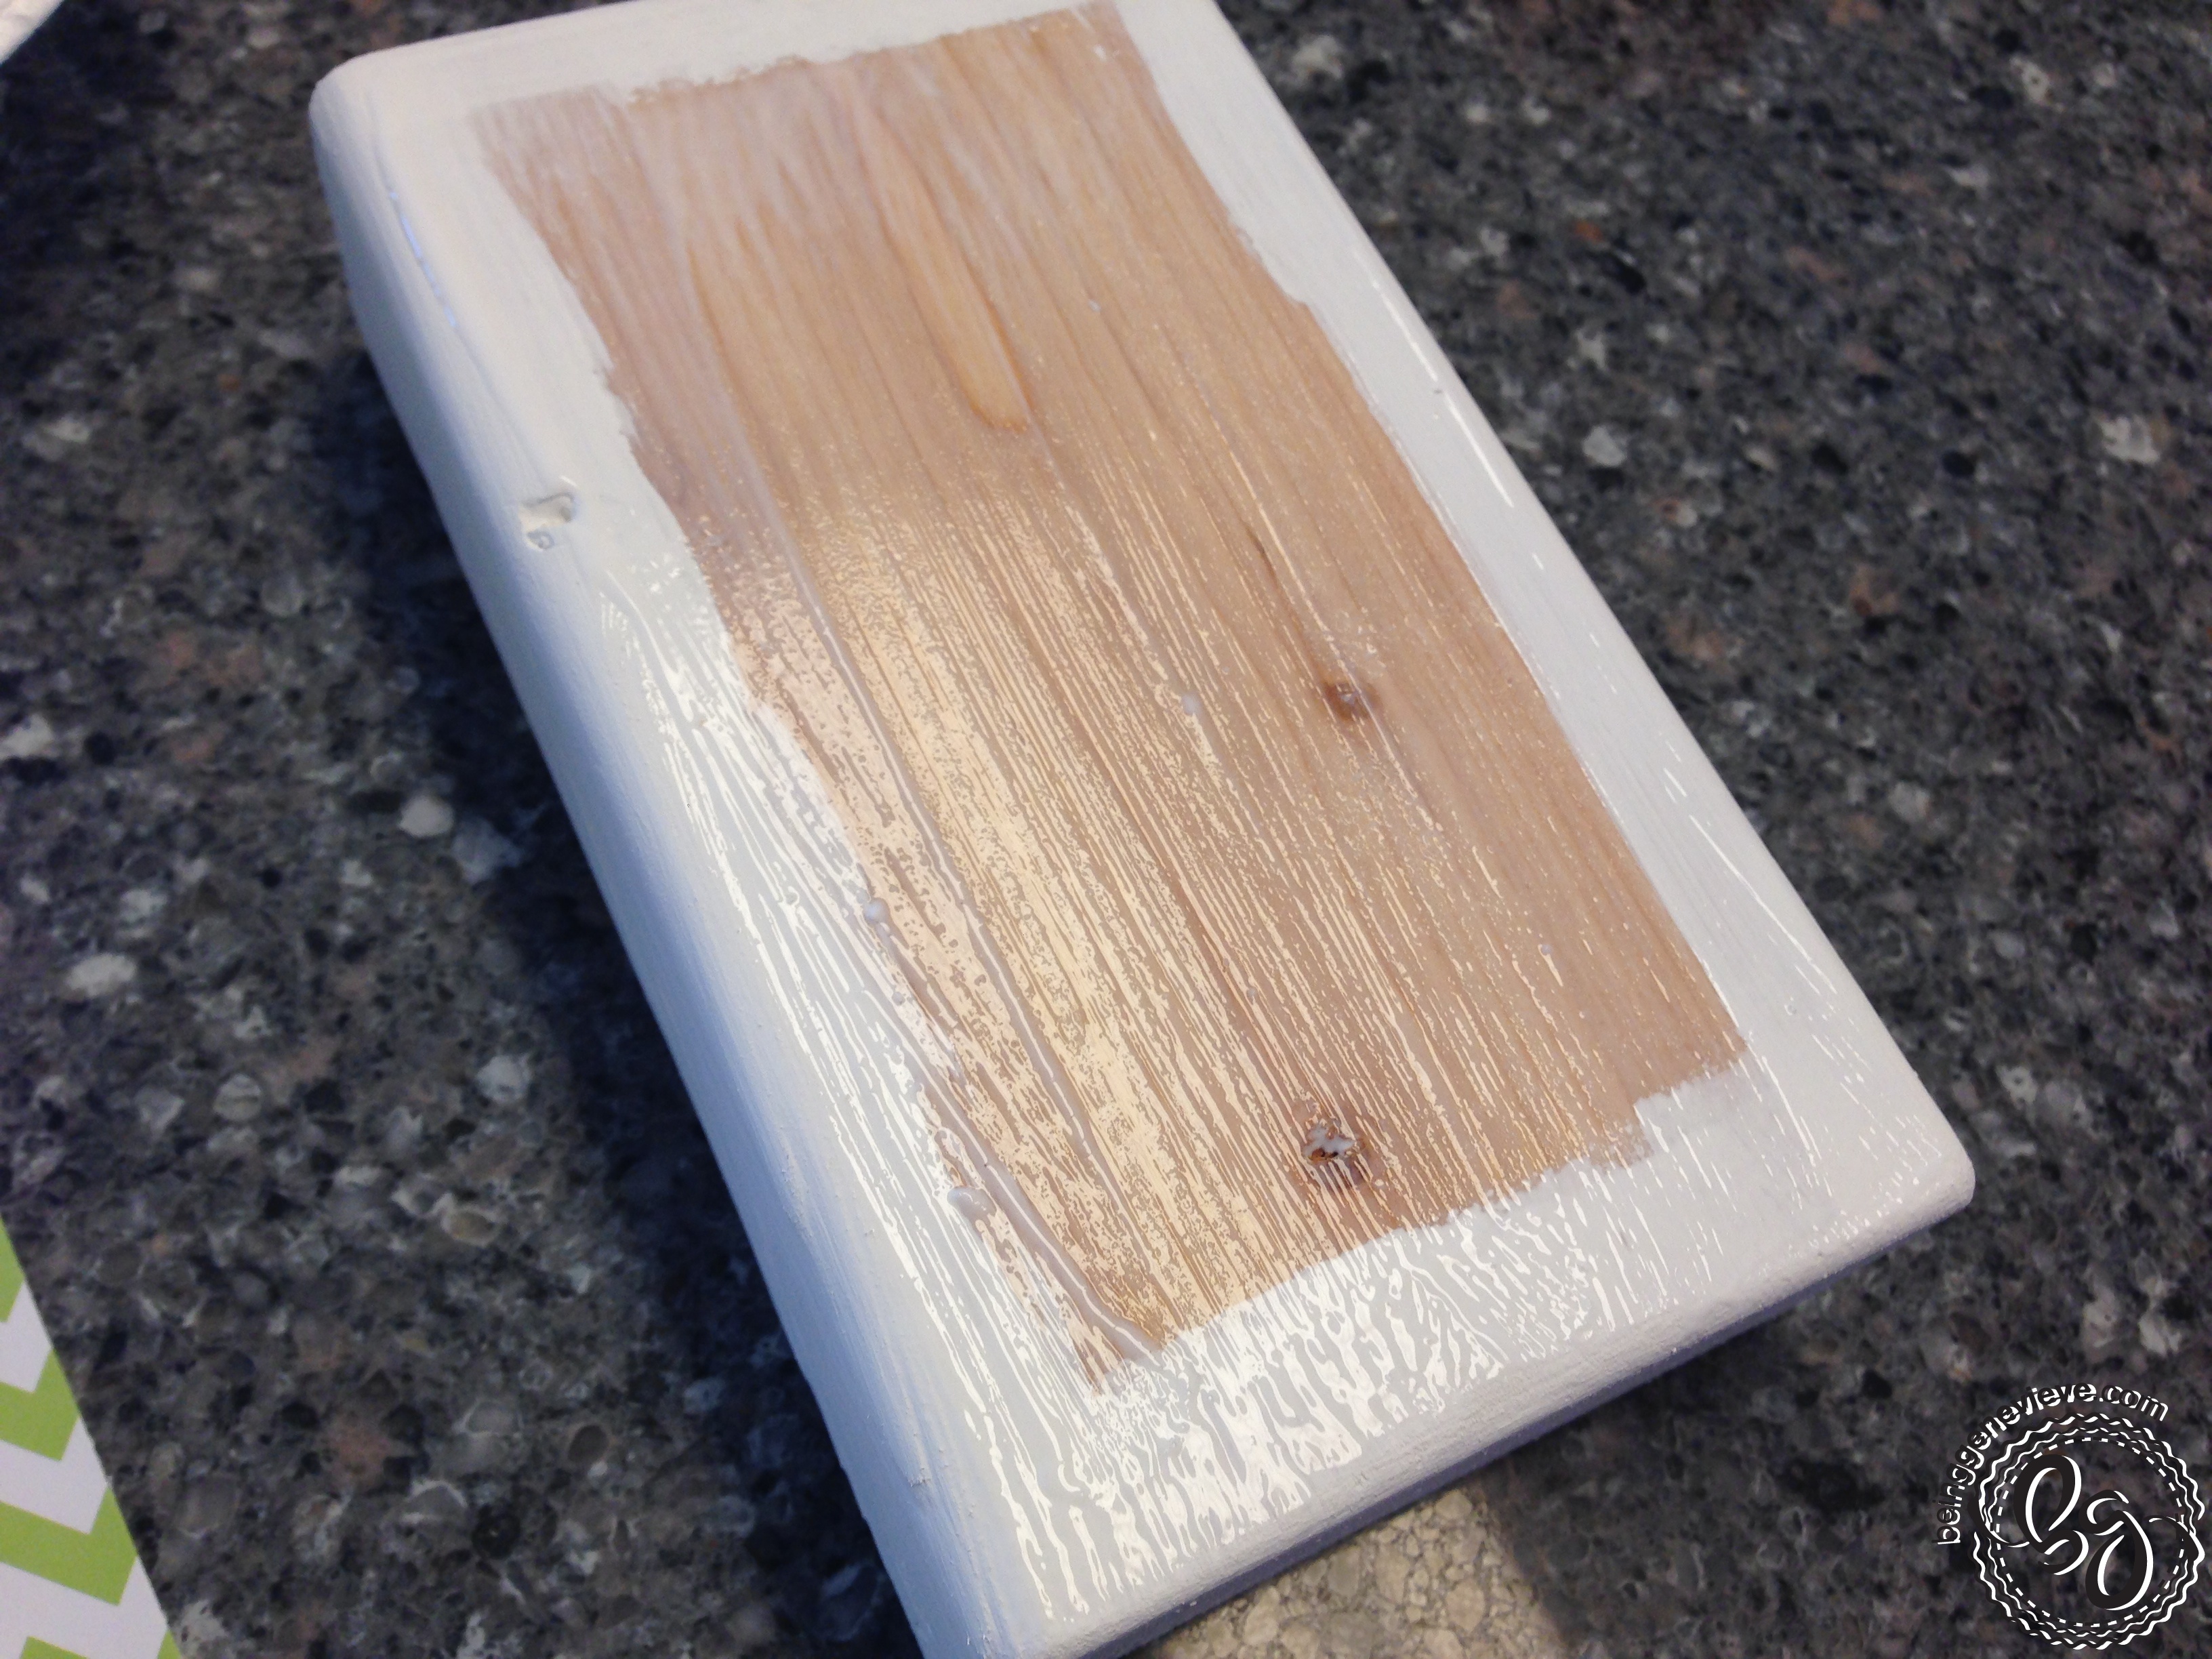
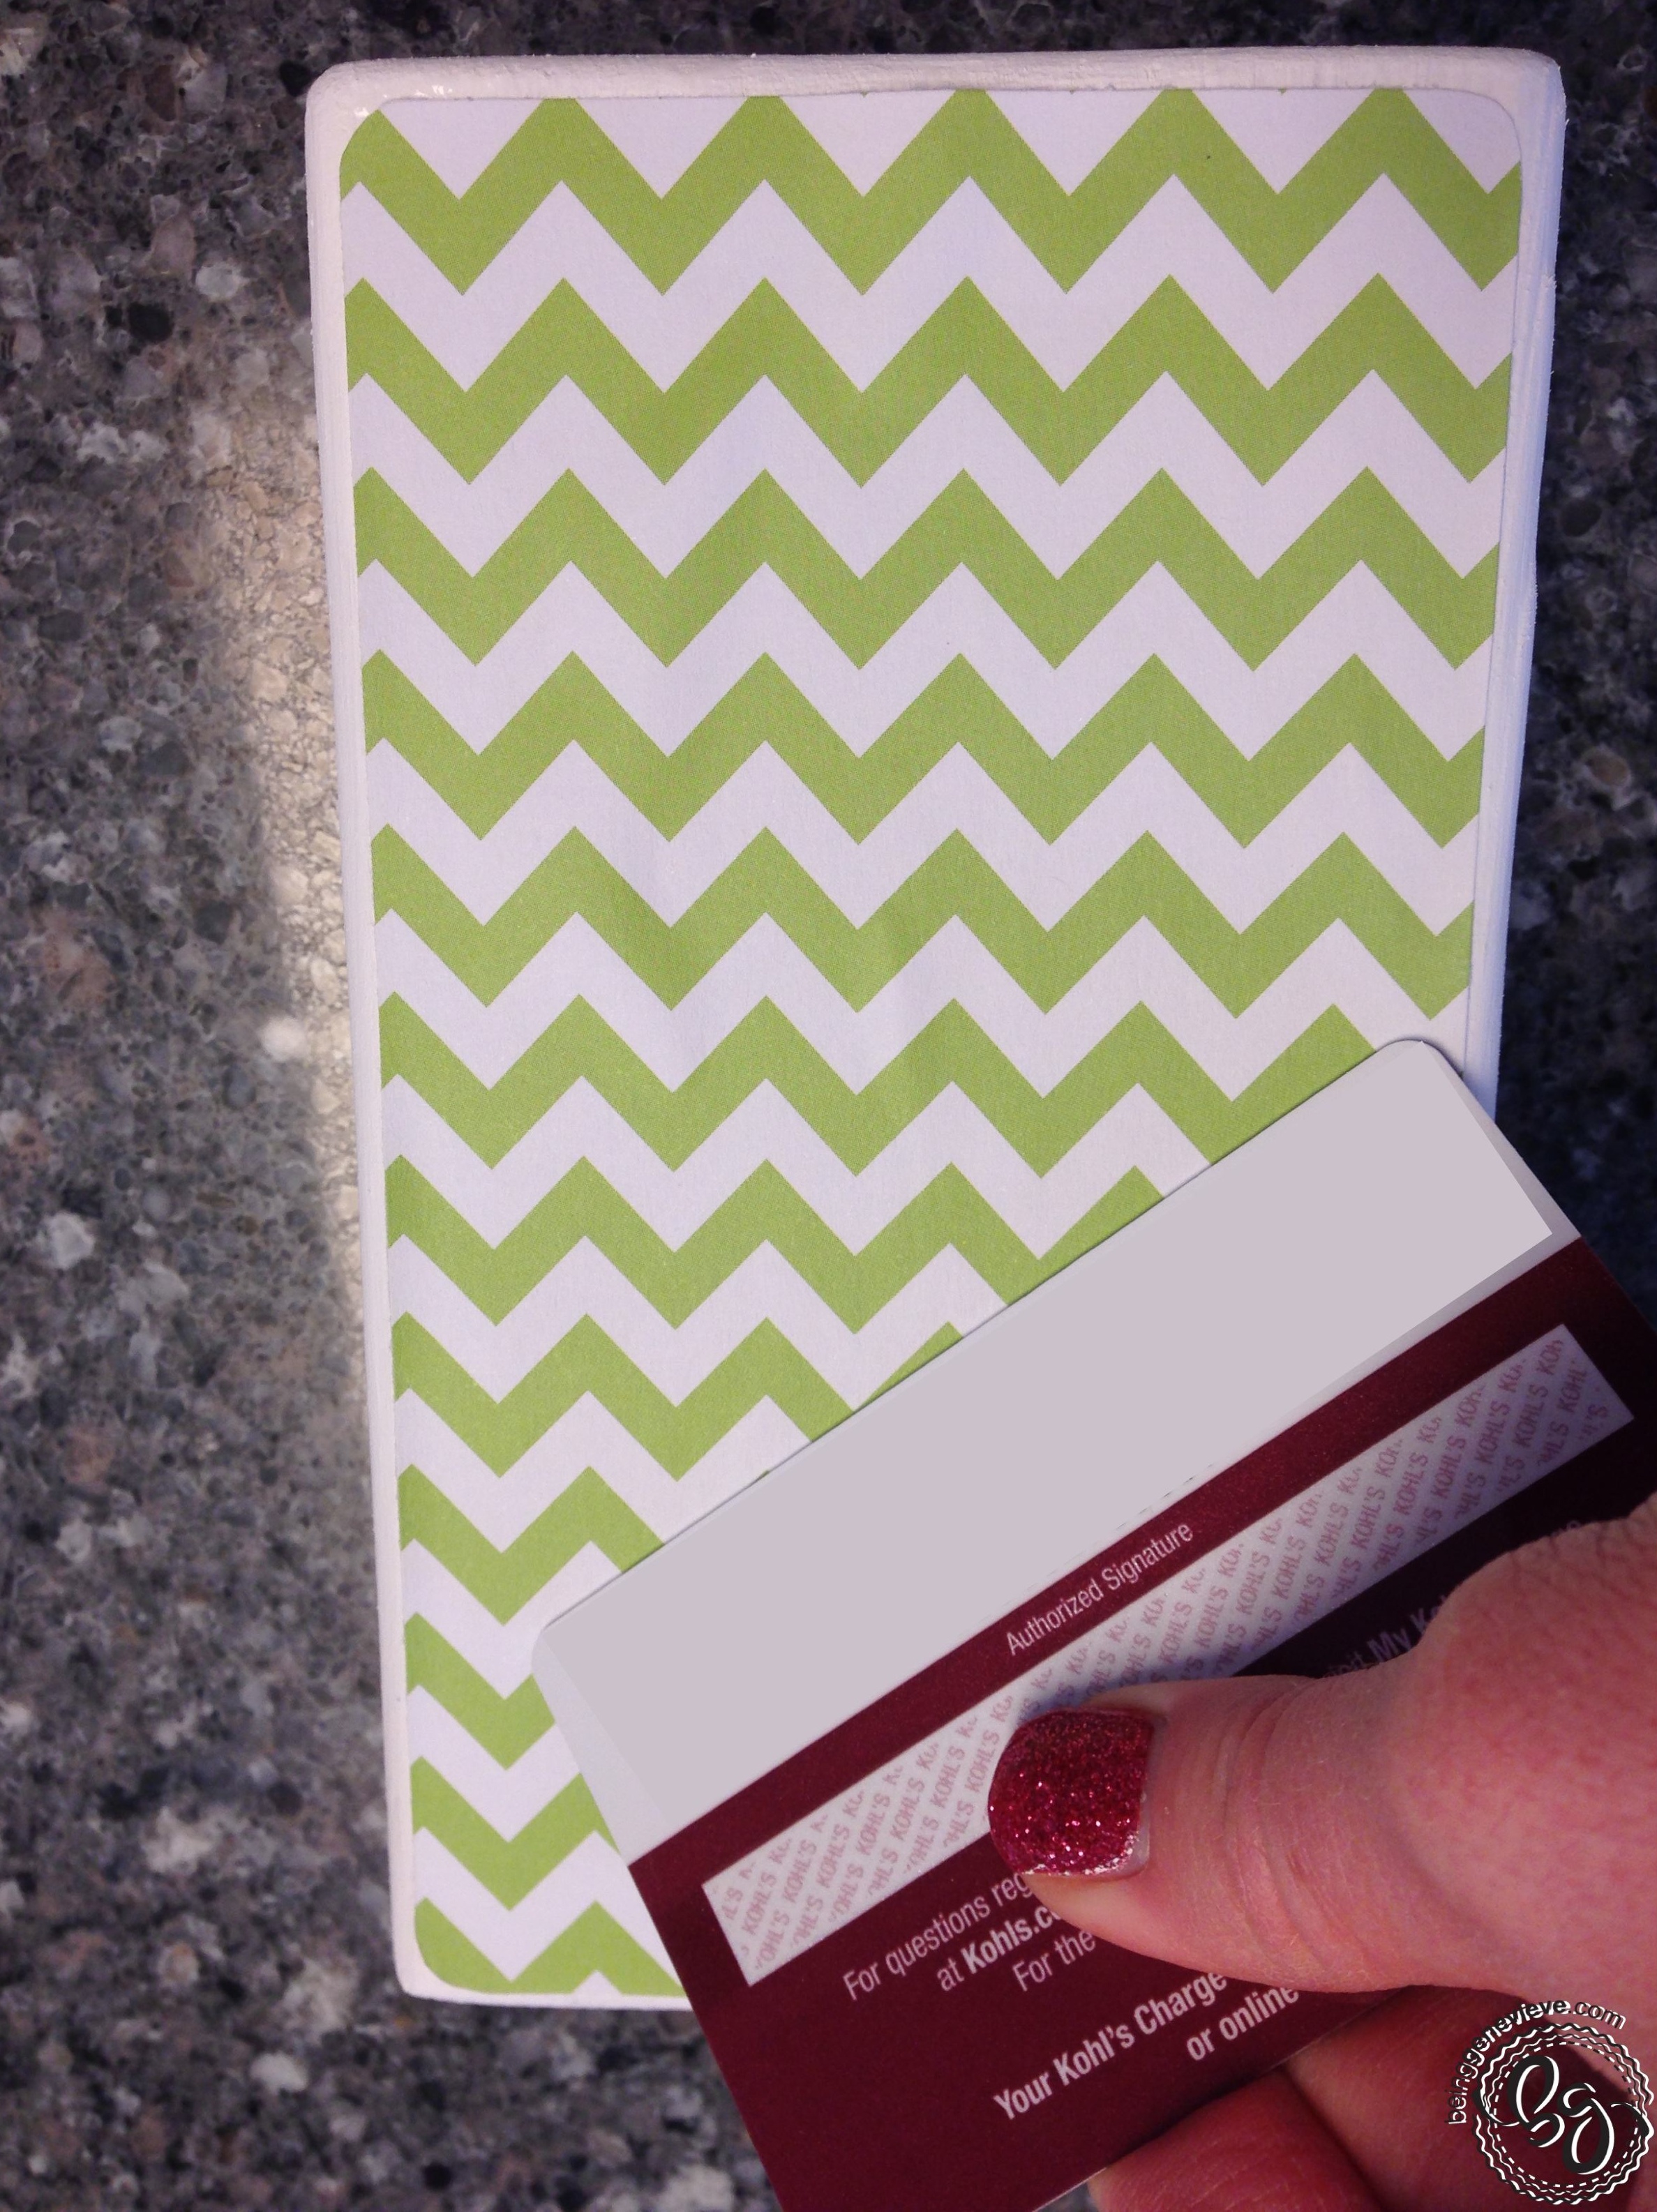

Credit card marks
Once you have squished all the excess mod podge out from under the paper, use your finger to smear/seal the edges of the paper down. If you have an area where no mod podge was released just add a little and use your finger to seal down the paper.

Once you have attached the paper let the mod podge dry/set for about 10 minutes before adding some on the top of the paper and the rest of the block. Note: If you don’t allow the underneath layer to dry/set a little you will get bubbling when you apply the top layer.


Bubbling from not allowing bottom layer to set.
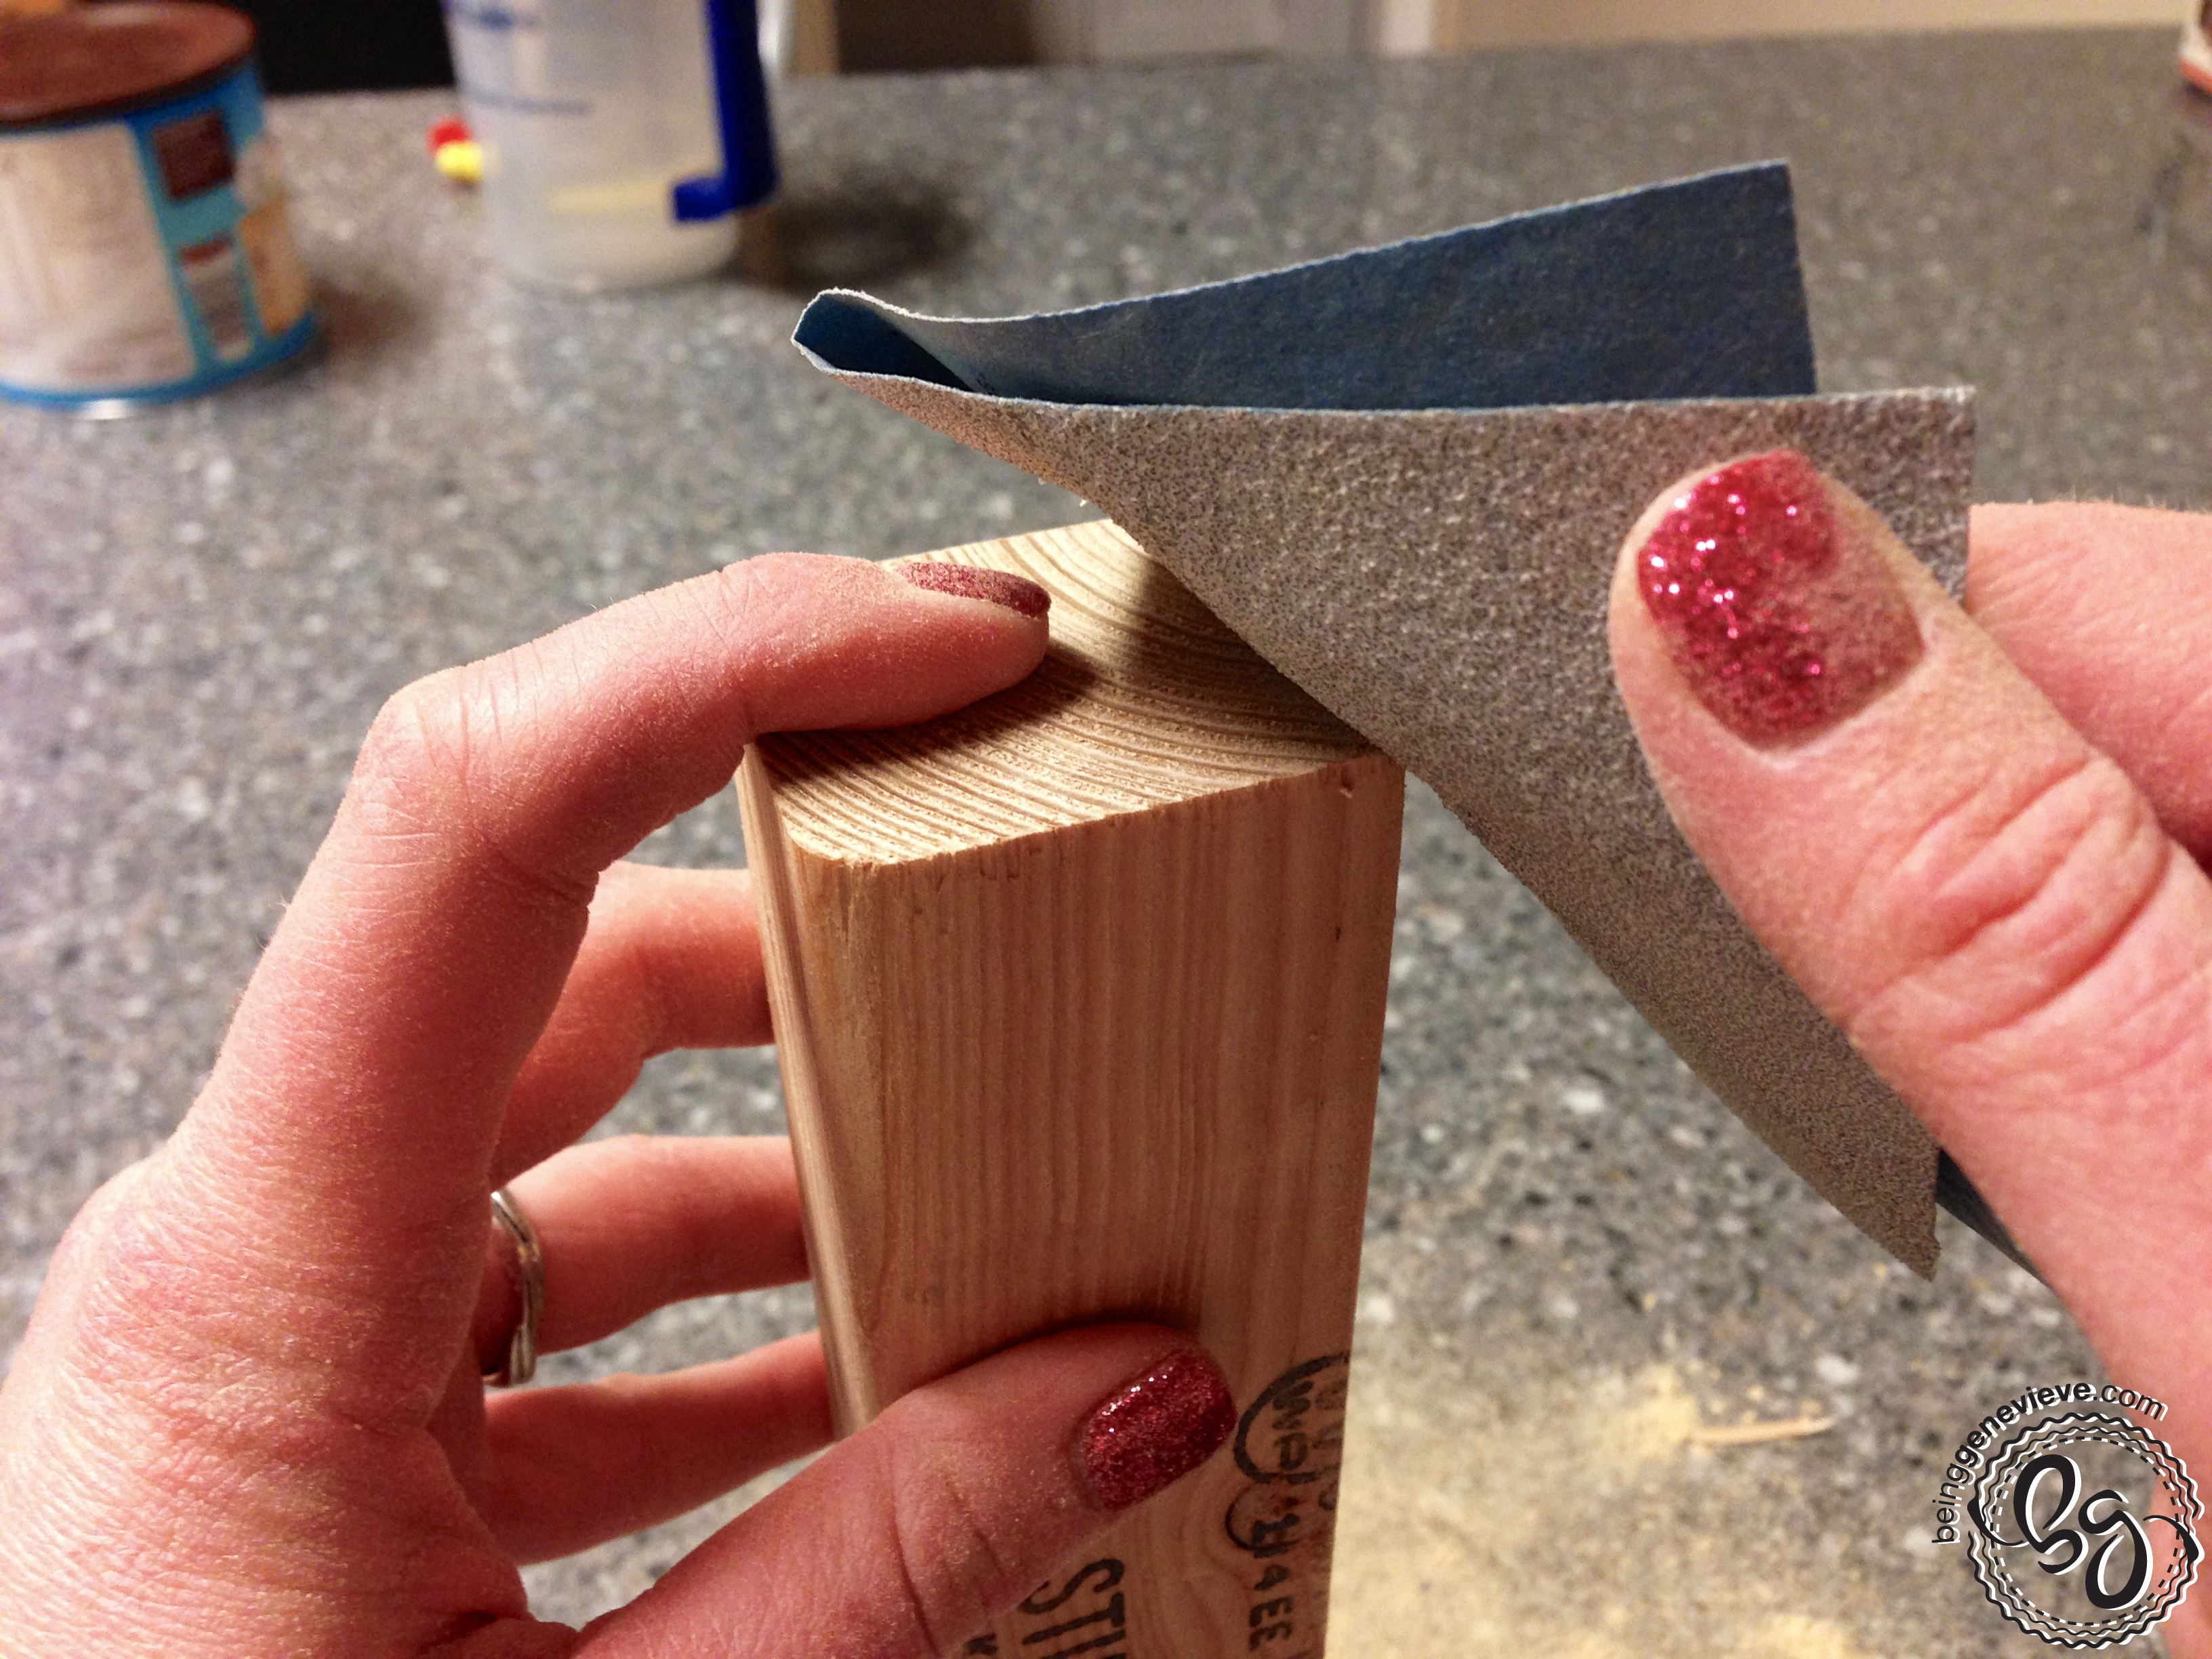
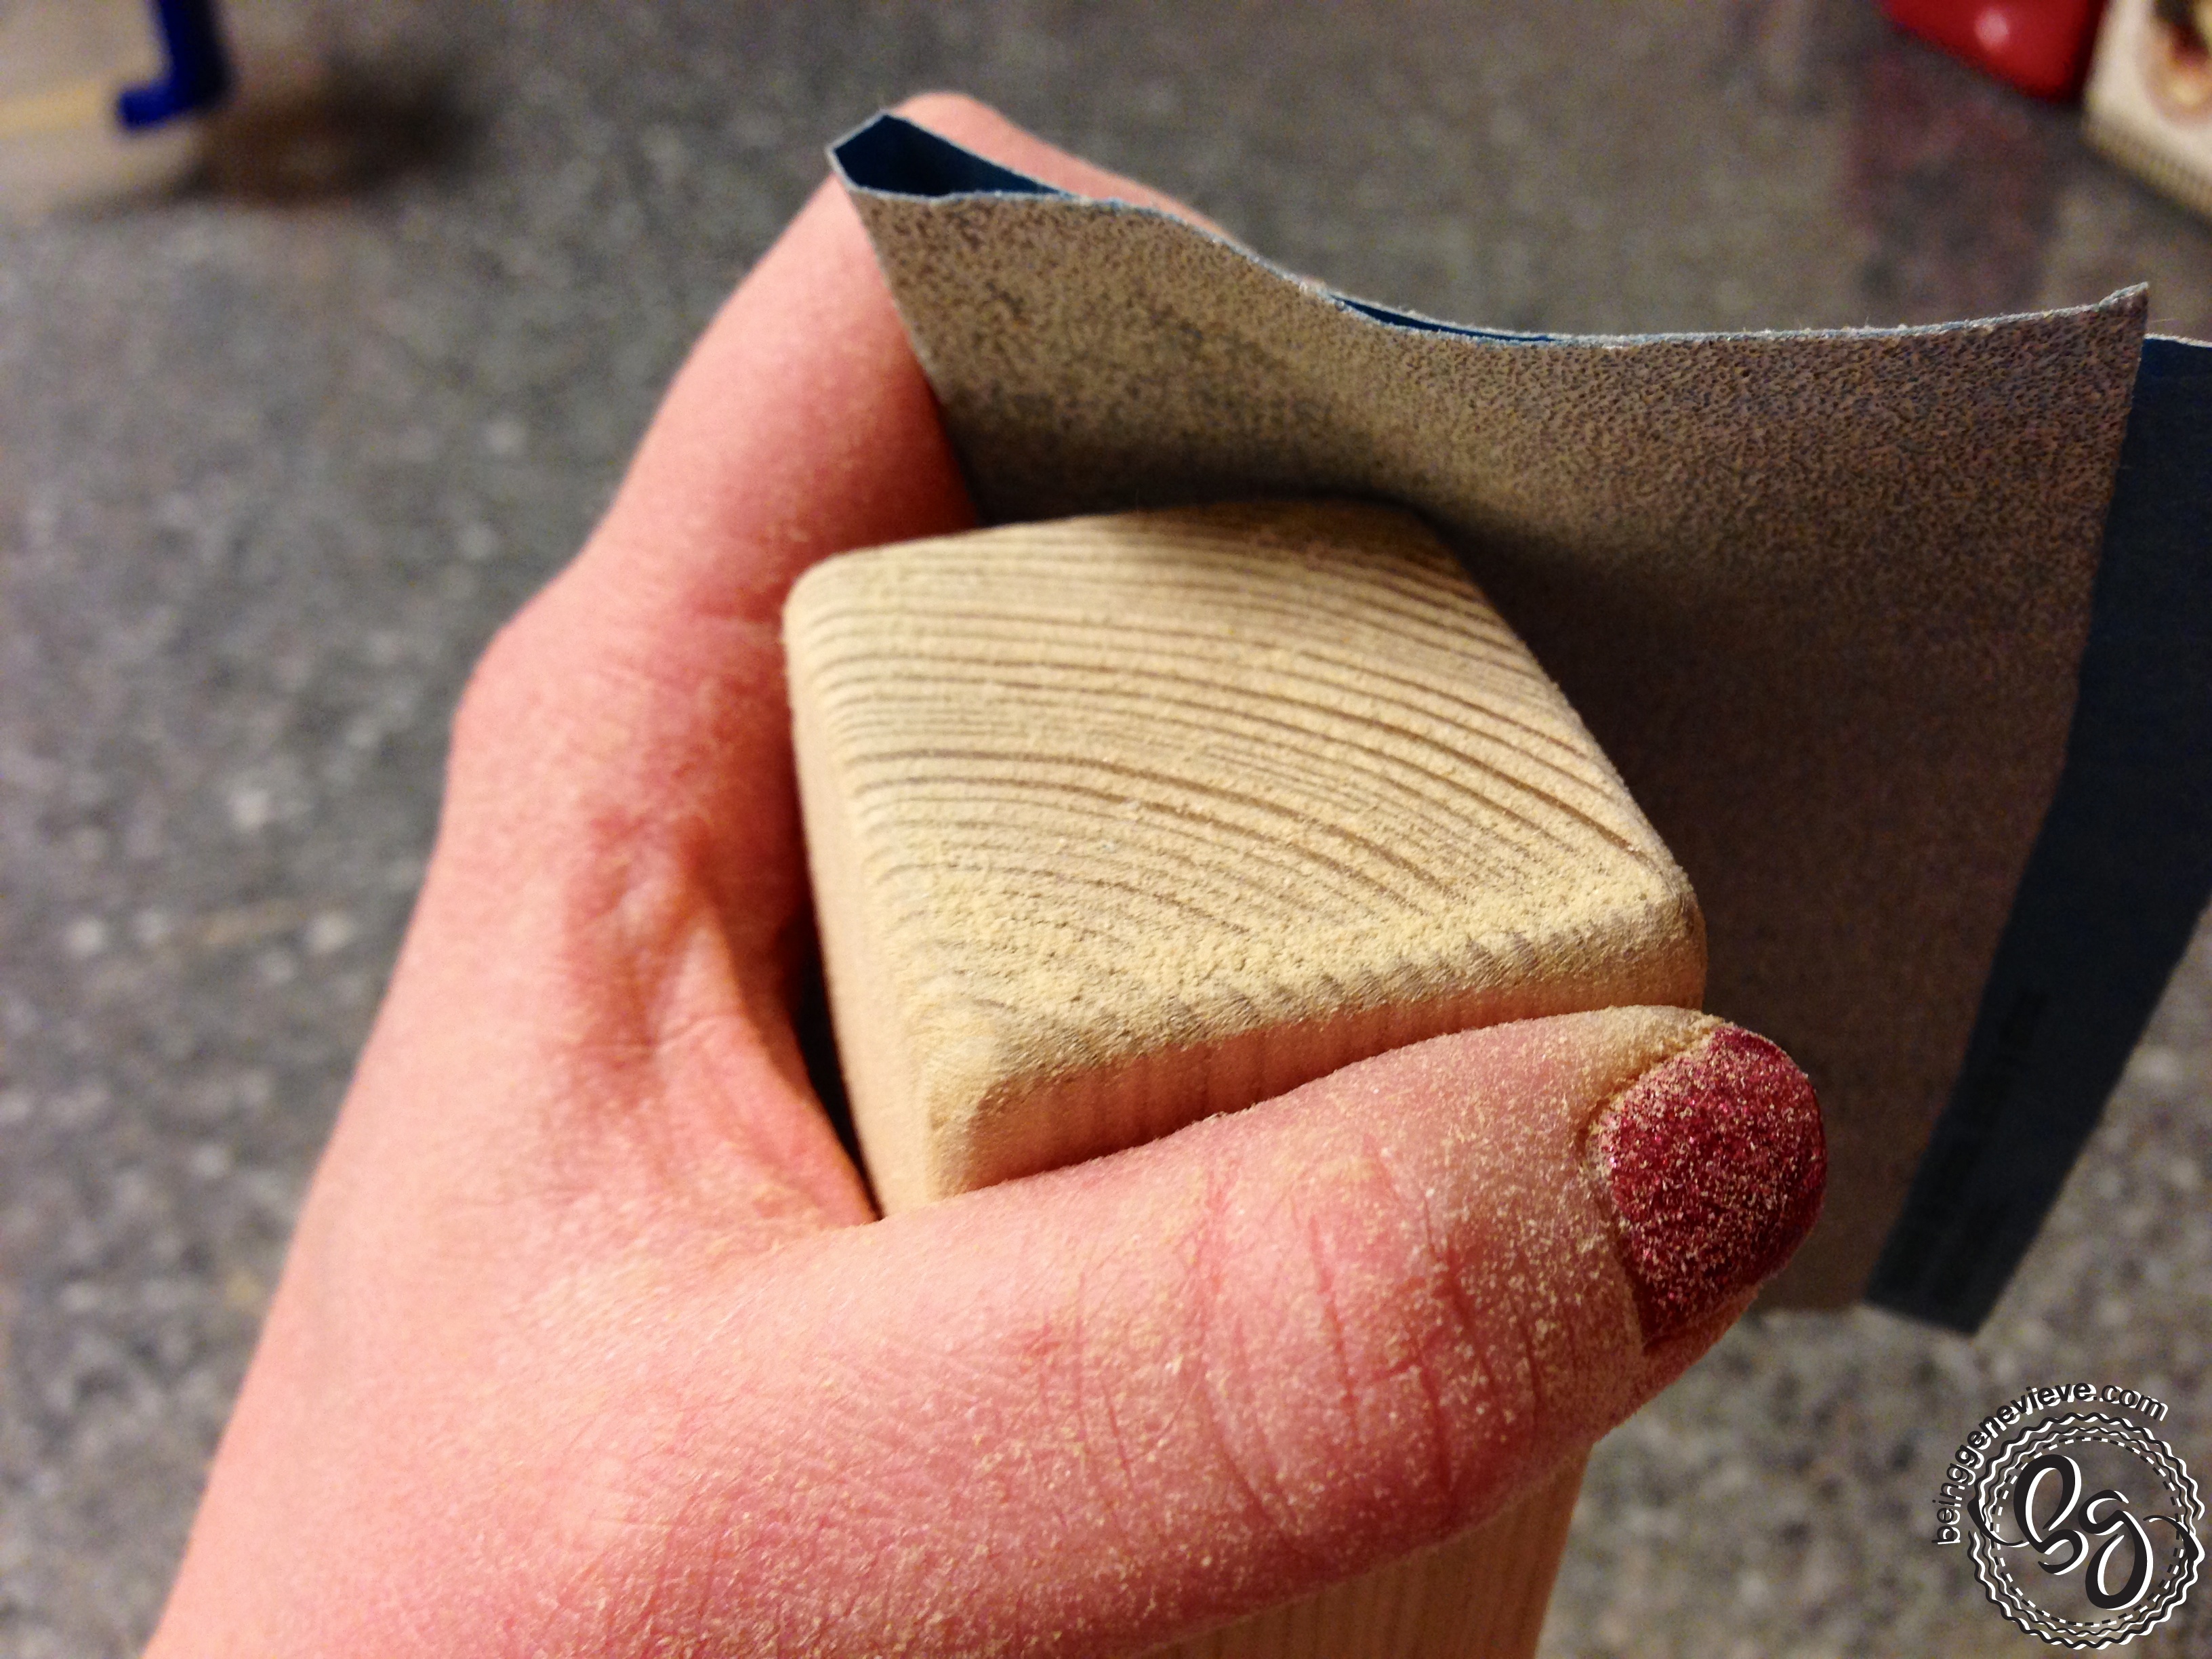
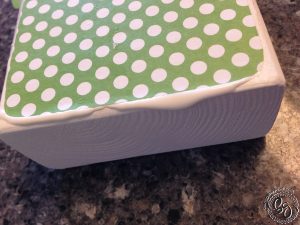
Now that all the mod podge is applied and completely dry you will sand all the edges/corners. This is hard for me to do; I take my perfectly painted block and have to rough up all my hard work. But I promise it makes the blocks look much better at the very end. Note: When sanding you won’t see all the wood on the edges, just parts of the wood will show through.


Now all you need to do is apply the words. I cut vinyl (SVG files below), but if you don’t have access to vinyl you can easily use a stencil you bought or made by printing off letters, on cardstock, from the computer and cutting out the center. You can also cut out letters from paper and apply with mod podge. Note: The “SWEET” and “LUCKY” are done in the Tan Patty font and are measured at 2.25″ x 4.75″ , for the 6″ blocks. the 4-1/2″ blocks are measured at 2.25″ x 3.25″. The “Valentine” and “I’m Feelin” are done in the Pharmacy font and are measured at 1.2″ x 9.5″.
SVG Files:
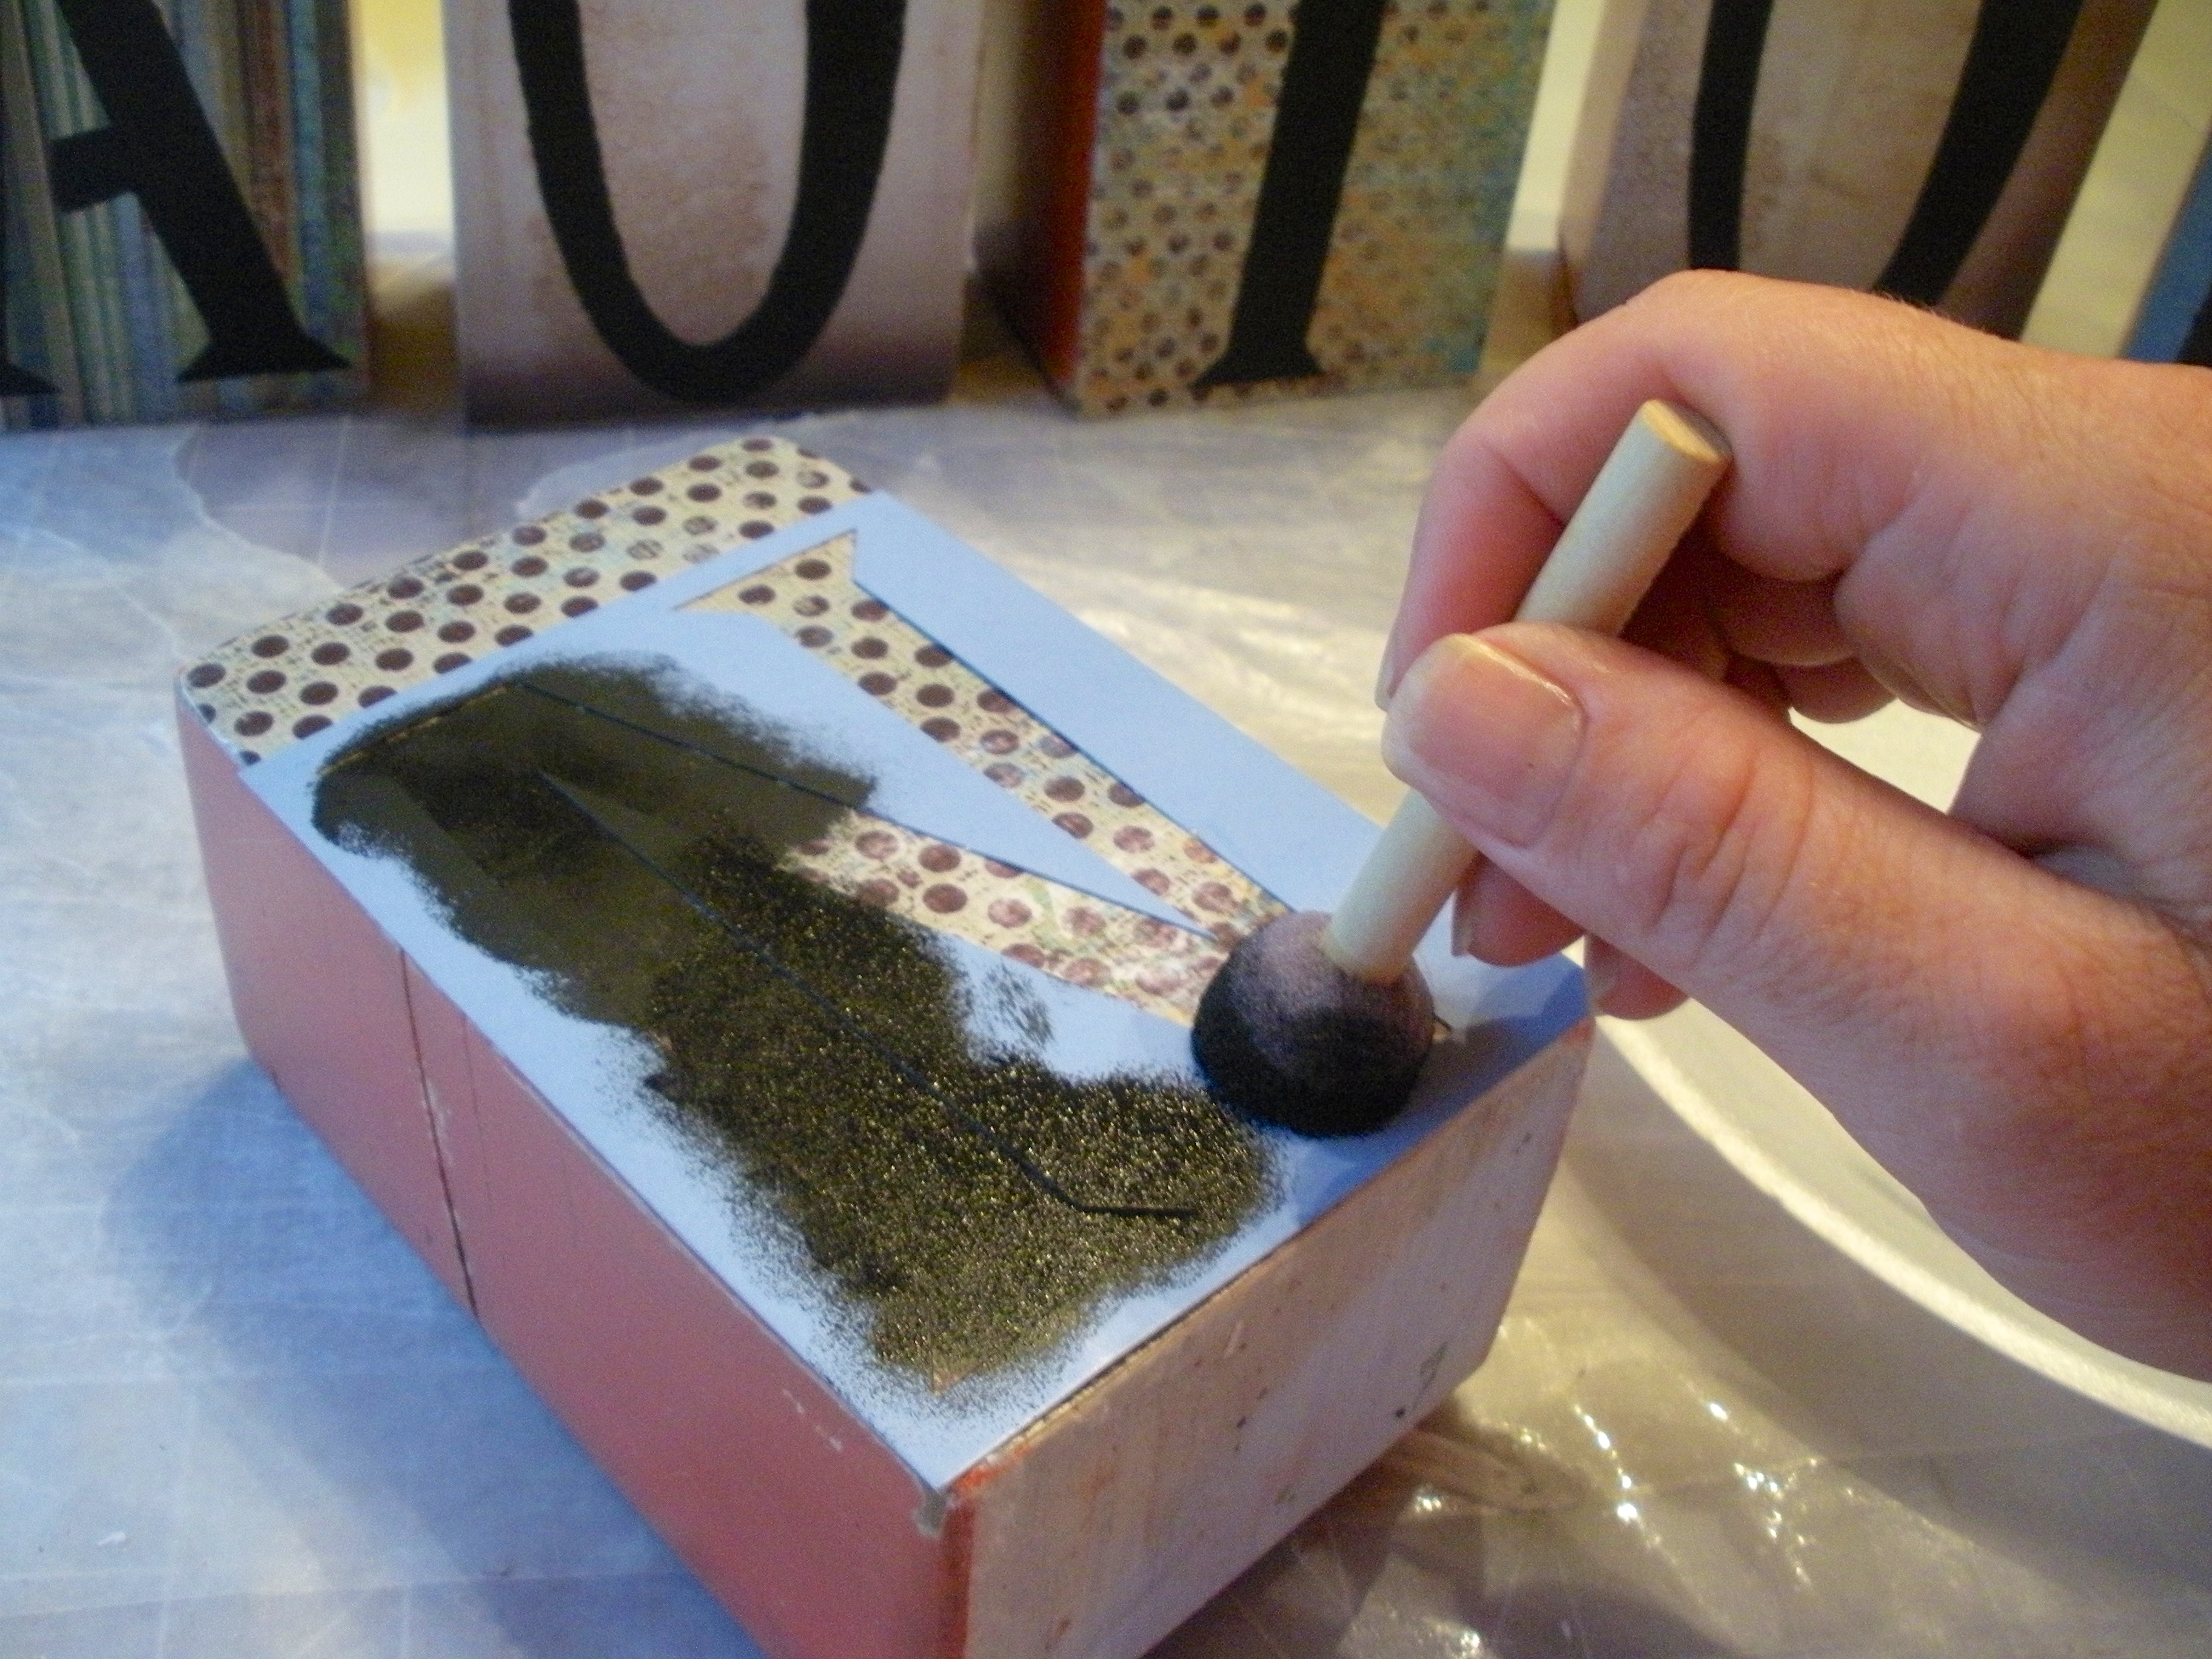
Stencil Painting
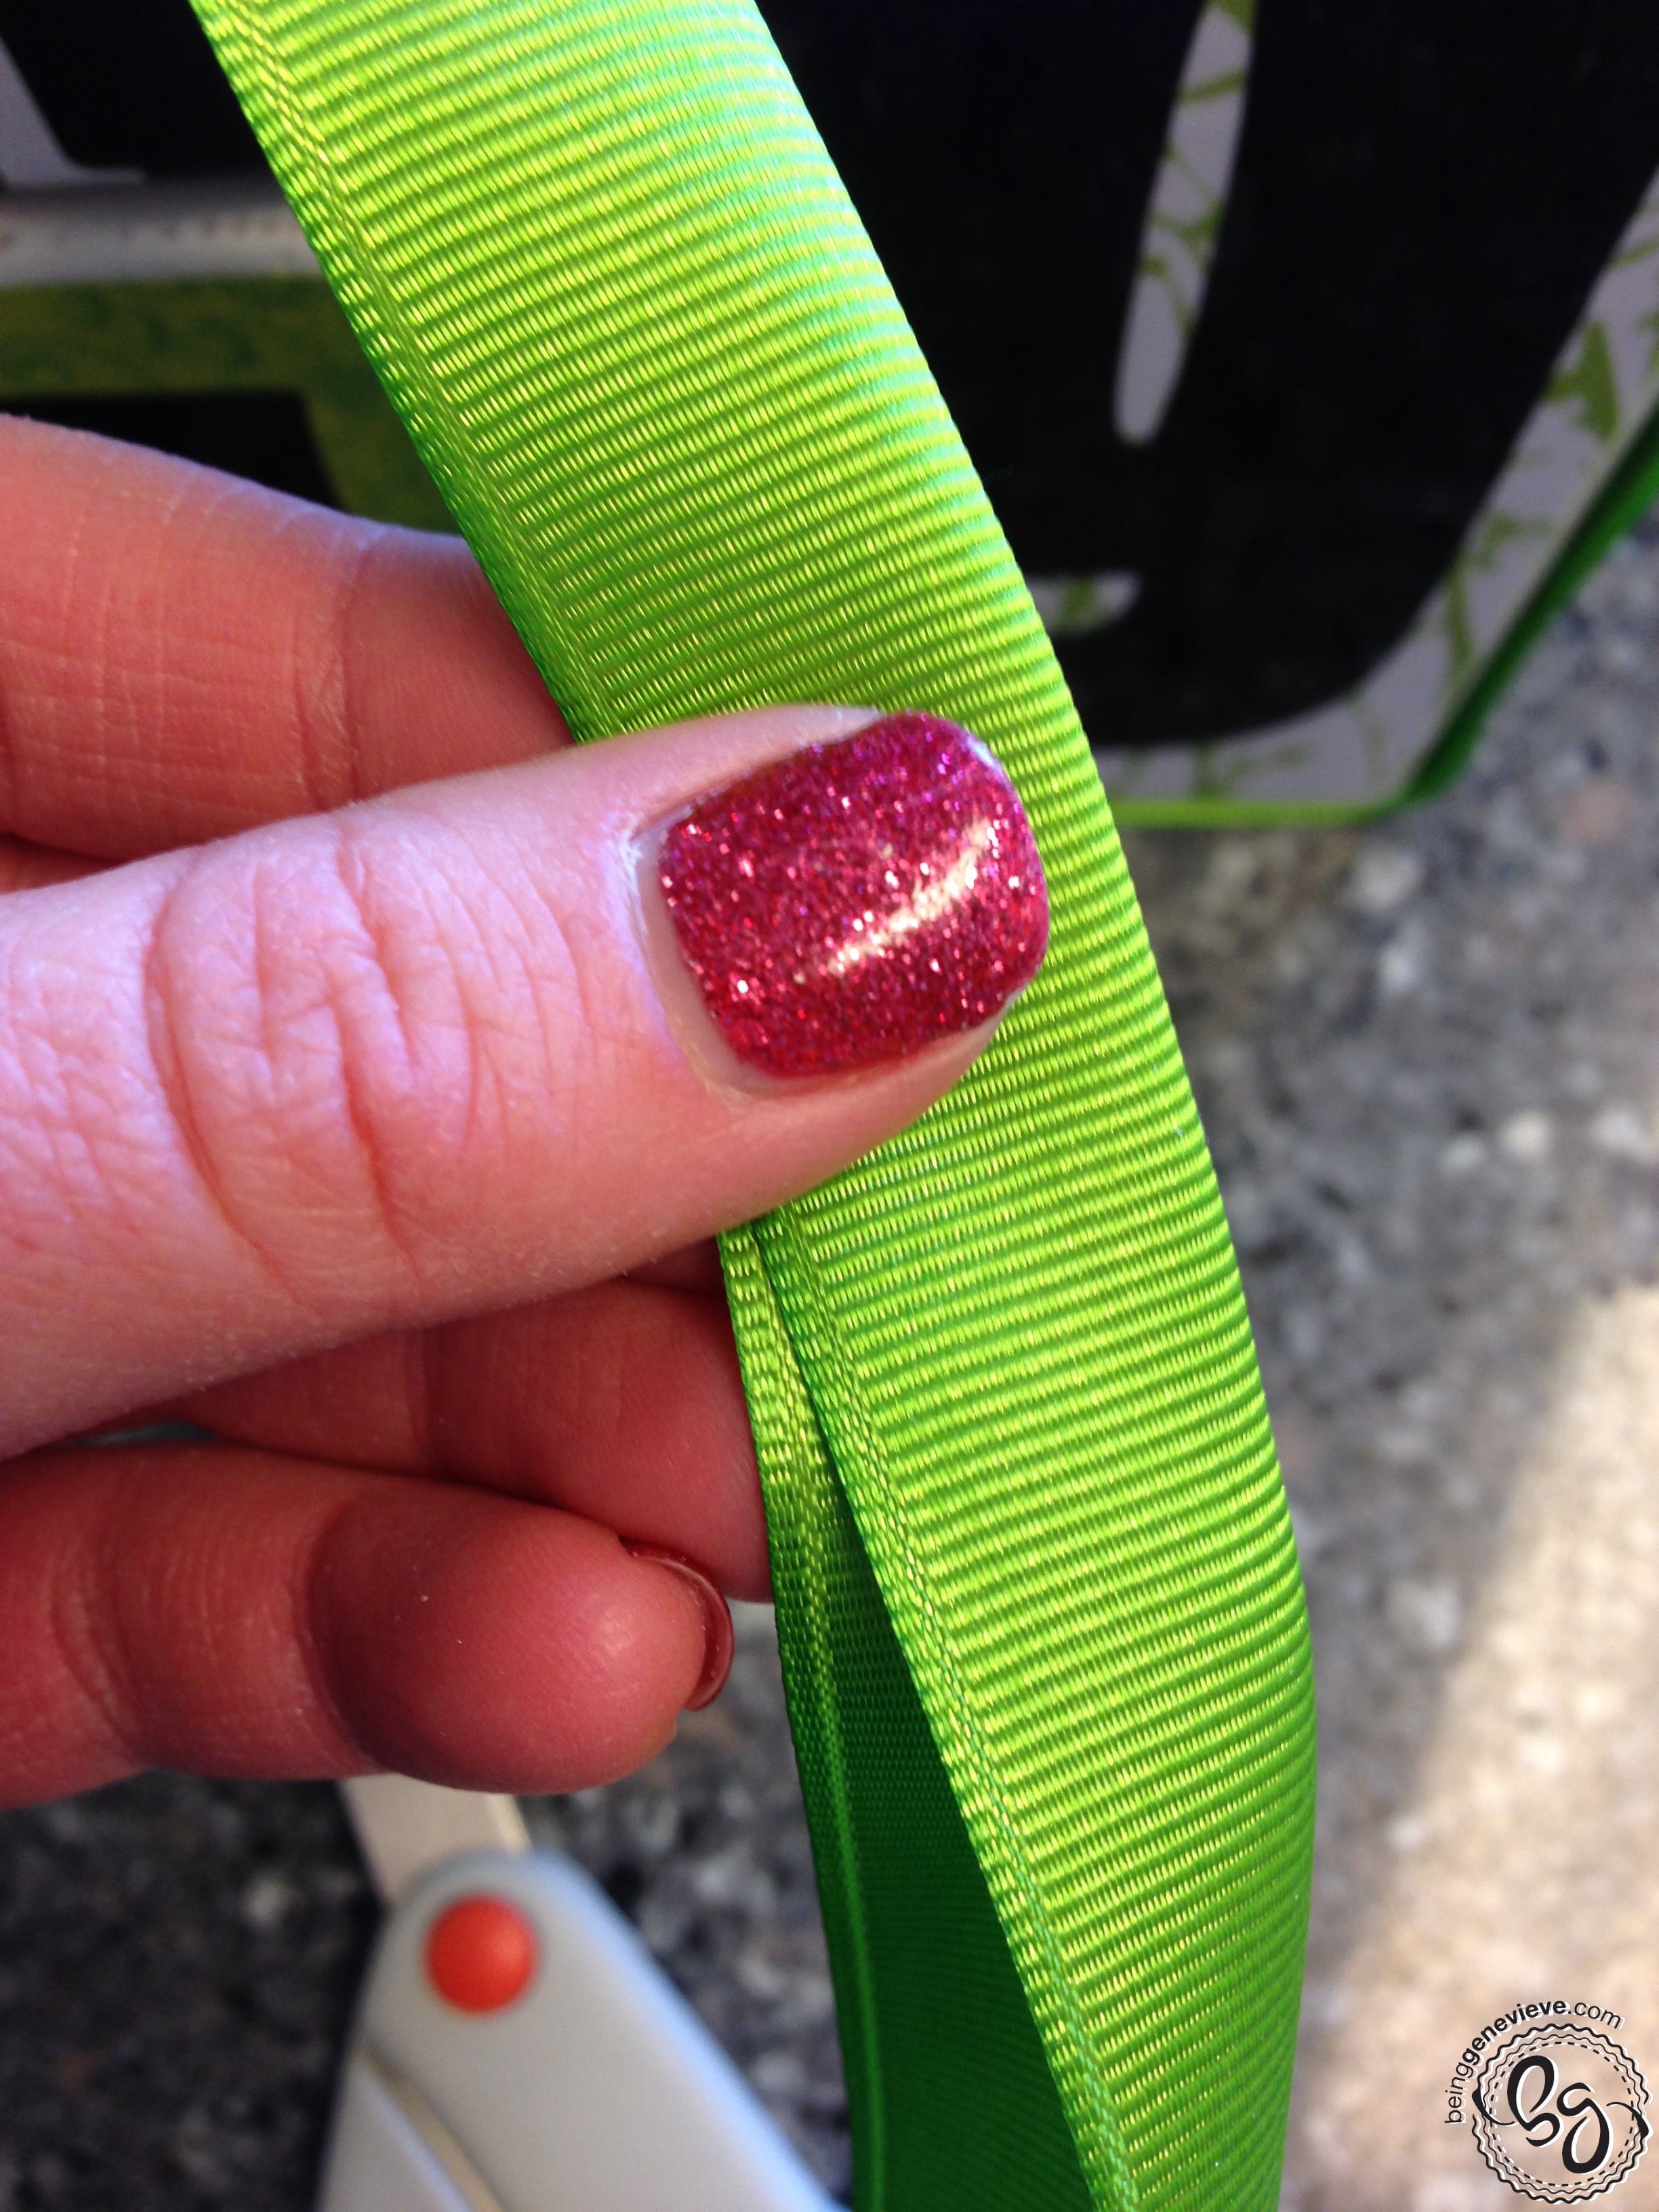
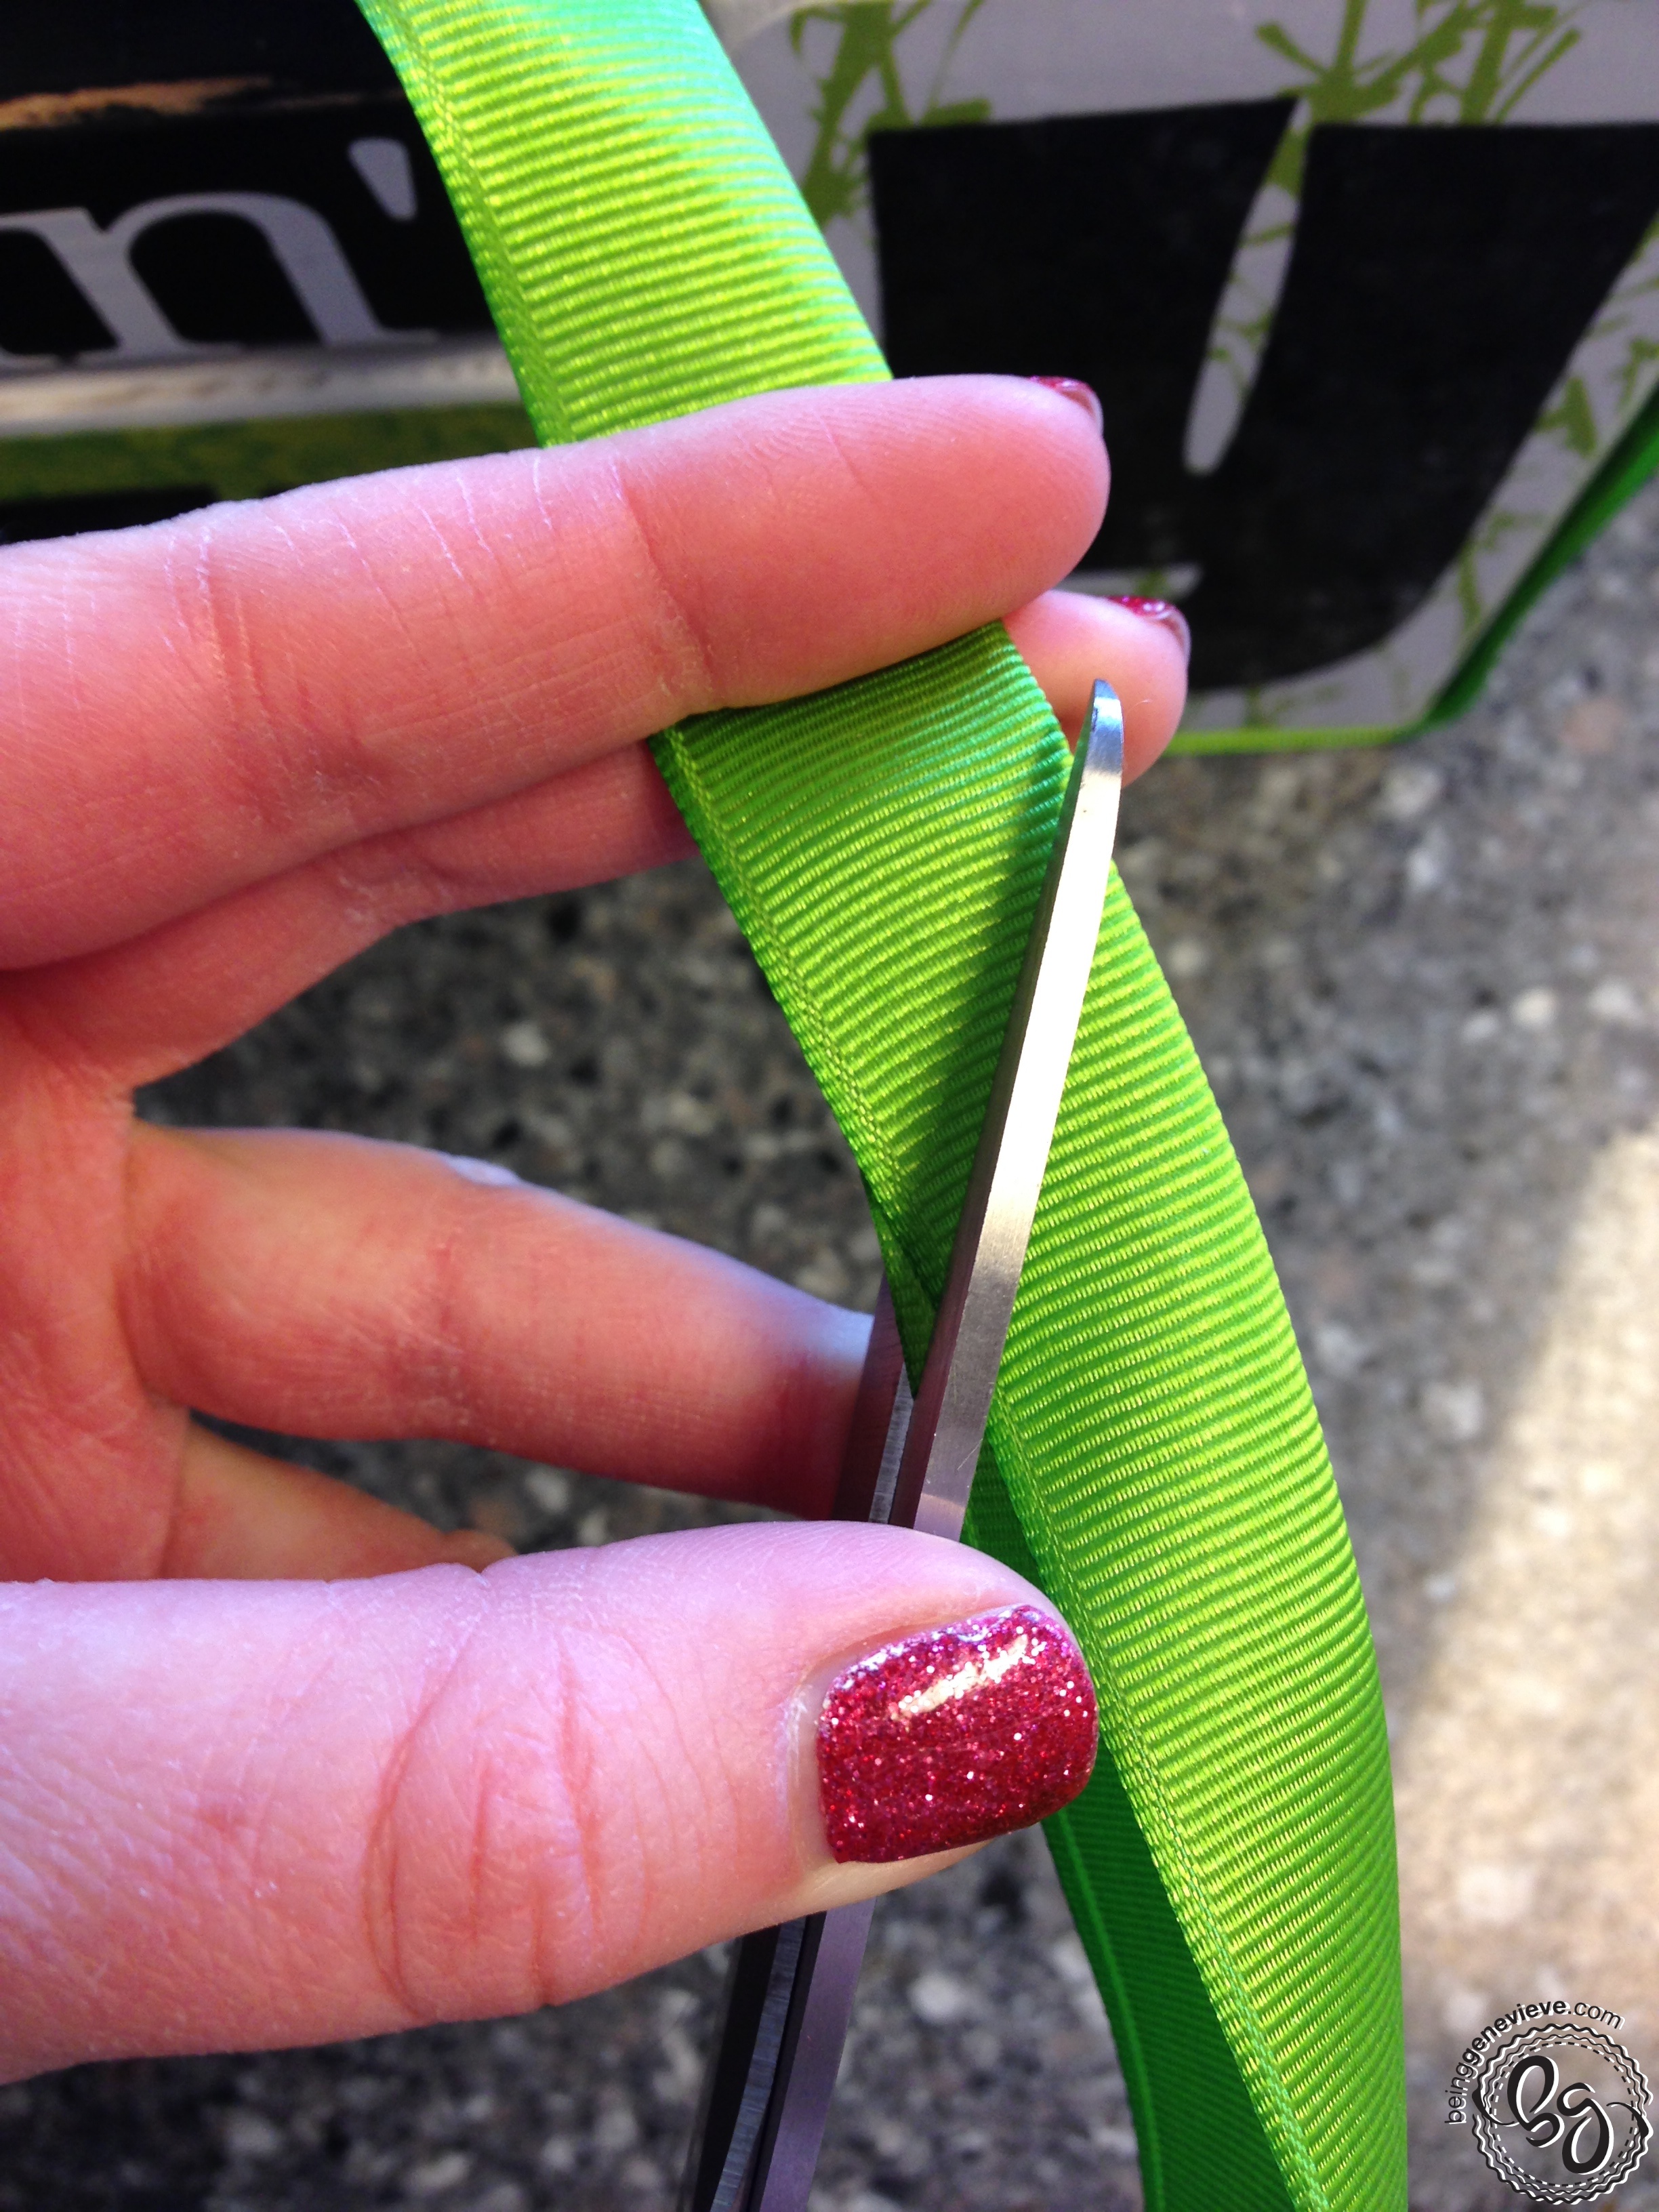
Now you can tie your ribbon on. This step is optional. Take a piece of 58″ pink ribbon and a 58″ piece of black and white polka dot and tie around all the blocks. Then when St.Patrick’s rolls around remove the pink and replace with green. To cut the ends of the ribbon: fold the ribbon in half at the end and cut a slanted line. Now seal the ends with a lighter.