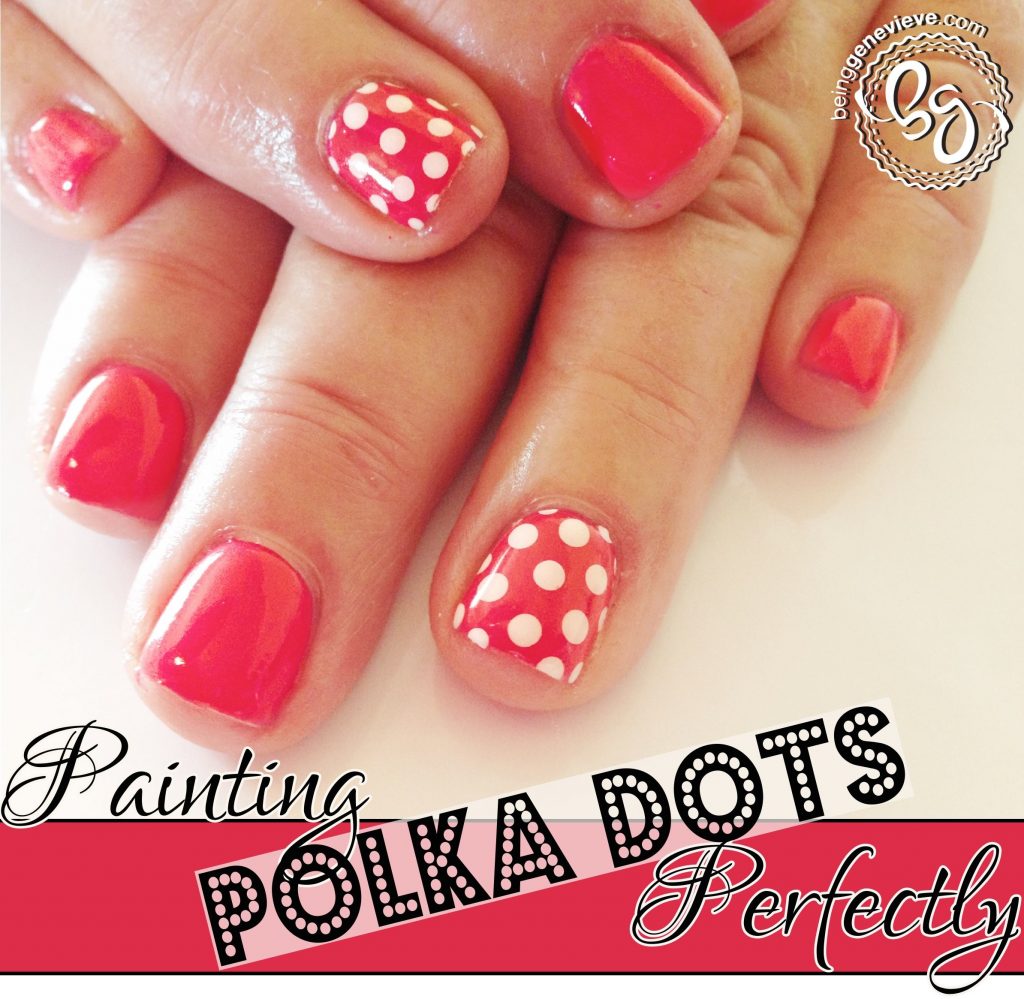
I love nail art polka dots, a lot. They are so simple yet can create just the right look for any occasion. When it comes to nail art polka dots there is a right and a wrong way to painting them. Just painting random dots on the nail will create a polka dot look, but can also create a “sloppy” looking polka dot pattern. If you follow my simple steps you can create a perfect polka dot design that will look so uniform some might even think you did a nail stamp or even a nail wrap.
Note: I painted my nails with acrylic craft paint, not polish. You will get crisper lines and much more pop than you would with polish. Some polishes can sometimes dry almost transparent which makes the image hazy and you won’t get the wow factor you are going for.
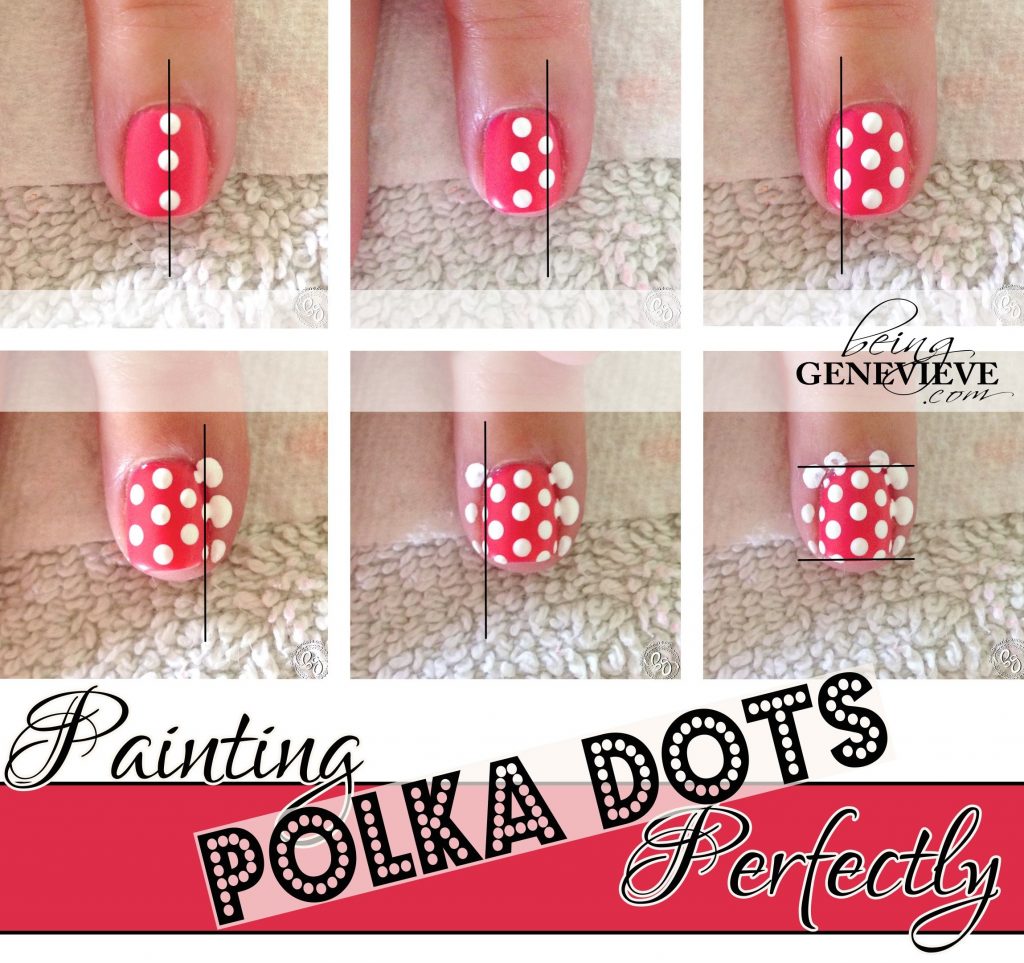
Step 1: Begin by using a stylus (Buy on Amazon – Nail Art Stylus
Step 2: Now paint dots in a line next to that center “line” of dots. Aligning them next to the spaces in between the dots of the center line.
Step 3: Do the same as step 2 on the other side of the center line.
Step 4: Paint dots next to the step 2 line. Aligning in between the spaces of the dots. {Note: I recommend getting paint on the skin. Getting paint on the skin as well as the nail will give it a more custom look. It will make the pattern extend off of the nail.}
Step 5: Do the same as step 4 on the other side of the step 3 line.
Step 6: Paint dots on the cuticle as well as off the free edge of the nail in line with the step 2 and 3 dots.
Step 7: Now apply your top coat. Make sure the paint is completely dry before adding top coat to help avoid smearing.
Step 8: Allow your polish to dry completely. Remove the polish/paint from around your nails. Apply a cuticle oil just around your nails on the cuticle and rub into the skin.
