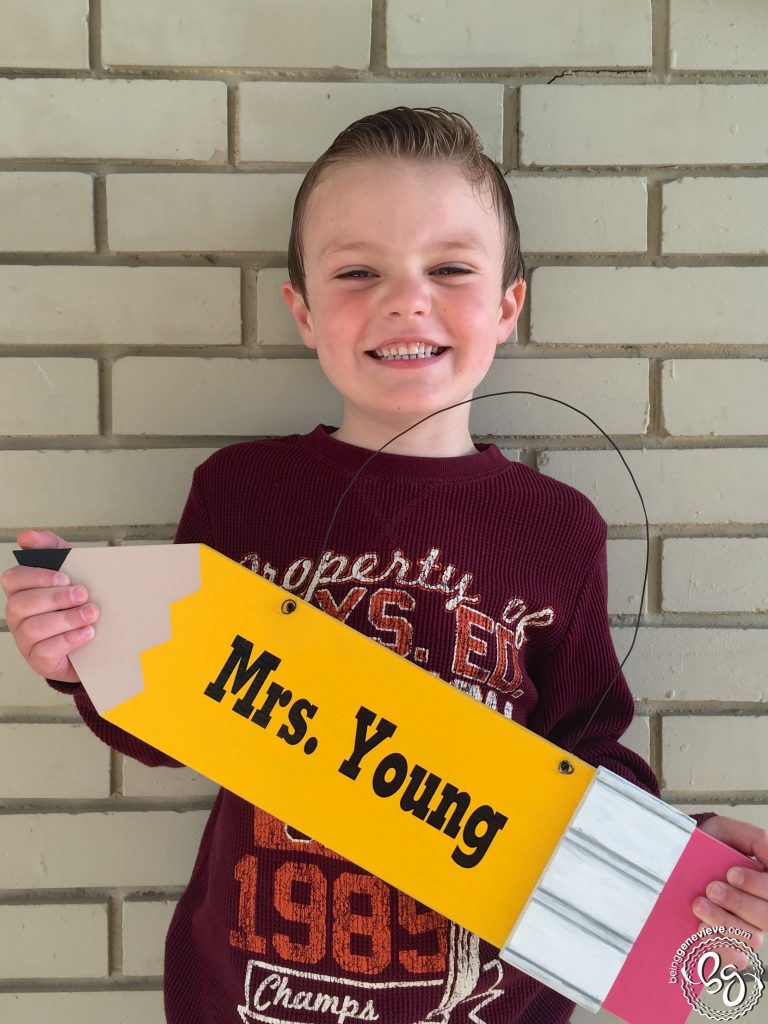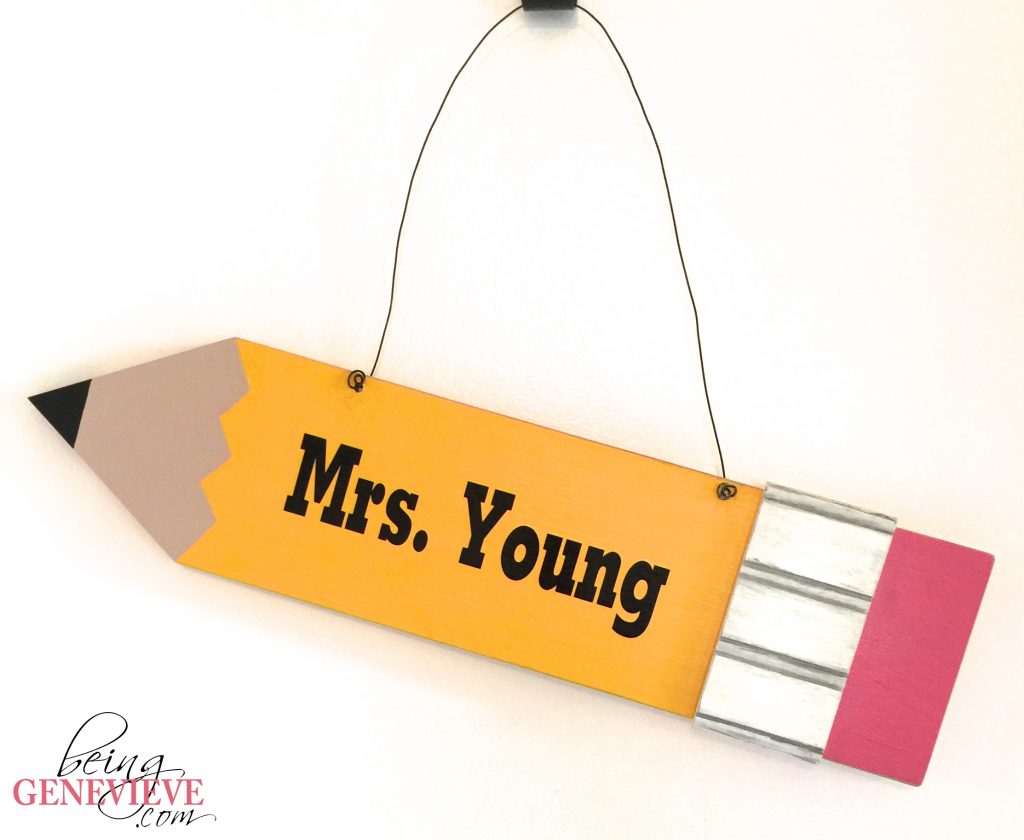
The first week of May is Teacher Appreciation week. I’m so grateful for the wonderful teachers that my kids have had the pleasure of having. I’m so grateful for all the time and guidance that they given to my children to help cultivate the love of learning. Every year, I try to give a little something to our teachers to show them we love and appreciate all they do. This year I have a wonderful gift idea for you, a pencil door hanger that you can customize and put their name on. How cute is this???
Supply List:
- Wood Piece, measuring 1 x 4.5 x 19
- Beadboard Piece, measuring 4.75 x 2.5
- Thin Wire, measuring 23″ long
- White Acrylic Paint
- Gray Acrylic Paint
- Pink Acrylic Paint
- Light Tan Acrylic Paint
- Deep Yellow Paint
- Black Acrylic Paint
- Epoxy Glue, E6000
- Acrylic Coating Spray
- Sandpaper, optional
- Black Vinyl or Stencil, optional
Step 1: Cut Wood
Cut the perimeter of the wood piece to be 4.5 x 19 inches and then cut the pointed end of the pencil just as the diagram below. Also, cut the beadboard to be 4.75 x 2.5 inches. Drill the two small holes at the location I mention in the diagram.
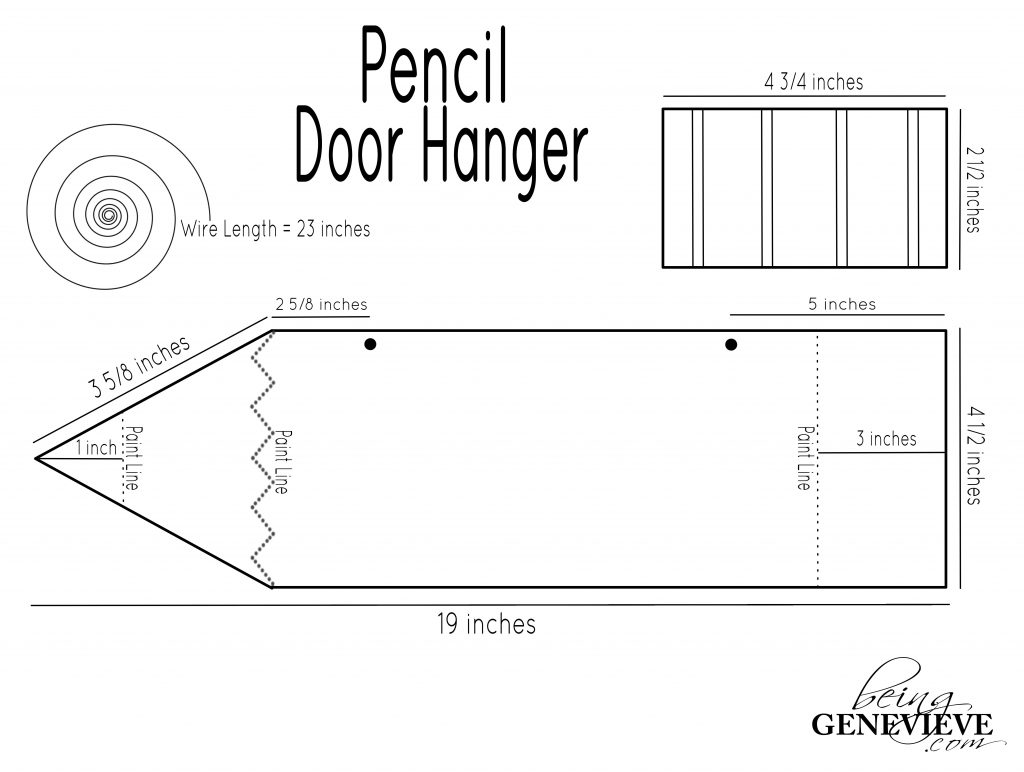

To print this guide, download the PDF here . . .
![]()

Step 2: Paint
Before I began painting I drew lines where I wanted each color to be. Notice the guide above.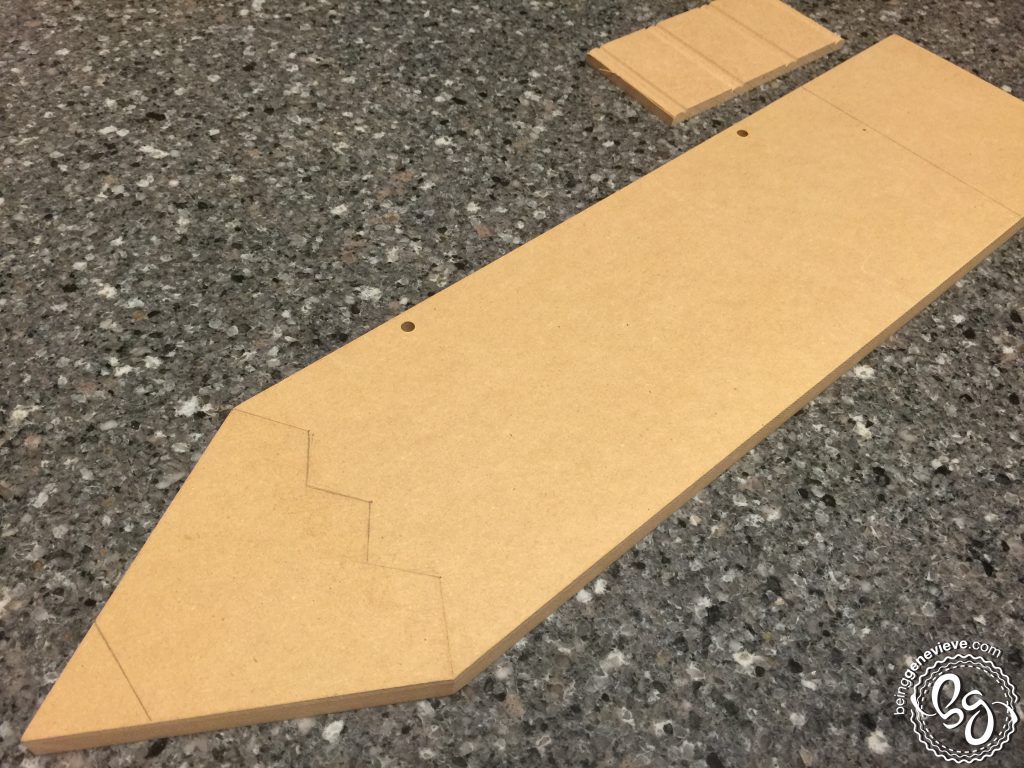

Now paint the pencil.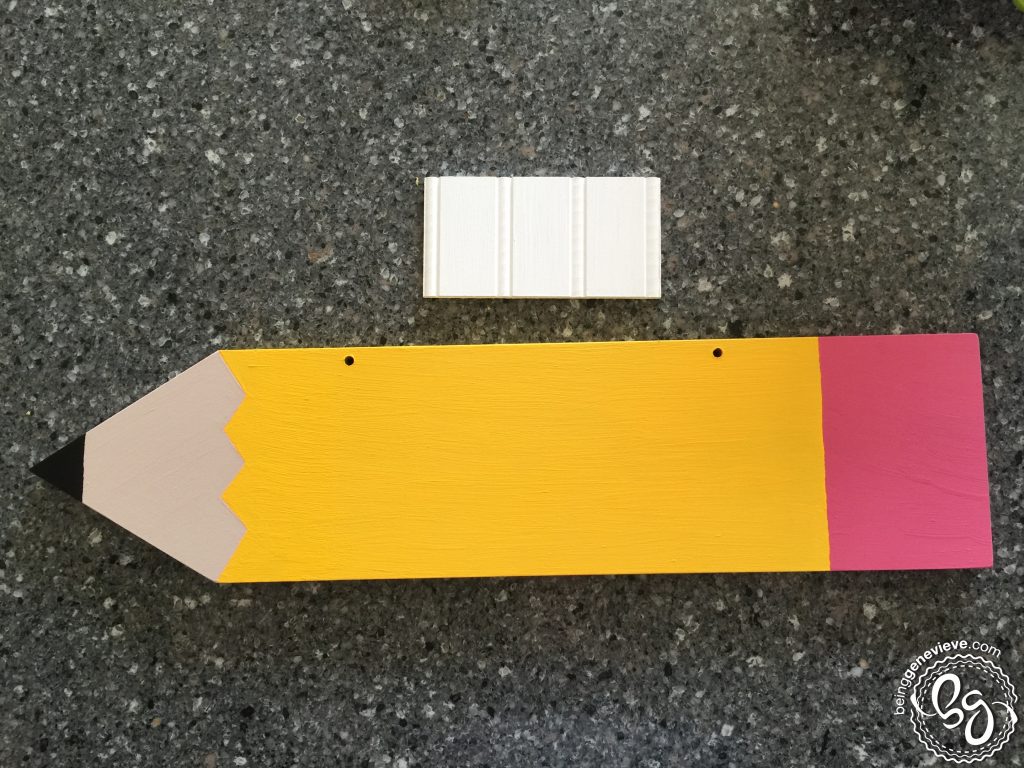

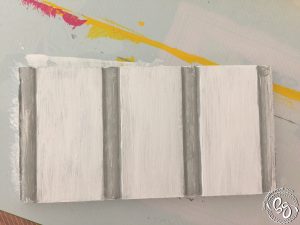
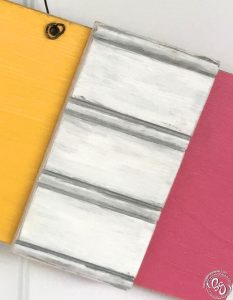
For the beadboard piece, I painted it white and then I added gray in the lines and smeared a little everywhere else. I waited for that to dry and then added a very thin layer of white back over all the gray, except right in the beadboard crevices. 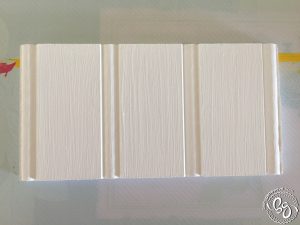


Step 3: Seal
Now seal the paint, on both pieces, with an acrylic coating spray. Let dry.
NOTE: If you plan to do vinyl for the name, seal now. If you plan to paint the teachers name or use a stencil to paint the name. Paint the name before sealing.
Step 4: Glue
Once the spray coating is dry, add some E6000 to where you will be putting the beadboard piece. Then place on your beadboard and weight it down with something heavy, like a jar of preserves or a can of beans. I let this setup overnight to ensure a good tight bond.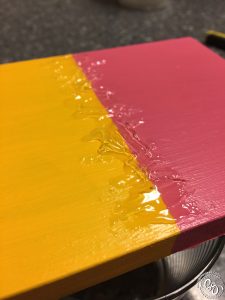


Step 5: Distress
Once fully dry, take a little piece of sand paper and ruff up all the edges a bit.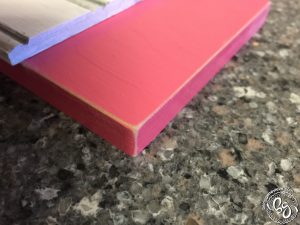
Step 6: Vinyl
We then took some black vinyl and cut it out on my KNK Zing. The teacher name dimensions are 2 x 7.5 inches. I used the font GeoSlab703 XBd BT.
Step 7: Wire
Now take your thin wire and thread up the holes from behind. Now bend the wire perpendicular to the board to help stabilize the wire so it won’t move much. Now bend the wire into a swirl design.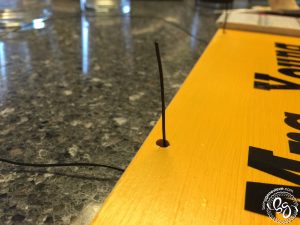


We then pulled out a permanent marker and I let my son write his name on the back. I also put the year so the teacher would remember when it was from. Now your ready for your cute student to present this to their teacher. Your child’s teacher is going to love this one! Thanks for stopping by.