No one likes to have polish chip or lift within a day or two of painting. After spending time painting your nails to look nice you want them to look new for at least a few days, or with Shellac you want them to last the full 2 weeks without showing any wear.
Step 1: Prep Your Nails
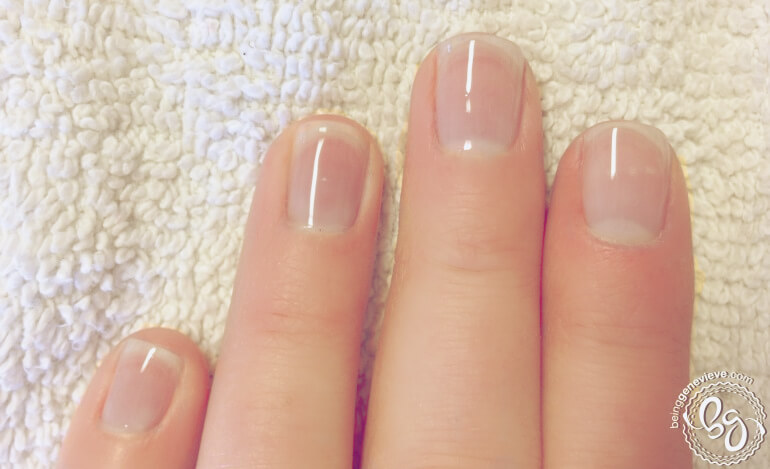
Shape your nails. I use a very gentle nail file (220 or 240 grit) to just buff off the shine on the nails. Don’t file, just remove the shine. The natural shine on the nails, also known as natural oils, is what can cause your polish to lift or chip.
Step 2: Apply pH Balancer
Apply a pH balancer to dry out the nail to get it to the perfect pH level. This helps the polish to adhere and stick to the nail better. If you don’t have a pH balancer you can use vinegar. Note: I saw this tip on Pinterest and tried it out. It works awesome! Allow the vinegar to air dry before applying base coat polish.
Step 3: Base Coat
Apply a layer of base coat, not top coat. Base coat has a property in it to help it act as a binder. It binds to the nail and then polish binds to the base coat.
Shellac: Apply base coat and cure in CND light for 10 seconds.
Now continue your manicure/pedicure with the color of your choice and a top coat. Note: Paint the edge of the nail tip with top coat by dragging the brush from one side to the other. This will help seal the polish in and will prolong the life of your manicure/pedicure.
