I was in Michaels (craft store) this week and walked past these fabric $1 orange bags. I thought, what a perfect trick or treat bag for my boys… what a fun family activity to paint something on these bags! I bought three and hurried home to come up with some way to make them cute. I mean only $3 for 3 awesome trick or treat bags; who could pass that up?!?
Note: This fun family activity soon turned into a mommy activity… What made me think a 2 and 4 year old could paint within the lines of a stencil?!?!

Buy your supplies:
- $1 fabric/canvas like bag from Michaels (Buy on Amazon – 6 pack of orange tote bags
- Acrylic paint (Buy on Amazon –Black
- Sponge brush (Buy on Amazon – Sponge Brushes 9pk
- Stencil of some kind
- Tacky Spray (Buy on Amazon – Krylon Easy Tack

Begin by wrapping a magazine in parchment/wax paper and placing in the bag so that paint doesn’t seep through to the other side.
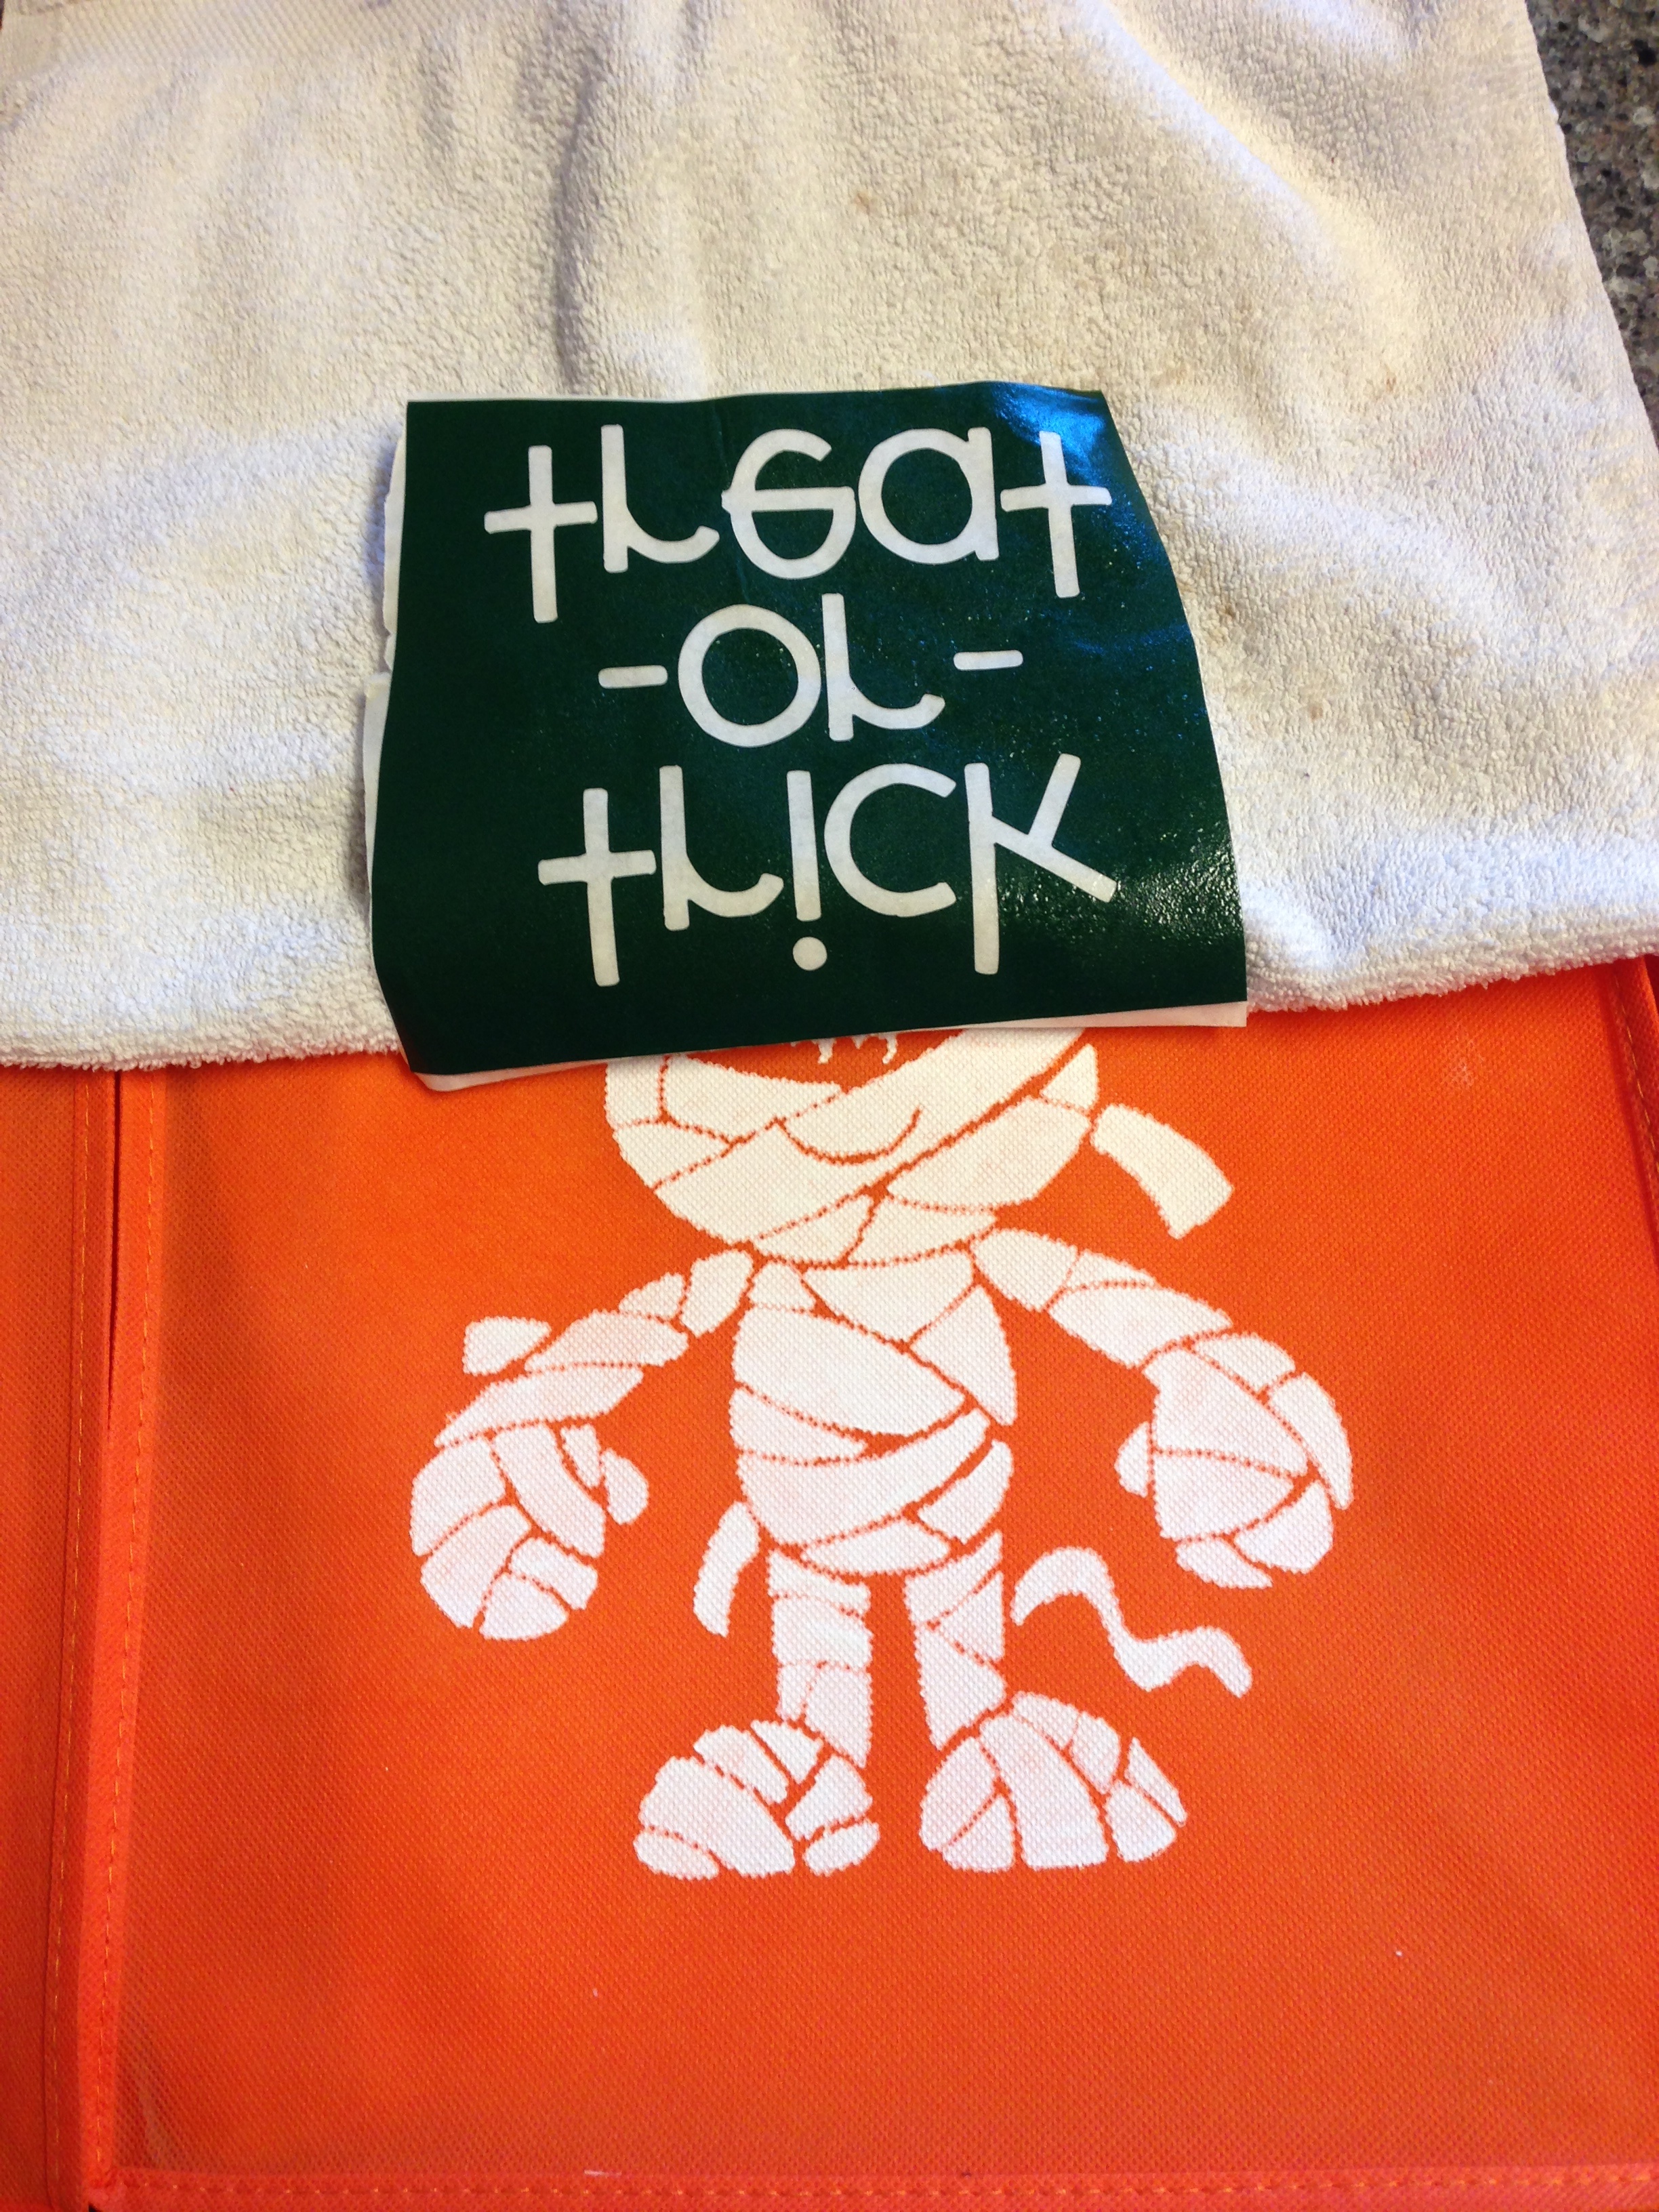
I designed/cut my own vinyl to use as a stencil.
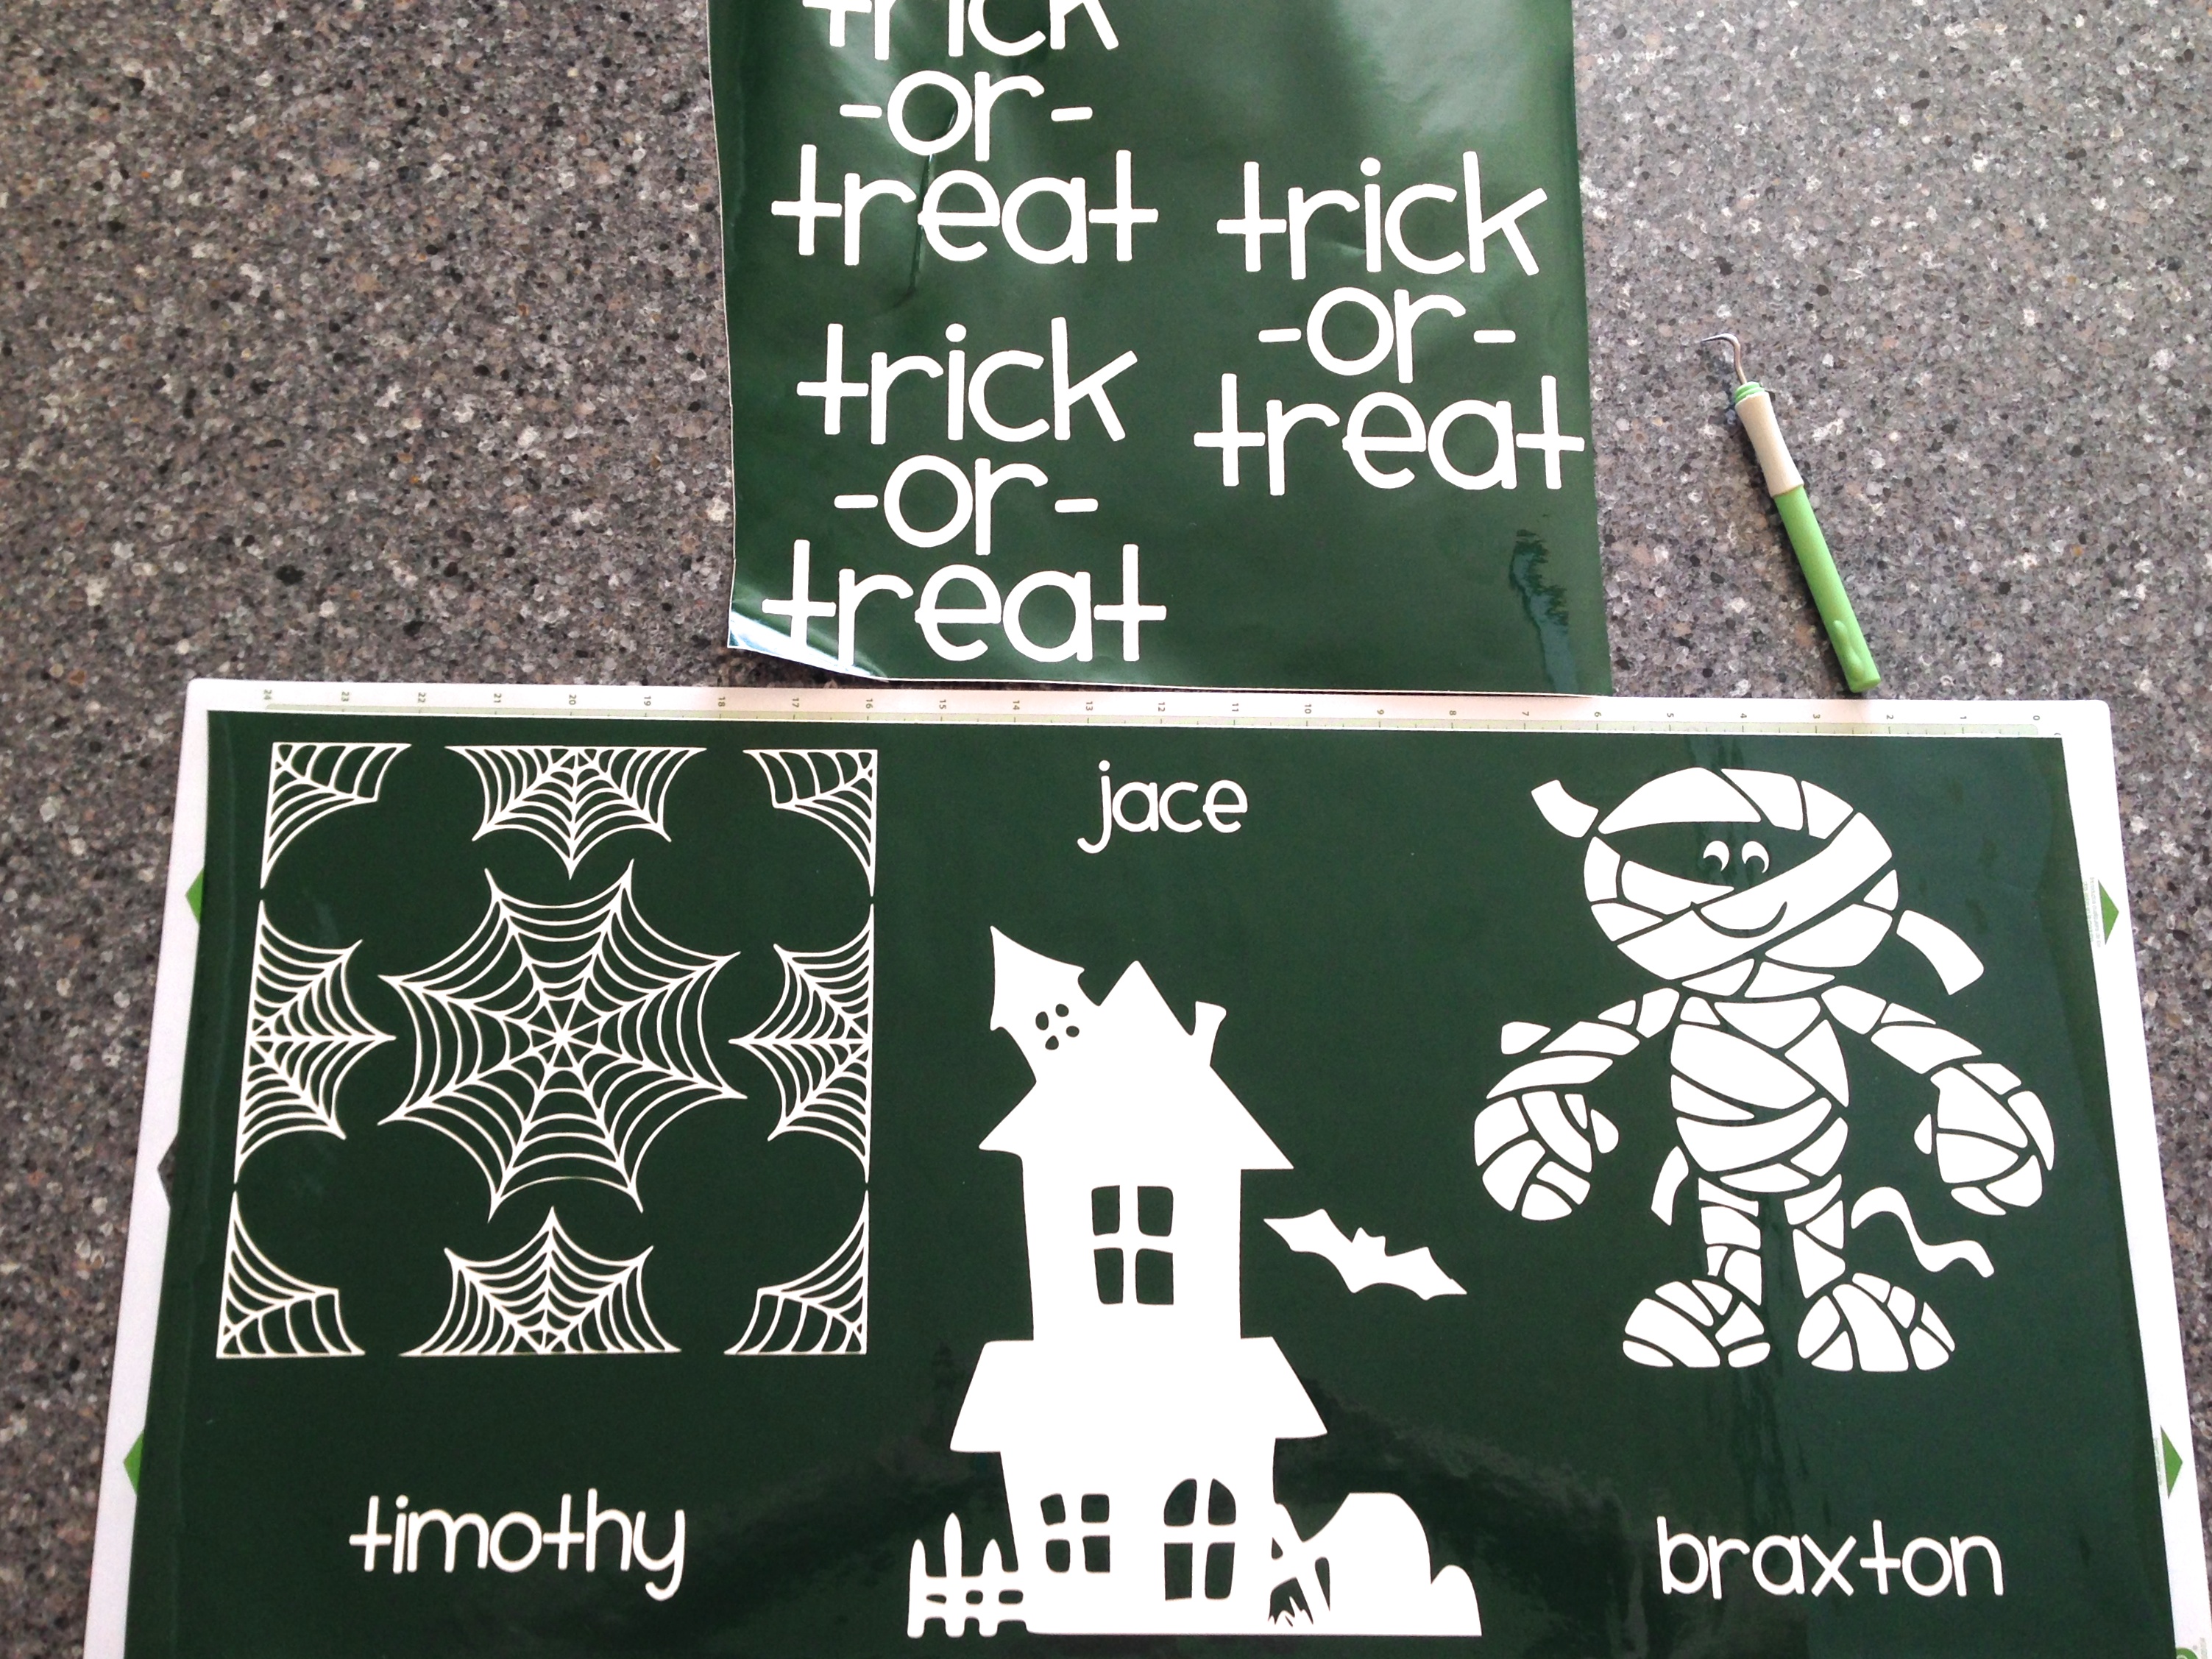
Here are my SVG files that I used. The spider web, haunted house, and mummy were 8 inches height. The “trick-or-treat” text was 5.5 inches height. The font I used for trick-or-treat and the names was Smiley Monster.
Prepare vinyl after it has been cut. Place vinyl, with it’s backing still on, where you want it on the bag and tape down.
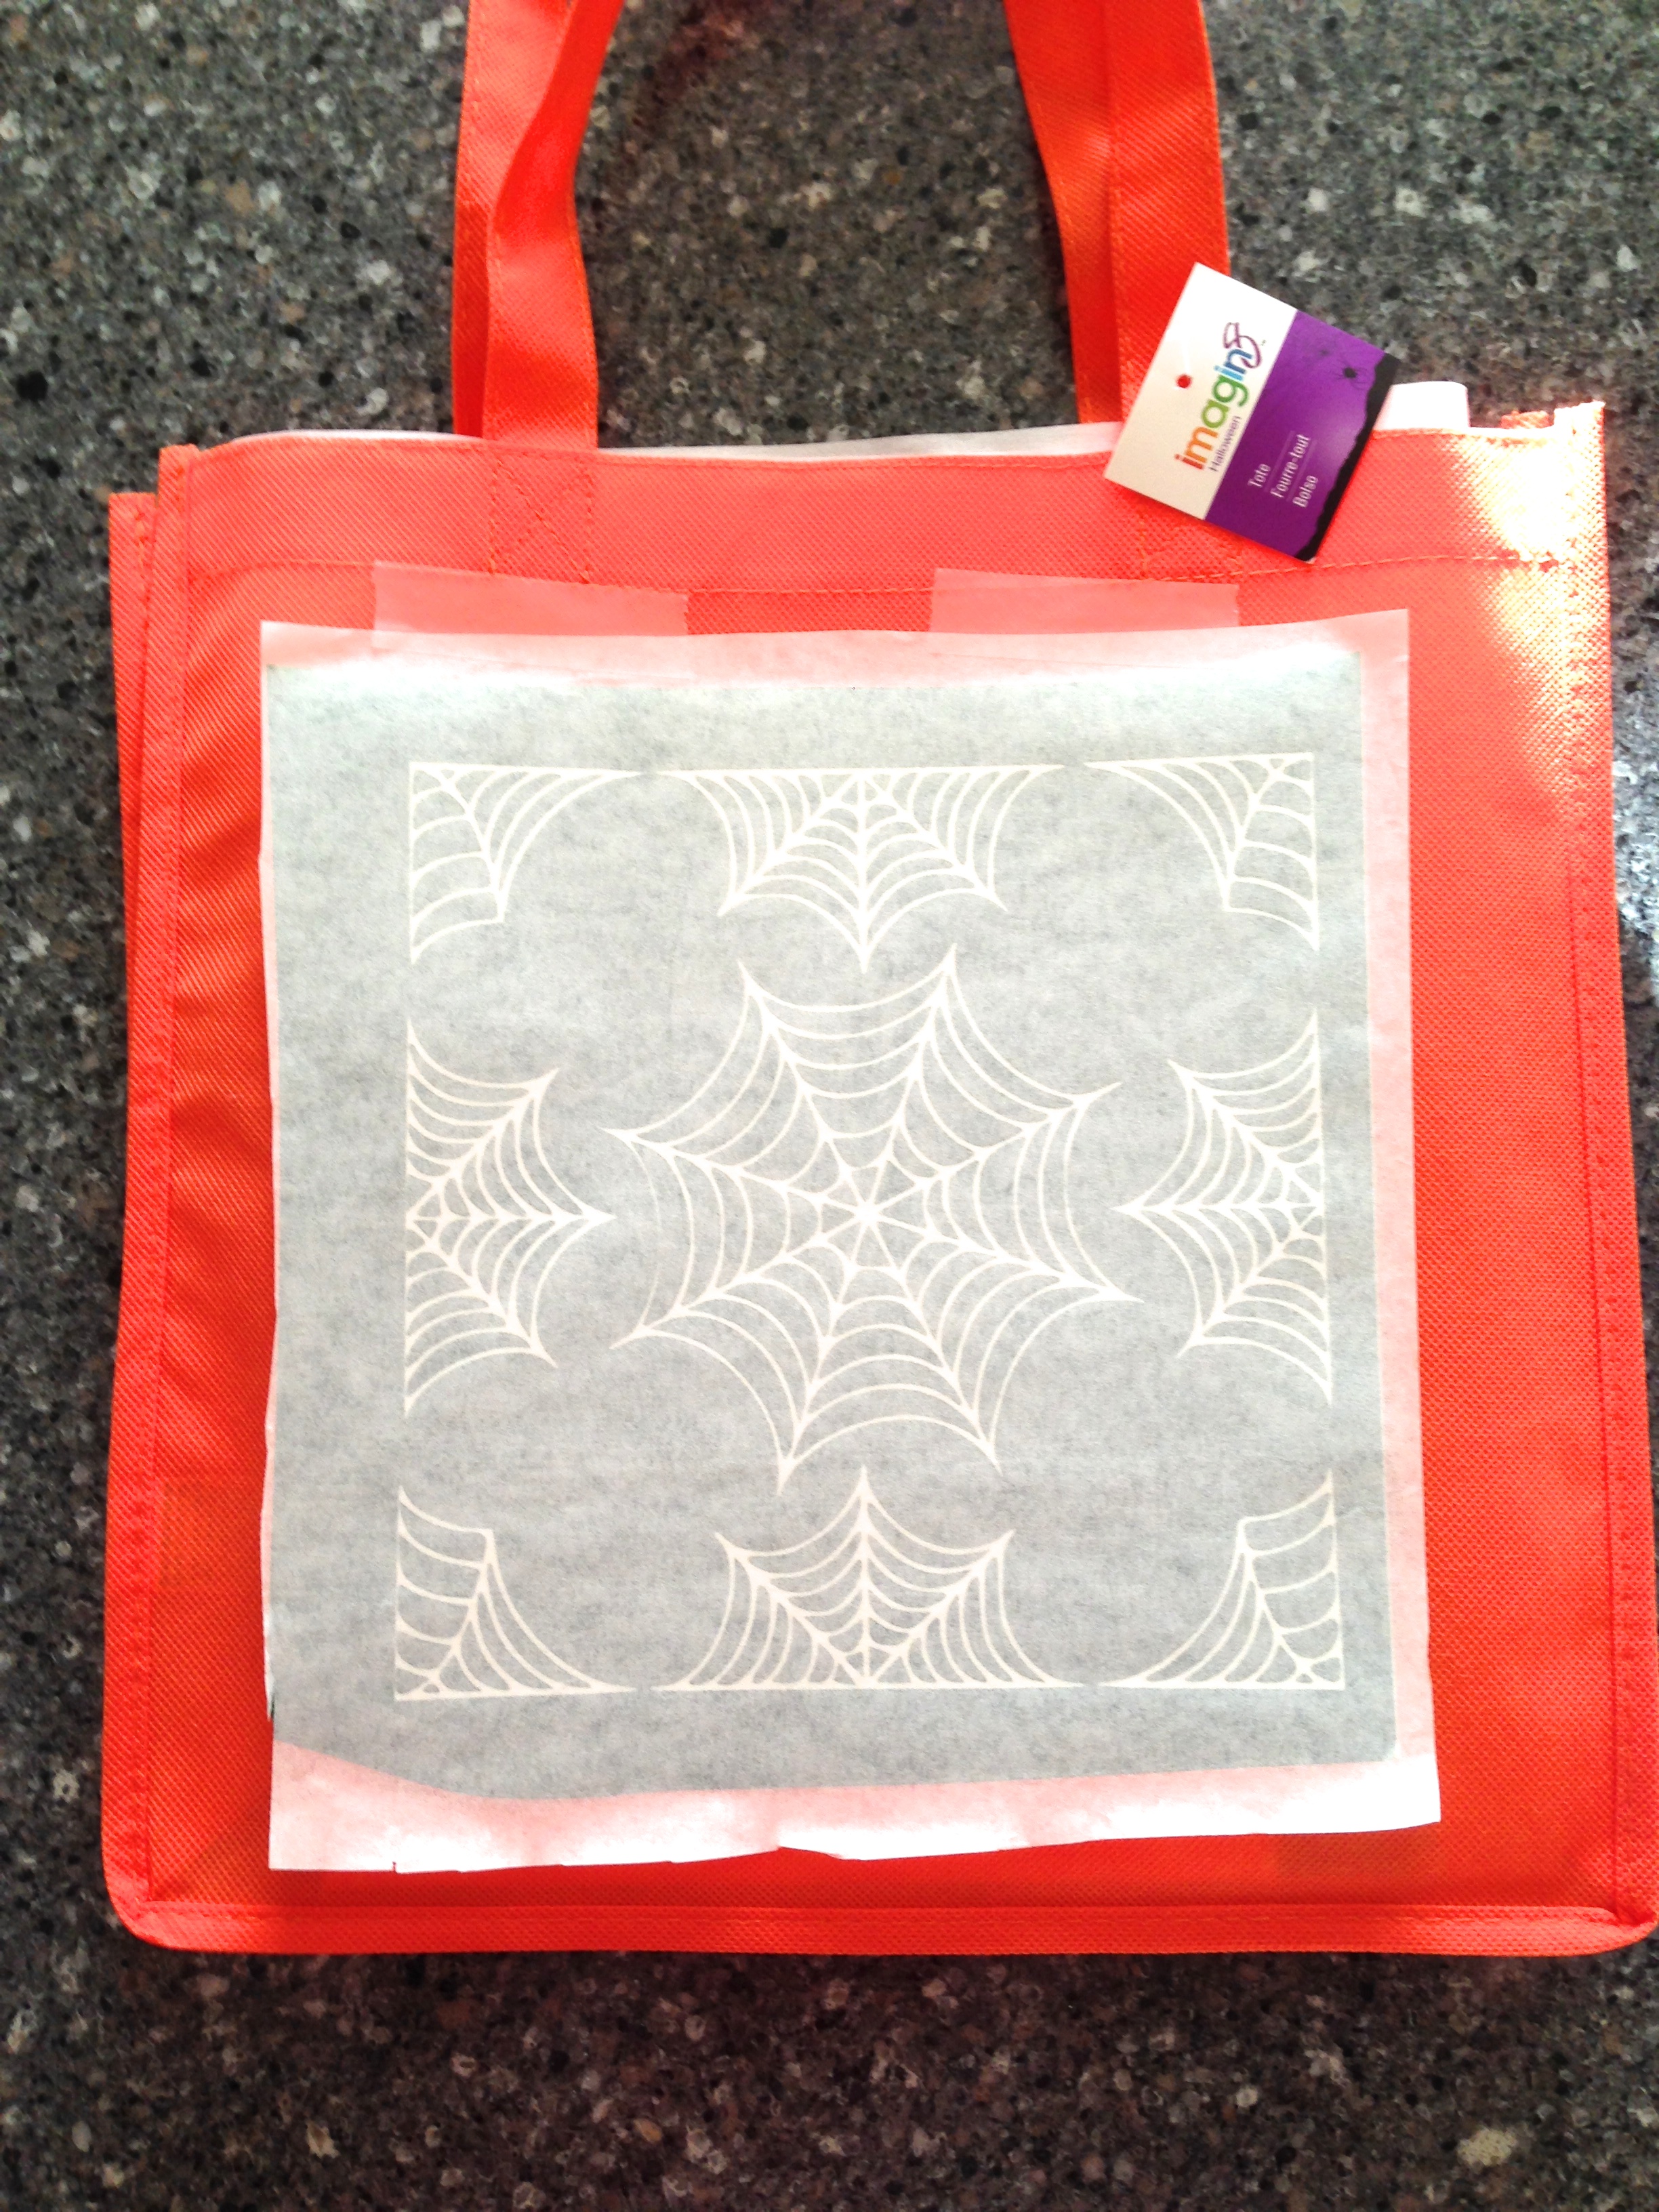
Flip up and remove backing. Spray vinyl with a tacky spray. I use Easy Tack by Krylon.
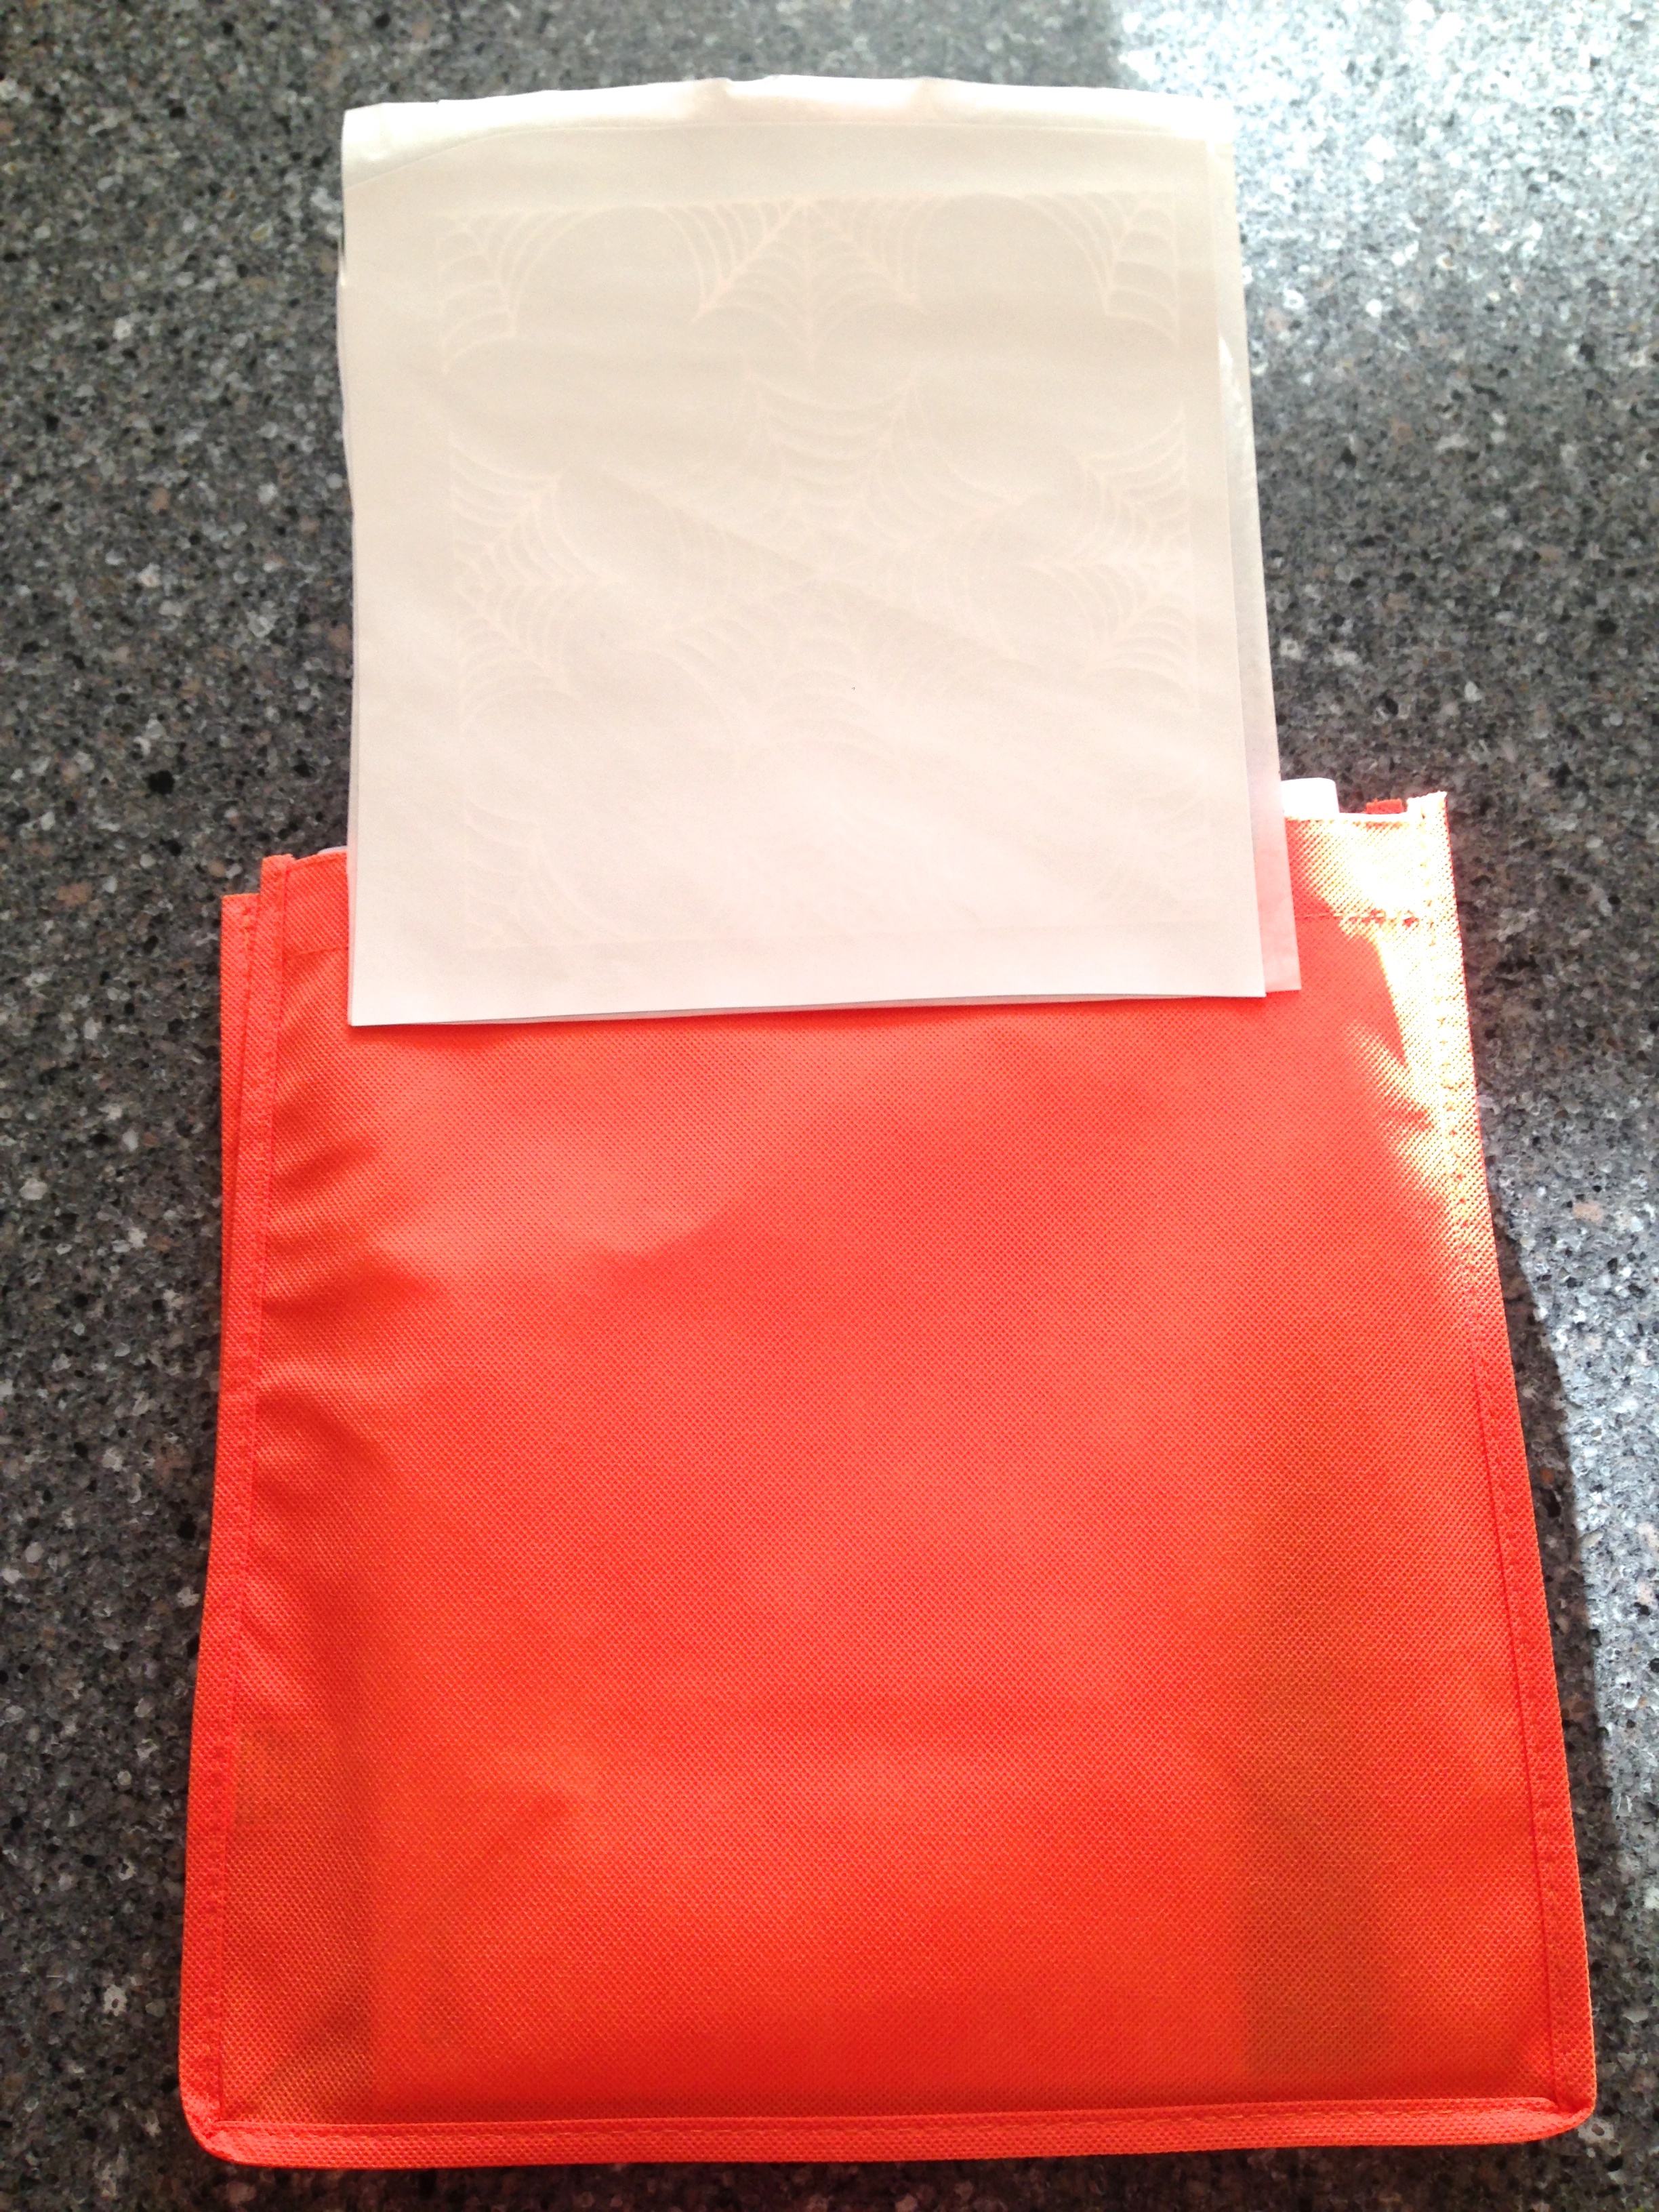
Flip vinyl back down on bag and press firmly. Remove the transfer tape slowly making sure all the vinyl stuck well to the bag.

I have a video here that shows how I do it using another shirt I made.

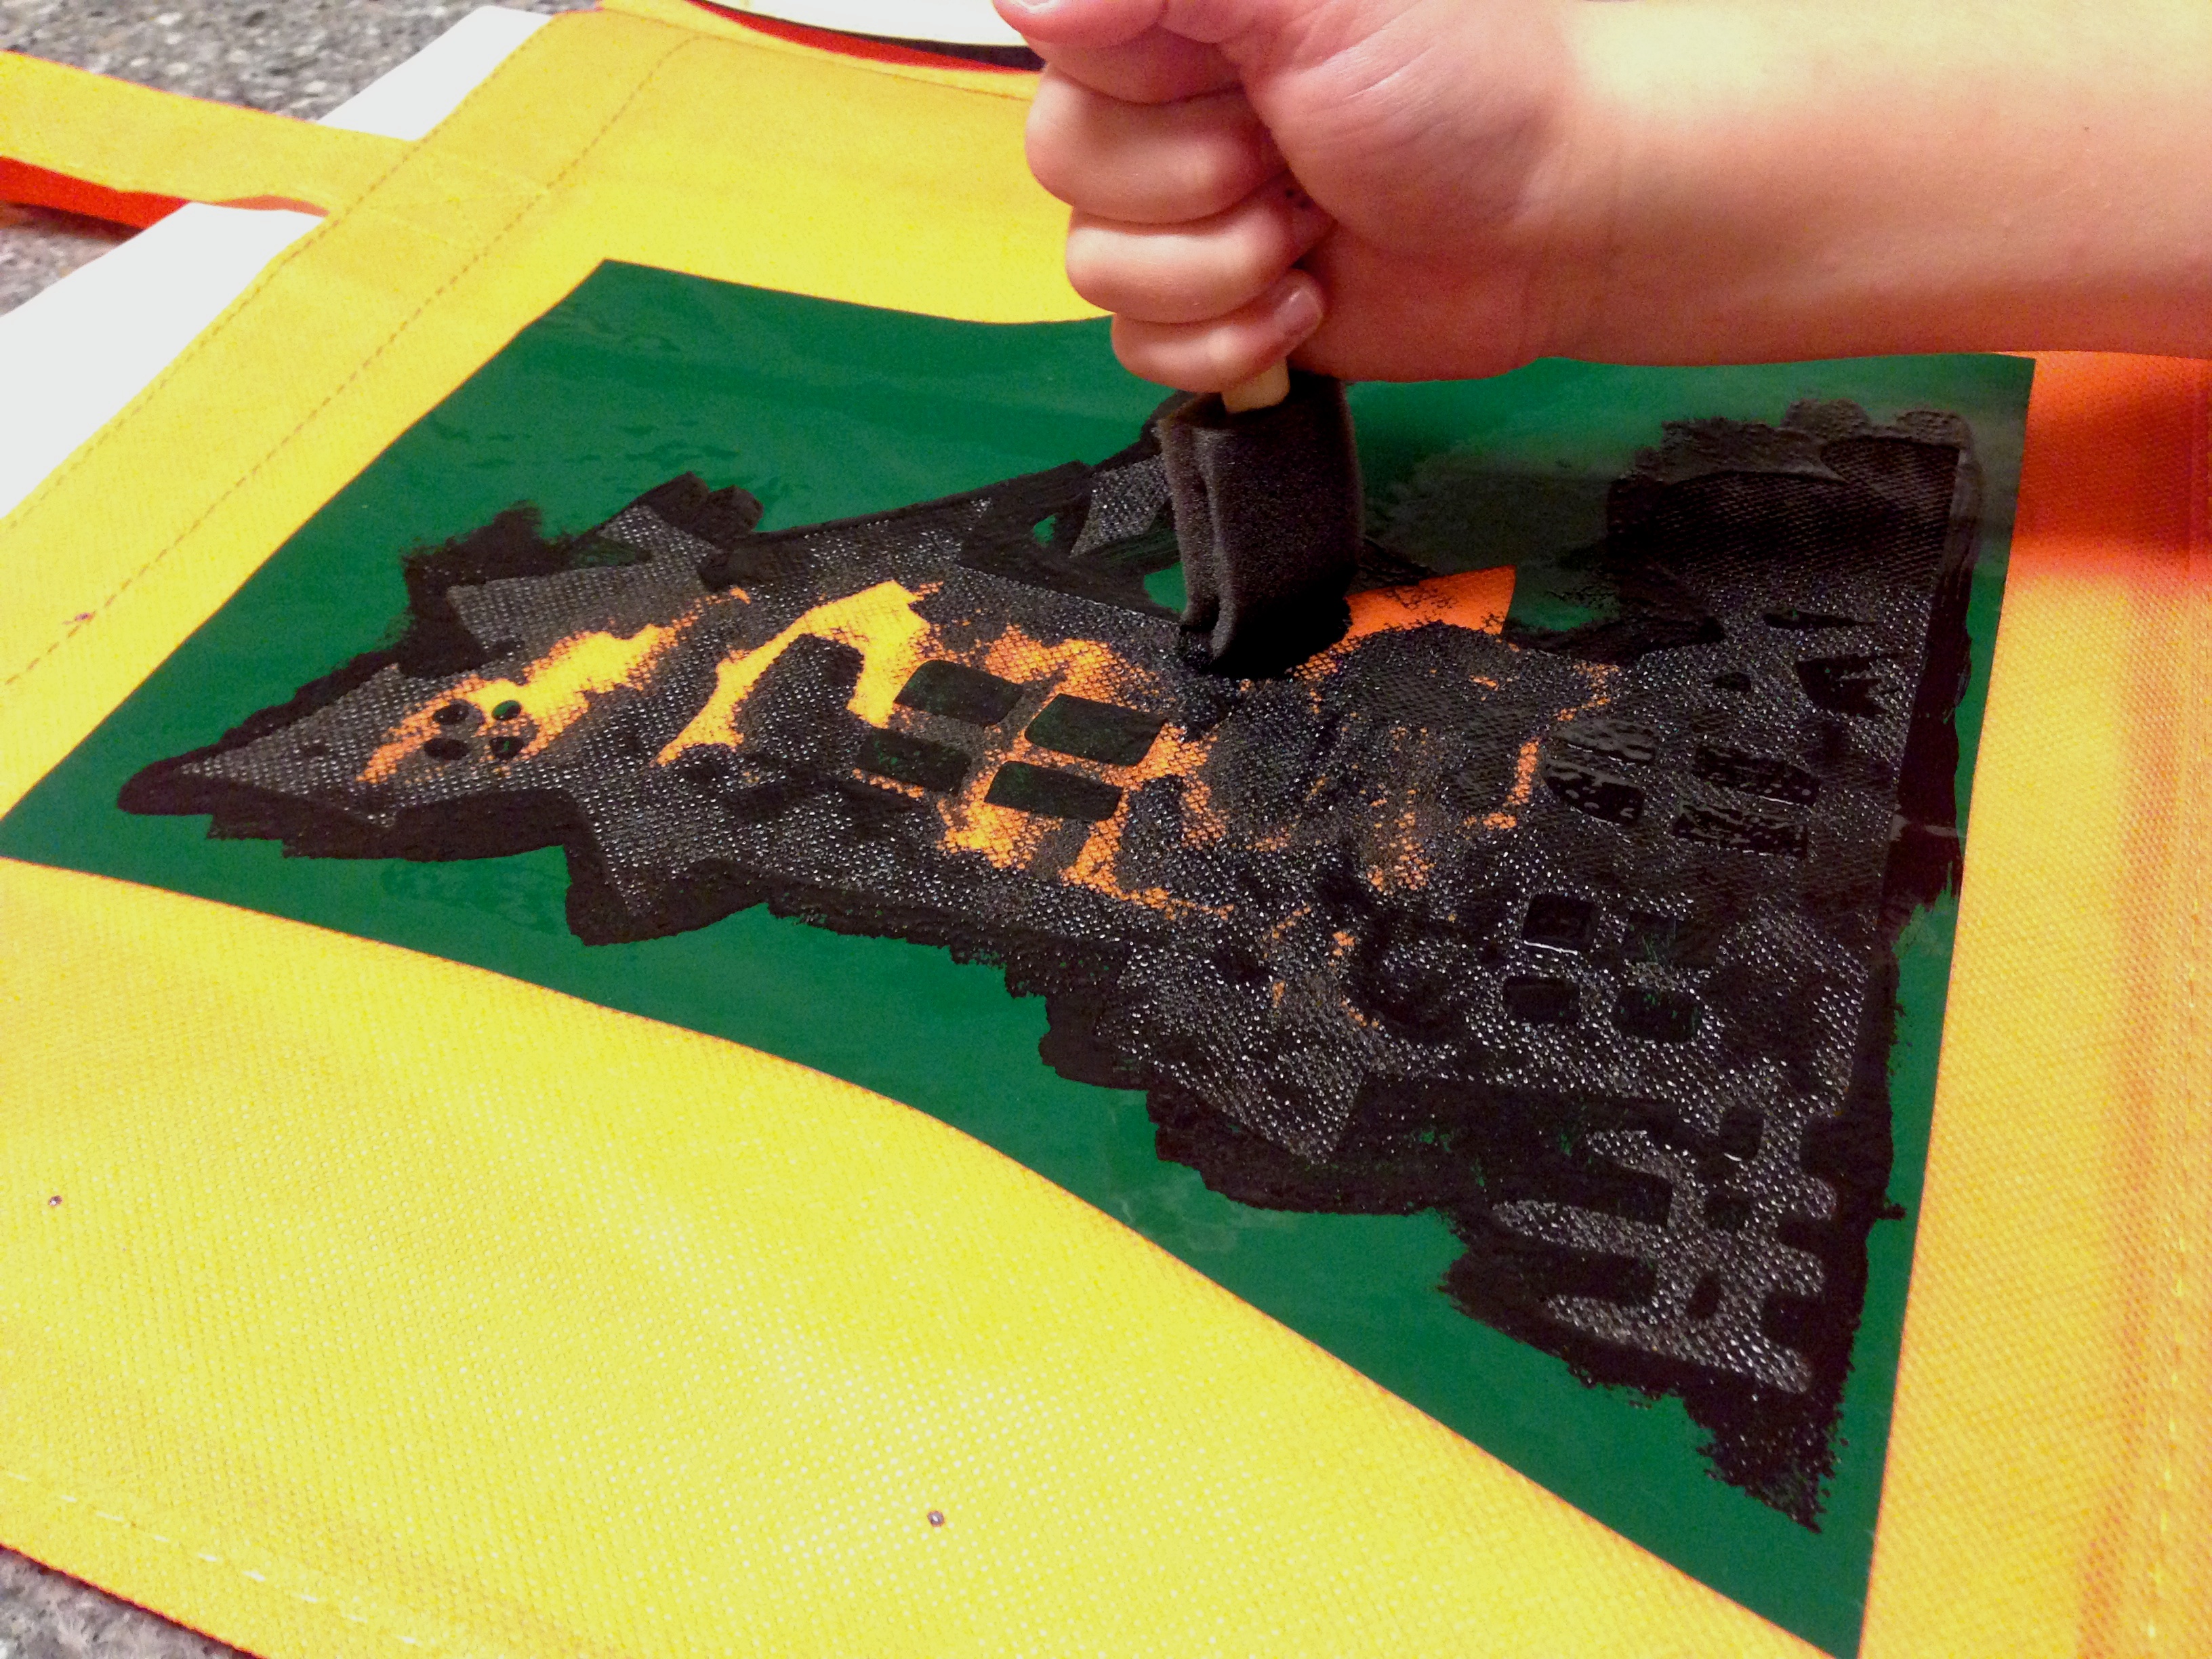
Take sponge brush with paint and dab paint with in stencil/vinyl. (Note: I did 3 coats of white so that the orange didn’t show through.)
Let the paint from the first vinyl/stencil application completely dry. Remove vinyl. Place the next layer of vinyl/stencil on to the bag using the same steps as before.
Paint the next color/layer of vinyl by dabbing like you did before. When it is completely dry remove vinyl and remove magazine.
ENJOY!