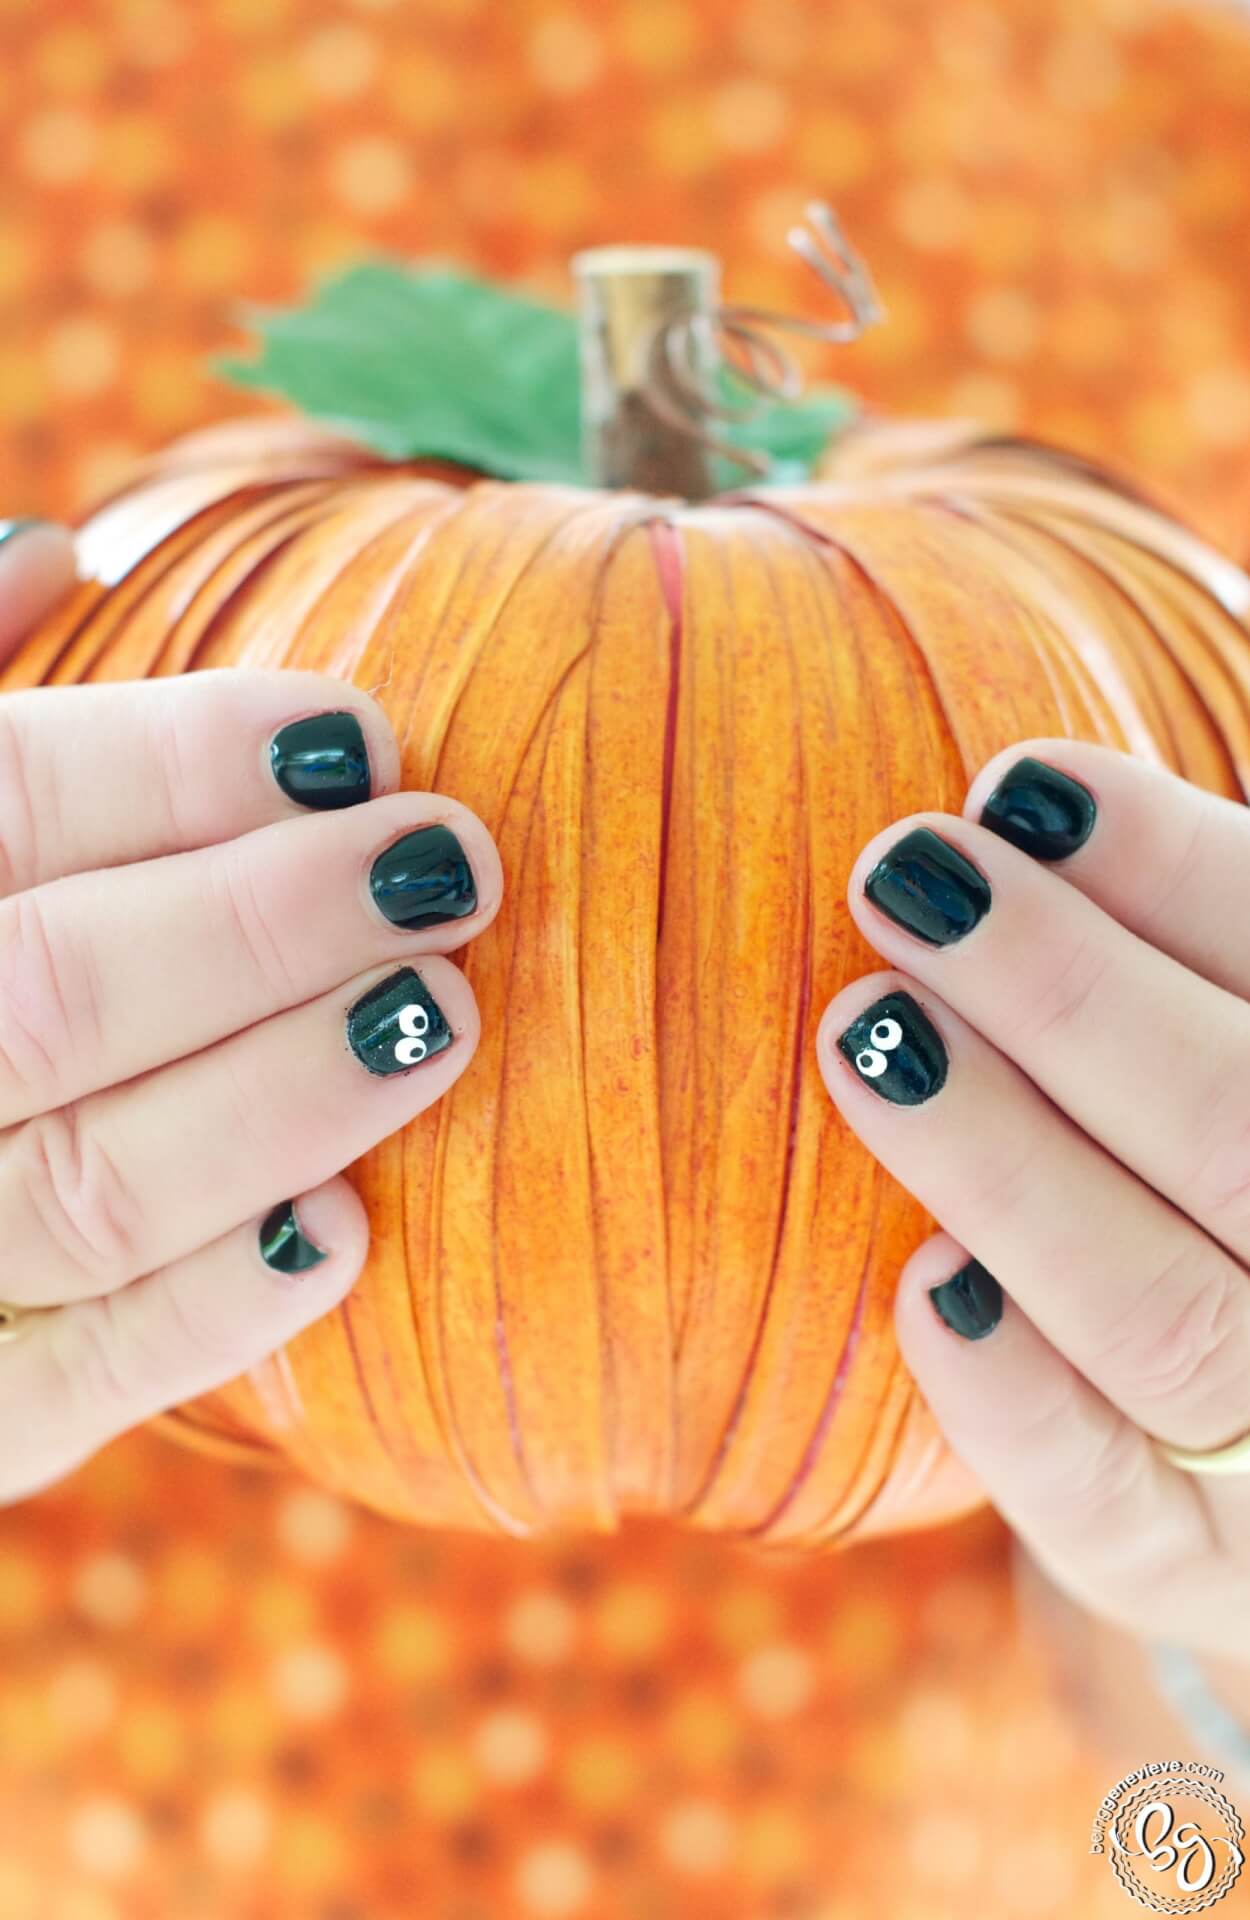
We are officially into the month of October. Halloween is less than a month away. I am getting excited. Today I did my mom’s nails and I talked her into doing black nail polish for Halloween. Can you believe it??? I can’t believe she actually did black! I love how cute and clean this Halloween nail design turned out. It is probably one of the most simple nail designs that I have done. All you have to know how to do is, two dots in white and then two dots in black, and there you have it. Two adorable eyes watching out for you!
Note: I will be providing instructions on how to achieve this look with plain polish, along with Gel Polish.
Step 1: Prep Nails
View my post on Nail Polish Prep.
Step 2: Paint Nails Black
Paint all of the nails with two coats of black polish. I used the Shellac color called, Black Pool. {Note: You can’t tell in the picture, but we did the ring fingers in black glitter. Once we were done we realized that you can’t tell a difference between the polish and the glitter nail. So I recommend just painting all the nails with black polish.}
Gel Polish: Apply one coat black polish and cure in light. Paint second coat and cure 2 minutes in the UV light, or 1 minute in an LED light.
Step 3: Paint Eyes
Paint two white dots, slightly at an angle, at the end of your ring fingers and allow them to dry. Then paint two smaller black dots on top of the white ones.
Step 4: Apply Final Top Coat Now apply your top coat. Make sure the paint is completely dry before adding top coat to help avoid smearing. Gel Polish: Apply top coat, only after paint is completely dry, and cure in UV light for 2 minutes. Step 5: Allow to Dry and Apply Cuticle Oil Allow your polish to dry completely. Apply a cuticle oil just around your nails on the cuticle and rub into the skin. Gel Polish: Remove sticky residue on top of nails with a little alcohol or polish remover and apply cuticle oil. Remove gel polish after 2-3 weeks, check out Gel Polish Removal for the quickest, easiest and best way to remove gels.


